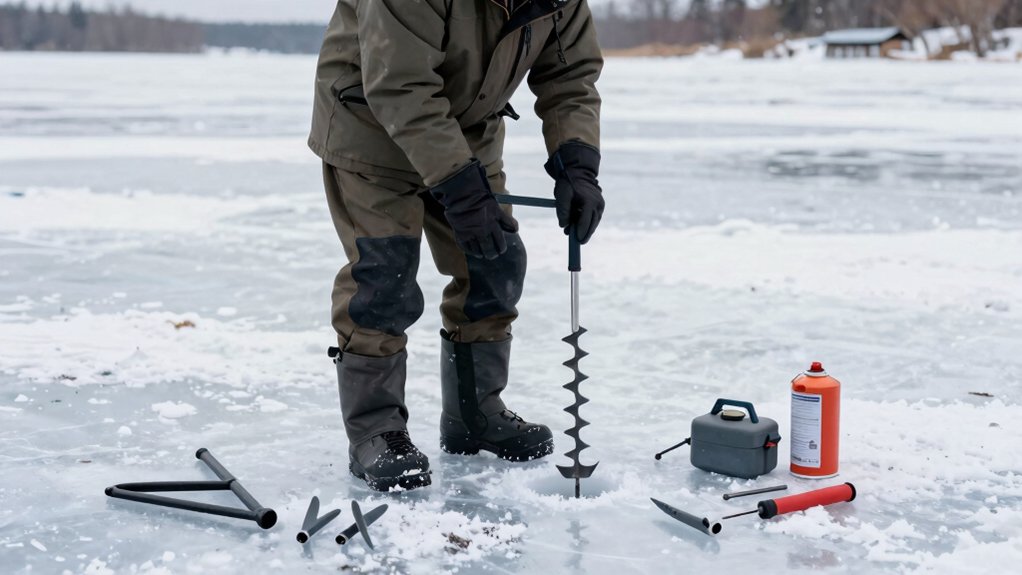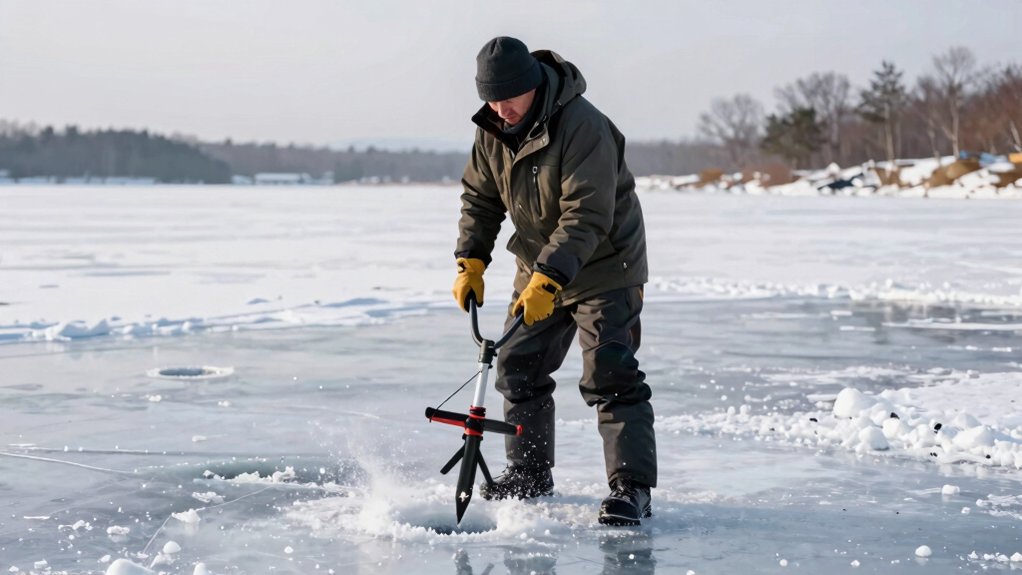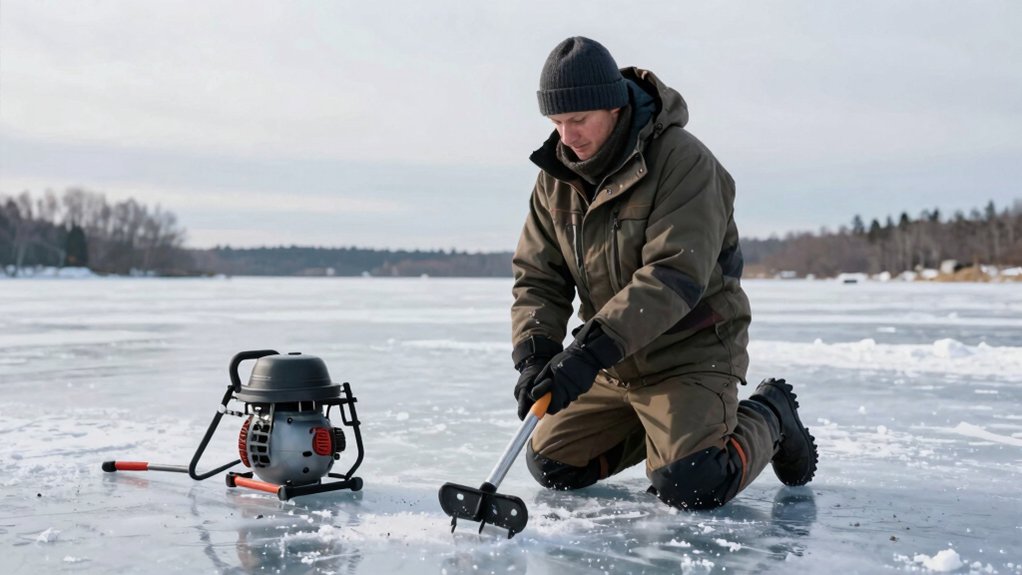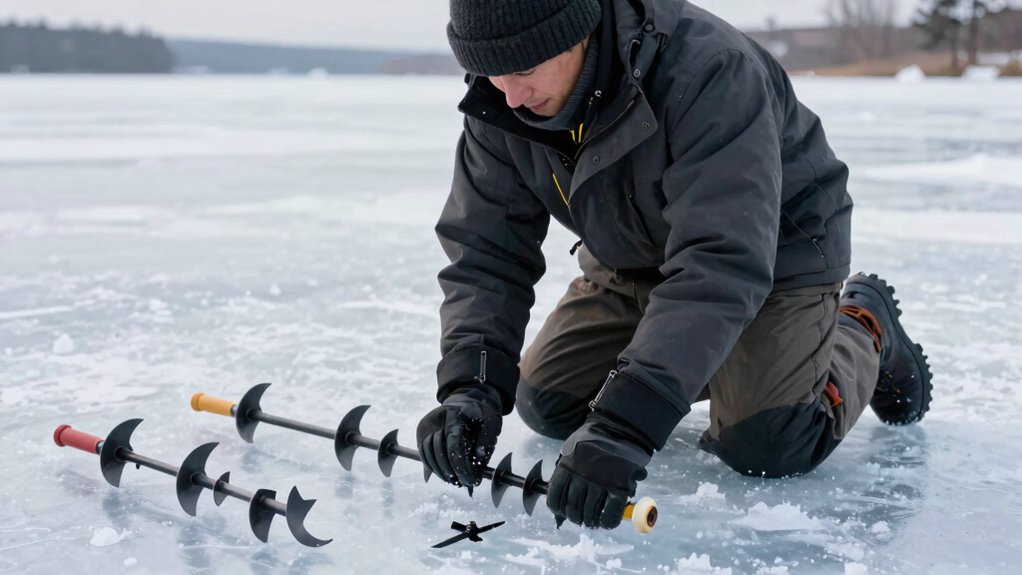

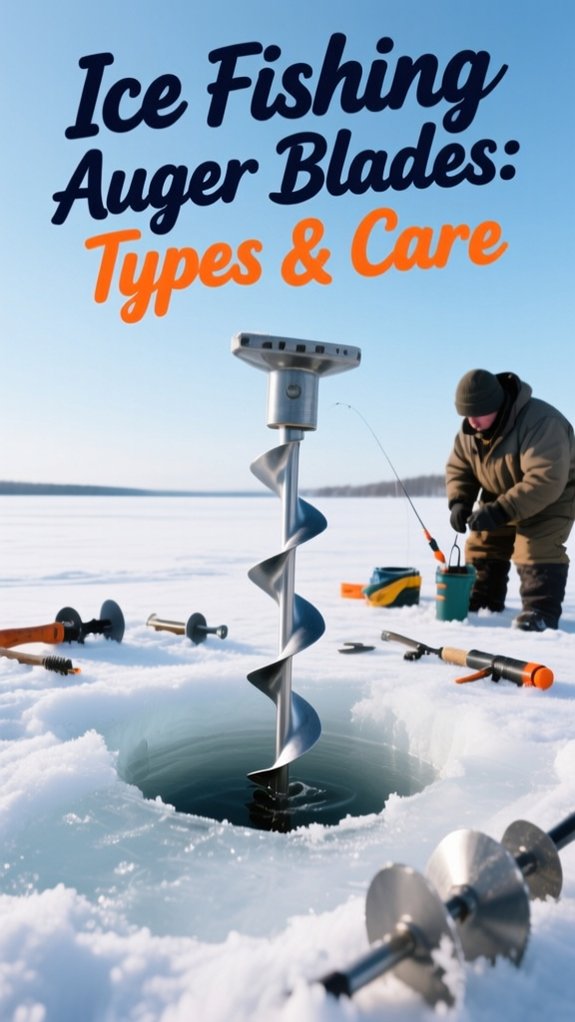
Ice fishing auger blades come in three main types that match different conditions you’ll face on the ice. Chipper blades crush through rough, refrozen ice with their serrated teeth, perfect for reopening old holes and handling debris. Shaver blades slice cleanly through fresh ice for fast, smooth cutting. Flat-style blades split the difference, handling mixed conditions adequately.
Your blade size matters too: 6-inch for panfish, 8-inch for walleye and bass, and 10-inch for pike or lake trout. Keep blades sharp, clean, and dry to prevent rust, and replace them when you see chips or persistent dullness. There’s more to know about getting the most life from your blades.
Chipper, Shaver, or Flat: Choose the Right Ice Auger Blade Type
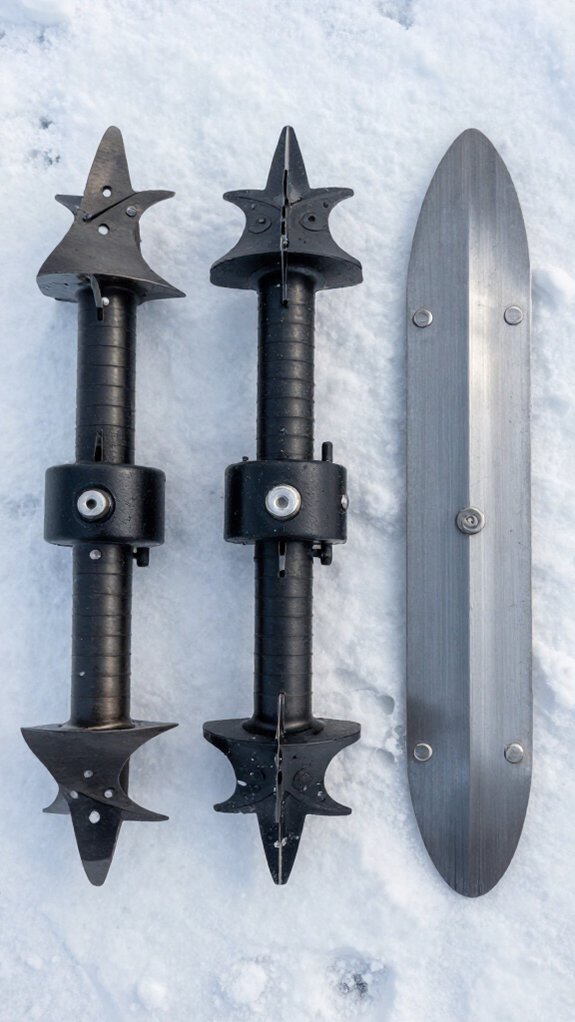
When I’m standing on frozen lake ice at dawn, the last thing I want is an auger blade that fights me instead of cutting clean. So choosing between chipper, shaver, and flat-style blades isn’t just preference—it’s the difference between a quick start to my day and a frustrating workout.
Understanding Your Blade Options
I’ve learned that each blade type serves a distinct purpose. Chipper blades crush ice with their serrated, angled teeth—perfect for rough conditions. Shaver blades slice fast with a corkscrew motion on fresh ice. Flat-style blades offer middle-ground versatility when I’m facing mixed conditions.
Matching Blade to Conditions
I consider ice thickness and cutting speed together. Thin, early-season ice lets shaver blades fly through. When I’m punching through two feet of frozen slush, chipper blades power through without binding.
Keeping Edges Ready
Ice auger maintenance keeps me fishing, not fumbling. I check blade sharpness before every trip—dull edges strain my drill and waste battery life. I sharpen or replace blades seasonally, storing them dry to prevent rust.
Which Ice Auger Blade Works Best for Re-Drilling Old Holes?
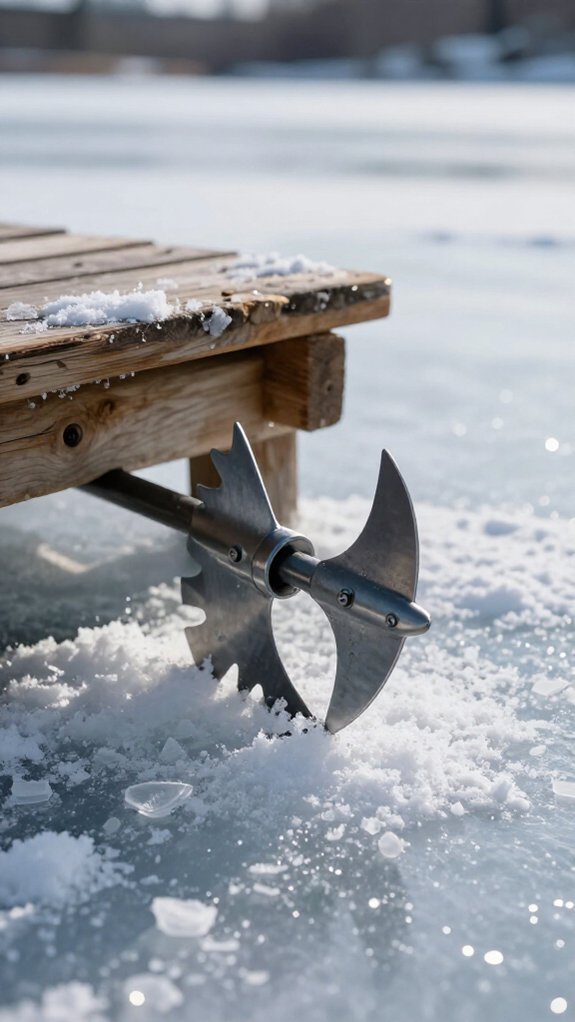
Chipper blades work best for re-drilling old holes because they crush and pulverize through frozen-over, roughened ice rather than struggling against it. Their aggressive cutting teeth power through the crusty buildup and debris that shaver blades can’t handle without chipping or dulling.
Whether I’m punching through a week-old hole or battling sandy, refrozen slush, I’ve found chipper blades stay sharper longer and demand far less maintenance in tough conditions.
Chipper Blade Advantages
If you’re constantly reopening old holes that’ve refrozen overnight, you’ll want chipper blades on your auger, they’re built exactly for that punishment.
Why Chipper Blades Excel at Re-Drilling
When I’m ice fishing in brutal mid-winter conditions, I’ve learned that blade advantages matter hugely.
Chipper blades feature serrated, angled edges that crush ice rather than slice it. This design delivers serious durability when you’re punching through uneven, refrozen surfaces.
Handling Tough Ice Debris
Here’s where these blades shine: Their crushing action powers through ice debris, sandy layers, and rough formations that’d stall other styles.
While they run slower than shavers, they don’t demand multiple passes in nasty ice conditions.
For dedicated re-drilling situations, I always recommend chipper blades on your ice auger. They simply take the beating so you don’t have to.
Re-Drilling Efficiency
Because I’m constantly revisiting old holes throughout a hardwater season, I’ve learned that chipper blades outperform every other style for re-drilling frozen-over openings. Their serrated edges crush and pulverize ice rather than slice cleanly, making them ideal for breaking through rough, refrozen debris in old holes.
Comparing Blade Styles for Re-Drilling
When I’m evaluating blade styles for efficiency, here’s what I’ve found:
- Chipper blades: Best for re-drilling; power through icy, uneven openings without binding
- Shaver blades: Cut fast on fresh ice but dull quickly and snag on refrozen chunks
- Flat-style blades: Moderate middle ground for mixed conditions
Keeping Your Edges Ready
Dull blades kill your efficiency fast. I notice immediately when my auger’s struggling, my arms burn and progress slows. Regular sharpening keeps re-drilling smooth and saves energy across a long day of punching ice holes.
Blade Durability Factors
- High-carbon steel holds its edge longest against thick, refrozen ice.
- Sharpening regularly keeps my blades biting clean instead of grinding.
- Ice conditions dictate whether I’m fighting slush, debris, or bare refrozen surfaces.
- Blade maintenance, including clearing debris after each trip, prevents premature dulling.
Chipper blades generally outlast shavers for re-drilling because their crushing action handles abused ice holes better.
Standard flat blades split the difference but wear faster.
I match my blade choice to expected ice conditions and stay religious about blade maintenance, it’s cheaper than replacing ruined blades mid-season.
What Ice Auger Blade Size Matches Your Target Fish and Drilling Needs
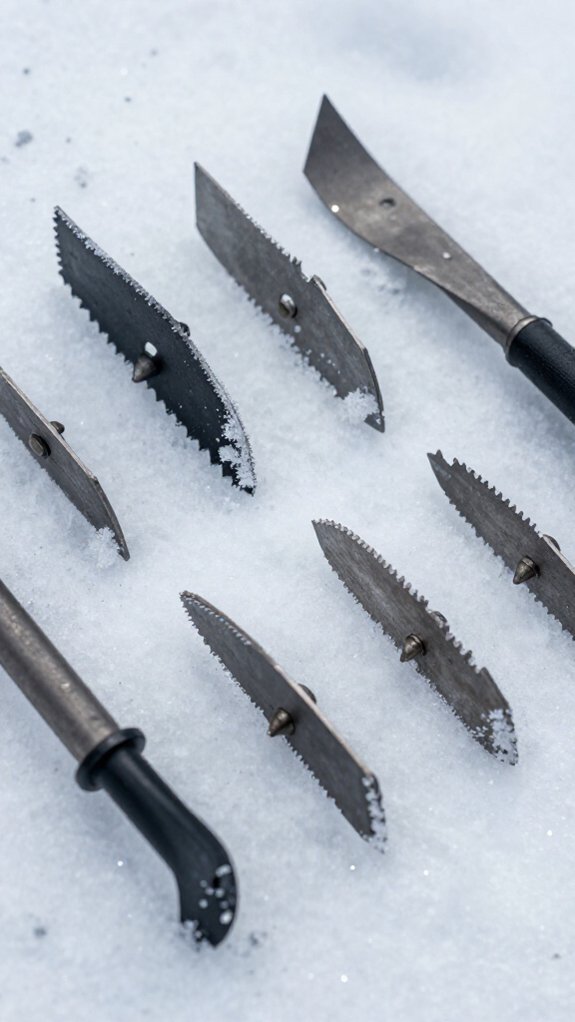
Choosing the right ice auger blade size comes down to matching your gear to the fish you’re after and how much ice you’re cutting through. I always tell anglers that your target fish dictates your hole size, and your drilling needs determine how efficiently you’ll get through the ice.
Matching Blade Size to Fish Species
For panfish like bluegill and crappie, I grab a 6-inch blade. It’s lightning-fast, lightweight, and gets me fishing quicker. When I’m chasing walleye or bass, the 8-inch blade size hits that sweet spot, versatile enough for most freshwater species without killing my arms.
When Bigger Is Better
Trophy pike or lake trout demand a 10-inch ice auger blade size. That extra room means fish turn easier and escape less. But here’s the trade-off: larger blades need more horsepower, weigh more, and drill slower.
Reading Your Ice Conditions
Thicker, harder ice strains auger performance. I match my blade size to ice conditions, smaller blades conserve battery or fuel when I’m punching dozens of holes, while larger blades power through stubborn late-season ice when I’m after big fish species.
Why Carbide-Tipped Ice Auger Blades Outlast Standard Steel
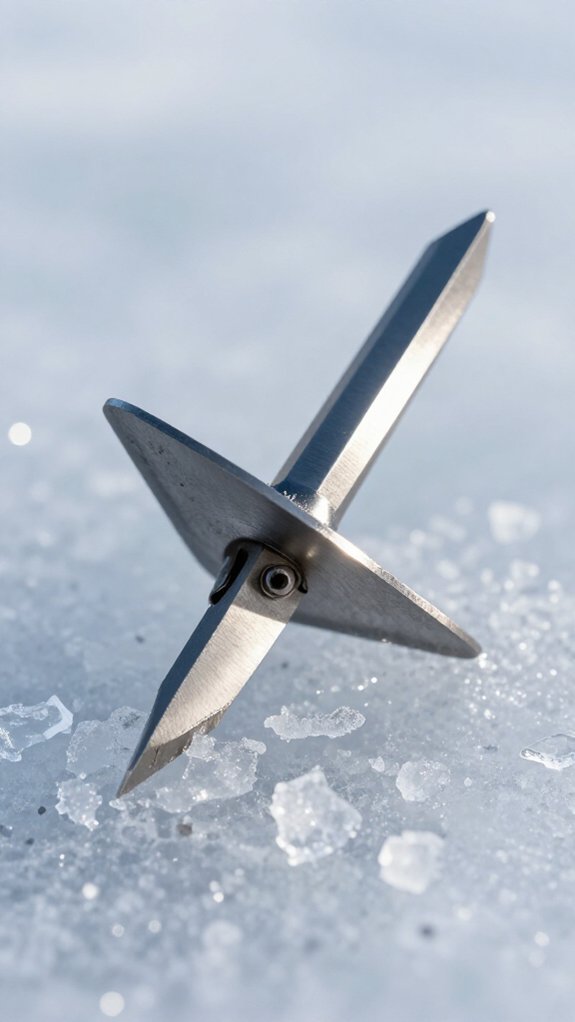
If you’re tired of swapping out dull auger blades mid-season, carbide-tipped edges are the upgrade that’ll keep you drilling instead of sharpening.
I’ve watched too many anglers struggle with steel blades that turn butter-knife dull after hitting gritty, abrasive ice.
Here’s why carbide-tipped blades dominate for blade durability:
- Superior wear resistance keeps the cutting edge razor-sharp up to five times longer than standard steel blades
- Toughness against abrasive ice mixed with sand or grit, where steel fails, carbide thrives
- Chip and crack resistance under heavy torque, making your ice auger reliable for frequent use
- Less blade sharpening hassle, so you’re fishing more and wrenching less
Sure, you’ll pay more upfront. But when I factor in fewer replacements and zero mid-trip failures, the long-term value speaks loud.
Your future self, warm, dry, and still drilling, will thank you.
How Ice Auger Blades Cut Through Ice: Shave, Chip, or Crush
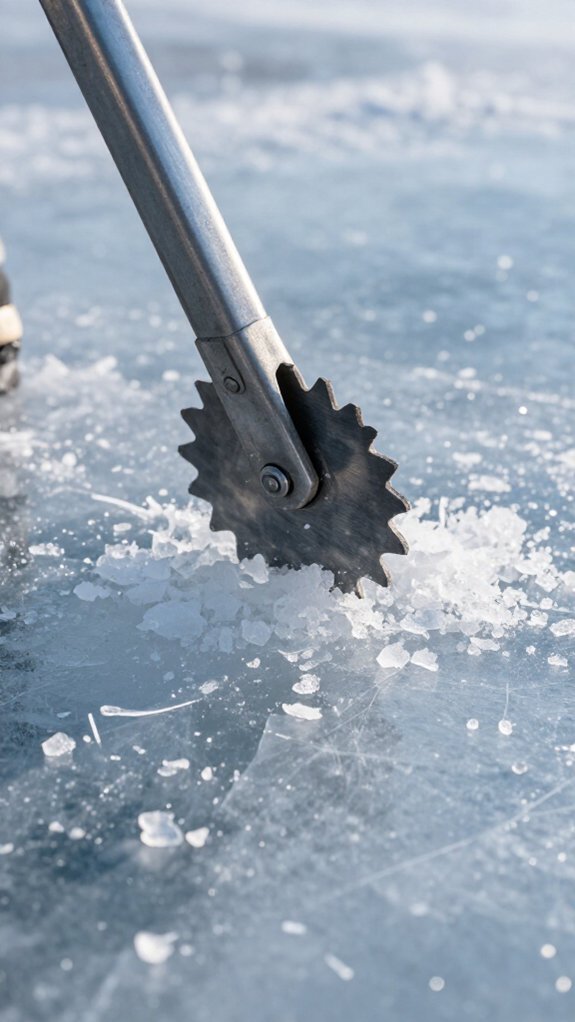
Whether you’re punching holes through early-season slush or grinding through mid-winter’s rock-hard ice, your auger blade’s cutting style determines how fast you’ll get fishing and how long your gear lasts.
Shaving vs. Crushing: Know Your Blade Types
I’ve learned that ice auger blades basically work two ways. Shaver blades curve and spiral downward, shaving ice into fluffy ribbons with that satisfying corkscrew motion. They’re lightning-fast on fresh, clean ice, think early morning on a glassy lake, but catch a rock or nail and you’ll feel that crunch of trouble.
Chipper blades take a different approach, crushing ice with their angled, serrated teeth. They’re beasts through dirty, refrozen, or old ice. The trade-off? Slower ice drilling, way more durability.
For most anglers, matching these blade types to conditions means less sweat, more time with lines down.
5 Signs Your Ice Auger Blades Are Too Dull to Cut Cleanly
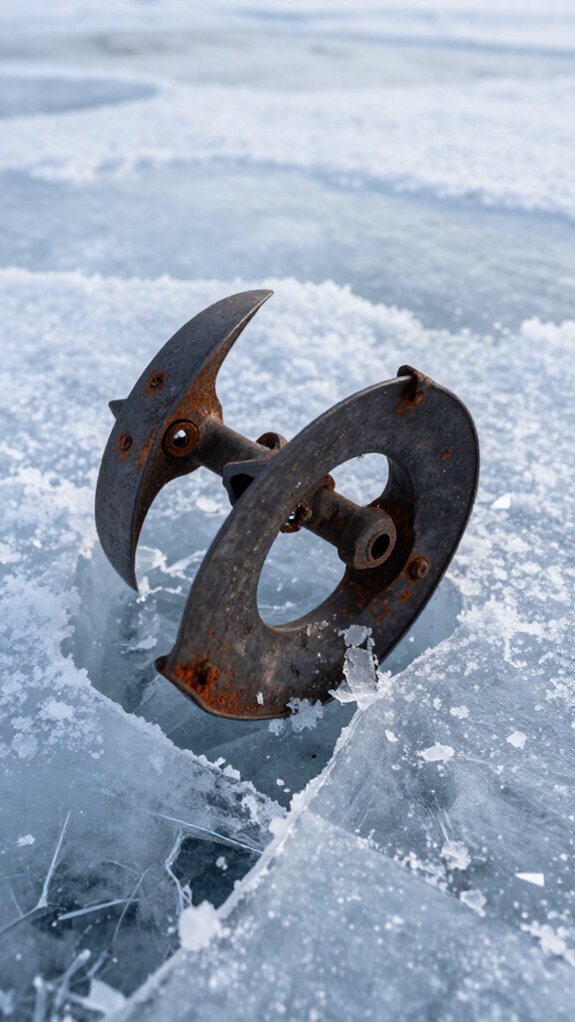
After drilling a few dozen holes on a cold morning, I can tell you that nothing kills my momentum faster than realizing my auger blades have gone dull mid-trip. I watch for these warning signs before I’m stuck on thick ice:
- You’re fighting fatigue after just a few holes because dull blades demand way more muscle
- The ice comes up with rough holes instead of glass-smooth walls, lost blade sharpness shows
- Your battery drains fast or you’re burning through fuel, killing cutting efficiency
- The bit stalls, skips, or leaves uneven cuts, and auger performance tanks
When I spot these, I know blade replacement beats struggling all day. Sharp blades aren’t just convenient, they’re essential.
Sharpen Ice Auger Blades Yourself or Go Pro: Cost and Quality Compared
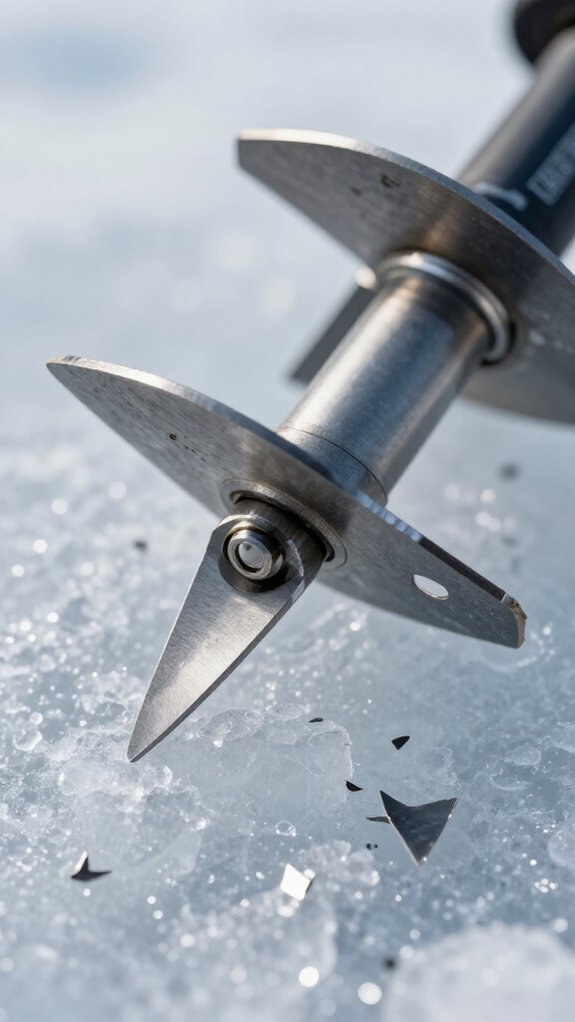
Once I’ve spotted those telltale signs of dullness, I’m faced with a decision that hits my wallet and my weekend plans: tackle the sharpening myself or hand my blades off to a pro.
DIY Maintenance
I can handle sharpening blades at home with files, whetstones, or fine-grit sandpaper. It takes me 10-15 minutes per blade, but it’s cost-effective and gets me back on the ice fast.
With proper sharpening tools and safety gear, I’ve restored decent edges myself.
Professional Sharpening
Professional sharpening runs $10-$20 per blade. The precision saves me time and headaches, especially when I’m unsure of my technique.
The Bottom Line
My cost comparison? DIY wins on price; pros win on precision.
Either way, regular upkeep extends blade lifespan and boosts blade efficiency. Sharp blades mean better ice auger performance, less sweat, more holes, more fish.
How to Clean and Store Ice Auger Blades to Prevent Rust
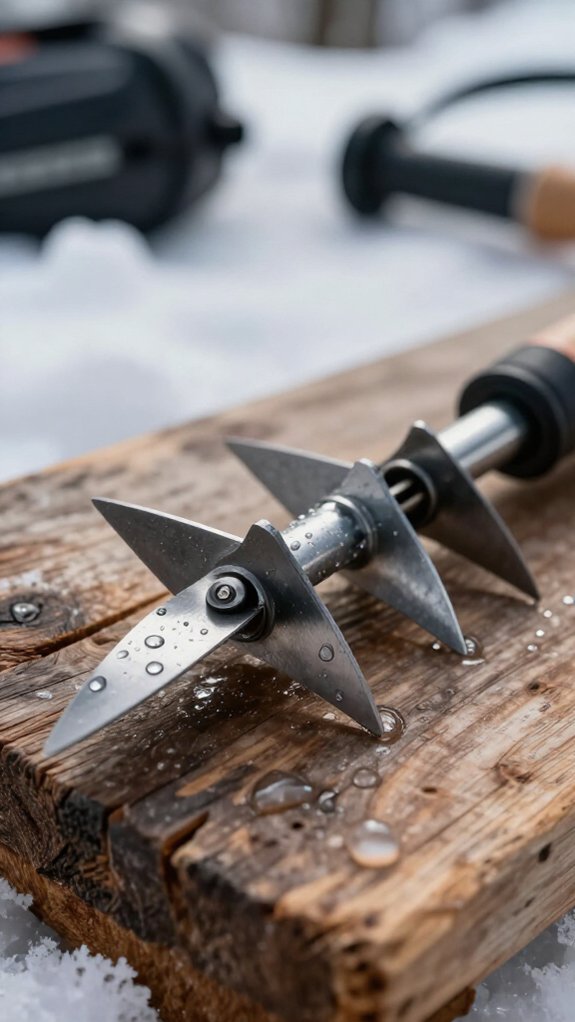
I keep my auger blades rust-free by following a simple three-step routine after every ice fishing trip: a thorough cleaning to remove ice and debris, complete drying to eliminate moisture, and proper storage with a light oil coating and protective cover.
You’ll want to pay special attention to drying techniques since trapped moisture is the fastest route to corrosion on high-carbon steel edges.
Let’s break down each of these points so you can protect your investment and keep those blades biting sharp season after season.
Post-Trip Cleaning Routine
Why risk dull, rust-pitted blades when a five-minute cleaning routine keeps your auger slicing through ice like butter?
I’ve developed a simple post-trip habit that protects my investment and saves me from mid-season sharpening headaches.
Here’s my go-to routine:
- Rinse and scrub – I wash off all ice debris, dirt, and residual gunk with clean water.
- Banish moisture – I wipe every surface with a dry cloth to stop rust before it starts.
- Shield the edges – I apply blade protectant oil to block corrosion and keep metal conditioned.
- Smart storage – I tuck blades into a protective cover in a dry spot, away from garage humidity.
Quick inspections for dullness or early rust spots keep my auger performance sharp.
Consistent rust prevention beats emergency repairs every time.
Proper Drying Techniques
A wet blade left in the garage is a rusted blade by morning, that’s why I never skip the drying step after rinsing off slush and grit.
Drying Done Right
I grab a clean, dry cloth and wipe every surface, edge to center. Moisture hides in nooks, so I pay attention where the blade meets the shaft. This isn’t rushed blade care, it’s rust prevention that works.
Beyond the Towel
Once dry, I apply a thin coat of oil or rust inhibitor. This barrier fights humidity during storage. I avoid damp corners of my garage; that environment kills sharpness fast.
Why It Matters
Proper drying after cleaning protects your investment. Pair this habit with a quality blade protector, and you’ll maintain cutting performance trip after trip. Trust me, ten extra minutes now saves replacement costs later.
Protective Storage Methods
Clean, dry blades deserve better than a dusty shelf or damp toolbox, which is why I’m particular about where and how I store my auger gear once the season winds down.
Effective storage methods start with smart blade protection. I always slip on blade covers before my auger hits the truck. These simple guards prevent nicks and block sneaky moisture that causes rust.
For long-term blades maintenance, I focus on rust prevention through moisture control. Here’s my storage checklist:
- Apply a light coat of oil or rust inhibitor to enhance corrosion resistance before storing
- Choose a dry, cool storage environment away from direct sunlight and humidity
- Use blade protector cups during transport and off-season storage
- Inspect blades regularly and clean any rust spots with fine-grit sandpaper
Your auger’s cutting edge stays sharper, longer, with these habits.
When to Replace Ice Auger Blades Instead of Sharpening Again
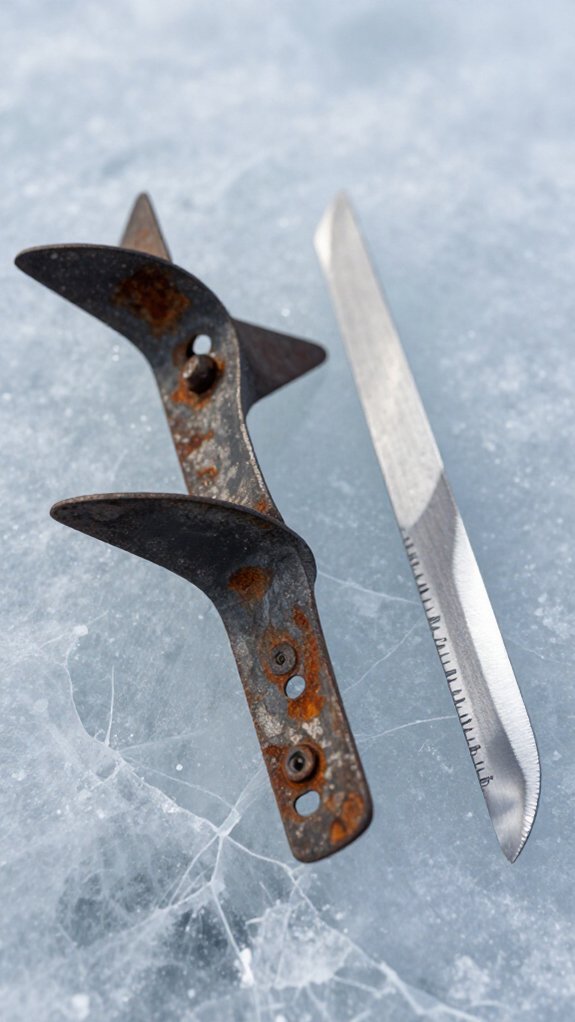
While I’d love to keep my auger blades running forever with nothing more than a quick sharpening session, I’ve learned the hard way that some wear simply crosses the line where honing won’t save them anymore.
Know When Sharpening Isn’t Enough
I replace my blades when they’re chipped, cracked, or so worn that sharpening can’t restore their edge. Structural damage like bends or uneven edges—that’s permanent, no amount of filing fixes compromised metal.
The Efficiency Test****
When sharpening no longer brings back cutting efficiency, or the edge dulls after just a few holes, I’m done fighting it. Pitted, rust-eaten surfaces also demand replacement for clean, efficient cuts.
My Seasonal Rule
I inspect my blades regularly and replace them at least once per season. Fresh blades mean less drilling effort and better hole quality when I’m chasing flags on hardwater.
Frequently Asked Questions
How Often Should You Replace Ice Auger Blades?
I replace my ice auger blades after every 10-15 holes, though I’ll swap them sooner if I spot nicks, cracks, rust, or feel my drill struggling through the ice.
Heavy use in sandy conditions wears mine faster.
Which Way Do Auger Blades Go On?
Like a key turning a lock, I install my blades with the sharpened edge facing inward toward the auger’s center, matching the rotation so debris spirals outward, always checking manufacturer markings to avoid costly mistakes.
What Are the Different Types of Ice Fishing Augers?
I use three main auger types: Chipper blades crush rough ice and re-drill old holes well, shaver blades slice fast through clean ice but dull quickly, and standard flat blades balance performance for everyday fishing.
What Is the Best Ice Auger on the Market?
I’d say the StrikeMaster 40V takes the cake, it’s lightweight, drills like a dream, and outperforms gas models. I’ve found electric augers now rule the roost for speed and easy upkeep on thick ice.
In Conclusion
You’ve got everything you need to pick, maintain, and replace your ice auger blades with confidence. I know sharpening sounds like a hassle when you’re already freezing on the lake, but dull blades turn a 30-second hole into an arm-burning struggle that spooks every fish within fifty yards.
Match your blade type to your ice conditions, keep them clean and dry, and you’ll spend less time drilling and more time catching.