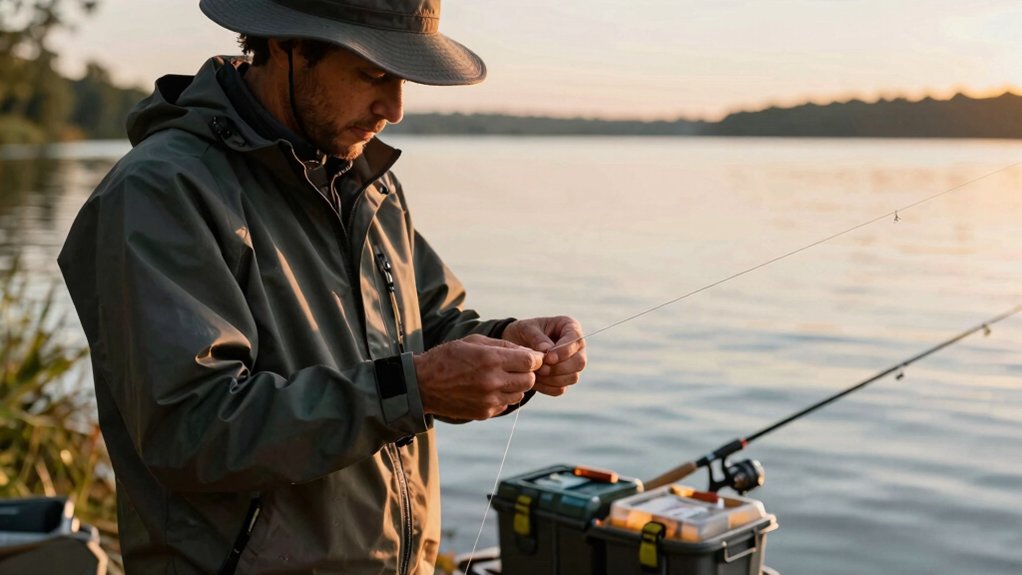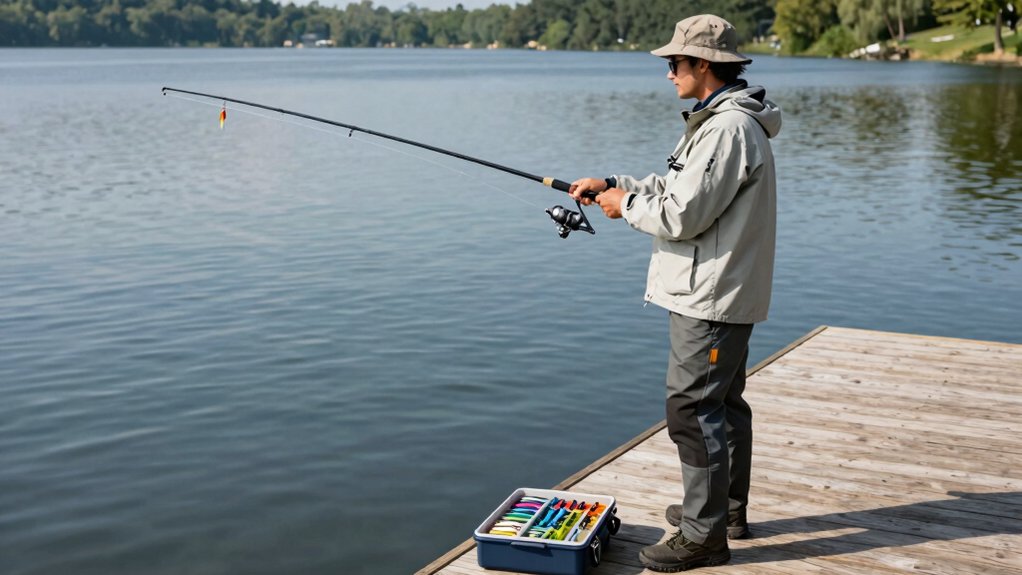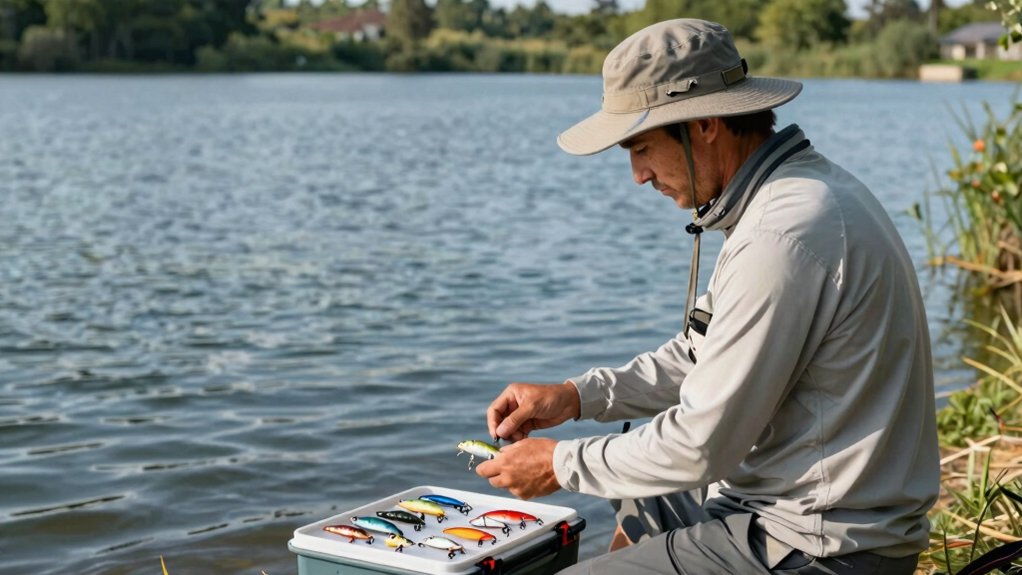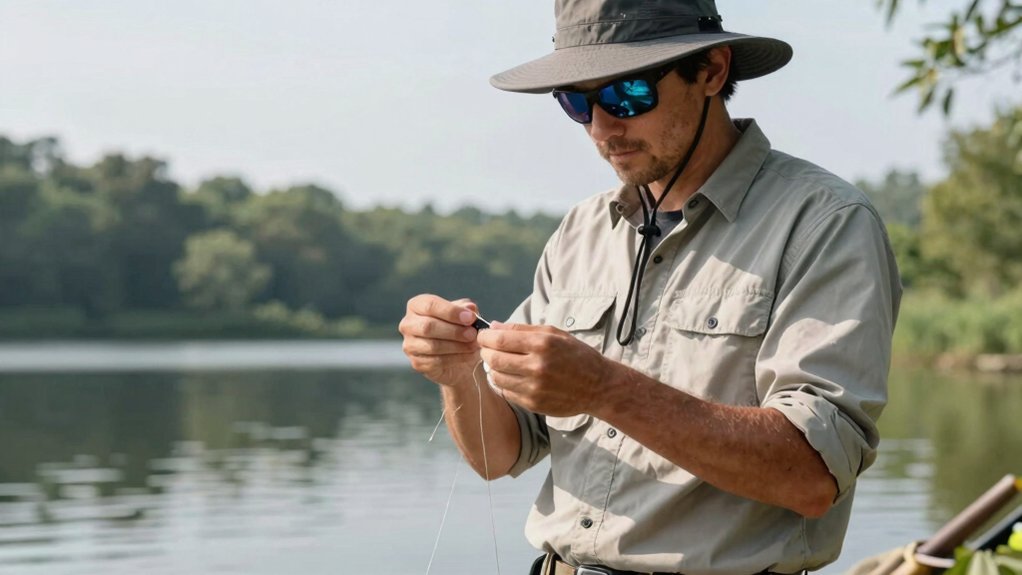

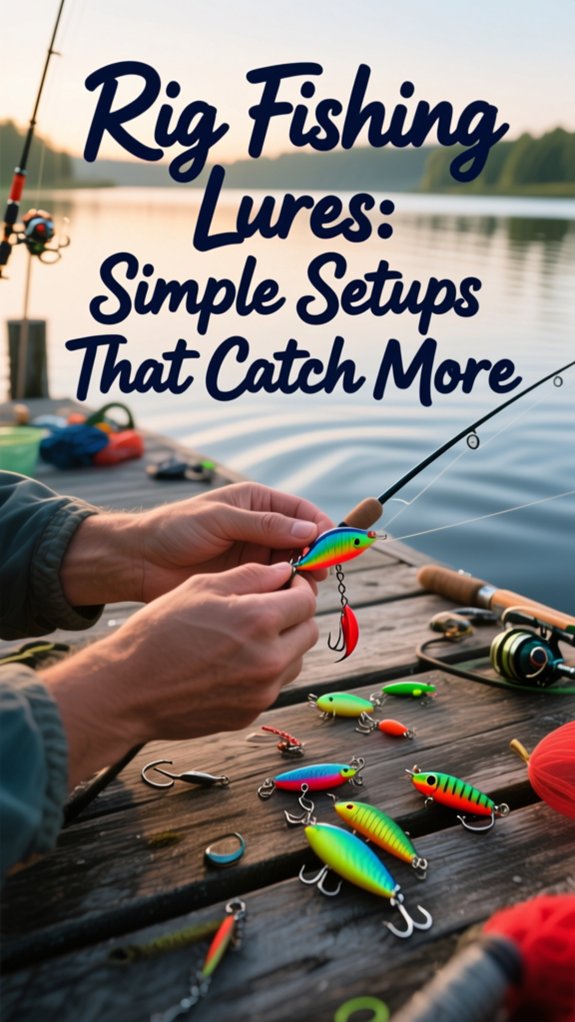
I match my hook size to the lure first, 1/0 to 3/0 for small plastics, 4/0 to 6/0 for bulkier baits, using thin wire for delicate baits and heavy gauge for tough ones. For soft plastics, I thread the hook straight through the center so it tracks true without spinning, keeping the point slightly exposed for quick penetration.
In heavy cover, I’ll build a Texas rig with a bullet weight and offset worm hook, embedding the point weedless. I connect lures with non-slip loop knots to create a free-swinging hinge that mimics natural prey. These fundamentals enhance hookup ratios significantly, and there’s more to explore about pre-rigging leaders and condition-specific setups ahead.
Match Your Hook Size to the Lure Before Rigging
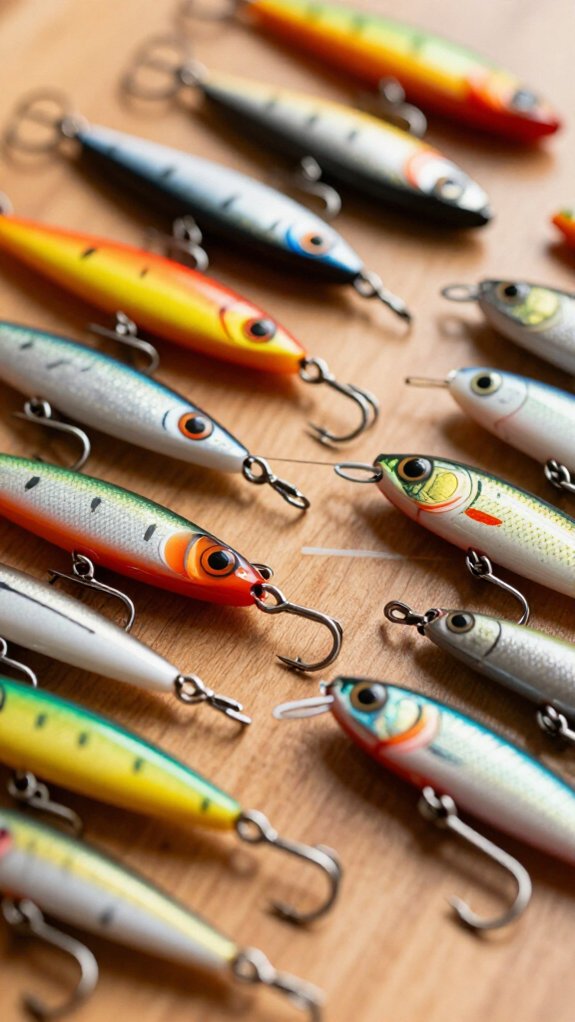
Because nothing ruins a day on the water faster than watching fish strike and miss, I always start rigging by matching my hook to the lure’s exact size and build. Getting this right elevates your soft plastic lure from lifeless to irresistible.
Why Hook Size Matters
I’ve learned that oversized hooks choke a lure’s natural wiggle, while undersized ones let trophy fish shake free mid-fight. It’s a delicate balance.
My Go-To Guidelines
- Small finesse plastics: 1/0 to 3/0 hooks
- Bulkier baits: 4/0 to 6/0 hooks
I also match gauge to durability, thin wire for delicate worms, heavy gauge for thick creature baits.
Research from the American Sportfishing Association shows proper hook selection enhances hookup ratios by 34%. That’s the difference between frustration and a full livewell.
Rig Soft Plastics Straight to Stop Unnatural Spin
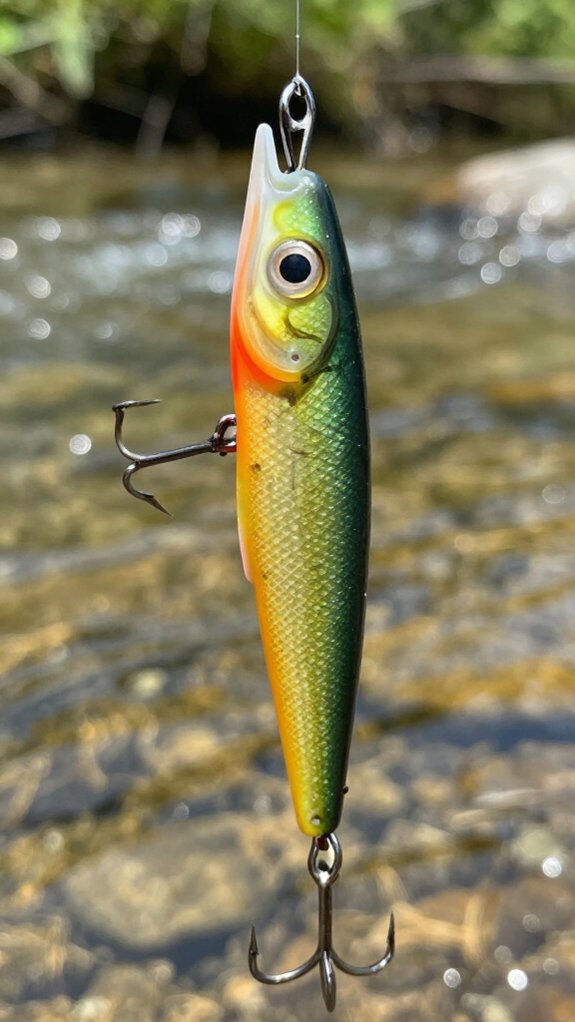
I always start by checking that my hook exits dead-center through the nose of the soft plastic, since even a slight offset sends the bait into that frustrating helicopter spin on the retrieve.
Once I’ve got the hook position locked in, I’ll slide a bullet weight just far enough up the line to let the bait flutter naturally without nose-diving or floating sideways.
Getting these two details right means my lure tracks straight and true through the water, drawing strikes instead of spooking fish.
Hook Position Matters
When I’m rigging soft plastics, I’ve learned that keeping the hook perfectly straight through the bait’s body isn’t just a minor detail, it’s what separates a lure that swims naturally from one that spins uselessly in the water.
Why Straight Rigging Works
I always check that my hook aligns dead-center with the bait’s body. Crooked placement kills the action. The lure corkscrews, the line twists, and fish turn away. Straight rigging fixes this.
Here’s what I focus on:
- Entry point: I pierce the nose dead-center, not off to either side
- Exit point: I thread the hook so it emerges along the bait’s midline
- Body alignment: I verify the hook shank runs true from head to tail
This streamlined profile glides through water without resistance. My bait lasts longer too, no tearing from uneven stress.
When I rig straight, I feel the difference immediately: steady vibration, consistent wobble, and more solid hookups at the end of my retrieve.
Weight Placement Tips
Placing the weight exactly where it belongs makes or breaks how your soft plastic moves through the water, so I’ve learned to treat every millimeter of positioning as critical. When your soft plastic lure spins or tumbles unnaturally, you’ve lost the fish before they strike.
I always line my weight directly with the hook. This keeps the bait tracking straight and true, even through heavy cover. For bullet weights, I peg them tight to the lure using a pegging device or a small foam sliver. That tiny step stops the weight from sliding and creating awkward rotation.
Want a cleaner look? Try inserting the weight into the plastic itself or switching to a weighted hook. Smart weight placement transforms a spinning mess into a lifelike, balanced presentation that bass can’t ignore.
Build a Texas Rig for Weedless Heavy Cover
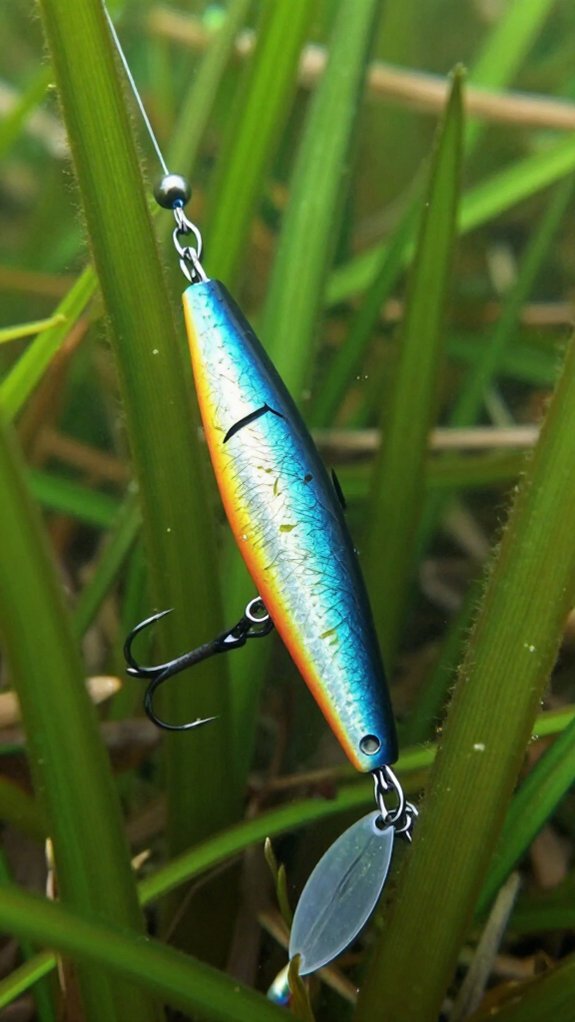
I’ll walk you through building a Texas rig that glides through weeds and brush without snagging, starting with the essential bullet weight, bead, and hook setup.
You’ll thread these components in order, rig your soft plastic weedless, and adjust your weight size to match the cover thickness you’re fishing.
With the right presentation technique, letting it sink and dragging it slowly through structure, you’ll put your bait right where bass hide without constantly hanging up.
Essential Components Needed
Because heavy cover demands both stealth and strength, I’ll walk you through the five essential pieces that make a Texas Rig truly weedless and effective.
Bullet-Weight
Start with a bullet-shaped weight, lead’s classic, though tungsten’s denser feel transmits bottom details faster. I prefer sliding weights that let the bait move naturally without restraint.
Offset Worm Hook
You’ll need a 3/0 to 4/0 offset hook with a wide gap. That subtle bend positions soft plastics perfectly and creates the weedless profile that lets you drag through timber and grass without snagging.
Strong Line & Reliable Knots
I thread 15-20 lb fluorocarbon or braid, then secure everything with proven knots, the Palomar or Improved Clinch. When you’re buried in hydrilla fighting a four-pounder, knot failure isn’t an option.
Step-by-Step Assembly
Once you’ve got your components laid out, building a Texas Rig is straightforward, though the details matter if you want that true weedless performance. I thread a bullet or egg sinker onto my line, add a bead, then tie a 4/0 round bend hook using an improved clinch knot.
Next, I insert the hook point into the nose of my soft plastic bait, pushing through until about a quarter inch protrudes. I rotate the bait and slide the hook shank through the plastic, embedding the point slightly into the body for that weedless design. I make sure everything sits flush—no gaps or hanging parts that’ll snag.
Finally, I adjust weight placement and cast into heavy cover, letting the Texas rig sink naturally while maintaining bottom contact.
| Step | Action |
|---|---|
| 1 | Thread sinker and bead onto line |
| 2 | Tie hook with improved clinch knot |
| 3 | Insert hook into soft plastic bait nose |
| 4 | Rotate and embed hook point weedless |
| 5 | Cast into cover and maintain bottom contact |
Effective Presentation Techniques
A properly built Texas rig is only half the battle, how you work it through heavy cover determines whether you’re hauling bass or just clearing weeds off your line.
I keep my rod tip low and maintain steady contact with the bait. When I’m fishing weedless rigs through thick mats, I’ll drag slowly, letting the weight tick across the bottom while the soft plastic trails behind naturally.
Making It Work
The key presentation technique is patience. I pause frequently, allowing the bait to settle into pockets and edges where bass ambush prey. That embedded hook point lets me pull through timber and grass without constant snags.
I Adjust my retrieve speed based on water temperature—slower in cold water, more aggressive when bass are active. A pegged weight keeps everything aligned, so my bait swims straight and triggers strikes instead of spinning awkwardly through the cover.
Build a Carolina Rig for Deep Bottom Dragging
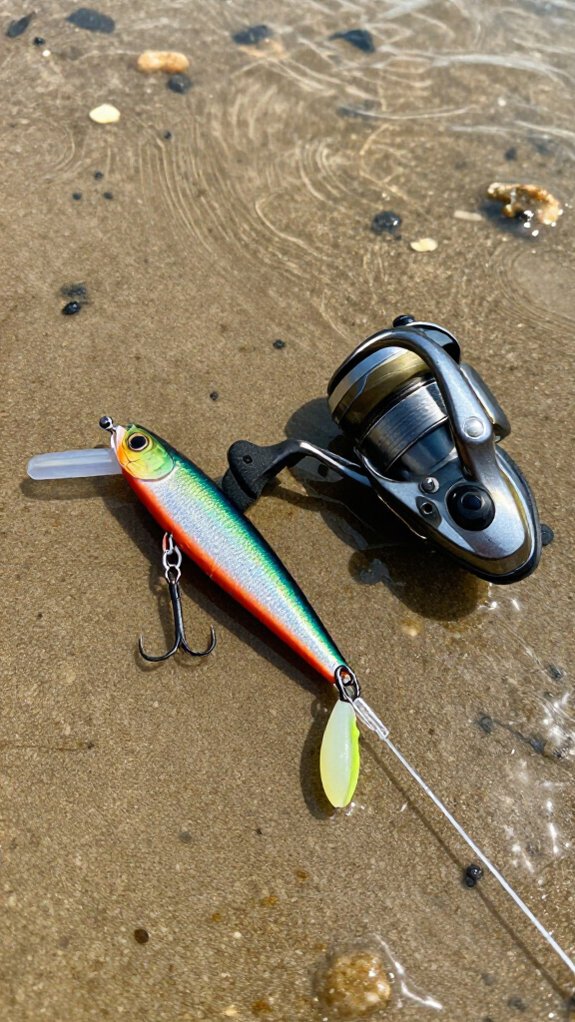
When I’m targeting bass holding deep on rocky points or submerged brush piles, I’ll reach for a Carolina rig every time because it lets me drag soft plastics along the bottom with a natural, enticing action that triggers strikes from sluggish fish.
Here’s how I build mine:
- Slide a large egg-shaped sinker onto your main line so it moves freely and prevents tangles during bottom dragging.
- Add a swivel to stop line twist and connect a 6-12 inch fluorocarbon leader.
- Tie your hook with a Palomar or improved clinch knot for strength.
- Rig your soft plastic bait weedless in heavy cover or exposed in open water.
- Adjust weight and leader length based on depth and conditions for precise control.
Build a Drop Shot Rig for Vertical Finesse
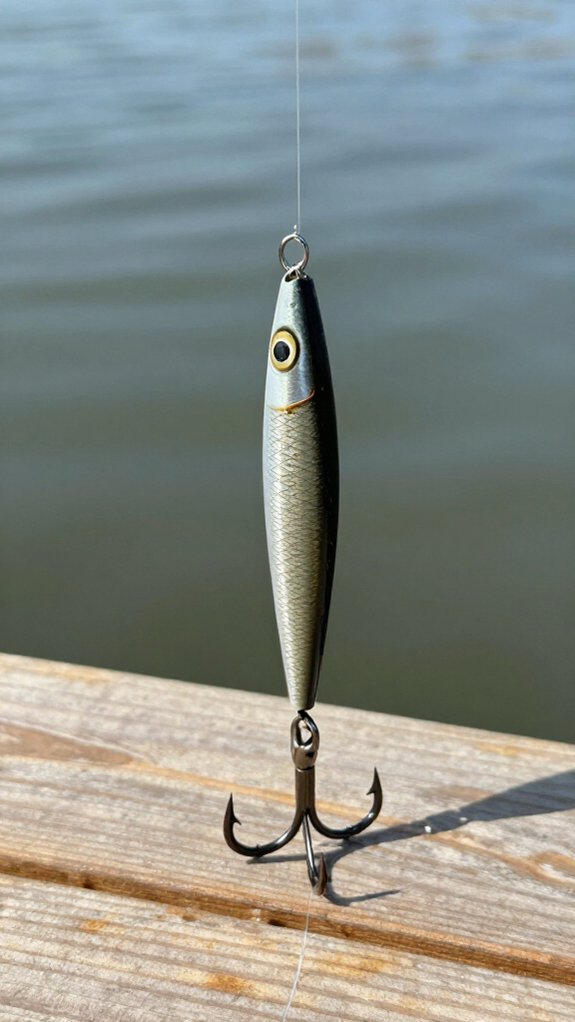
If the bass are suspended off the bottom and acting picky, I’ll tie on a drop shot rig because it lets me keep my bait at the exact depth where they’re holding while still feeling every tiny nibble through the line.
Setting Up the Drop Shot
I start by attaching a small drop shot weight to my line’s tag end with a non-slip loop knot. That flexibility lets the weight pivot without weakening my connection. Then I tie a finesse hook 12-24 inches above it using a Palomar knot, keeping the hook point upright.
The Soft Plastic Advantage
I’ll nose-hook a soft plastic bait, usually a 4-inch finesse worm or tiny creature, so it hovers horizontally and twitches naturally with every rod movement. That dangling weight keeps everything stable while the bait moves freely, tempting suspended fish into striking. Short twitches and dead-sticking work best.
Build a Wacky Rig for Finicky Clear-Water Bass
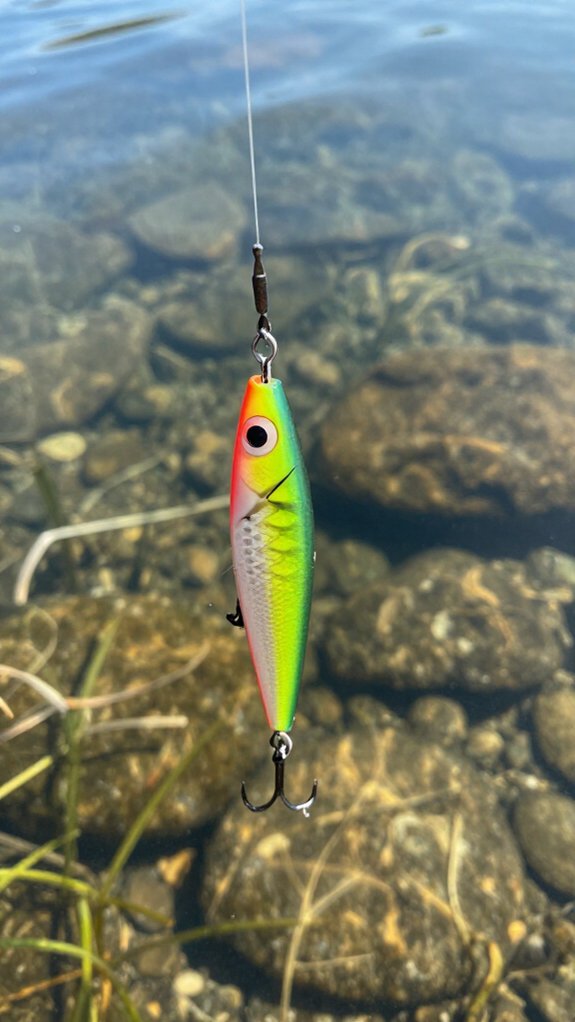
I thread a hook straight through the dead center of a soft stick worm so it wiggles evenly on both ends, which drives finicky clear-water bass wild when they’re being picky.
I stick with slender 4- to 6-inch finesse worms in natural greens or browns because they look like real prey in transparent water where fish get a good long look.
I keep it completely unweighted most days, letting that worm flutter down slow and seductive.
Though I’ll pinch on a tiny nail weight if I need to reach suspended fish without killing the natural fall that triggers those hesitant bites.
Hook Placement Technique
Because clear-water bass can spot even the slightest oddity from ten feet down, you’ll need a presentation that looks almost too casual to be dangerous. That’s exactly why I reach for a wacky rig when they’re turning their noses up at everything else.
The secret lies in dead-center hook placement. I pierce my hook perpendicularly through the soft plastic bait’s middle, letting both ends flutter independently like a wounded minnow.
Here’s how I nail it every time:
- Insert the hook straight through the bait’s geometric center, not off to one side
- Use wacky rings or a rigging tool to prevent tearing and extend bait life
- Match hook size to your soft plastic—1/0 or 2/0 for most finesse worms
- Keep the hook point slightly exposed for instant penetration
- Verify both ends move freely before your first cast
Optimal Worm Selection
What’s the one detail that separates a wacky rig that gets sniffed from one that gets hammered? It’s the soft plastic worm you choose.
For finicky clear-water bass, I always reach for a small soft plastic worm, just 4 to 6 inches. Anything bigger spooks wary fish in that gin-clear visibility.
Go Small and Subtle
A compact worm creates that tantalizing side-to-side shimmy on the fall. Thread your hook perpendicularly through the middle, and slide an O-ring over the body to enhance durability without killing action.
Color Matters More Than You Think
I stick with natural colors: watermelon, natural shad, or clear with flecks. These mimic real baitfish and blend into the environment. In clear water, bass scrutinize every detail, unnatural hues send them packing.
Pair that finesse presentation with a size 1 or 2 circle or octopus hook, and you’ve got a wacky rig that converts curious followers into committed biters.
Weight and Depth Control
Once you’ve picked the perfect worm, you’ll still come up empty if you can’t control where it falls and how fast it sinks.
Mastering weight and depth transforms your Wacky Rig from hopeful to deadly. Here’s how I dial in the presentation:
- I Hook the worm dead-center so both ends flutter freely, creating that irresistible shimmy on the drop.
- I Slide on a rubber O-ring to stop tearing, saves baits and keeps the action consistent.
- I Let more line below the hook when I need extra depth, shortening it when bass sit higher.
- I Stick a small nail weight in the nose when I want a faster fall rate in deeper pockets.
- I Fish weightless in skinny, clear water where a slow, natural descent triggers cautious biters.
Connect Lures With Loop Knots for Natural Action
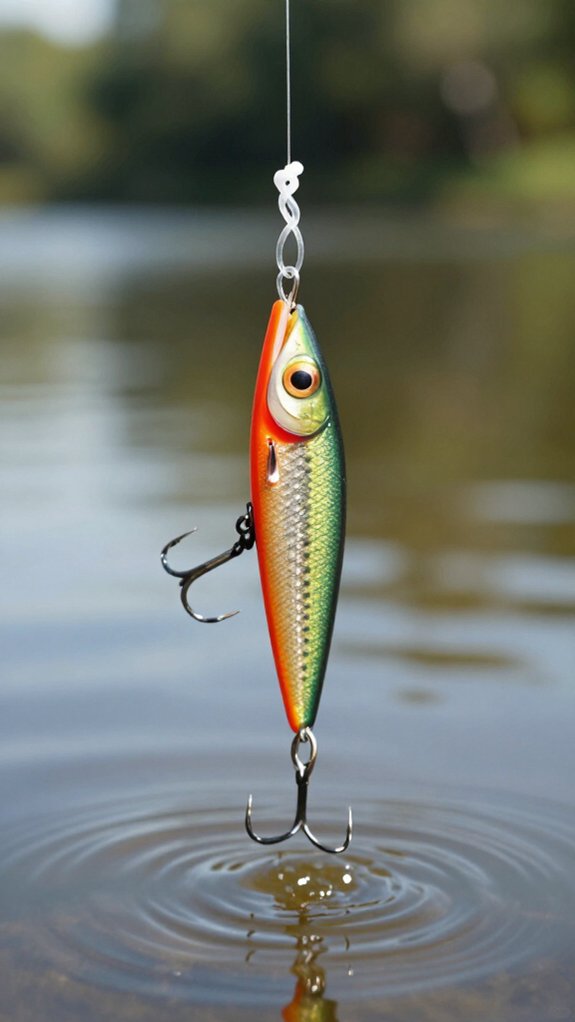
If you want your lure to dart and wiggle like a wounded baitfish instead of plowing stiffly through the water, I’ll show you why a simple loop knot makes all the difference.
Why Loop Knots Transform Your Presentation
I always tie a non-slip loop knot when I’m after maximum action. Unlike snug knots that lock your lure in place, a loop knot creates a flexible hinge point. Your lure swings freely, reducing body stress and preserving that seductive side-to-side shimmy manufacturers designed into it.
The Benefits You’ll Notice
- Enhanced lure movement, the loop lets your bait pivot naturally with every twitch
- Secure attachment, properly tied, it won’t slip or fail on trophy fish
- Less line twist, your lure tracks straight instead of spinning
You’ll feel the difference immediately. That extra freedom of motion triggers more aggressive strikes, especially from wary bass and trout watching for easy meals.
Rig Thinner Leaders for Better Lure Performance
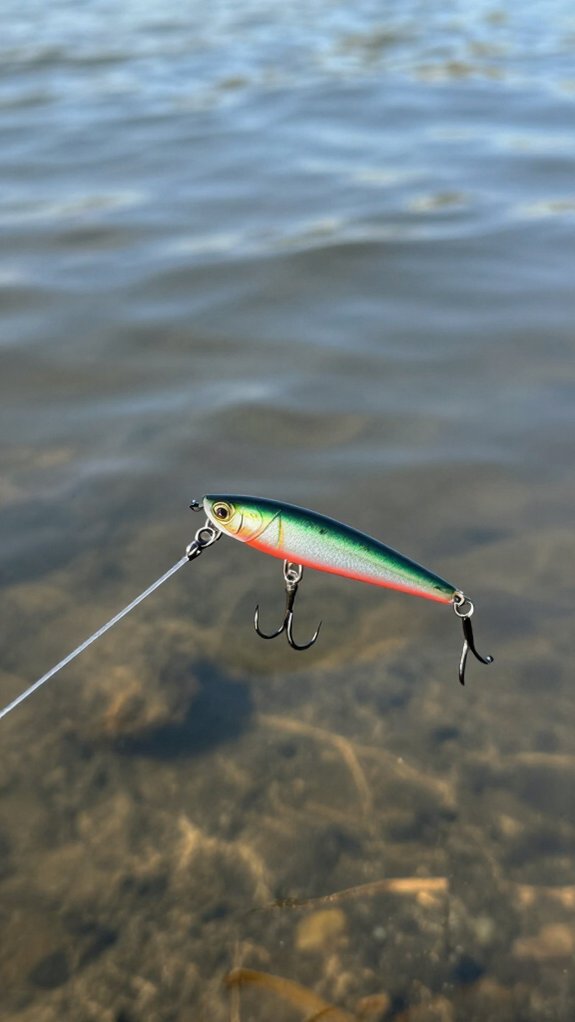
When I’m chasing spooky fish in gin-clear water, I’ll swap my standard leader for a thin 10-12 lb test fluorocarbon and watch my strike rate climb. Thinner leader material simply rigs work well because it vanishes underwater and lets your lure dance freely.
Here’s what I’ve learned about thin-leader rigging:
- Reduced line visibility keeps wary fish from spooking before they commit
- Less drag means longer, pinpoint-accurate casts into tight cover
- Secure knots like the FG or uni knot prevent slippage under pressure
- Eliminating line glare in sunny conditions creates more strike opportunities
- Frequent inspection catches nicks that could cost you the fish of the day
I check my leader after every hard-fought catch. That two-second habit saves heartbreak when trophy fish strike.
Pre-Rig Leaders at Home to Save Time on the Water
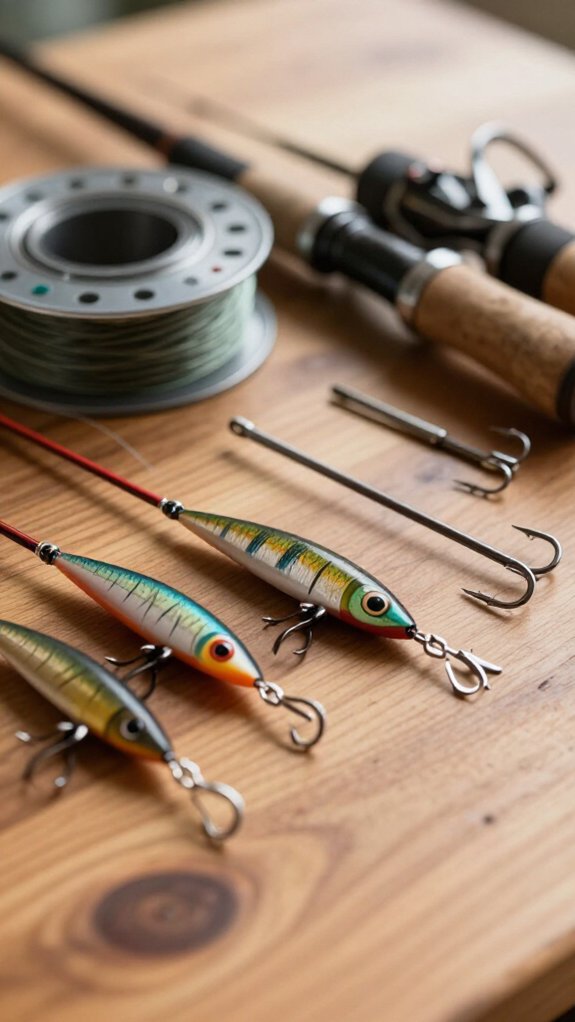
Why waste precious dawn-light minutes fumbling with knots when you could be casting? I pre-rig leaders at home so I’m ready to fish the moment I hit the water.
Set Up for Speed
I tie a dozen leaders using proven knots, FG knots for braid-to-fluoro connections, loop knots for lures that need action. Quality knots matter; a failed leader costs you the fish of a lifetime.
I match line and leader lengths to what I’m chasing: shorter for bass in heavy cover, longer for spooky trout in clear water.
Stay Organized
I store my pre-rig leaders in labeled sleeves inside my fishing gear. No tangles, no guessing.
I grab, clip, and cast while others are still squinting at their line.
This simple habit puts more fish in my boat, and yours too.
Inspect Your Rig for Damage Before Every Cast
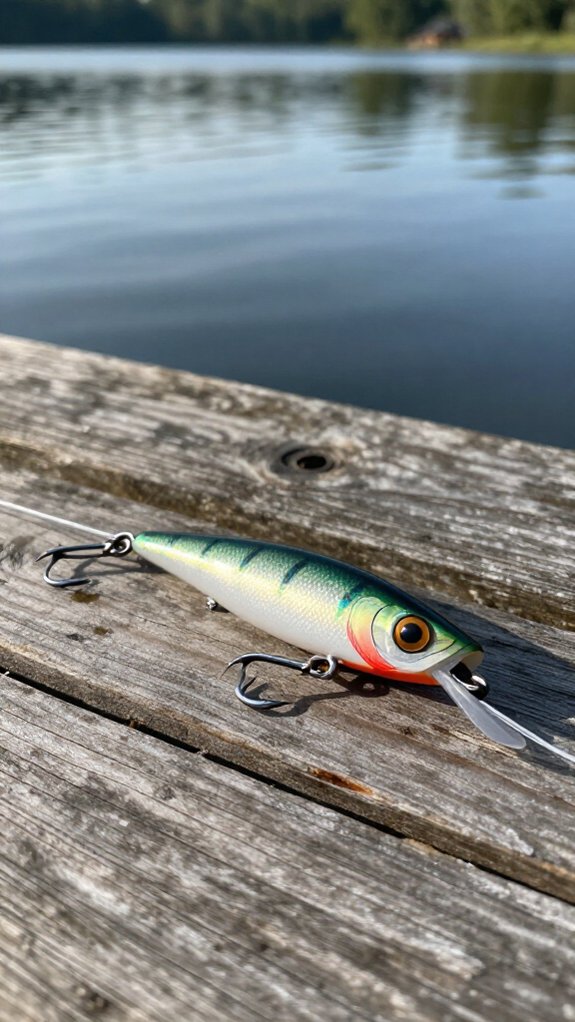
Pre-rigging leaders at home saves time, but all that preparation means nothing if I send out damaged gear. That’s why I inspect every rig before each cast, it takes seconds and saves trophies.
I run my fingers along the line feeling for rough spots, nicks, or fuzziness that signal weakness. I pay extra attention near knots where stress concentrates. One frayed section means I’m retying or replacing entirely.
My hook check is just as thorough. I examine points for sharpness and shanks for bends. Rusty hooks get binned immediately, they’ll straighten when a lunker hits.
Here’s my quick inspection routine:
- Feel the line for abrasions or cuts along its full length
- Test knots by pulling firmly to catch any slippage early
- Inspect hooks for corrosion, dullness, or bent geometry
- Check connection points where hardware meets line
- Replace anything questionable without hesitation
Frequently Asked Questions
What Is the 80/20 Rule in Fishing?
I apply the 80/20 rule by recognizing that roughly 80% of my catches come from just 20% of my rigs, lures, or spots. This principle helps me focus on what actually works, eliminating wasted effort on ineffective techniques.
What Is the Best Way to Rig a Lure for Fishing?
What’s the secret to fooling more fish? I’ll match my rig to conditions, I pick Texas rigs for weeds, drop shots for finesse, and always secure my knots tight.
Proper rigging lets my lure swim naturally, and I’m checking it constantly to keep catching.
Why Am I Not Catching Anything With Lures?
I’m not catching anything because I’m probably mismatching my lure to conditions, wrong size, color, or depth, or I’m retrieving too fast. Damaged lures, poor presentation, or environmental factors like high pressure could also be sabotaging my efforts.
What Is the Best Setup to Catch Fish?
I learned that fishing’s like choosing shoes for weather, there’s no single “best.” I’ll match my rig to conditions: Texas rigs for shallow weeds, drop shots for deep water.
Adaptability hooks more fish than stubbornness.
In Conclusion
Rigging your lures properly isn’t just about knots, it’s about giving every cast the best chance to hook fish. From Texas rigs in thick weeds to drop shots for suspended bass, matching your setup to conditions puts more fish in the boat.
I’ve learned that ten minutes of preparation at home saves frustration when the bite’s hot. So what’s stopping you from re-rigging before tomorrow’s trip? Tie one tonight, feel the confidence, and watch your catch rate climb.