
To replace ice fishing auger blades, I start by snapping a photo of my current setup for reference, then use an 8mm wrench to loosen the old bolts evenly. I lay a shop towel underneath to catch hardware and place everything in a magnetic tray so nothing disappears into the snow.
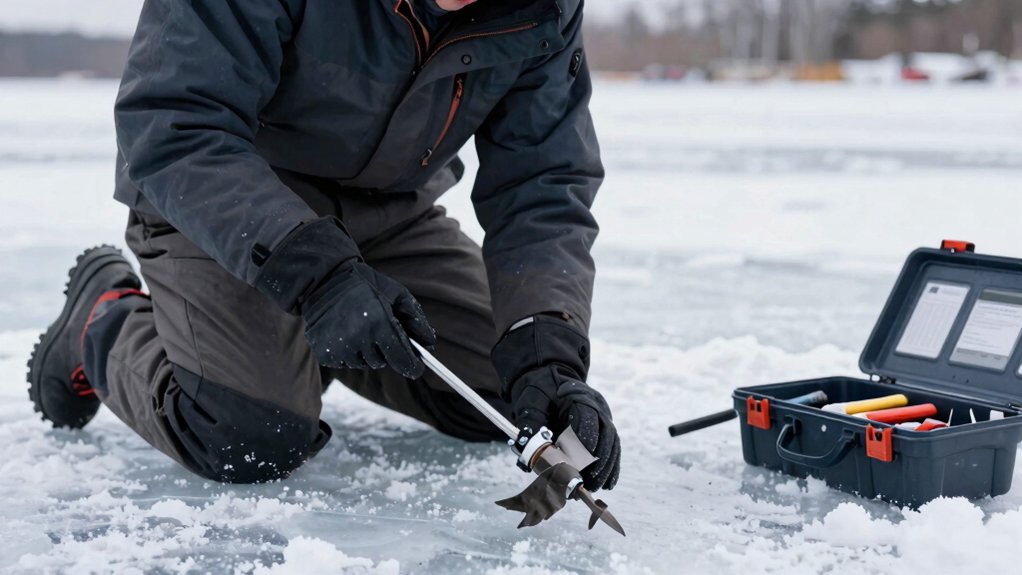
When installing new blades, I make sure the flat side faces down against the ice and the beveled edge faces upward toward the auger body, manufacturer markings help confirm this. I align the bolt holes, tighten snugly without over-torquing, and verify both blades sit at identical heights before that first spin test.
There’s a simple dry-ground check I always run before drilling that catches wobbling early, and it’ll save you from a skating blade on hard water.
Which Way Does the Beveled Edge Face? (Correct Orientation Guide)
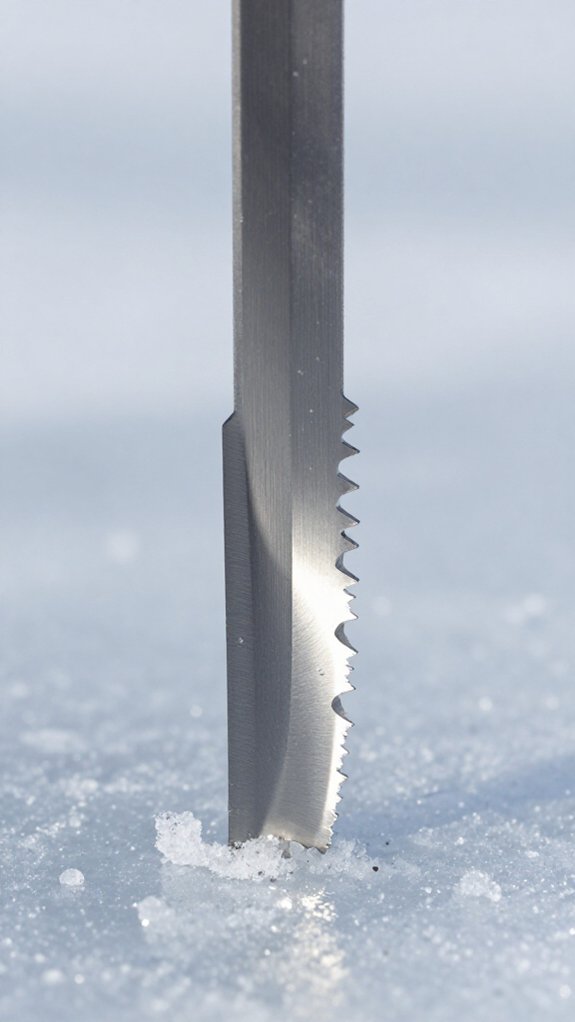
I always check manufacturer markings first. Most blades stamp the outward-facing side, so I line that up before touching a bolt.
During installation, I verify visually: beveled edge hugs the auger body, flat edge points down.
One quick glance saves me from the nightmare of re-drilling frozen holes with a backwards blade. Trust me, you’ll feel the difference immediately, smooth cutting versus grinding resistance.
Tools Needed for Ice Fishing Auger Blade Replacement
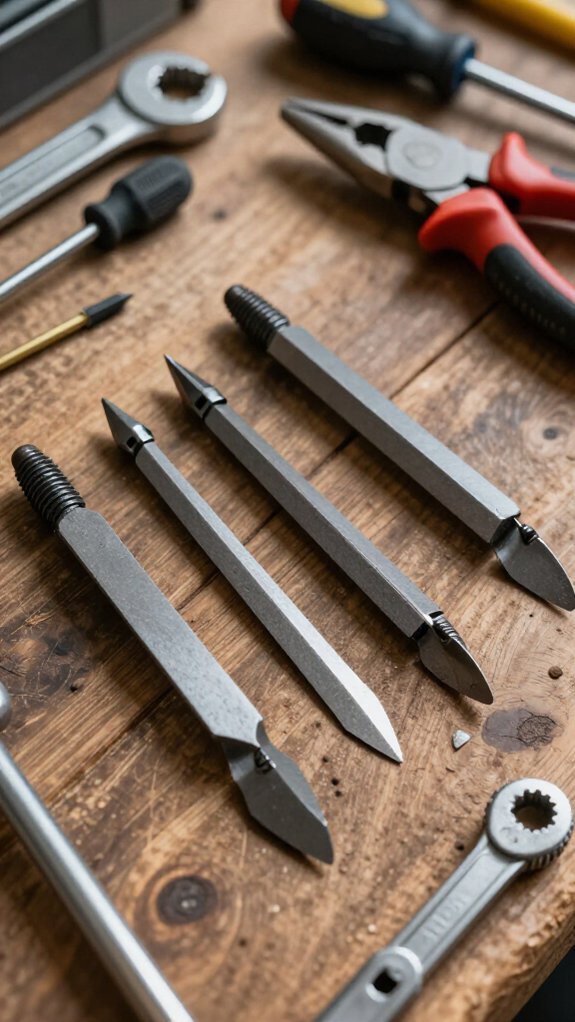
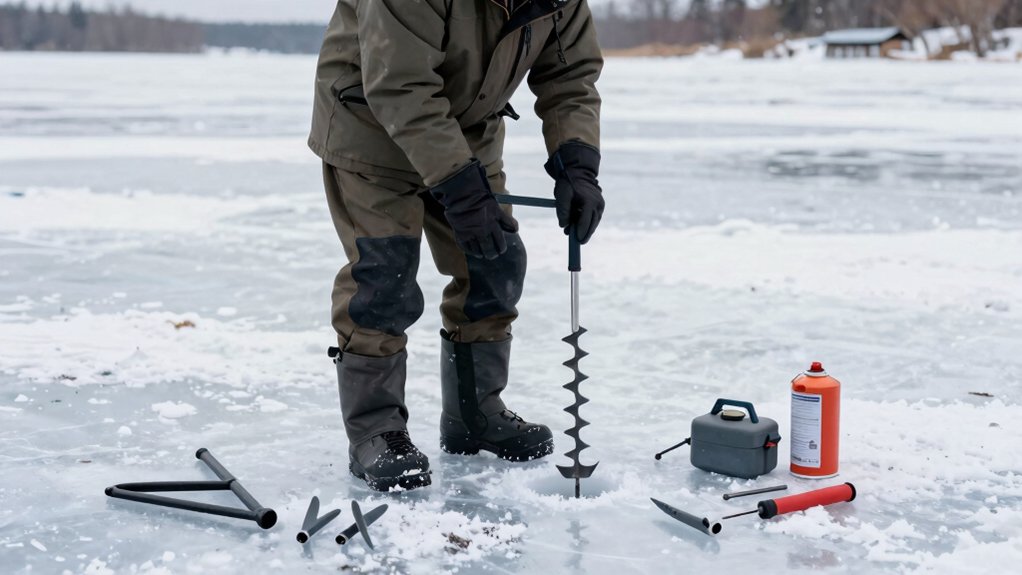
Before you head out onto hard water, you’ll want to gather a handful of specific tools that make swapping auger blades quick and painless.
Essential Tools for the Job
I always start with an 8mm wrench, it’s the perfect size for loosening and tightening the bolts securing most Ice auger blades. Using the correct tool prevents damage to bolts and blades during removal and installation.
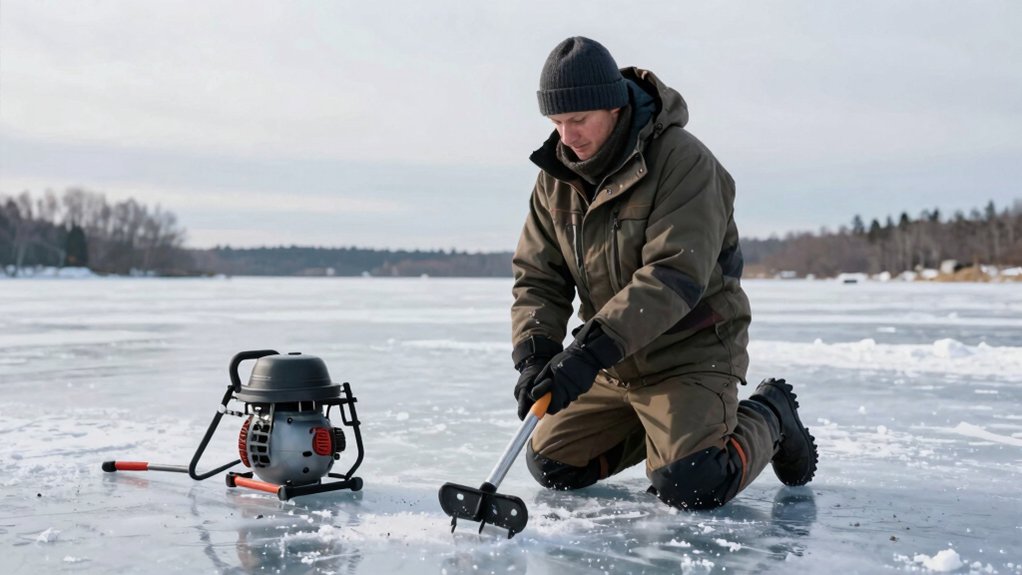
You’ll also need a flat work surface, like a sturdy workbench, to keep everything stable while replacing the blades. Safety matters when handling sharp edges.
Don’t Forget Protection
I keep blade protector cups or guards handy for safe handling and storage. They prevent nicks and protect your gear bag.
Finally, pack an extra set of blades in your ice fishing gear. When you’re miles from shore and your cut slows, you’ll thank yourself for the quick swap.
Removing Old Blades: Document Your Current Setup
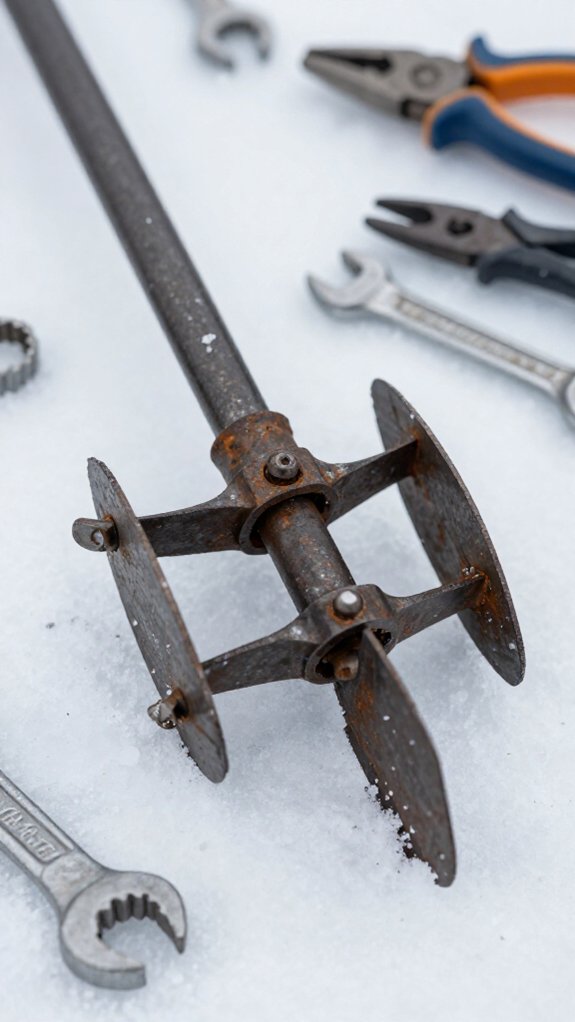
With your tools ready and a solid work surface beneath you, it’s time to get those worn blades off your auger. I always snap a photo before starting ice auger blade removal, saves headaches later when you’re staring at confusing bolt patterns in freezing temps.
Document Before You Remove
- Capture the blade angle and bolt layout with your phone
- Note which side faces down against the ice
- Sketch washer placement if your auger uses them
- Record bolt torque so you match it during reassembly
- Jot down any wear patterns showing how you cut through ice
I lay a shop towel down to catch hardware. Grab your 8mm wrench and loosen bolts evenly, don’t force anything. Once they’re free, I set blades and bolts in a magnetic tray. Nothing kills a fishing trip faster than losing parts in snow.
Installing New Blades: Flat Side Down, Beveled Edge Up
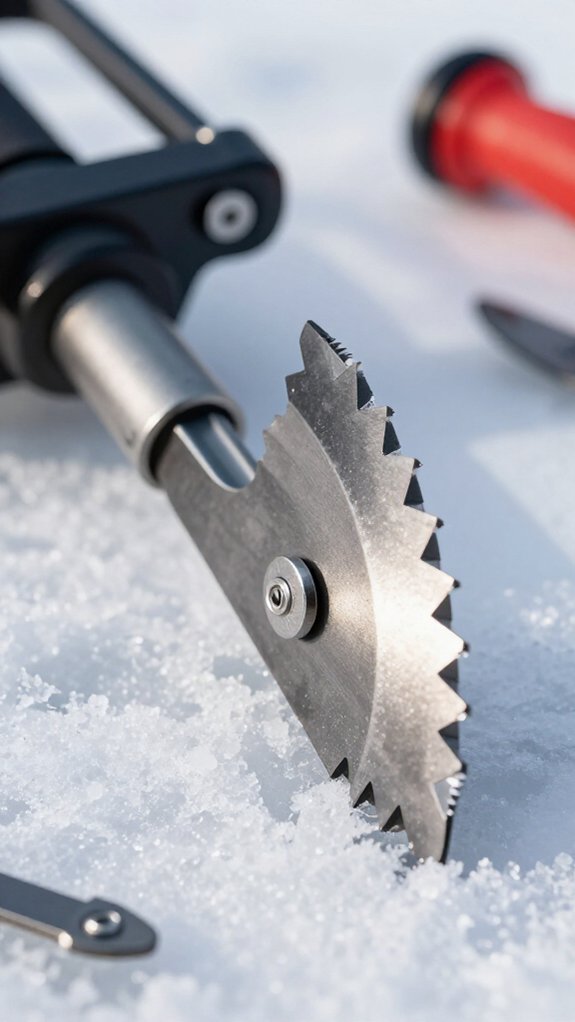
I always tell folks that getting the blade orientation right is the single most important step in this whole process, because a backwards blade won’t just cut poorly, it will chew up your auger and leave you stranded on thick ice.
You’ll know you’ve got it correct when the flat side sits flush against the ice while the beveled edge angles upward toward the auger body, creating that clean slicing action you need for effortless penetration.
Before I tighten anything down, I double-check for manufacturer stamps or that distinctive shiny bevel facing skyward.
Then I snug those bolts good and tight so nothing shifts when I’m punching through two feet of late-season hardwater.
Blade Orientation Basics
Once you’ve got those new blades in hand, I’m going to show you exactly how to orient them so they bite into the ice like they’re supposed to, flat side down, beveled edge facing up toward the auger. I learned this the hard way after wasting a morning drilling through slush with a backwards blade.
Here’s what you need to remember:
- The flat side contacts the ice for stability
- The beveled edge faces the auger body for clean cuts
- Manufacturer markings indicate proper orientation
- Visual cues prevent upside-down installation
- Wrong placement destroys cutting performance
When I’m ice fishing, I always keep the blade’s flat surface parallel to the ice sheet. Check the bolts holding everything tight—loose hardware causes vibration that dulls edges fast.
Trust the bevel direction; your arms will thank you when drilling through two feet of hardwater.
Correct Installation Steps
Because getting the orientation wrong means you’ll be fighting the ice instead of cutting through it, I always start by laying the blade on my bench with the flat side down and the beveled edge facing up toward where the auger shaft will sit, just like the manufacturer intended.
Check the Markings
I verify the manufacturer’s imprint before proceeding. Those stamped indicators aren’t suggestions, they’re your insurance against a ruined morning on hardwater.
Align and Secure
I line up the bolt holes, keeping that beveled edge pointed skyward. With my 8mm wrench, I tighten everything snug. Loose blades chatter and skate; tight ones bite clean.
Final Visual Check
I do one last look: flat side down to the ice, beveled edge up toward the shaft. When it’s right, you’ll feel that smooth, eager pull through the first hole.
Tightening Bolts: How Tight Is Tight Enough?
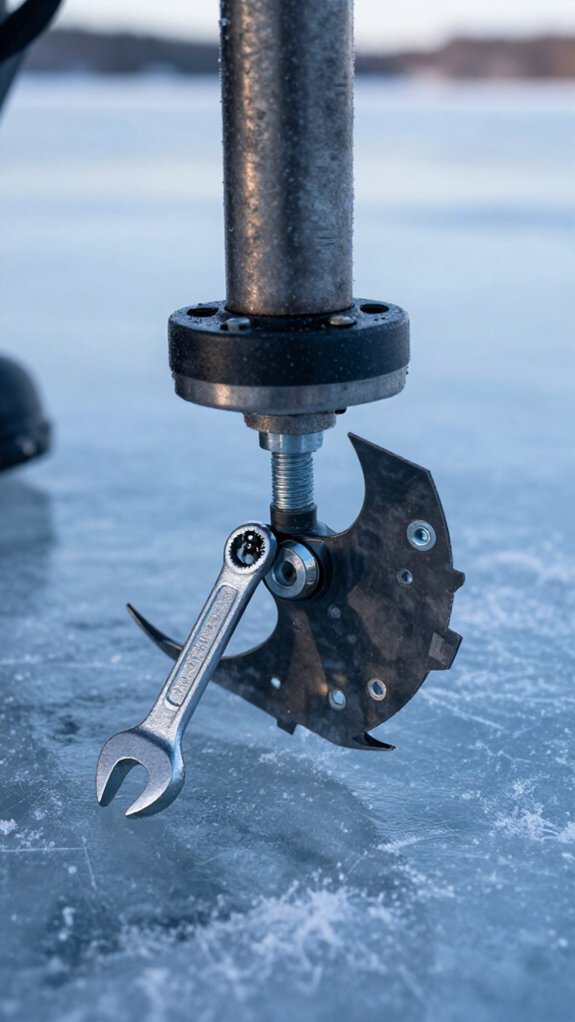
When you’re out on the ice with a dull blade and a fresh set of replacements in hand, getting those bolts tightened just right can make the difference between a clean cut and a frustrating day.
I snug mine down until they feel secure, then stop. Over-tightening strips threads and cracks mounting holes. I’ve seen augers fail mid-hole because someone got aggressive with a wrench.
Here’s what keeps me drilling smoothly:
- Stop when bolts feel firm, not forced
- Use a torque wrench if you’ve got one—Manufacturer specs exist for good reason
- Check tightness again after your first few holes; Vibration loosens things fast
- Back off immediately if you feel resistance building
- Inspect threads and holes yearly for wear
Trust your hands. A secure blade bites ice clean without fighting you.
Quick Check: Is Your Blade Orientation Correct?
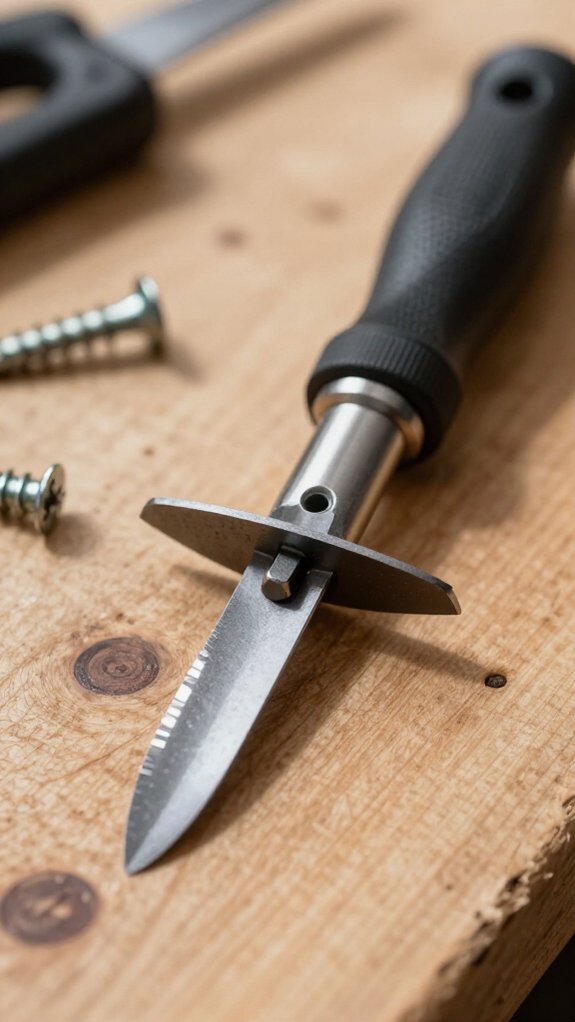
I always start my blade check by confirming the beveled edge faces toward the auger while the flat side contacts the ice, since that’s the foundation of proper cutting action.
I’ve seen too many anglers waste a morning on the ice because they’ve flipped their blades upside down, which kills efficiency and risks chewing up the auger.
Before I tighten a single bolt, I scan for manufacturer markings and align those visual cues so I’m not making one of those common orientation errors that’ll leave you struggling through hard pack.
Blade Direction Basics
Why do so many anglers struggle with a dull, chattering cut when they’ve just installed fresh blades? I’ve learned it’s almost always about direction, not sharpness.
Reading Your Blades Right
I always check these visual cues before tightening anything:
- The beveled edge faces toward the auger, letting the flat side slice cleanly against the ice.
- Manufacturer markings point outward, acting as my quick-reference guide.
- Upside-down blades don’t just cut poorly, they can chew up my auger’s flighting.
- I trace the bevel with my thumb; that curved shoulder belongs on the inside.
- One final look before cranking bolts saves me from re-drilling a ragged hole.
Get this right, and you’ll feel that smooth, eager bite through hardwater instead of the bone-juddering skip of metal gone wrong.
Common Orientation Errors
Even though I’ve installed dozens of blades over the years, I’ll still catch myself mid-install and wonder, did I just flip that one? It’s a gut-check worth taking, because upside-down blades slash your cutting efficiency and can chew up the auger itself.
Here’s what I always verify before tightening those bolts:
- Beveled edge faces the auger — that angled surface belongs inward, not against the ice
- Flat side contacts the ice — this creates the clean slice you’re after
- Check manufacturer markings — most brands stamp or etch indicators on the correct face
I run my thumb along the blade edge to feel the angle, then visually confirm it points toward the center post. Takes five seconds, saves you from drilling through dull frustration, or worse, a damaged flighting and a mid-season replacement you didn’t budget for.
Testing Before You Drill: Balance and Alignment
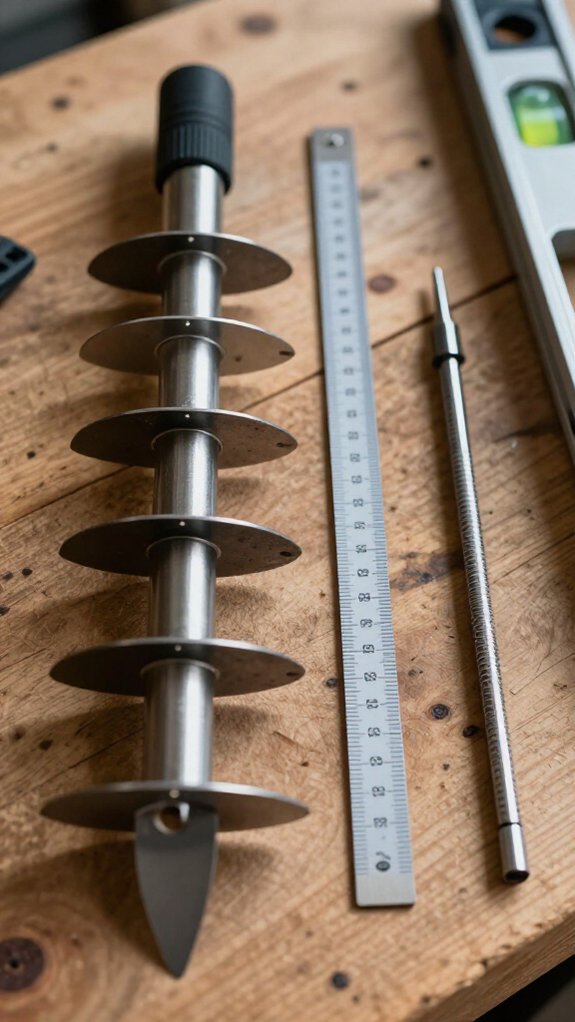
How do you know your fresh blades won’t chatter, bind, or chew through ice like a dull spoon? I test for balance and alignment before I ever touch the drill to frozen water.
My Pre-Drill Checklist
- I Spin the auger by hand and watch for wobbling or uneven rotation that screams “unbalanced blades”
- I Verify both blades sit at identical heights, using a level or my trained eye to catch subtle tilts
- I Confirm beveled edges face the auger while flat sides kiss the ice, orientation I’ve learned from past mistakes
- I Tighten everything securely, feeling that satisfying resistance that means no mid-drill surprises
- I Run a quick test spin on dry ground, listening for smooth whirring rather than grinding protests
This thirty-second ritual saves me from ruined holes, exhausted arms, and skunked days on the ice.
Troubleshooting: Wobbling or Poor Cutting After Installation
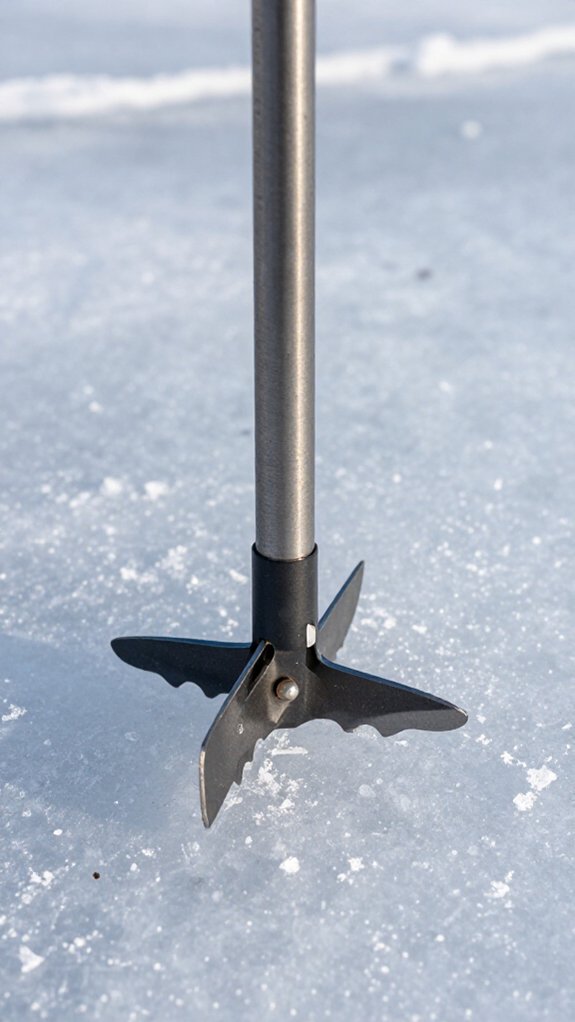
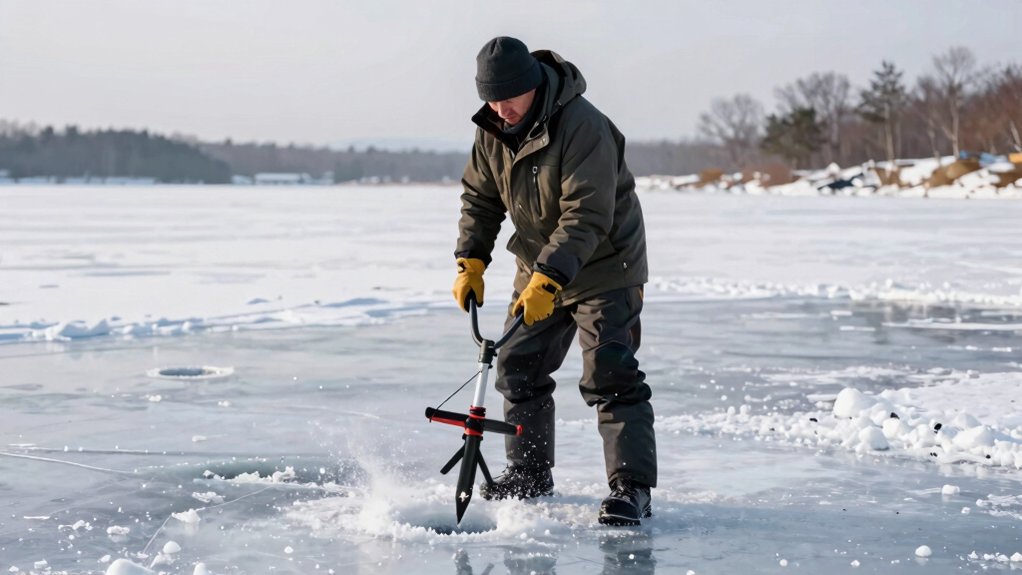
Sometimes, despite my best pre-drill checks, I’ll fire up the auger and immediately feel that telltale vibration rattling up my arms, or watch the bit skate across the ice instead of biting in clean. That’s when I know I’ve got a post-installation gremlin to chase down.
Tighten and Align
First, I grab my 8mm wrench and verify every bolt is snug. Loose hardware causes wicked wobbling that’ll chew up my arms and my hole.
I double-check blade orientation too. The beveled edge faces inward toward the auger, flat side contacts the ice. Flip them backward and you’ll skate instead of cut.
Seat Them Even
I run my finger across the blade edges, feeling for uneven seating. Misaligned blades spin off-center, turning my auger into a paint shaker. Even a hair’s gap throws everything off.
Inspect for Wear
Finally, I scan for nicks, chips, or uneven wear. Damaged steel won’t stabilize, no matter how tight I crank things.
Frequently Asked Questions
How Often Should You Replace Ice Auger Blades?
I replace my ice auger blades every one to three seasons, but I’m checking them after each trip. When I’m working harder to drill or getting uneven cuts, I know it’s time for new blades.
Which Way Do Auger Blades Go On?
I position the blade so its beveled edge faces inward toward the auger, letting the flat side greet the ice like an old friend.
Manufacturer markings help me avoid putting things on backward.
How to Change Scraper Blade?
I loosen the bolts with an 8mm wrench, remove the old scraper blade while noting its orientation. Align the new blade with beveled edge facing the auger, tighten securely, and test to confirm proper installation.
How to Maintain an Ice Fishing Auger?
I keep my auger in top shape by inspecting blades regularly, cleaning and drying them after each trip, applying a light oil coat, sharpening when needed, and storing them protected in a dry spot.
In Conclusion
Replacing your ice fishing auger blades correctly takes about 15 minutes and saves you hours of frustration on the ice. I’ve walked you through orientation, tools, and testing, now you’re ready to drill clean holes all season.
Here’s something that’ll stick with you: Dull blades can increase drilling time by up to 300%, forcing you to work harder while spooking fish with excessive noise. Fresh, properly installed blades don’t just cut better; they protect your auger motor and your back. Tight lines and smooth drilling!