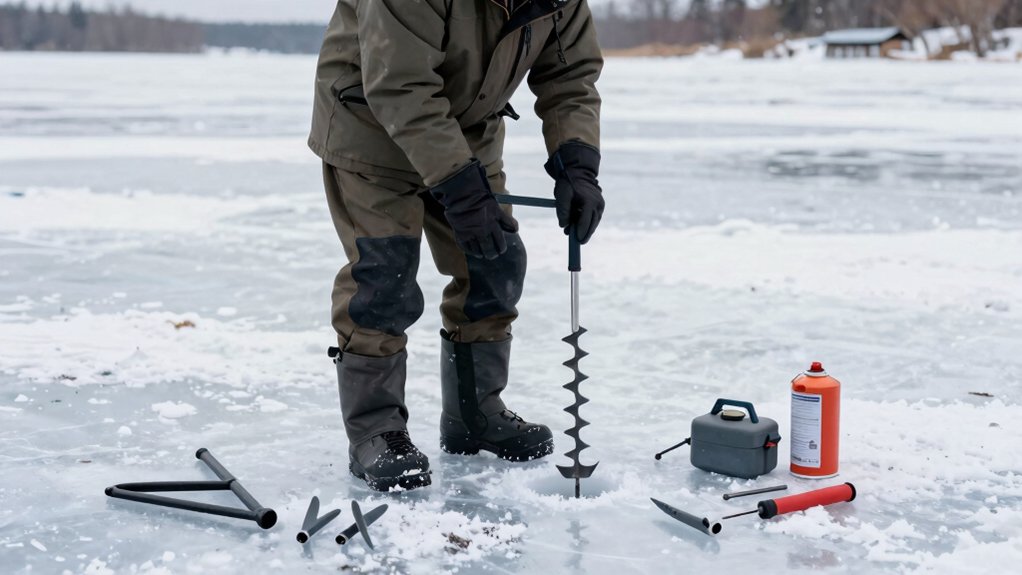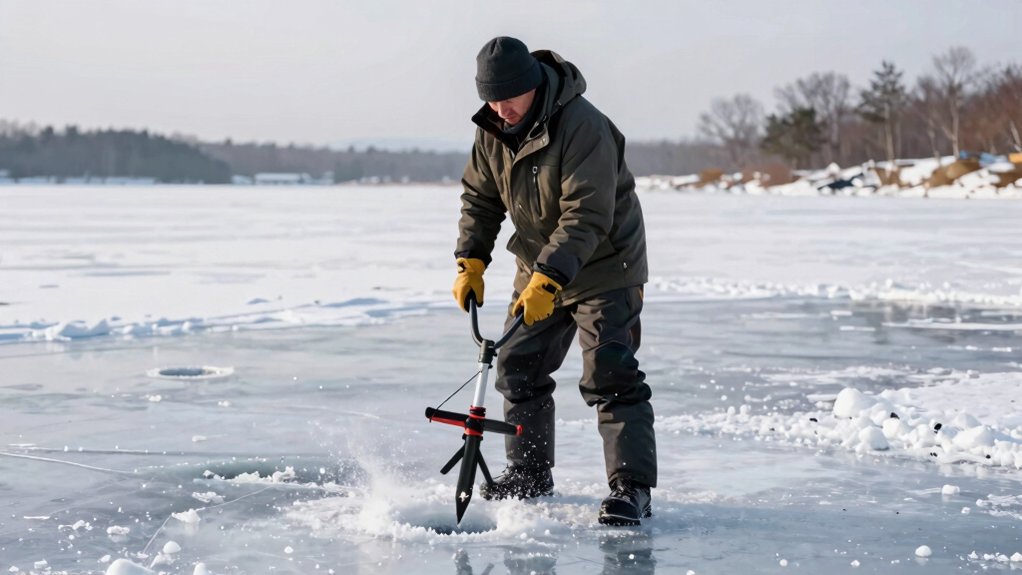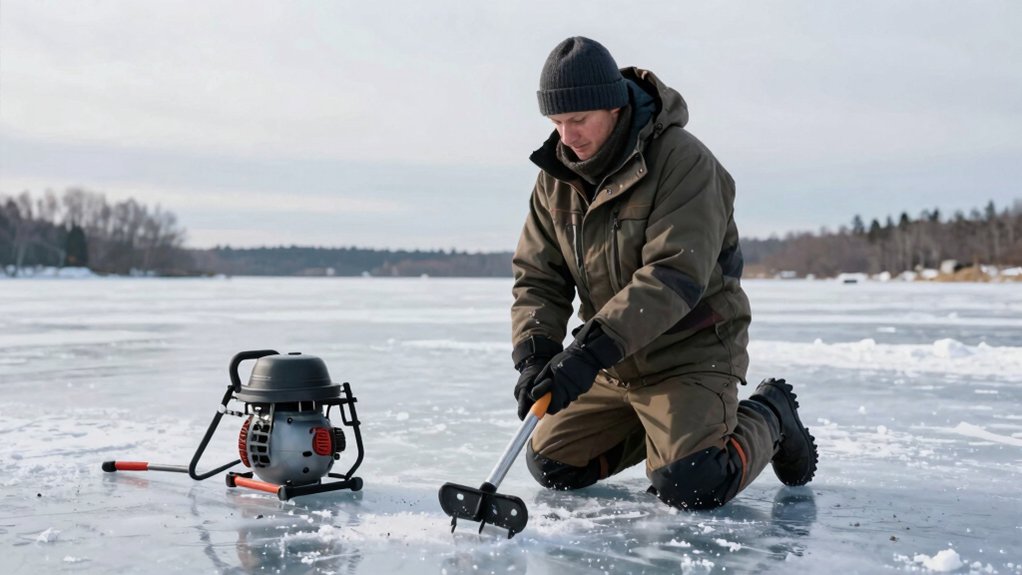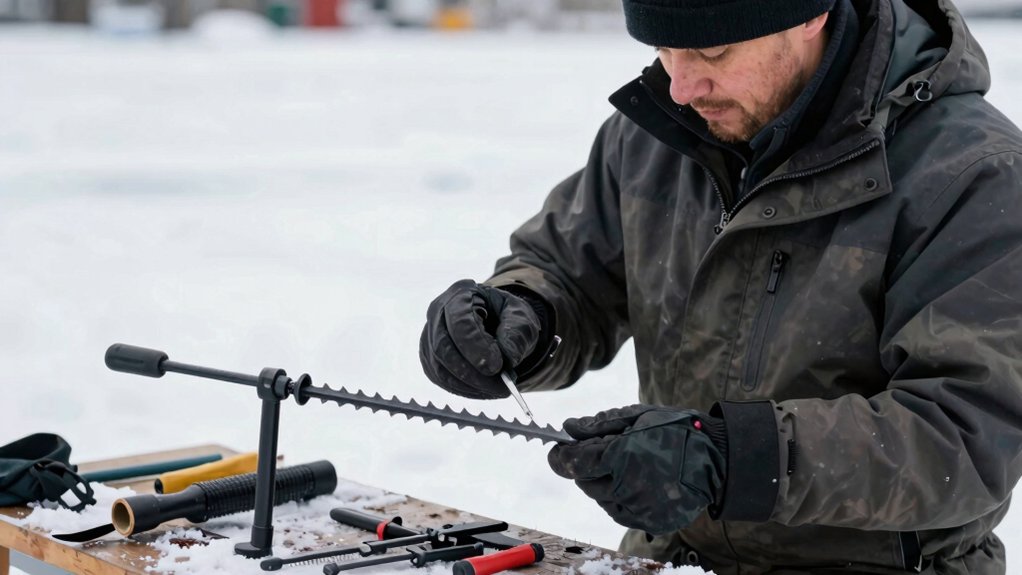

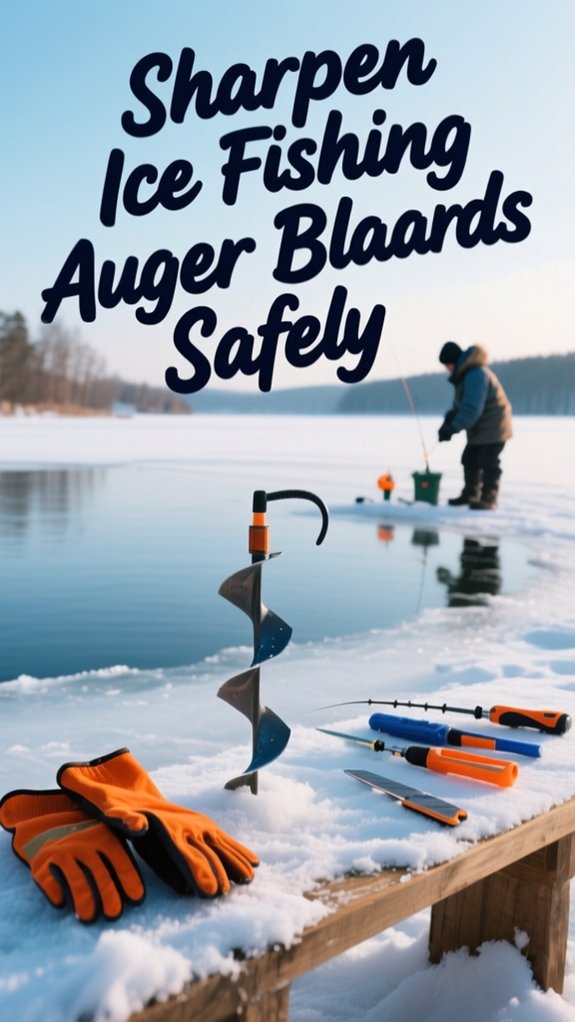
I sharpen my ice fishing auger blades by first inspecting them for wear, rounded edges over 3/32 inch mean replacement, not sharpening. For minor dullness, I’ll grab 600–1,000 grit sandpaper; deep nicks call for a metal file.
I always remove the blades completely and wait until they’re room temperature to avoid slips. I sharpen only the top bevel at the factory angle, keeping pressure light and consistent, then hone both blades evenly for that razor-sharp bite.
After reattaching with proper torque, I check balance by holding them horizontally—no dips allowed. Snap on protector cups for storage, and you’ll spend less time fighting dull cuts on the ice. There’s more to keeping your auger performing like new than just the edge itself.
Inspect Your Blades and Know When to Replace
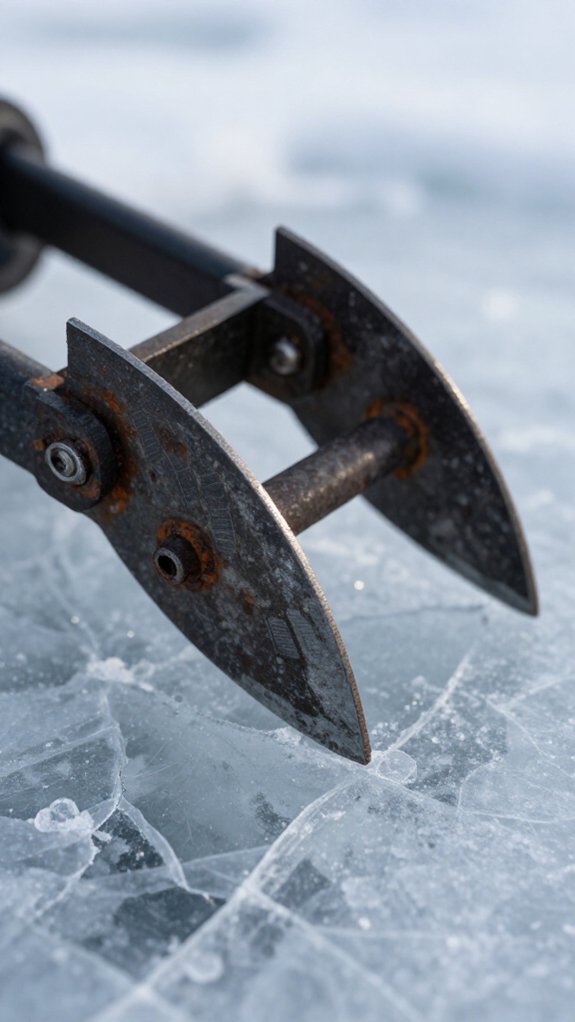
Before I even think about touching a file or stone to my auger blades, I take a hard look at what I’m working with, because sharpening a blade that’s past its prime is like putting racing tires on a car with a blown engine.
When to Inspect and Replace
I inspect blades regularly, especially after rough trips. Here’s what I’m checking for:
- Blade edge wear: Rounded edges deeper than 3/32 inch mean I’ve lost too much metal for effective cutting
- Physical damage: Deep gouges, cracks, or missing chunks spell trouble
- Rocky conditions: Blades used in gravel-heavy areas usually take irreparable damage
The Hard Truth
When I spot severe rounding or heavy wear, I replace rather than sharpen. It’s not just about cutting efficiency, damaged blades strain my auger motor and create safety risks on slick ice.
Trust me, a fresh blade edge revolutionizes drilling from a wrestling match into a smooth plunge.
Choose Sandpaper or Files Based on Blade Condition
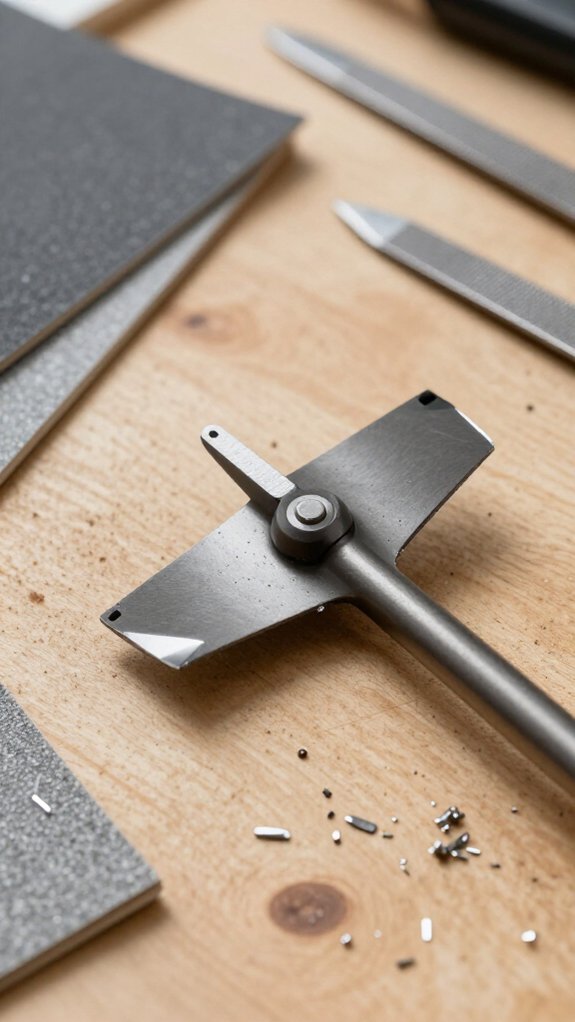
Once I’ve decided my blades are worth saving, I match my sharpening tool to exactly how beat-up they are, because grabbing the wrong one is like using a sledgehammer to hang a picture, either nothing happens or you make it worse.
| Blade Condition | Tool to Use |
|---|---|
| Minor dullness, light wear | Fine-grit sandpaper (600–1,000 grit) |
| Small rust spots, surface oxidation | Sandpaper for gentle polishing |
| Deep nicks, chips, or gouges | Metal or wood files |
| Significant damage, heavy rust | Files to reshape the top bevel |
I run my fingertip across the edge—If it catches slightly, sandpaper polishes it back to razor-sharp. But when I feel serious damage or see orange rust blooming, files bite through the mess. Matching my tool to blade condition saves me from ruining good steel and keeps my auger cutting through ice like butter.
Remove Blades Before Sharpening
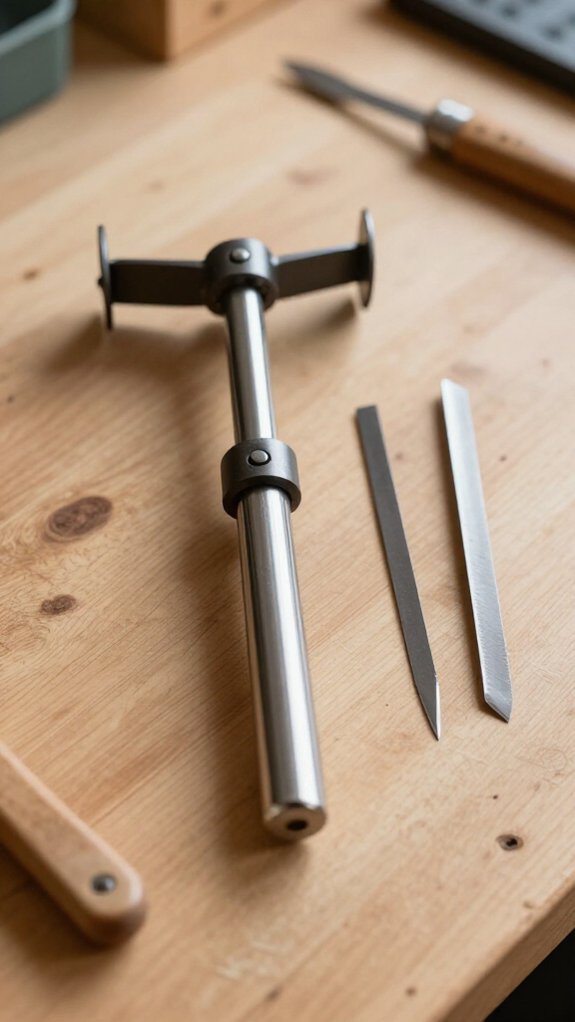
Because I value all ten of my fingers, I never sharpen blades while they’re still bolted to the auger. Removing them first is the single best move I can make for safety and results.
Why Blade Removal Matters
Detaching blades lets me access every cutting edge without awkward angles or blind spots. I get cleaner, more consistent sharpening when I’m not fighting the whole auger assembly.
Key Safety Precautions
- Wait until blades are room temperature—Cold metal grips tighter and slips easier
- Clear all ice and slush so I don’t lose my grip
- Follow manufacturer torque specs; I’ve seen stripped bolt holes from impatient removal
Don’t Skip Proper Reattachment
I double-check bolt tightness before the next trip. Loose blades vibrate, cut poorly, and can launch into the ice, ruining my hole and my day.
Sharpen Only the Top Bevel, Never the Bottom
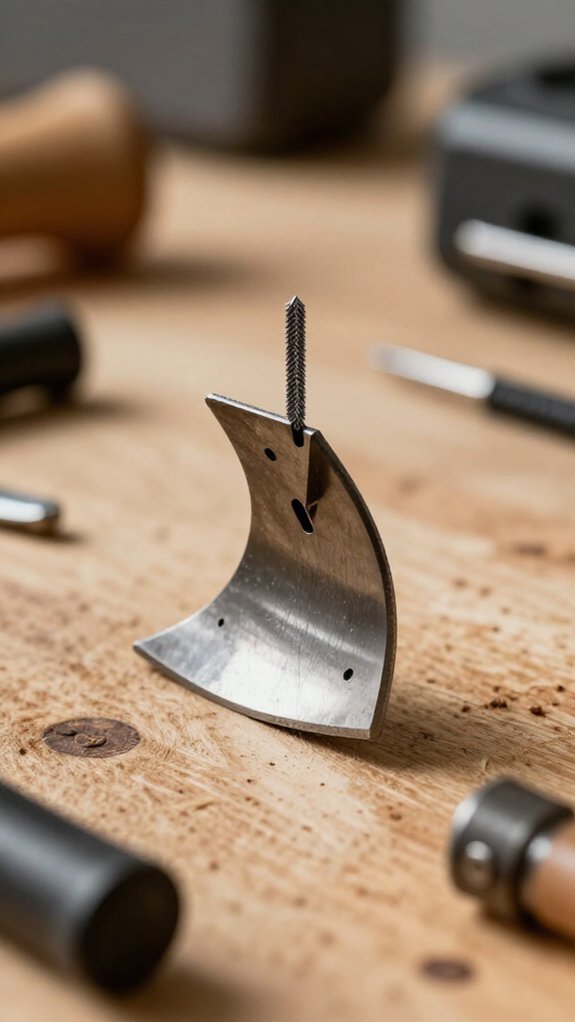
With blades off and clean, I’m ready to sharpen, but I’ve learned the hard way that not every edge needs my attention.
Why the Top Bevel Matters
I only sharpen the top bevel, never the bottom. Here’s why this sharpening technique protects your investment:
- The bottom edge stays factory-shaped and contacts ice during drilling—touching it causes irreversible rounding.
- A fine-grit sandpaper or honing tool lets me precisely work the angled top bevel without risking damage below.
- Preserving the bottom’s original geometry maximizes blade durability and cutting efficiency.
One season, I experimented with bottom-side sharpening. The blade grabbed ice unevenly and dulled within days. Now I keep that surface pristine, focusing my efforts where they count.
The result? Clean, effortless holes and blades that last multiple seasons. Stick to the top, and you’ll thank yourself out on the ice.
Hone the Top Bevel and Remove Burrs
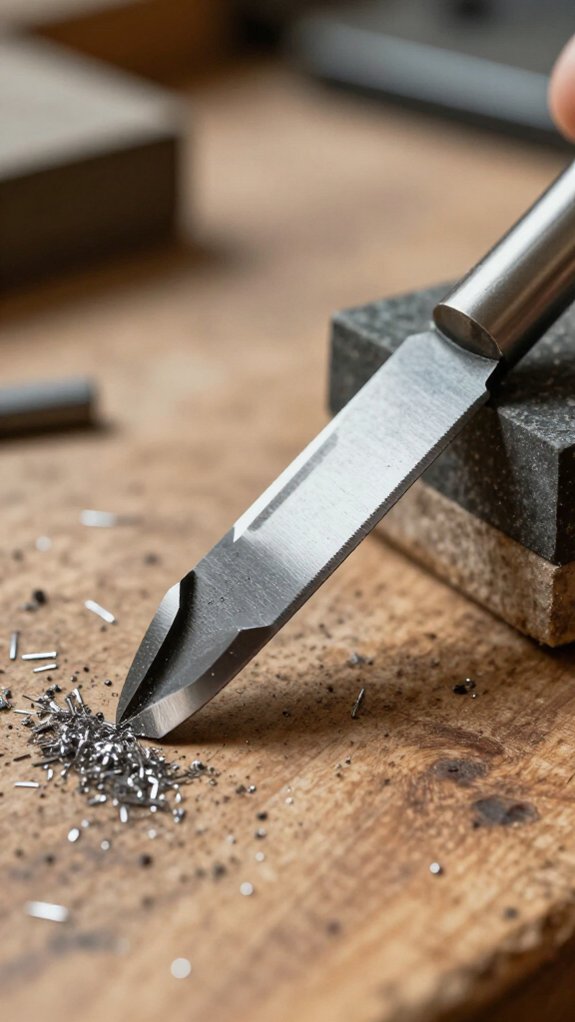
I grab my fine-grit sandpaper and set it against the top bevel at the same angle the factory originally ground into the blade, then draw it along the edge in smooth, controlled strokes that I can feel biting just right against the metal.
I keep my pressure light and consistent, too much force removes excess material and ruins that factory edge. About a half-dozen passes usually does it, though I let the feel guide me.
Catch Those Burrs
After honing, I check for burrs by running my fingernail gently backward across the top edge. If I snag a rough spot, I continue honing until it disappears completely.
I Always repeat this process on both blades evenly. Properly removing burrs and polishing the bevel gives me that razor-sharp finish that bites through ice like a hot knife, every single time.
Reattach Sharpened Blades and Check Balance
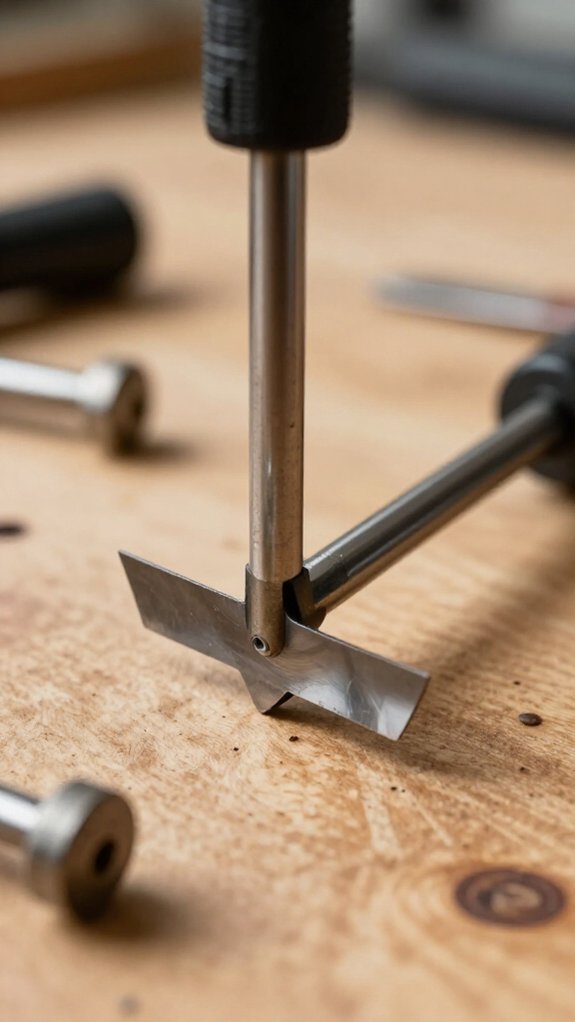
Now that your blades are razor-sharp, I’m going to walk you through secure mounting steps and balance verification methods so you don’t end up with a wobbly, uneven cut that’ll waste energy and chew through ice like a dull spoon.
First, I’ll align the blades using those factory markings or holes, they’re your roadmap for proper fit. I’ve learned the hard way that eyeballing it leads to frustration on the ice.
Then I’ll tighten things just right (snug, not gorilla-tight) and give that auger a gentle spin to feel for smooth rotation. Because a balanced blade setup isn’t just about comfort.
Studies show vibration from imbalance can reduce cutting efficiency by up to 30% and prematurely wear your powerhead bearings.
Secure Mounting Steps
Once I’ve got those edges razor-sharp, I don’t just slap the blades back on and hope for the best. Proper reattachment is where a clean, efficient cut is won or lost. Secure mounting starts with careful blade alignment to the mounting holes, ensuring both blades sit at identical height and angle for that smooth, spiraling descent through hardwater.
Here’s my reassembly routine:
- I position each blade precisely, matching the mounting holes without forcing anything.
- I verify blade alignment by sighting across both edges—they must mirror each other perfectly.
- I use proper tool tightening, torqueing bolts firmly but not stripping threads.
- I spin the auger by hand, feeling for any catch or resistance that signals misalignment.
This systematic approach prevents vibration, broken bolts, and frustrating mid-drill failures when that trophy walleye’s waiting below.
Balance Verification Methods
Before I trust my auger to punch through two feet of ice, I always verify that my freshly sharpened blades are perfectly balanced, because even a slight imbalance turns every hole into a shaky, inefficient chore that’ll wear out my arms and my equipment faster than a mid-January cold front.
After sharpening, I reattach the blades and tighten them securely. Then I check balance by holding the auger horizontally. If one side dips, I’ve got uneven sharpening to fix. I also use a simple pivot point or balancing tool to confirm both blades share equal weight.
| What I Check | What I Look For |
|---|---|
| Horizontal hold | Either side dipping lower |
| Pivot balance | Level, steady rest |
| Blade length | Matching measurements |
| Edge sharpness | Consistent bite |
| Final spin test | Smooth, wobble-free rotation |
I keep both blades matched in length and sharpness. Unbalanced blades wobble, waste fuel, and strain my motor, no thanks. A quick balance check saves me headaches out on hardwater.
Store Blades With Protector Cups
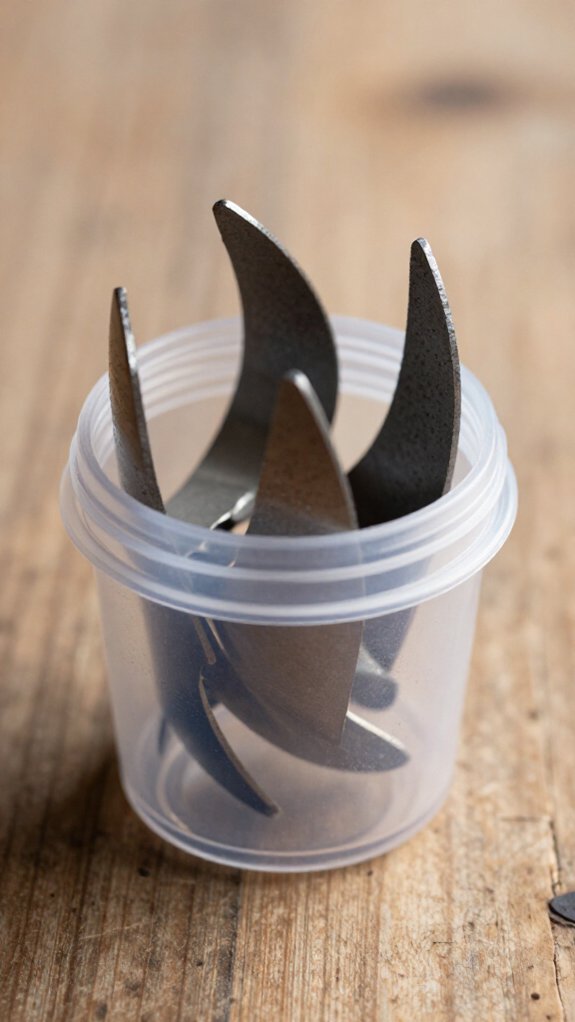
I always snap protector cups onto my auger blades the moment I’m off the ice because those razor-sharp edges deserve better than getting knocked around in my sled or garage. Proper blade storage isn’t just about organization, it’s about protecting your investment and keeping those edges ready for the next hardwater season.
Here’s how I maximize sharpness maintenance with my protector cups:
- Clean and dry blades thoroughly before snapping on protector cups to prevent rust from forming in storage.
- Check that cups fit snugly without gaps where moisture or debris could sneak in and dull the edge.
- Store blades separately from other tools so nothing bumps or scrapes against the protected edges.
- Inspect cups regularly for cracks or wear, since damaged covers won’t shield those razor edges effectively.
Trust me, spending thirty seconds on proper blade storage now saves you from frustrating, dull cuts later.
Frequently Asked Questions
How Often Should You Replace Ice Auger Blades?
I replace my ice auger blades every 3 to 5 years under normal use, though I swapped mine after just one season when I hit gravel and rounded the edges beyond repair.
How to Sharpen an Auger Blade?
I remove the blade, lay it flat on 600-grit sandpaper, and drag it in an arc to polish the top bevel only. I check the edge with my fingernail, then reattach it securely.
Can You Sharpen Auger Teeth?
I picture my auger’s worn teeth biting weakly into thick ice, and I know I’ve got to act. I sharpen only the top bevel with a file, never touching the bottom edge, keeping my blade strong for years.
How to Sharpen Your Blades at Home?
I remove the blades first, then lay them bottom-side down on 600- to 1,000-grit sandpaper. I press down and drag each blade in an arc to polish the bevel. Flip it, and repeat until the edge catches my fingernail.
In Conclusion
Sharp auger blades slice through ice like a hot knife through butter, turning a grueling chore into a smooth, satisfying motion. I’ve felt the difference between dull frustration and clean precision, it’s night and day.
Treat your blades right, and they’ll reward you with effortless holes season after season. Now Get out there and drill with confidence.