
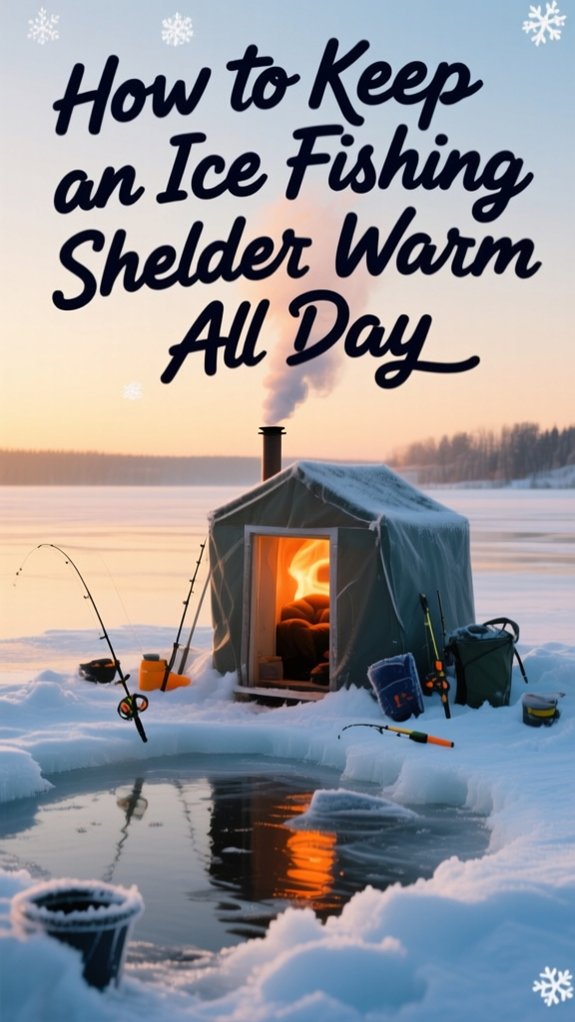
I keep my ice fishing shelter warm all day by blocking wind first, I’ll set up behind islands or shorelines and face my door downwind, then shovel snow around the base to seal gaps. I insulate walls and floor with foam panels, add reflective insulation to bounce heat back, and run a properly sized propane heater with clear vents and a CO detector mounted at head height.
I Dress in moisture-wicking layers to cut heater demand, sip warm drinks, and snack steadily to fuel my metabolism. Here’s how I put all these pieces together for all-day comfort on the ice.
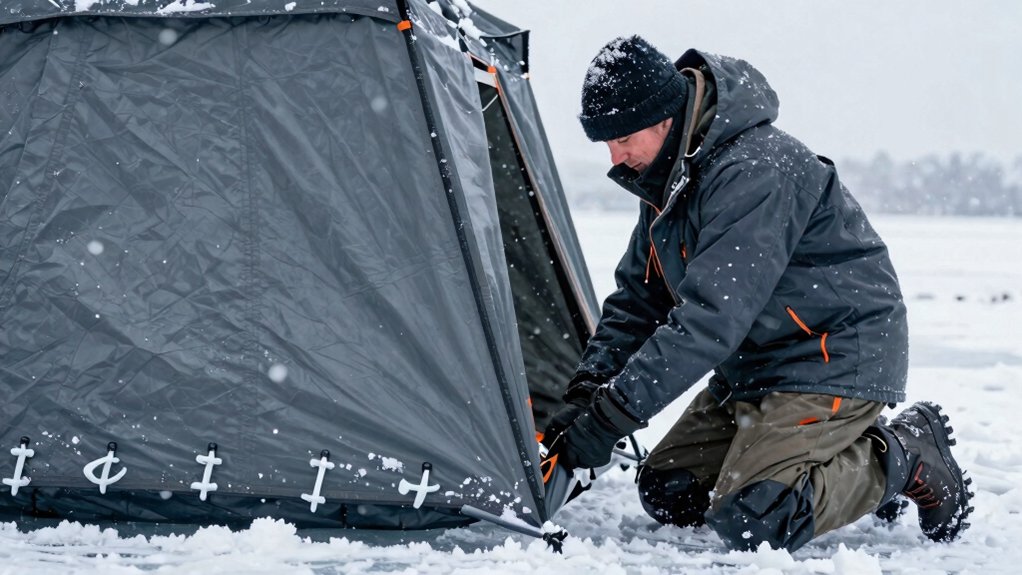
Position Your Ice Fishing Shelter to Block Wind
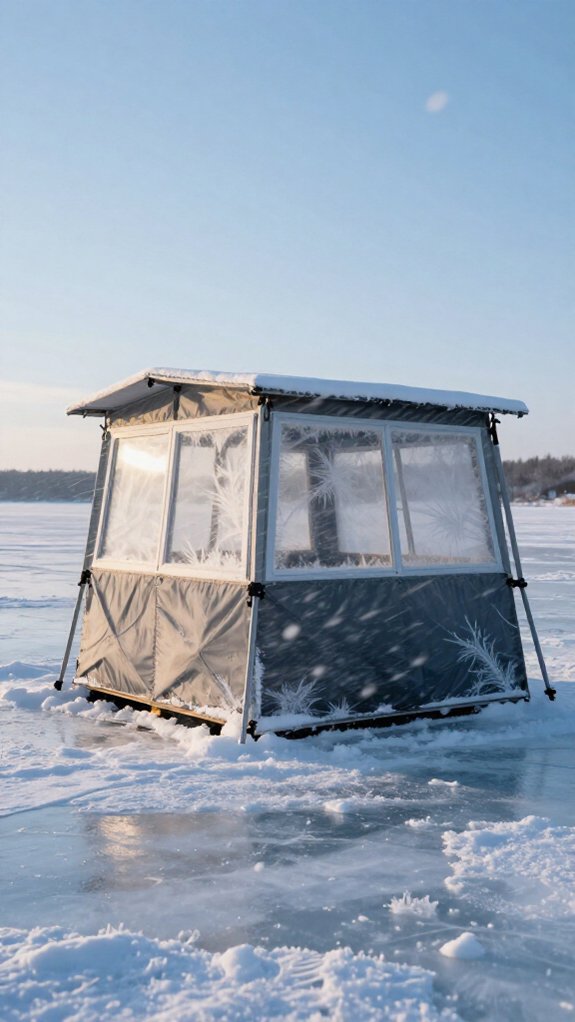
Because wind steals warmth faster than any other factor on the ice, I’ll always scout for a protected spot before I even think about drilling holes. I’ll tuck my shelter behind islands, shorelines, or natural ridges that break the wind’s relentless push across open ice.
Face the Door Downwind
Once I’ve found that sweet spot, I position my shelter’s door on the lee side. This simple move blocks wind from sneaking in every time I enter or exit. No more bone-chilling gusts ruining my cozy setup.
Clear the Perimeter
I also shovel away snow around the shelter’s base. Wind loves to exploit that gap, sending frigid drafts straight underneath. A clean perimeter seals that vulnerability.
These small positioning choices pay huge dividends. I’ve fished in -10°F that felt manageable, all because I respected the wind first.
Seal Gaps and Insulate Walls, Floor, and Ceiling
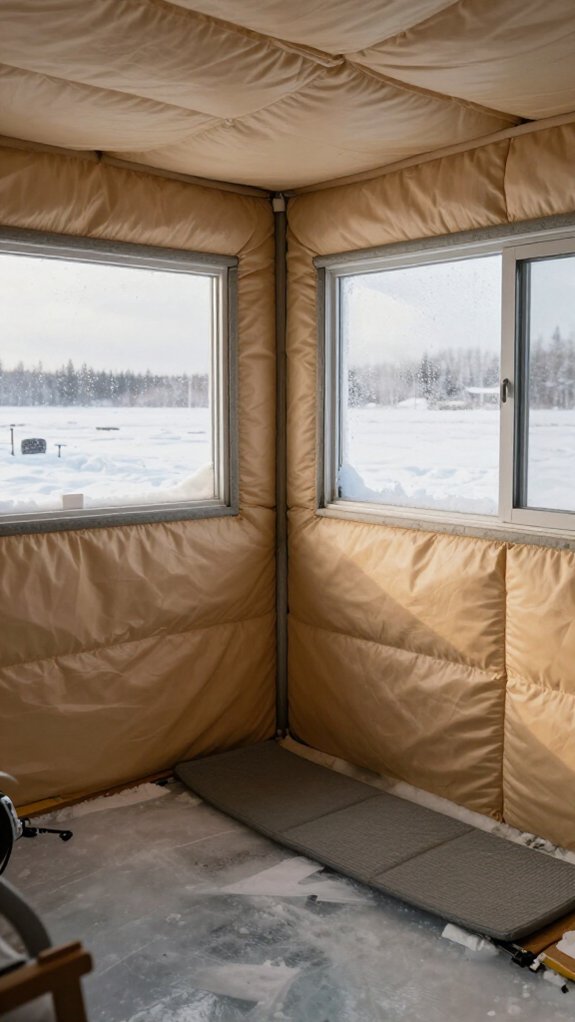
Even after I’ve found the perfect wind-blocked spot, I’ll still end up shivering if I don’t treat my shelter like a drafty old cabin that needs some TLC.
I grab weatherstripping and foam to seal every gap around doors, windows, and vents. Those sneaky drafts’ll steal warmth faster than a fish off a slack line.
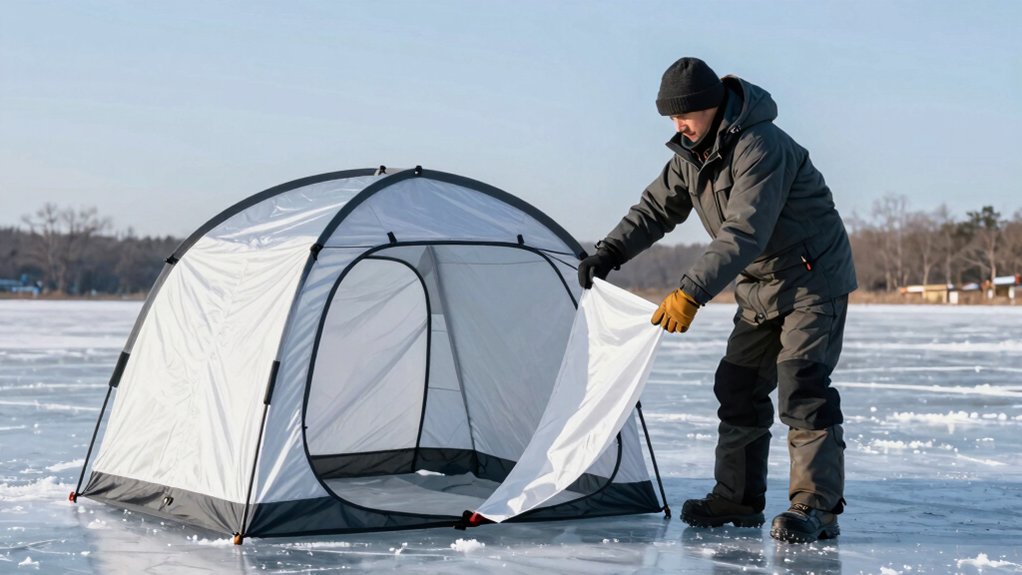
Then I insulate the walls, ceiling, and floor with foam panels or reflective insulation, trapping heat where it belongs. Spray foam works wonders for filling stubborn cracks.
I don’t stop there. A wind skirt around the base blocks ground-level cold air, and insulating film over windows keeps precious heat from escaping. These steps convert my shelter from an icebox into a cozy basecamp where I’ll actually want to stay and fish.
Ventilate to Stop Carbon Monoxide Buildup
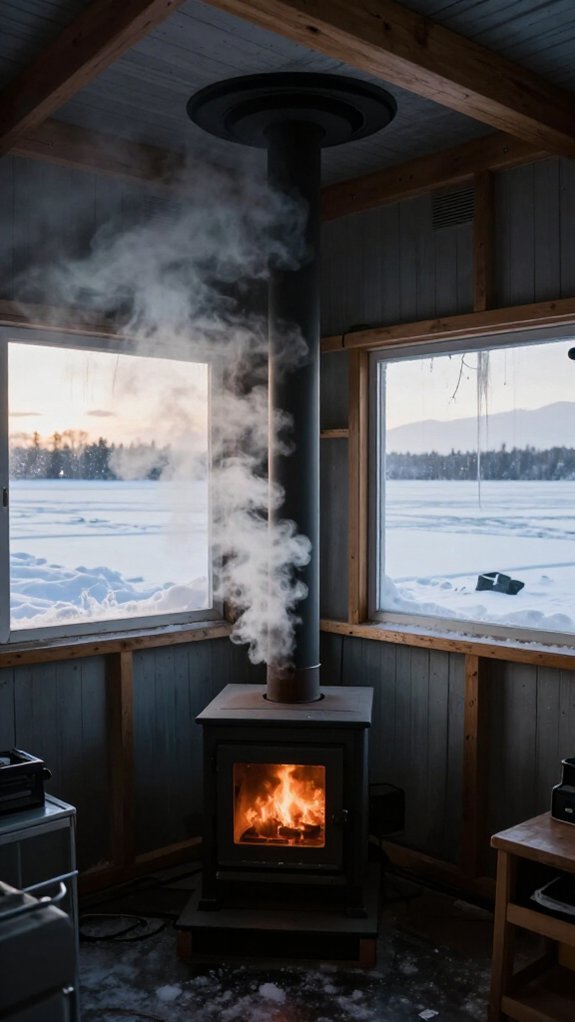
Once I’ve sealed every crack and wrapped my shelter in insulation, I need to crack a window or pop a vent, because staying warm won’t matter if I’m not staying alive. Carbon monoxide is an odorless killer, and I’ll ventilate properly to keep it out.
Here’s how I stay safe:
- Route exhaust pipes outside and check they’re clear—snow blockage sends deadly gas right back inside.
- Mount a CO detector at head height; it’s my early warning system when levels spike.
- Clear vents hourly—ice and drifting snow choke airflow fast, especially during whiteouts.
I never sleep with a heater running unless I’ve got that alarm and fresh air flowing. A little draft beats a permanent cold snap any day.
Size Your Propane Heater to Your Shelter Space
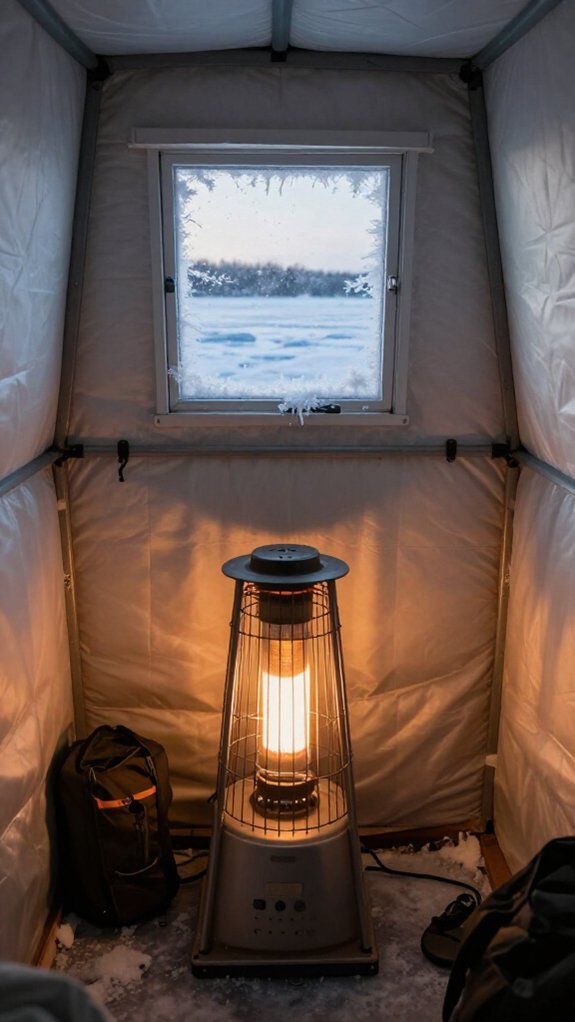
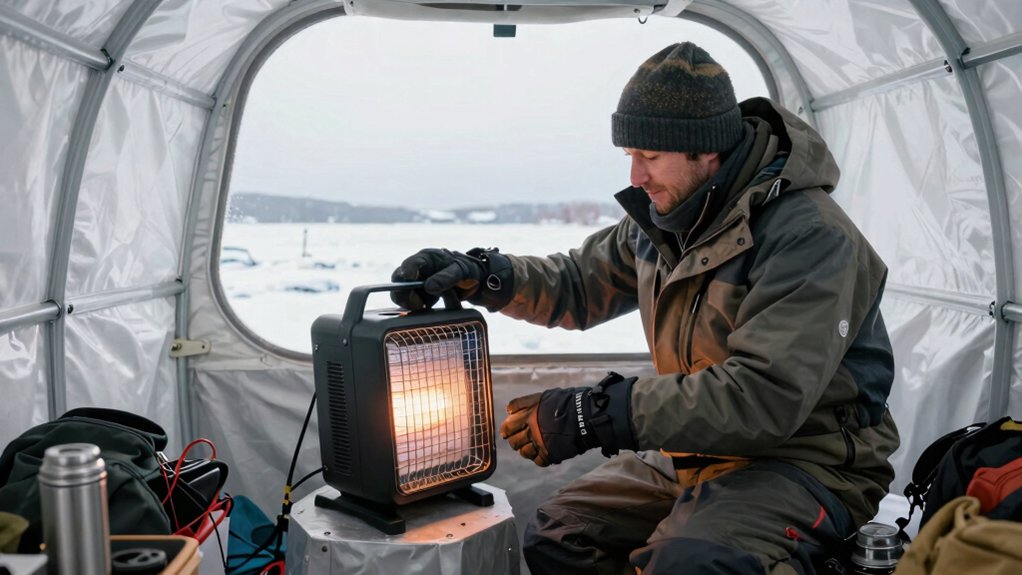
I match my heater’s BTU output to my shelter’s square footage so I’m not wasting fuel or shivering in the cold. Smaller ice tents run fine on 3,800–4,000 BTU units, but I’ve learned that larger shelters need 9,000–18,000 BTU heaters to maintain steady warmth when the wind cuts through.
Getting this sizing right means I can fish comfortably all day without constantly adjusting layers or burning through propane too fast.
BTU Output Matching
Because nothing ruins a day on the ice faster than shivering through your tip-ups, I’ve learned that sizing your propane heater correctly is the single most important decision you’ll make for all-day comfort. BTU output matching isn’t just about buying the biggest unit, it’s about precision.
I’ve found that matching BTU to square footage keeps you toasty without wasting fuel or creating dangerous overheating. Here’s what works:
- Small shelters (3,800 BTU/hr) – Compact hub-style tents heat fast and stay warm with minimal output.
- Mid-size setups (4,000–9,000 BTU/hr) – My 10×10 insulated shelter runs perfectly on 4,000–6,000 BTU/hr, while a 12×12 needs 8,000–9,000 BTU/hr.
- Large or drafty shelters (15,000+ BTU/hr) – Uninsulated spaces demand serious firepower to combat heat loss.
Factor in insulation and outside temps, and you’ll dial in all-day comfort.
Tent Size Considerations
How do you avoid buying a heater that’s either gasping to keep up or blasting you out of your shelter? You nail your tent size considerations from the start.
I match BTU output to square footage every time. A 4,000 BTU unit handles roughly 225 square feet, perfect for my smaller hub shelters. When I’m running a bigger six- or eight-person shack, I step up to something like the Big Buddy at 18,000 BTU so warmth reaches every corner.
Here’s what many anglers miss: insulation changes everything. My insulated thermal tent holds heat so well I can downsize my heater.
Uninsulated fabric? I’m burning more fuel and running a beefier unit just to keep up.
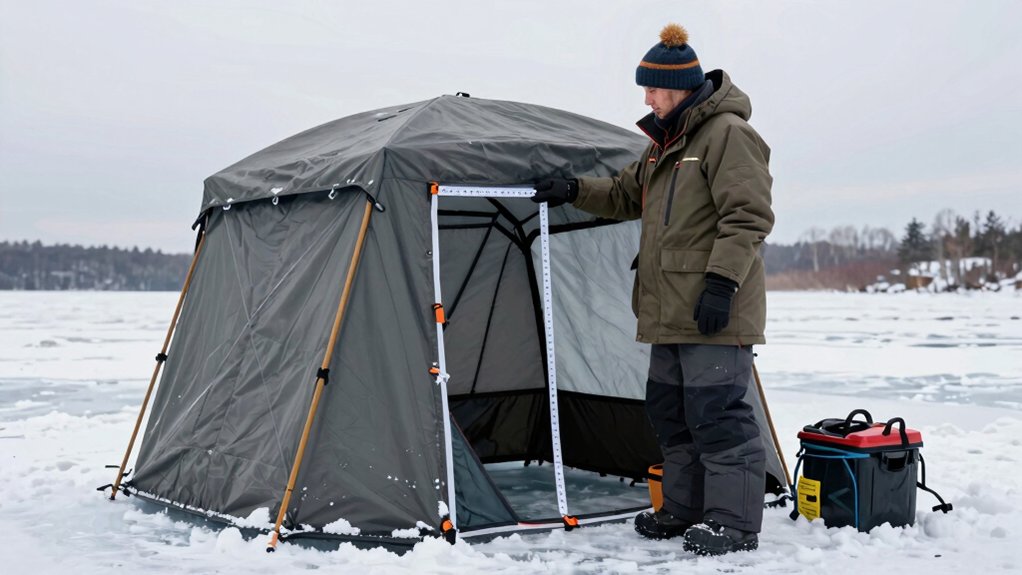
Check manufacturer specs, measure your floor space, and factor in wind exposure. Right-sizing means steady warmth without wasted propane or mid-day chills.
Connect Tanks and Maintain Hoses for Safe Operation
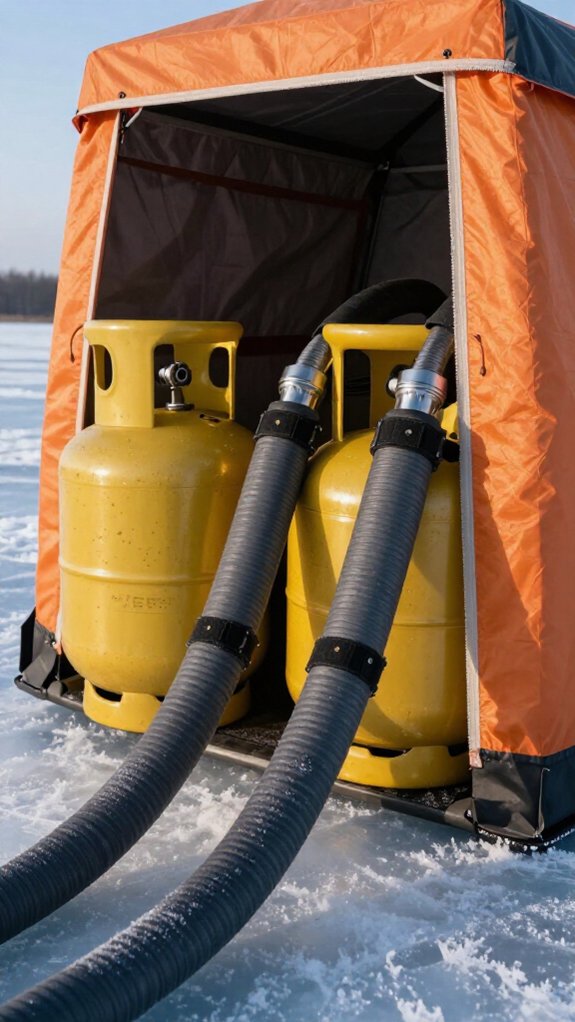
Before I fire up the heater in my shelter, I make sure my propane tank and hoses are connected properly, because a warm shack means nothing if I’m risking a leak or a fire out on the ice.
Propane heaters demand respect, and I’ve learned that tight, leak-free connections keep the heat flowing steady and safe. I check for cracks, oil residue, or worn fittings before every trip. I swap damaged parts immediately rather than gambling on the ice.
Here’s my hose maintenance routine:
- Filter or depressurize regularly — I prevent dangerous oil buildup in high-pressure hoses by doing this simple step.
- Hang hoses to drain — Back home, I drape them in my garage so residual oil escapes and extends their life.
- Snug, don’t over-tighten — I stop when fittings feel secure; cranking too hard damages threads and causes leaks.
Store Heat With Water Jugs and Reflective Panels
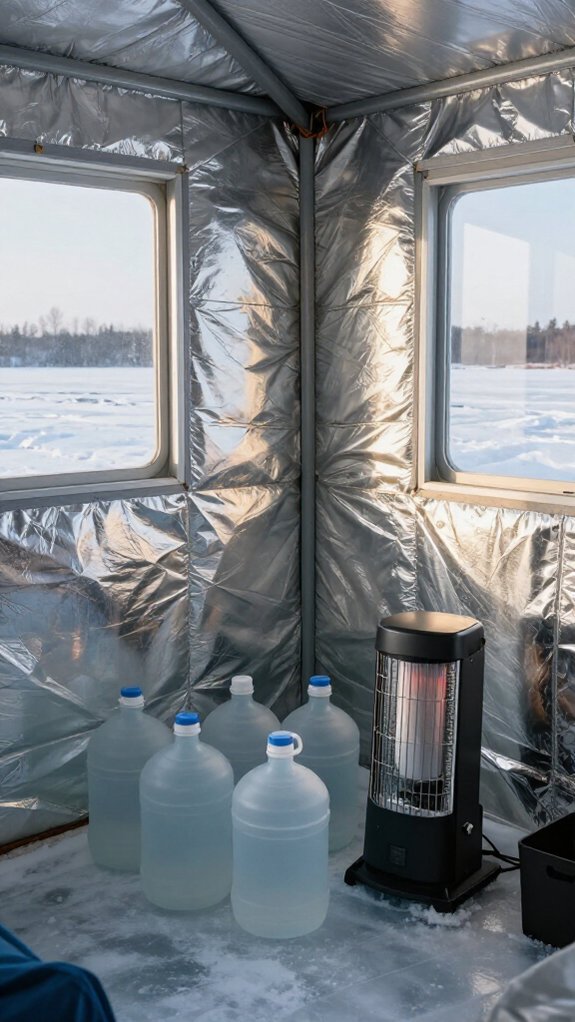
I like to fill a couple of gallon jugs with hot water from home before heading out, then tuck them around my shelter as thermal mass storage that slowly radiates warmth for hours.
To enhance their effectiveness, I’ll prop up emergency blankets or foil panels behind them, creating reflective heat distribution that bounces that stored warmth back toward me instead of letting it escape through the walls.
It’s a simple, no-fuel trick that keeps my toes from going numb when the wind picks up across the ice.
Thermal Mass Storage
Once the sun starts dipping or your buddy heater sputters out, you’ll want something that’s still radiating warmth, and that’s where a few jugs of hot water become your secret weapon. I rely on thermal mass to keep my shelter cozy when active heating isn’t an option.
Water’s high specific heat capacity lets it soak up heat and release it gradually. I fill dark-colored jugs with hot water before heading out, then position them around my shelter. They’ll radiate warmth for hours, especially inside an insulated hub.
Here’s how I maximize this trick:
- Choose dark containers – They absorb more heat from sunlight or your heater.
- Pre-heat before dawn – Start with hot water so thermal mass builds early.
- Cluster jugs centrally – Concentrated heat radiates more effectively through the space.
Reflective Heat Distribution
While thermal mass gives you a reservoir of warmth, you’ll lose half that benefit if the heat just leaks into the ice below or radiates out through thin fabric walls. That’s where reflective panels step in to redirect every precious BTU back toward your boots.
I line my shelter’s floor and lower walls with Mylar blankets or purpose-built reflective panels, creating a thermal mirror that bounces radiant heat inward instead of letting it escape into the frozen lake. This simple trick can enhance your perceived warmth by 20-30%, according to outdoor thermodynamics studies.
Pair this with your water jugs, positioned near the panels, and you’ve built a feedback loop. The jugs absorb warmth from your heater during peak hours, then the reflective panels ensure that stored heat radiates back at you, not the ice.
I stagger jugs around my fishing hole, angled toward my seat, and suddenly that 3 PM temperature drop doesn’t bite so hard. It’s not fancy gear, just smart physics working in your favor.
Dress in Layers to Reduce Heater Demand
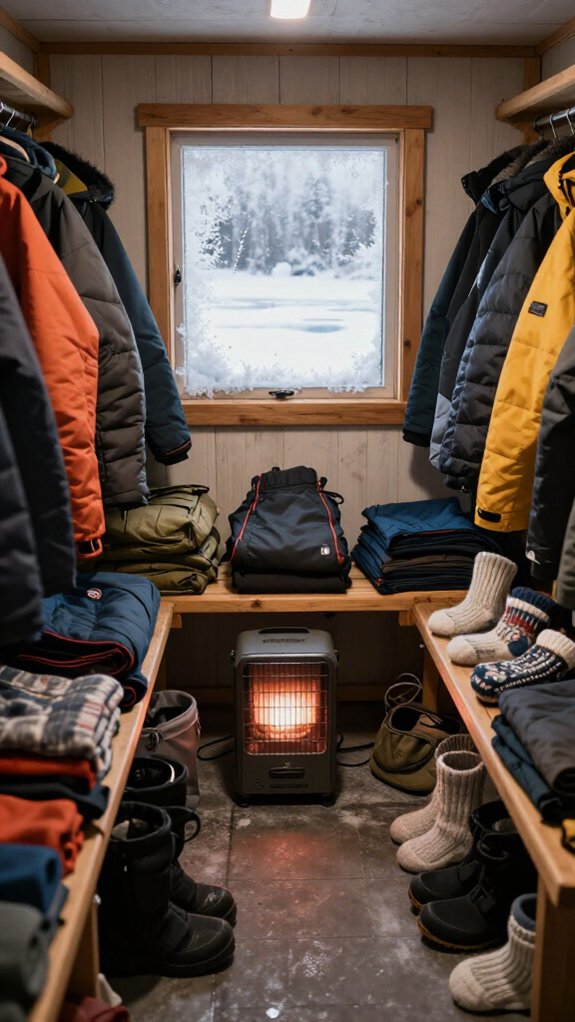
When you’re shivering inside your shelter, cranking the propane heater to full blast isn’t the only fix, it’s often not even the smartest one. I’ve learned that dressing right keeps me warmer and lets me run my Buddy Heater on low instead of max, which matters more than you’d think.
Here’s my layering system for ice fishing:
- Base layers that wick – Long underwear and moisture-wicking fabrics pull sweat away so I don’t freeze later.
- Mid-layers that trap – Flannel and fleece create dead air space that holds my body heat.
- Outer shell that blocks – Down jacket and wool hat stop cold air from stealing what I’ve built.
I make sure my carbon monoxide detector works before turning the heater on low oxygen days. Fewer layers mean cranking the heater higher, and that’s when risks rise. Keep Your Shelter warm by keeping yourself warm first.
Eat, Drink, and Move to Generate Body Heat
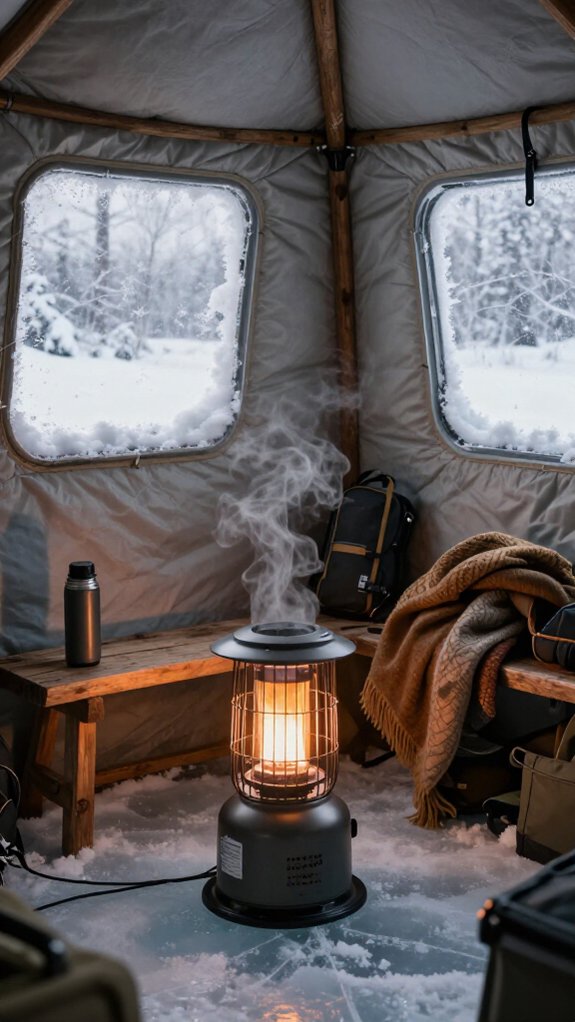
I keep my shelter cozy by treating my body like a furnace that needs quality fuel and regular stoking. I’ll sip hot chocolate and crush a plate of bacon and pancakes to build internal warmth from the inside out.
Then stretch my legs or pace the floor every hour to get my blood pumping. Staying hydrated with warm fluids and eating calorie-dense foods keeps my core temperature steady.
While moving around prevents that stiff, frozen feeling from creeping in.
Hot Meals Help
Because your body burns through calories fast in freezing temps, I’ve found that hot meals and drinks aren’t just comforts, they’re essential survival tools that keep me fishing longer instead of packing up early.
I cook pancakes, bacon, and hot chocolate right inside my shelter. The steam rises, the smell fills the space, and suddenly I’m warmer from the inside out. That residual heat from cooking sticks around, especially when I’ve got heaters running to maintain the temperature.
Here’s what keeps me going:
- Cook inside – The warmth from the stove radiates through the shelter while you eat.
- Sip constantly – Warm beverages maintain my core temperature between bites.
- Move between bites – I stretch and pace to enhance circulation and generate extra body heat.
Hot food isn’t just fuel, it’s a furnace.
Hydration Fuels Warmth
Although hot meals get most of the attention, I’ve learned that staying properly hydrated is what actually keeps my internal furnace burning steady through long days on the ice.
Drink Warm, Stay Warm
I always pack a thermos of coffee or tea. Sipping something hot maintains my core temperature and prevents dehydration, a sneaky problem in cold weather since you don’t feel thirsty. Cold air pulls moisture from every breath. Even mild dehydration cripples your body’s heat production.
Fuel the Fire
I keep high-energy snacks within arm’s reach: nuts, jerky, energy bars. Your metabolism literally burns calories to create warmth.
Skimp on fuel, and you’ll shiver despite your best heater.
Keep Blood Moving
Light stretching and shifting positions enhance circulation. When I feel that chill creeping in, I’ll stand, pace a few steps, and feel warmth return to my fingers almost immediately.
Stay Active Inside
The real secret to staying warm isn’t just what you pack, it’s what you do with it once you’re inside the shelter. I keep my body furnace stoked with three simple habits that turn a frigid shack into a cozy basecamp.
- Fuel up hot and heavy – I cook pancakes and bacon on a small stove; that high-calorie blast generates real heat from the inside out.
- Sip something steaming – I rotate between hot chocolate and tea, keeping my core temperature raised with every swallow.
- Move before you freeze – I stretch, pace, or do light exercises every hour; the blood flow keeps stiffness away and warmth steady.
Layered in fleece and an insulated hat, I stay comfortable from first light to last bite.
Fix Heater Problems in Freezing Conditions
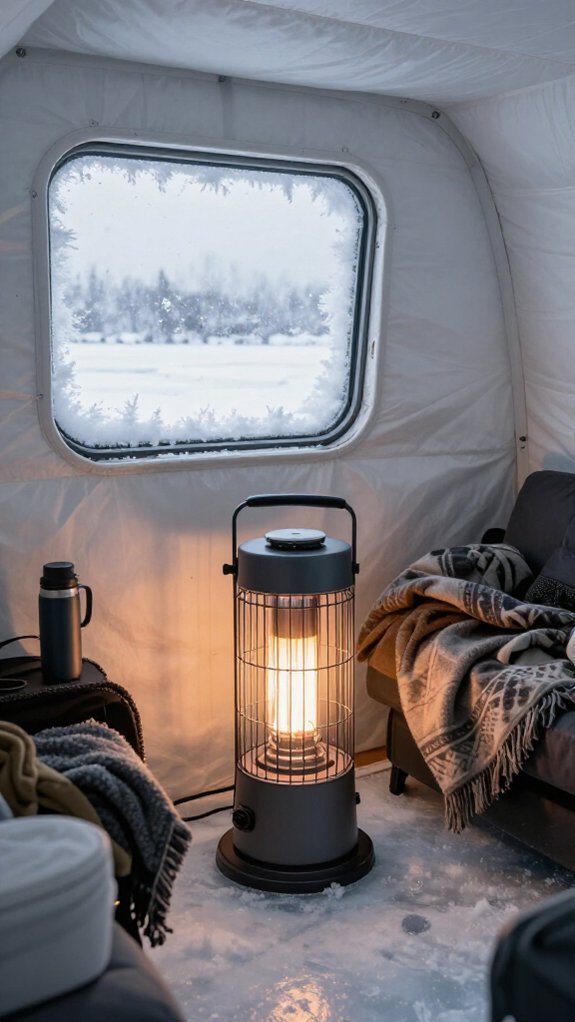
When the mercury drops below zero and your heater sputters out just as the walleye start biting, you’ll need to know exactly how to get that warmth flowing again before your fingers go numb.
Prevent Problems Before They Start
I inspect my propane hoses and regulators regularly. Oil buildup from “dirty” propane causes 23% of cold-weather heater failures, according to industry data. I keep connections clean and check exhaust vents for ice blockages that trap deadly carbon monoxide and choke performance.
Quick Fixes on the Ice
I carry spare piezo igniters because cold kills battery-powered starters fast. I also keep fuel tanks topped off, as low propane sputters when temperatures plummet. Dry fuel matters too; moisture freezes in lines.
I never leave my heater unattended. One eye on the flame, one on my jig—that’s how I fish warm and safe.
Bring Backup Heat and Emergency Gear
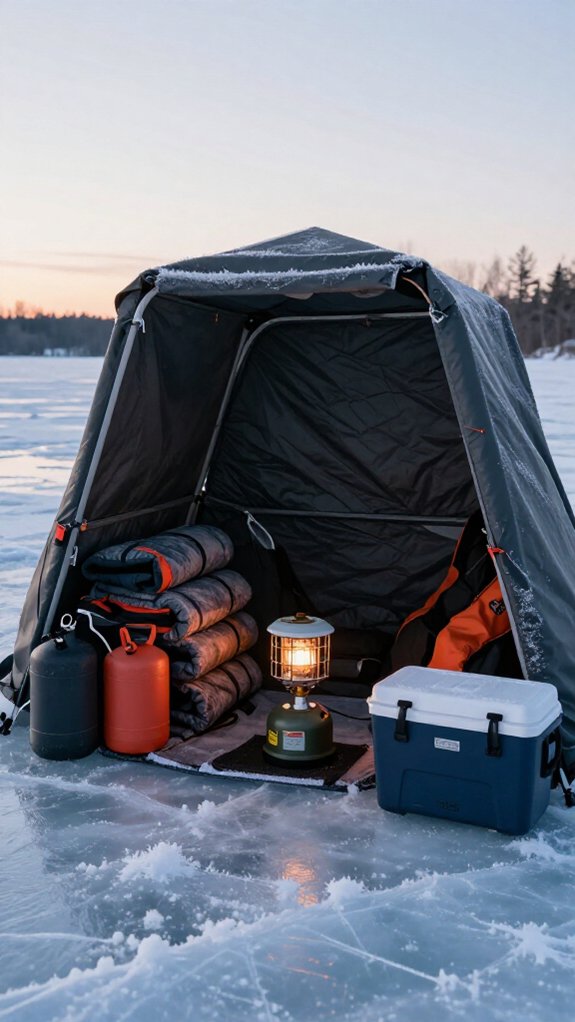
Even the best-maintained heater can quit on you when you’re miles from shore and the wind’s howling at twenty below, so I always pack redundant heat sources and emergency gear that’ll keep me alive until I can pack up and head home.
My Can’t-Leave-Behind Backup Kit:
- Portable propane heater with auto low-oxygen shutoff and built-in ignitor, small enough for my sled, tough enough for emergencies
- Extra fuel supply, I bring spare canisters or a larger tank because running empty at noon turns a fun day into a survival test
- Thermal blankets and a battery CO detector, The blankets trap my body heat if everything fails, and that detector’s my watchdog against silent killers
I keep a fire extinguisher handy and crack ventilation holes when burning backup fuel. These precautions let me fish with confidence, not fear.
Frequently Asked Questions
How to Maintain an Ice Fishing Shelter?
I insulate my shelter’s walls, floor, and ceiling, seal every gap and crack, run a small efficient heater, lay down insulating mats, and keep checking the temperature to adjust things as needed throughout the day.
How Do the Amish Keep Warm in the Winter?
I rely on wool layers and wood stoves to stay warm, just as Amish communities do. Their homes lose 30% less heat than typical houses due to thick walls and heavy curtains. This keeps families cozy through harsh winters.
Are Ice Fishing Tents Warm?
I find ice fishing tents aren’t warm on their own, but I’ve made mine cozy with insulation and a small heater. Without those, you’re sitting on frozen lake with thin walls blocking wind.
Which Ice Fishing Shelter Is the Best?
I prefer insulated pop-up shelters with wind skirts and reinforced frames, as they block drafts, set up fast, and pair well with propane heaters to keep me warm through long days on the ice.
In Conclusion
Keeping your ice fishing shelter warm all day boils down to working smarter, not harder. I’ve sat through enough bone-chilling mornings to know that blocking wind, sealing gaps, and sizing your heater right creates a cozy fortress against the freeze.
Layer up, stay active, and always pack backup heat, because when Old Man Winter bites, you’ll be grinning inside your toasty shack while the walleye keep biting.