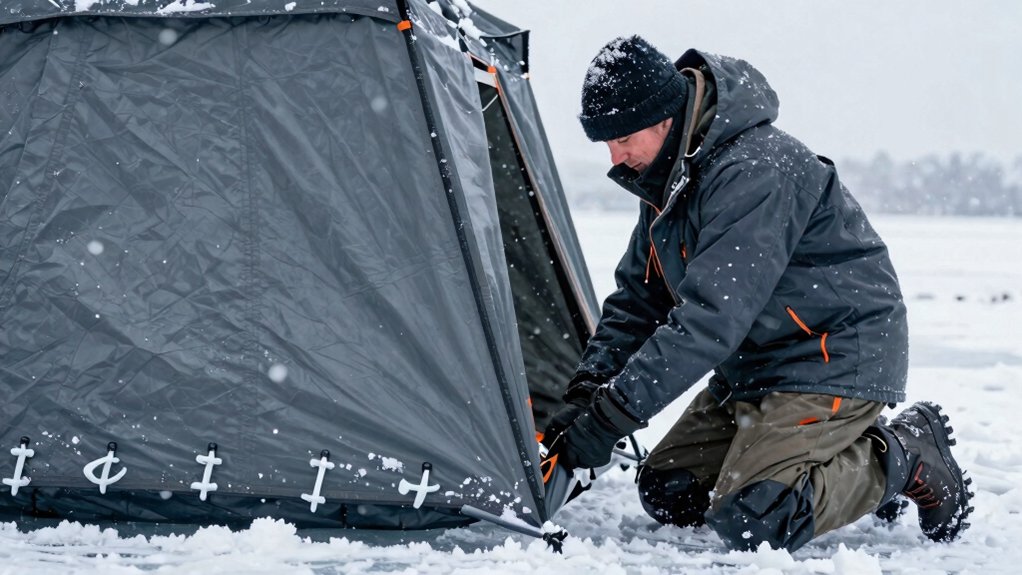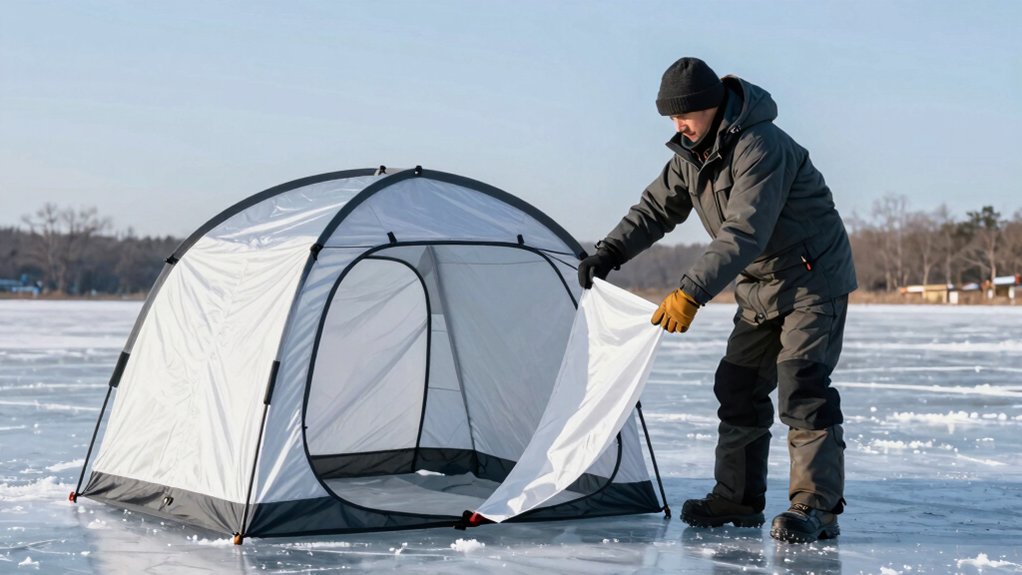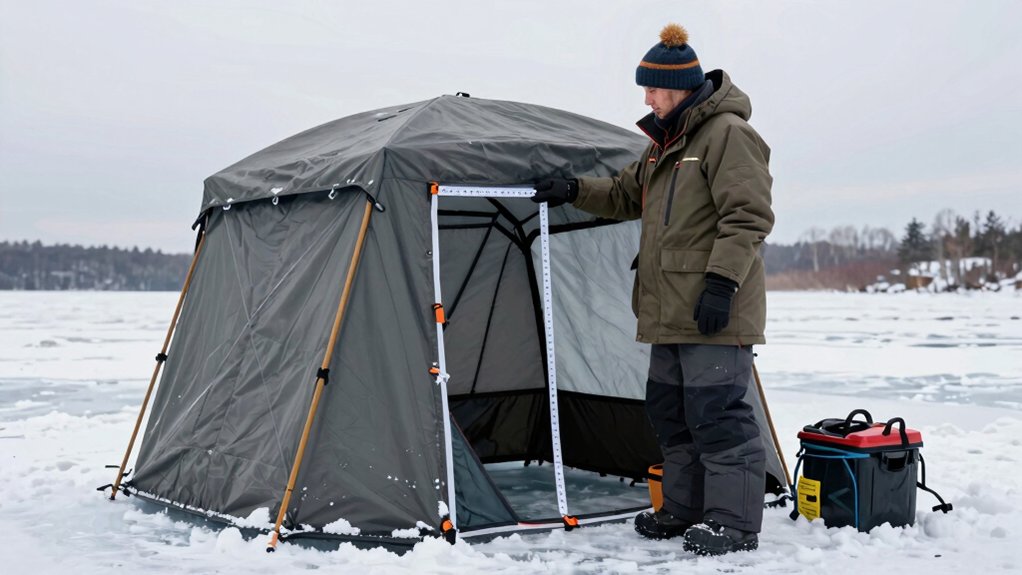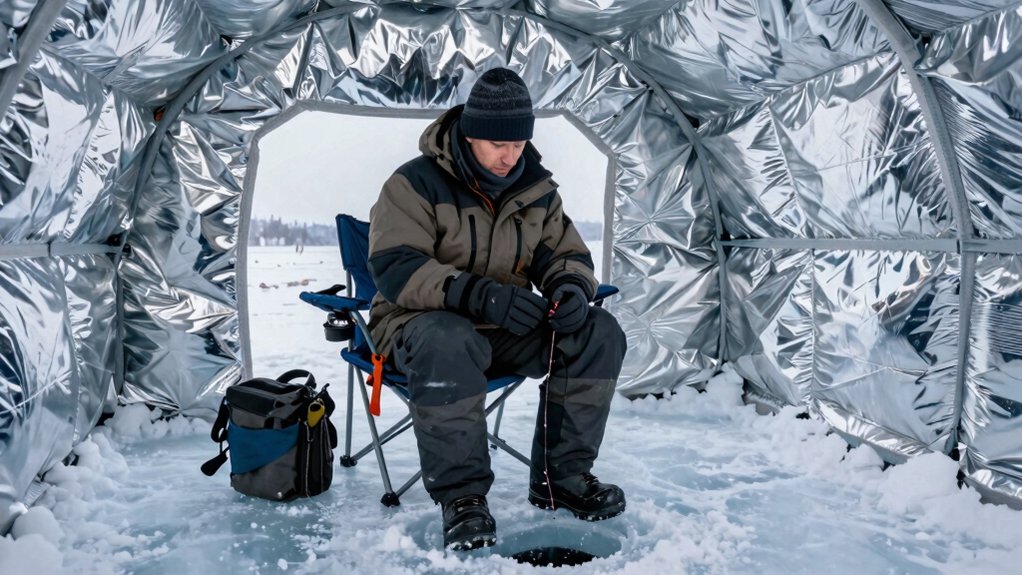

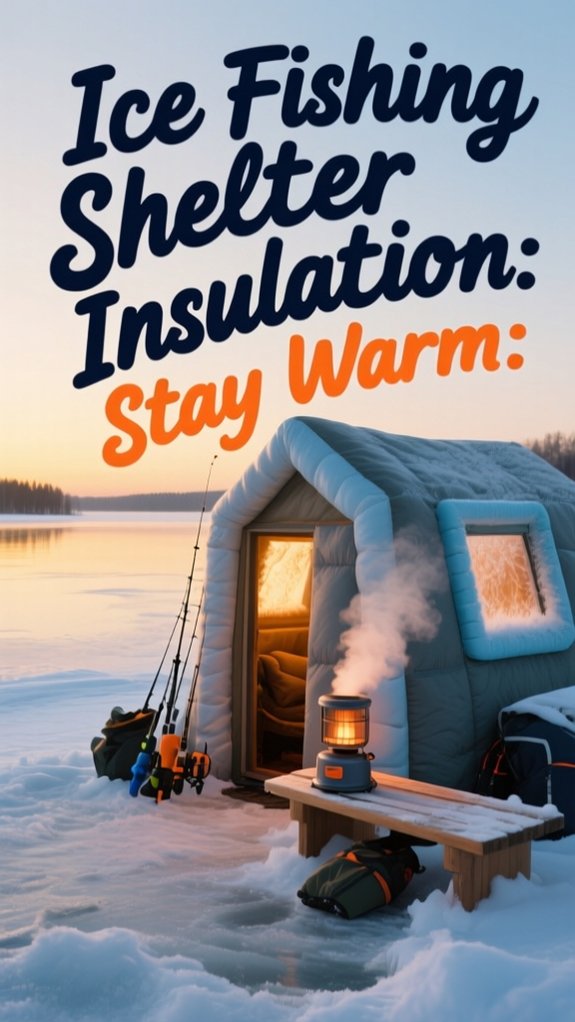
Ice fishing shelter insulation works by trapping dead air in tiny pockets to slow heat escape through conduction, convection, and radiation. I use foam panels or fiberglass barriers to create a thermal shield that keeps the interior steady and cuts my heater’s workload. Without it, you’re burning fuel just to fight the cold seeping through every seam.
Start by sealing gaps, blocking wind with snow banks, and insulating the floor, otherwise your feet go numb even when the air feels warm. Match your insulation level to your heater’s BTU output; high insulation pairs with 3,000–6,000 BTU units, while thin walls demand more power.
Factory-insulated shelters offer tested R-values, but DIY upgrades with Reflectix work if your frame’s solid. End-of-season, I dry everything thoroughly, patch tears, and store in a cool, dark spot so next winter I’m not starting from scratch. There’s more to keeping heat where you want it than you’d think.
How Does Insulation Actually Keep You Warm?
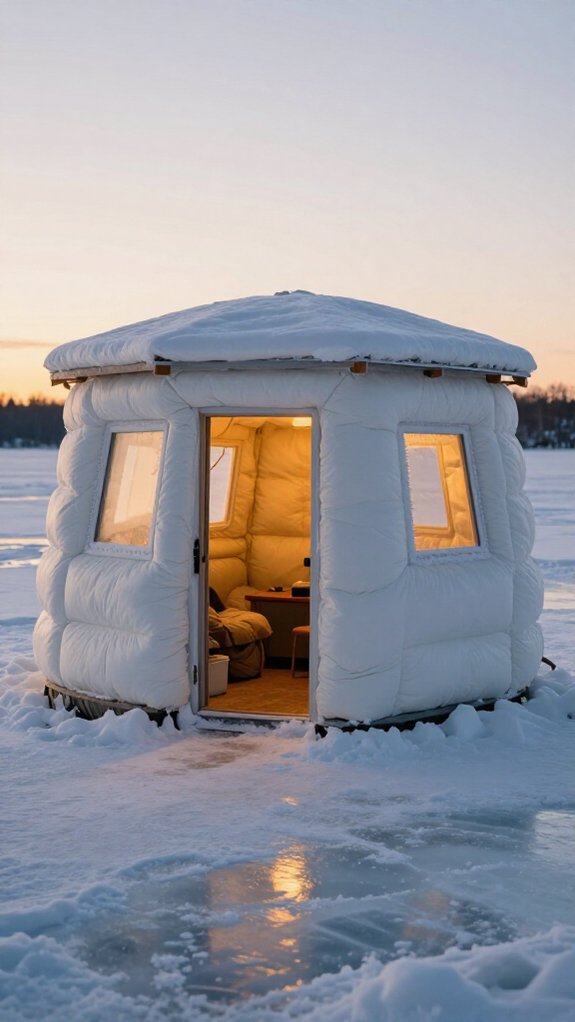
Because I’ve sat in enough freezing shelters to learn this the hard way, I’ll tell you exactly how insulation keeps you warm: it traps dead air in tiny pockets and slows your body heat from escaping into the ice-cold world outside.
When your shelter walls aren’t insulated, you’re basically sitting in a metal box that steals warmth as fast as you produce it. Materials like foam panels or fiberglass work because they resist heat transfer. They stop conduction through solid surfaces, cut down convection currents, and block radiant loss.
I’ve watched my propane heater burn through tanks in uninsulated shelters while the interior stayed frigid.
Properly insulated floors and walls create a thermal barrier that locks warmth in. Your heater runs less, burns less fuel, and keeps temperatures steady even when wind chills drop brutal.
Assess Your Shelter: Upgrade or Replace?
Before you drop another dime on propane or spend another day shivering through a bite, you’ll want to figure out whether your shelter’s worth saving or if it’s time to cut bait and start fresh.
Check Your Insulation Performance
I start my assessment by feeling for drafts around seams and windows on a cold day. If cold spots linger and my heater’s working overtime, I’ve got insulation problems. Some shelters can’t hold heat no matter how high I crank the burner. Sometimes it’s thin fabric, sometimes it’s gaping seams.
When to Upgrade
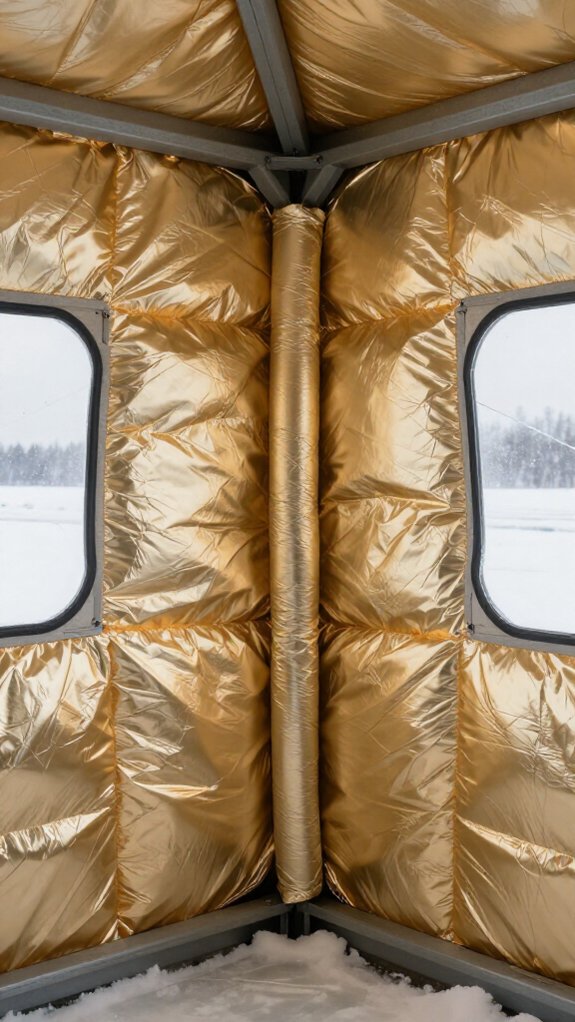
If the frame’s solid but chilly, I’ll upgrade with foam panels or Reflectix lashed to the walls. I’ve cut fuel use nearly in half this way on my old flip-over.
When to Replace
If drafts come through structural damage or the fabric’s degraded beyond patching, replacement’s my move. Insulated shelters with built-in thermal barriers simply perform better, less shivering, more fishing.
Choose: Factory-Insulated or DIY Upgrade?
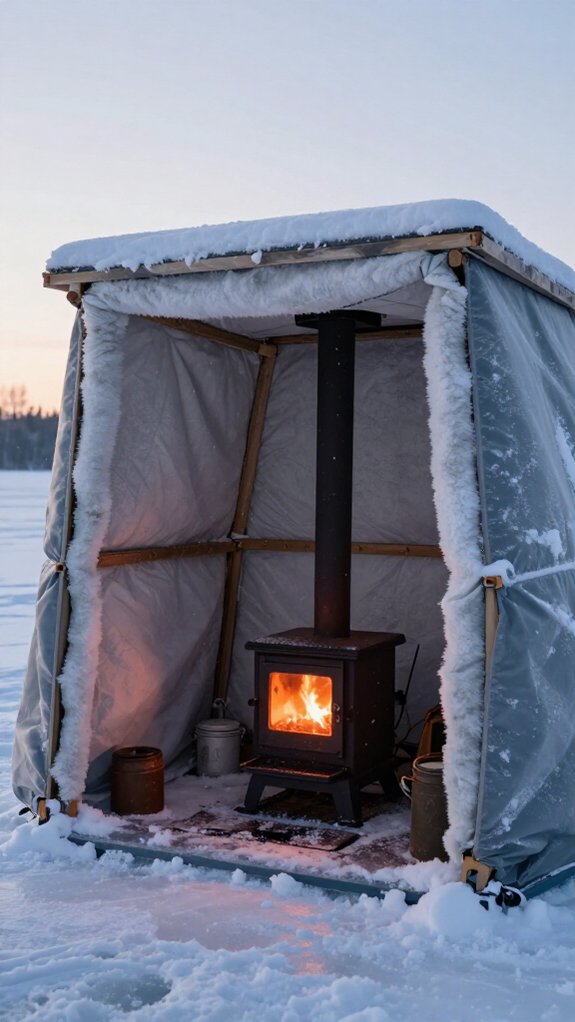
Once you’ve decided your shelter’s worth keeping or you’re starting fresh, you’ll face a fork in the road: buy factory-insulated or rig your own thermal solution.
Factory-Insulated: Plug-and-Play Warmth
I love factory-insulated shelters for their hassle-free performance. They arrive with foam panels or thermal fabric already integrated, no guesswork, no cold spots. You’ll pay more upfront, but you’re getting tested R-values and durable construction that withstands seasons of abuse.
DIY Upgrades: Budget-Friendly Customization
DIY upgrades let me stretch my gear budget further. Adding Reflectix or rigid foam to my old hub shelter cut heat loss significantly, though results depend entirely on my craftsmanship. I can tailor thickness to my local climate, but I’ve learned poor installation creates condensation nightmares.
My Take: Choose factory-insulated for reliability; pick DIY upgrades if you enjoy tinkering and need specific customization.
Seal Gaps and Block Wind First
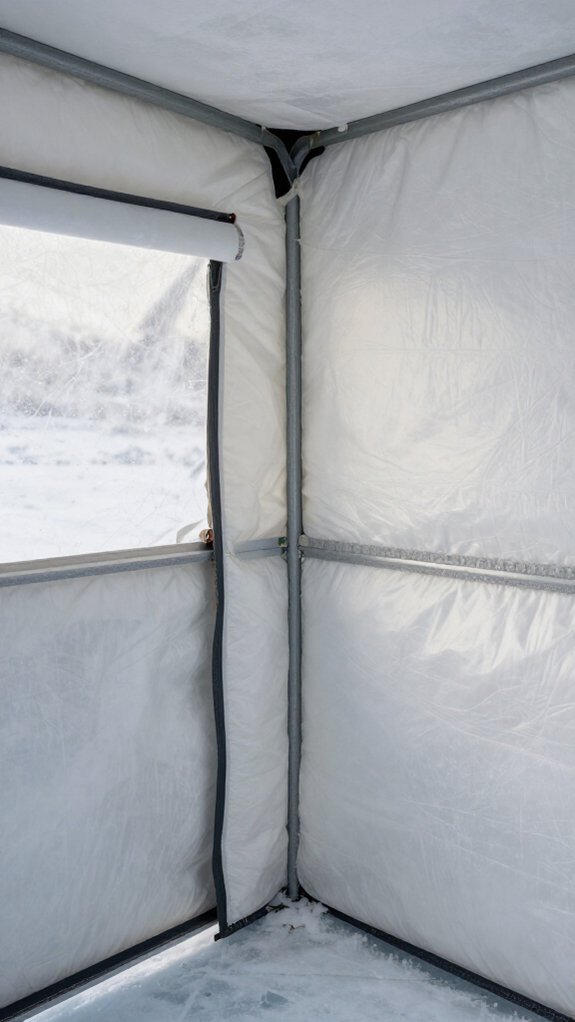
I always check which way the wind’s blowing before I set up my shelter, because knowing the wind direction helps me position the door and any gaps away from the gusts.
Once I’m oriented, I hunt down every draft, running my hand along seams, windows, and vents to feel for that telltale cold tickle that’ll steal my heat.
Wind Direction Strategy
Because wind steals warmth faster than any other factor on the ice, I always start my shelter setup by reading the wind before I even unzip my bag. I position my shelter so the entrance faces away from the prevailing wind direction, cutting heat loss dramatically.
Block Before You Insulate
I pile snow or stack ice blocks on the windward side first. This creates a natural windbreak that stops cold air before it ever reaches my walls. I pay special attention to vents and seams on that exposed side, sealing them tight.
Seasonal Adjustments Matter
When fronts roll through, I’ll reorient my shelter to minimize exposure. Blocking wind comes before adding any interior insulation; otherwise, I’m just heating the great outdoors.
Get the wind direction right, and you’ll fish warmer all day.
Draft Elimination Tactics
After you’ve got your shelter angled away from the wind, the real work begins: finding every gap that’s letting that cold air sneak in. I start by running my hand along windows, doors, and vents, anywhere I feel that telltale chill gets sealed with weatherstripping or foam tape. It makes a real difference.
Block Wind at the Base
I always pack wind skirts or pile snow around the base. This simple barrier stops drafts dead and cuts wind chill significantly.
Patch the Small Stuff
Cracks in fabric or frame? I hit them with expanding foam or sealant. These tiny openings steal heat faster than you’d think.
Stay Vigilant
Before each trip, I inspect for new tears or gaps. Re-sealing keeps my shelter efficient and me comfortable when the bite’s on.
Insulate the Floor Before Cranking the Heat
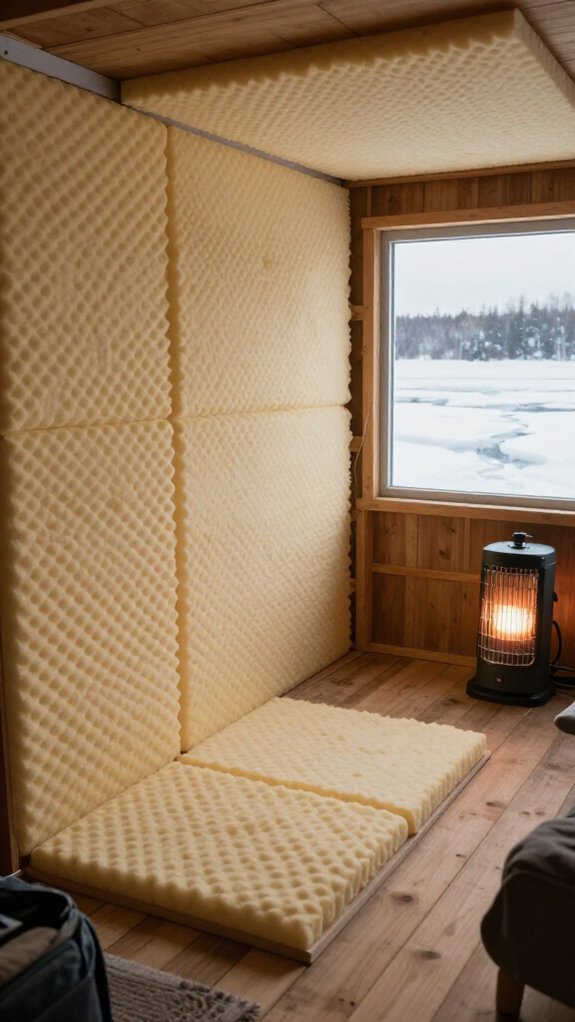
Before I fire up the heater in my ice shelter, I always take a few minutes to insulate the floor. It’s one of those small steps that pays off big once the temperature drops.
In ice fishing shelters, heat loss through the ice beneath your feet is a silent comfort killer. That frozen surface pulls warmth downward faster than you’d think.
I lay down foam mats, rubber tiles, or interlocking foam panels to create a thermal barrier. This simple layer blocks cold transfer, keeps my feet from going numb, and cuts condensation and frost buildup.
Floor insulation matters even more in unheated shelters, where ice rapidly chills the interior. By stopping that downward heat drain first, I optimize every BTU my heater produces and stretch my propane or electric fuel further.
Match Your Insulation to Your Heater Output
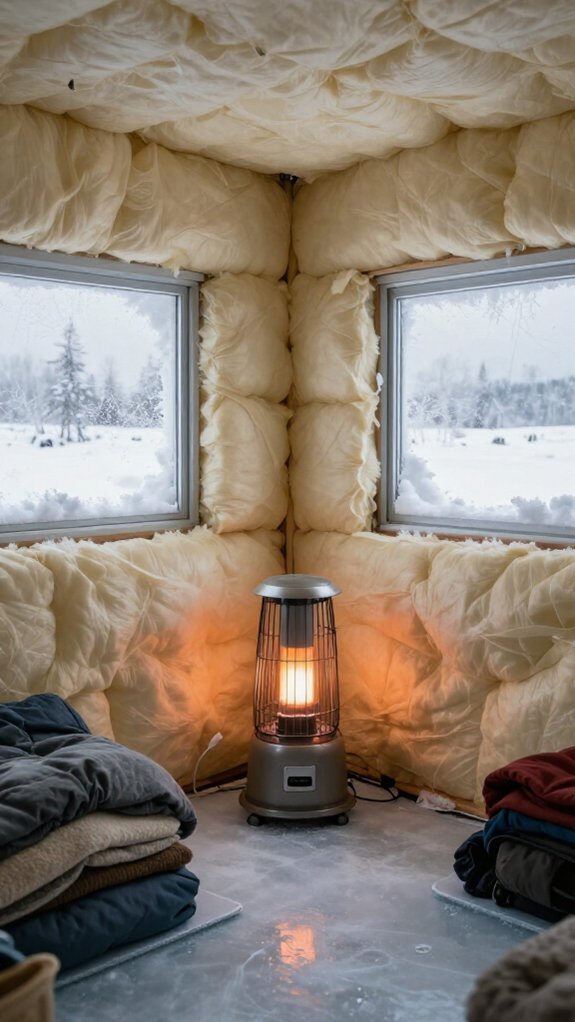
I always match my shelter’s insulation level to my heater’s BTU output so I’m not burning through propane faster than necessary or shivering when the wind picks up. Better insulation means I can run a smaller heater and still stay toasty.
But I’ve learned the hard way that cranking up a high-output unit in a tight, well-insulated space demands serious attention to ventilation. Carbon monoxide isn’t something to gamble with on the ice.
Finding that sweet spot between heat output and airflow keeps me warm, safe, and fishing longer without constant fuel runs.
Heat Output Balance
Since you’re already investing in a quality ice fishing shelter, you’ll want to make sure your heater isn’t working against your insulation, or vice versa. I match my heat output to my insulation level for the best results.
| Insulation Level | Heater BTU Needed |
|---|---|
| High (thermal fabric) | 3,000–6,000 BTU |
| Medium (standard fabric) | 6,000–9,000 BTU |
| Low (minimal/none) | 9,000–12,000+ BTU |
Proper insulation lets me run lower heat output and stretch my propane further. I’ve learned that over-insulating with too powerful a heater leaves me sweating and burning fuel fast. Too little insulation forces my heater to run constantly, creating hot spots near the burner and cold corners where my feet freeze.
I aim for that sweet spot where my insulation holds warmth just long enough that my heater cycles on and off, keeping temperatures steady without wasting energy or risking safety.
Ventilation Requirements
How do you stay warm without turning your shelter into a safety hazard? I match my ventilation to my heater output and insulation level.
Why Ventilation Matters
My insulated shelter traps heat beautifully, but that tight seal risks carbon monoxide buildup. I’ve learned that better-insulated shelters actually need less ventilation than drafty ones, though I never skip it entirely.
Getting the Balance Right
I position vents away from my heater’s intake to pull fresh air through without creating cold drafts. Since my insulated walls retain warmth efficiently, I can crack a smaller opening and stay cozy.
My Safety Routine
I keep a CO monitor running and adjust vents as conditions change. Too little airflow? Dangerous. Too much? I’m burning fuel for nothing. It’s about finding that sweet spot where warmth meets safety.
Store and Repair Your Shelter for Next Season
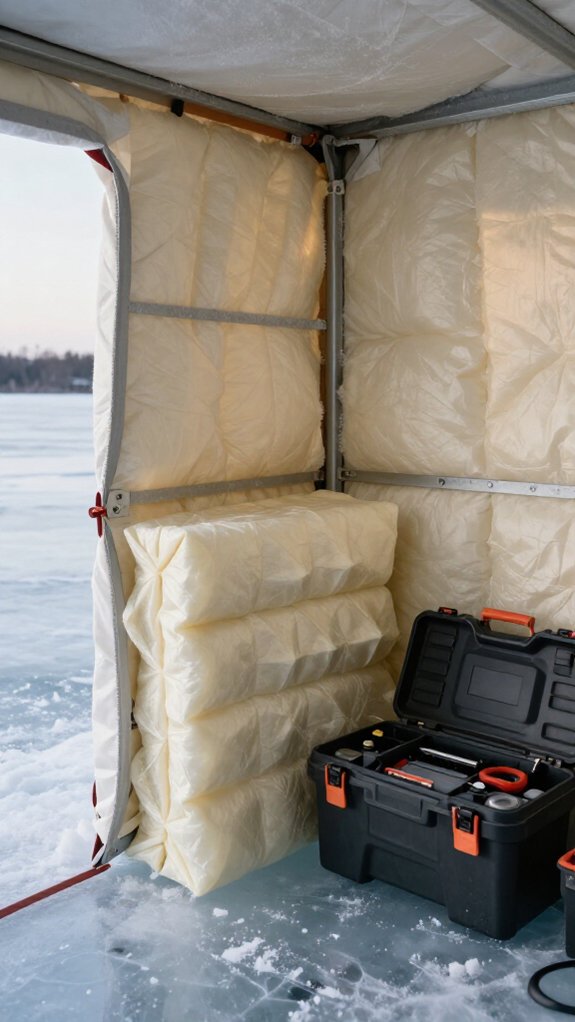
Once I’ve packed up my gear and I’m staring at a shelter that’s seen another hard season on the ice, I know the real work isn’t over yet, because how I store and repair this thing now determines whether I’m shivering in a drafty box next winter or staying toasty when the bite turns on.
I always clean and dry every inch first. Mildew smells awful and kills an insulated shelter’s warmth. Then I hunt for tears that need repair; even pinholes let heat bleed out fast.
Here’s my end-of-season checklist:
- Dry thoroughly to stop mold and ice damage
- Patch fabric and seams to preserve insulation integrity
- Lubricate zippers and hinges so nothing sticks
- Store in a cool, dry spot away from sun and temperature swings
Frequently Asked Questions
Are Insulated Ice Fishing Tents Worth It?
I believe insulated ice fishing tents are absolutely worth it if you’re a frequent angler. I’ve found they keep me significantly warmer, reduce my propane costs, and let me stay out longer without battling condensation or freezing temperatures.
What Is the Best Insulator to Keep Ice From Melting?
I find reflective insulation like Reflectix works best for keeping ice solid, as it bounces heat away effectively. I’ll pair it with high R-value foam panels and seal every gap to block warmth from sneaking in.
What Is the Warmest Ice Fishing Suit?
The warmest ice fishing suits wrap you like a fortress against winter’s bite, I choose Striker Ice or IceArmor with 150-200g Thinsulate, neoprene layers, and waterproof shells that lock heat in when I’m battling subzero winds on frozen lakes.
Are Ice Fishing Huts Heated?
Some ice fishing huts I’ve used come with built-in heating systems, but many rely on portable propane or electric heaters I bring myself.
I always make sure there’s proper ventilation when I’m running fuel-powered units inside.
In Conclusion
Insulation isn’t about trapping heat, it’s about trapping you in comfort. I’ve felt the sting of a drafty shelter and the pure joy of a toasty hub while jigging at twenty below. Seal your gaps, insulate your floor, and match your setup to your heater.
You’ll fish longer, laugh louder, and remember the catch, not the cold. Build it right, store it smart, and next winter you’ll thank yourself. Stay warm out there.