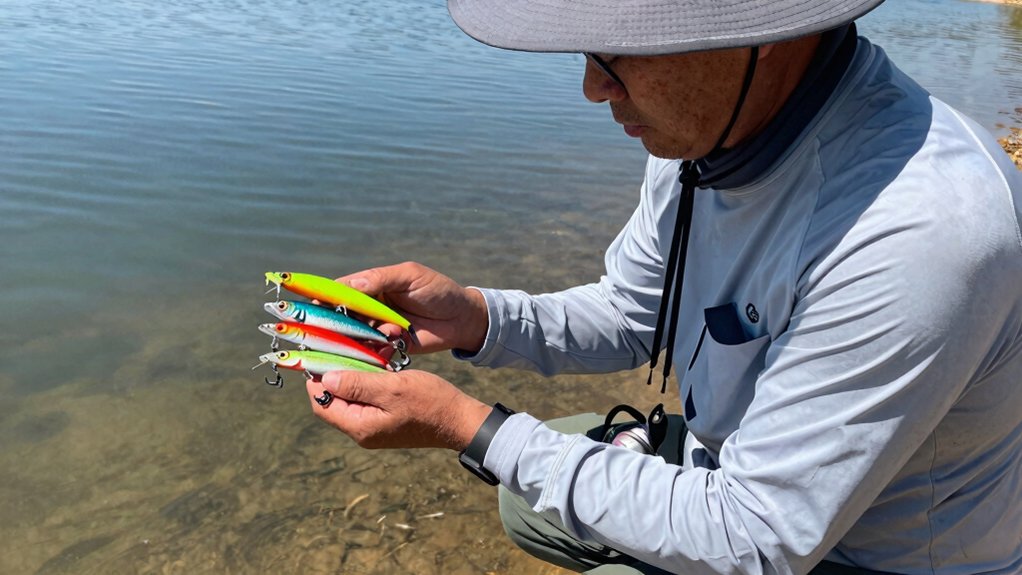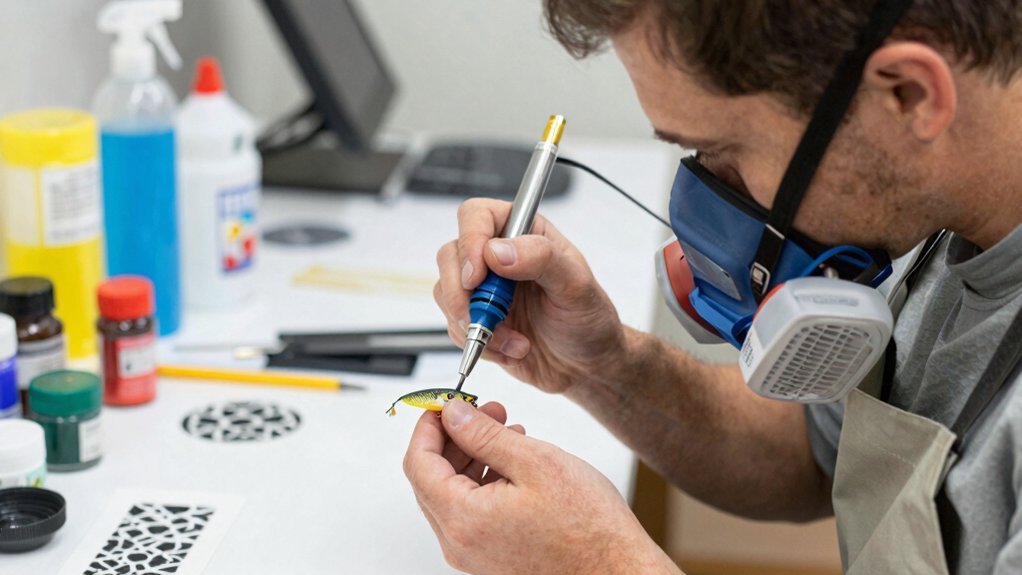

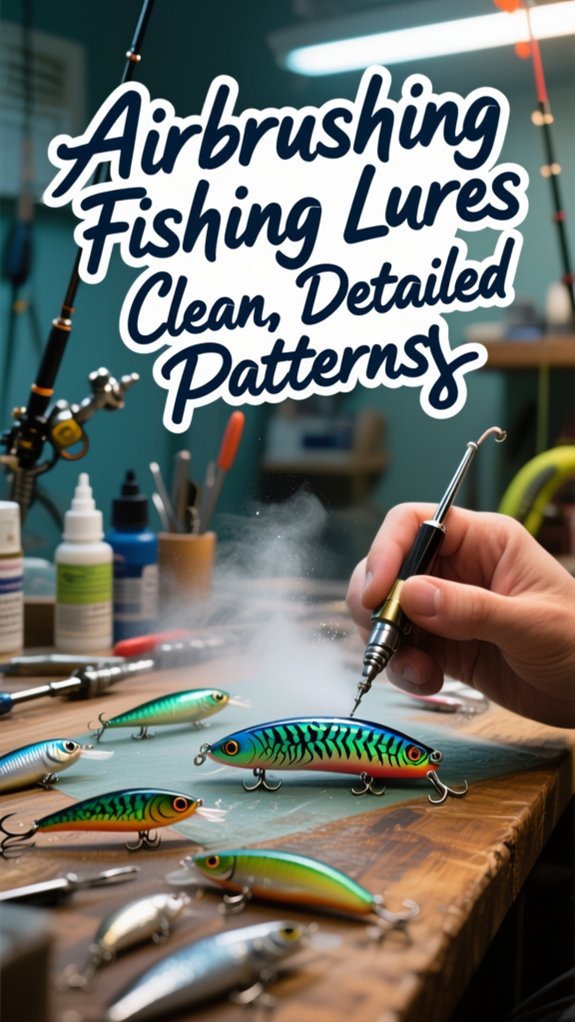
I airbrush fishing lures with clean, detailed patterns by starting with isopropyl alcohol cleaning and quality primer at 25 PSI, building thin base coats, then dropping to 15 PSI for controlled mid-tone blending and stencil work. I’ll secure scale mesh or Mylar stencils with low-tack tape, spray multiple flash-dried layers for crisp edges, and finish with epoxy or UV resin on a lure turner.
Studies show detailed lure patterns boost catch rates by 40% in clear water versus solid colors. Stick around and I’ll walk you through troubleshooting splatters and perfecting that glass-clear finish that seals your work for seasons of rod-bending action.
Prime and Prep Your Lure Blank for Airbrushing
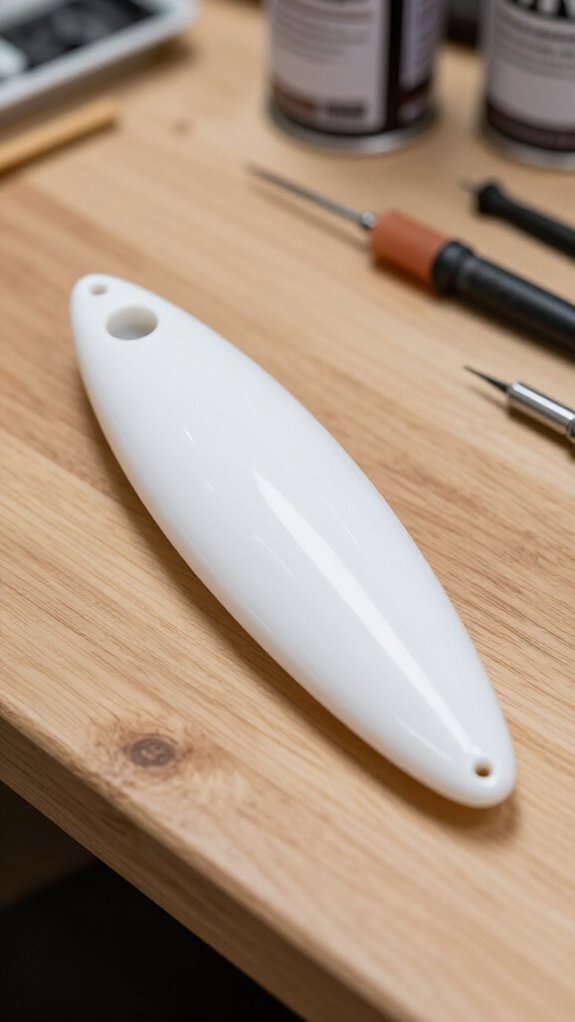
Before you even think about laying down that first coat of color, you’ve got to prep your lure blank like a pro, because skipping this step is like building a house on sand, and I don’t want your hard work flaking off after a few casts. Proper prep and priming are what separate garage hacks from craftsmen who catch fish and turn heads at the dock.
Clean First, Prime Second
I always start by cleaning every lure with isopropyl alcohol. That removes factory oils, fingerprints, and mold release agents that’ll sabotage your paint adhesion faster than a snapped line.
Wear gloves—your skin’s got natural oils that’ll transfer right back onto the surface.
Mask and Prime
Mask the bill with tape, trim it clean, then grab quality primer. I shoot white or silver at 25 PSI from 4-6 inches out, keeping coats light and even.
Let each layer dry completely, sand lightly if needed, and you’re locked in for colors that’ll stick.
Airbrush Base Colors From Belly to Spine
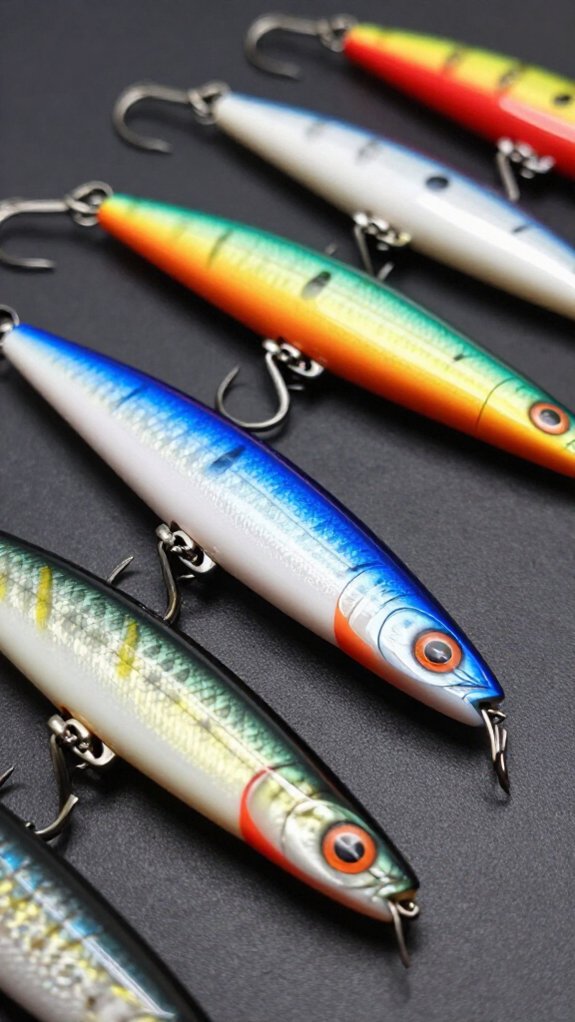
Once that primer’s locked down and smooth as glass, I’m ready to start laying in the belly color, the foundation that’ll make everything else pop like a shad flickering through sunlit water.
Setting Up Your Base Coat
I dial my airbrush to 25 PSI and start spraying from 4-6 inches out, laying down a light, even base coat of white or pearl across the belly. Thin coats are my secret weapon here—I build them up slowly, hitting each layer with heat until it’s bone-dry.
Rushing this step invites runs and texture nightmares that’ll haunt your finish later.
Controlling the Transition
When I’m ready to blend, I drop pressure to 15 PSI for delicate, controlled spray. I use masking to protect the top half, keeping my lines crisp while feathering that transition upward. This gradient sets the stage for everything that follows.
Layer Mid-Tones and Blend Your Color Transitions
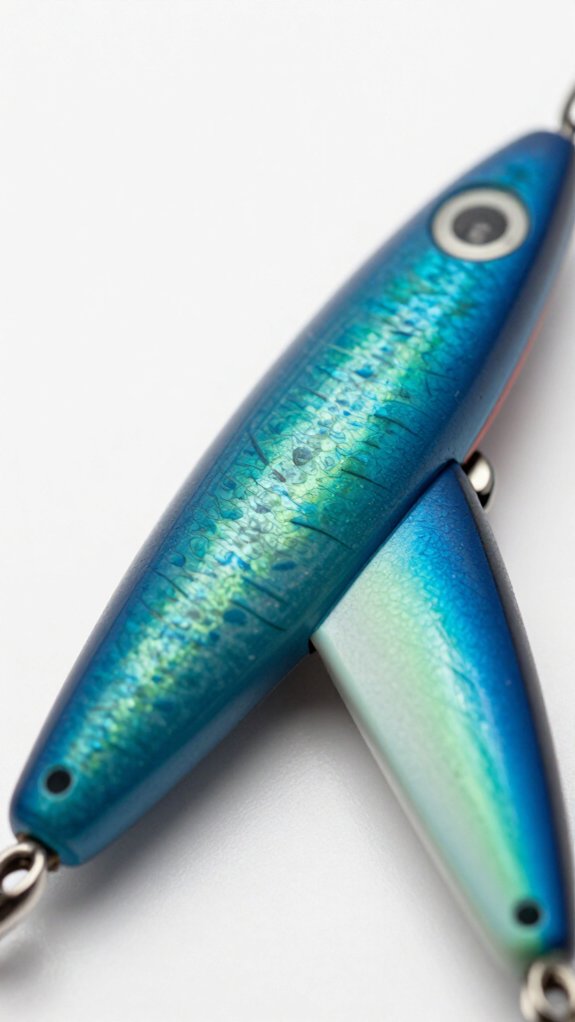
I’ll show you how to layer mid-tones and blend your color transitions so your lures look alive in the water and trigger more strikes. I start by choosing mid-tone colors that bridge my base and highlight shades, think olive bridging chartreuse to dark green.
Then I thin my paint slightly and build up thin, even coats with controlled, circular airbrush movements that softly marry adjacent colors without any harsh edges. I keep my air pressure dialed back and make multiple light passes, letting each layer dry completely before adding the next.
This gives me that smooth, fish-attracting gradient that looks like real baitfish scales flickering beneath the surface.
Mid-Tone Selection Tips
Because getting those mid-tones right is what separates a lure that looks “okay” from one that actually fools fish in clear water, I’ll show you how I layer and blend these crucial transition colors.
Building Depth with Mid-Tones
I always pick mid-tone colors slightly darker than my base, just enough to create dimension without drowning out lighter layers. When layering, I keep my spray passes light and controlled, building gradually so details stay crisp and visible.
Seamless Blending Techniques
For smooth color transitions, I dial back my air pressure and pull back from the lure, letting the paint feather naturally into surrounding areas. I mask off sections when I need clean edges between colors.
The Waiting Game
Here’s what trips most folks up: I dry each layer completely with a heat gun before adding more. Skip this, and you’ll get bleeding that ruins hours of work.
Smooth Blending Methods
When I’m ready to blend those mid-tones into seamless transitions, I start by thinning my paint properly with reducer. This keeps edges from building up thick and stubborn. I keep my airbrush at a steady 15 PSI, which gives me that smooth, even paint flow I need for controlled work.
Feathering Your Edges
I build up my mid-tone layers gradually, spraying lightly across transition areas with side-to-side strokes. While the paint’s still tacky, I’ll grab a clean, damp brush or soft blending tool and gently feather those edges where colors meet. Working fast matters here. Once it sets, you’re stuck with harsh lines.
Final Polish
For extra smooth results, I switch to a clean, dry brush and softly buff any remaining visible lines. This blending technique transforms separate colors into one fluid, professional-looking finish that’ll turn heads on the water.
Gradient Control Techniques
Now that you’ve got those edges feathered and polished, it’s time to take full command of how your colors flow into one another.
Mastering Your Gradient
I build every smooth gradient by working while the paint’s slightly tacky, using overlapping strokes that kiss the surface without fighting it. Start with your lightest base, then introduce mid-tones gradually. I’m constantly adjusting my air pressure and how far I hold the gun from the lure. Too close, and you’ll blast a hard edge; too far, and the color ghosts away.
The Secret to Seamless Blending
Thin your paints with reducer until they flow like skim milk. This fluidity prevents the streaks that ruin professional color transitions. When I need to rescue a harsh line, I’ll grab a clean, damp brush or soft sponge and lightly feather that mid-tone into its neighbor. It’s like watercolor blending, but with more control.
Practice Makes Perfect
Layering demands patience. I let each stage dry just enough before adding the next, building depth through gradual passes rather than one heavy coat.
Your smooth application improves with every lure you finish.
Airbrush Scale Patterns and Fine Details With Stencils
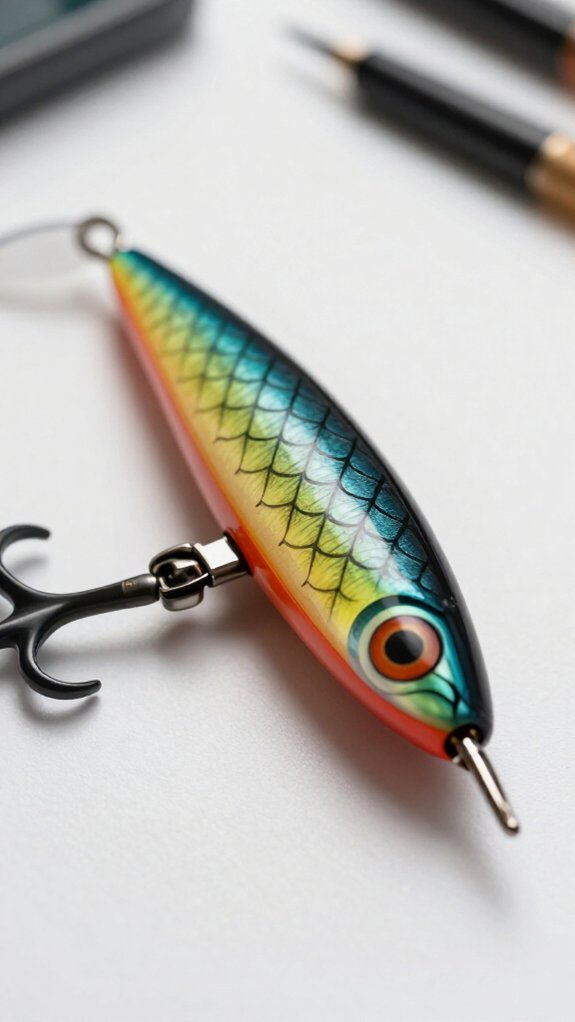
I’ll show you how to select the right scale stencil, whether custom-cut or pre-made from vacuum-formed plastic. Then lock in a steady 4-6 inch distance with 15-20 PSI pressure so those scale lines land crisp and clean every single time.
Once you’ve got your mesh sitting flush against the lure body, I’ll walk you through building contrast with whites or metallics that make those scales pop like a live baitfish in sunlit water.
We’ll finish by peeling that stencil away after a quick flash-dry, giving you razor-sharp edges that’ll have trophy fish mistaking your lure for dinner.
Scale Stencil Selection
Because realistic scale patterns separate amateur-looking lures from fish-catching works of art, I’m particular about the stencils I use. I always choose a scale stencil made from thin flexible material like vacuum-formed plastic or Mylar. These materials bend to the lure’s curves without wrinkling, giving me that precise pattern I’m after.
Here’s what I look for when selecting stencils:
| Feature | Why It Matters |
|---|---|
| Thin flexible material | Conforms to lure contours without gaps |
| Precise laser-cut edges | Prevents fuzzy, blurred scale edges |
| Reusable design | Saves money on repeated airbrushing projects |
I secure my stencil with masking tape or low-tack adhesive before spraying. This prevents shifting that will ruin hours of prep work. Clean stencils thoroughly after each use—dried paint builds up fast and destroys detail.
Mesh Application Technique
Once I’ve got my stencil picked out and secured, I reach for fine mesh or scale netting to take those scale patterns from good to downright convincing.
Setting Up for Success
I lay the mesh flat against the lure surface, ensuring it’s taut with no wrinkles. For airbrushing, I dial my compressor to 15-20 PSI and use a light, controlled spray. Too much pressure forces paint underneath the mesh, ruining that crisp scale pattern I’m after.
Building Depth
I build paint layers gradually, letting each coat flash-dry before adding the next. Between colors, I use masking to protect areas where I want variation. Darker backs fading to silver bellies look incredibly lifelike this way.
The Reveal
Once everything’s dry, I peel the mesh away slowly. The result, uniform, detailed scales that fool even picky fish. I practiced on scrap lures first, worth every minute.
Fine Detail Enhancement
When I’m ready to push my lure designs past basic scale patterns, I turn to finely detailed stencils and a steadier hand to nail those intricate details that separate custom work from factory paint jobs.
I use vacuum-formed plastic stencils or homemade masks for precision. Dropping my pressure to 10-15 PSI gives me that controlled spray I need for hair-thin lines and delicate scales without overspray bleeding everywhere.
Here’s my layering approach:
- Build fine details through multiple light coats
- Hit each layer with gentle heat until dry to the touch
- Wait for complete curing before stencil removal, peeling too early wrecks edges
That patient stencil removal reveals razor-sharp boundaries every time. I always finish with a quality clear coat, locking those hours of intricate work against toothy predators and rocky structure. Your detailed patterns stay vivid season after season.
Clear-Coat Your Finished Lure With Epoxy or UV Resin
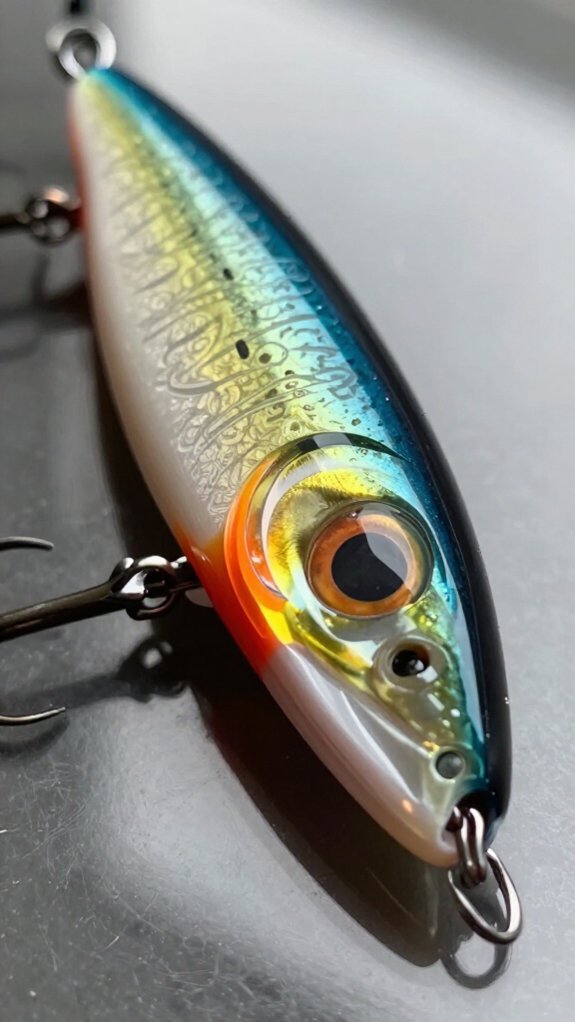
After I’ve put the final touches on a lure’s paint job, I always seal it with a clear coat, because all that careful airbrushing means nothing if the first trip through brush and timber scratches it to pieces.
I apply a thin, even layer of epoxy coating or UV resin to protect against scratches, UV damage, and water exposure. Epoxy requires mixing precise ratios and demands patience with a curing time of 4-8 hours, but rewards me with a durable, glossy finish. UV resin cures in minutes under UV light, convenient, though I’ve noticed it turns more brittle and yellows faster over time.
Here’s how I choose between them:
| Feature | Epoxy Coating | UV Resin |
|---|---|---|
| Curing time | 4-8 hours | Minutes |
| Durability | Excellent, flexible | Good, but brittle |
| Yellowing resistance | Better | Prone over time |
I always use a lure turner during curing to prevent sagging. Multiple thin coats build depth and gloss. I cure each separately to avoid bubbling.
Troubleshoot Airbrush Issues Without Ruining Your Paint Job
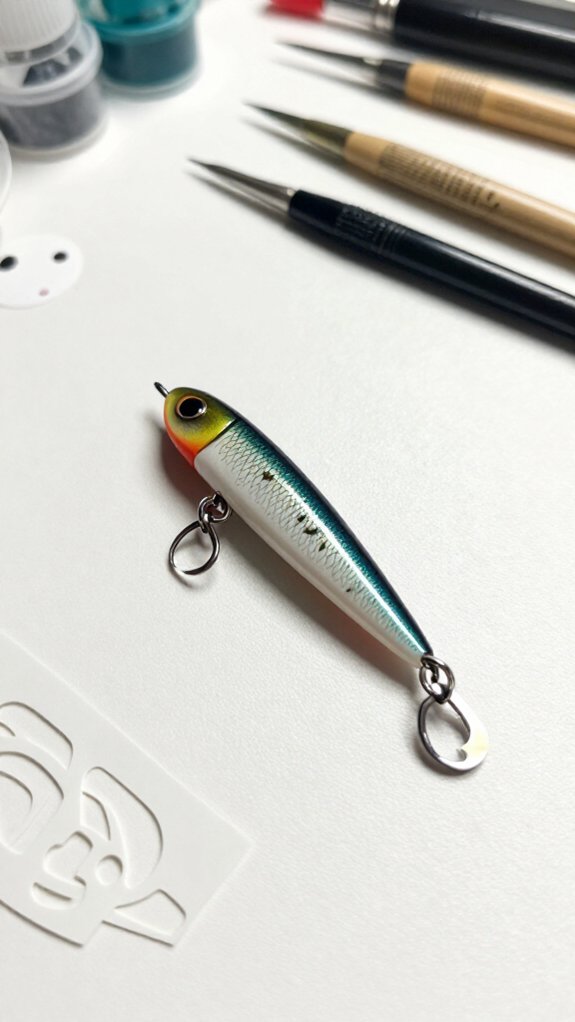
Even with the best setup, I’ve watched a perfectly good paint job turn into a speckled mess because I ignored a sputtering airbrush for thirty seconds too long.
Here’s how I troubleshoot mid-stream without starting over:
- I stop immediately and check my airbrush needle for dried paint buildup, clog prevention starts with a quick wipe using proper cleaner.
- I adjust paint thinning on the fly, adding reducer when I see splattering or dry tips forming at the nozzle.
- I dial back air pressure and pull the brush farther from the lure when uneven spray or speckling appears.
- I maintain steady hand movement and consistent distance to stop spider-webbing before it spreads.
After every session, I completely disassemble and clean everything. Residual paint hardens fast, and tomorrow’s detailed pattern depends on today’s thorough cleanup.
Frequently Asked Questions
Can I Paint Lures With an Airbrush?
Yes, I paint lures with an airbrush all the time. I’m able to create smooth, detailed finishes by thinning my paints properly and working at low pressure.
I’ll prep the surface carefully and maintain my equipment for consistent results.
What Type of Paint to Airbrush Fishing Lures?
I recommend acrylic paints for airbrushing your lures, as they’re water-based and dry fast. I use lure or model paints with reducers, and I’ll add metallic or pearlized options for shimmer. I skip oil-based paints.
What Is the Best Airbrush for Painting Lures?
I recommend a dual-action gravity-feed airbrush with a 0.2mm to 0.3mm nozzle for painting lures.
You’ll get precise control over paint flow and air pressure, letting me create clean, detailed patterns with minimal overspray and professional results every time.
Can You Use Fingernail Polish to Paint Fishing Lures?
Yes, I use fingernail polish for lures, it’s surprisingly vibrant yet frustratingly fragile. I’ll seal it with clear coat since it chips easily, but love how quickly it dries and how many colors I get.
In Conclusion
Airbrushing fishing lures lets you turn plain blanks into fish-catching works of art that outfish factory-painted baits. By priming properly, building colors from belly to spine, and adding scale patterns with stencils, you’ll create lures with depth and realism that trigger more strikes.
A quality clear-coat seals your investment against the “toothy critics” below the surface. Now grab your airbrush, your next personal best is waiting for a lure with your signature on it.