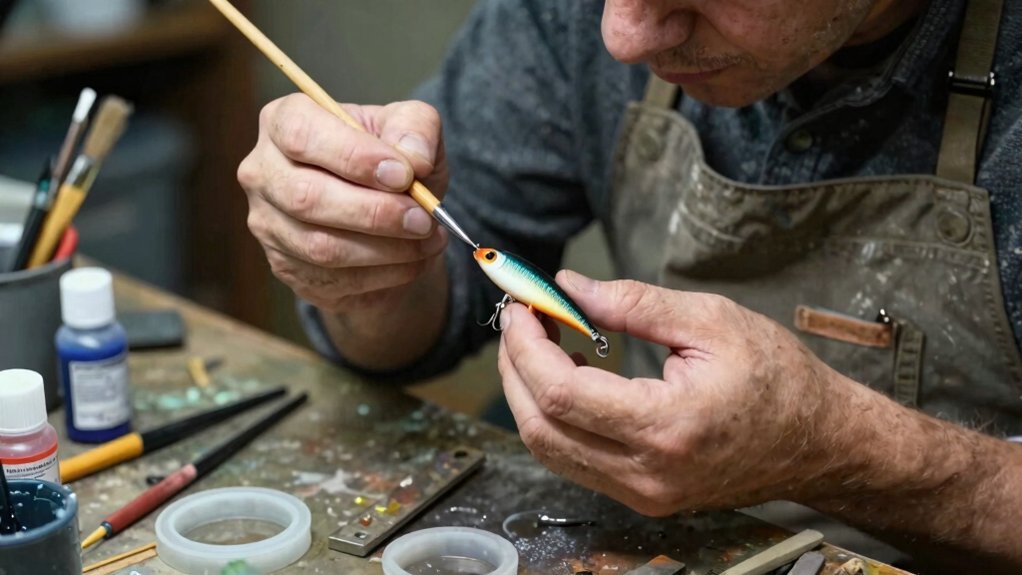

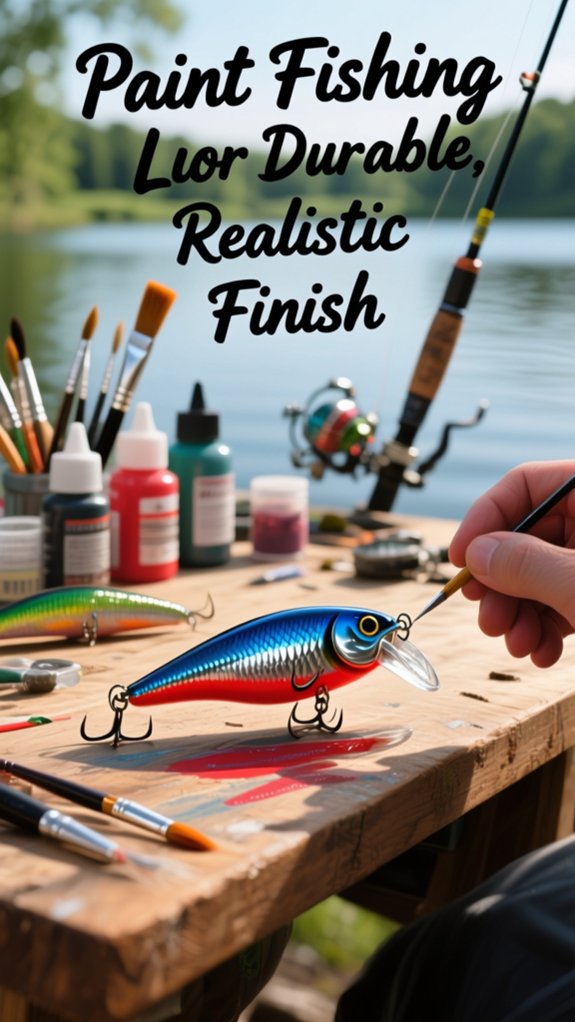
To paint fishing lures that last, I start by matching my blank to what the fish actually eat, shad and craw patterns for bass, perch imitations for panfish. Then I sand with 320-grit and prime white for a solid foundation.
I build color in thin, translucent layers with my airbrush held 6–8 inches back, letting each coat dry completely before adding realistic patterns like Fire Tiger or Sexy Shad. I seal everything with epoxy clear coat, curing it at 70–75°F for 24–48 hours without rushing. I keep humidity below 50% to prevent that dreaded cloudiness. There’s more to getting that glass-like, rock-proof finish than just waiting it out.
Match Your Lure Blank to the Fish You’re Targeting
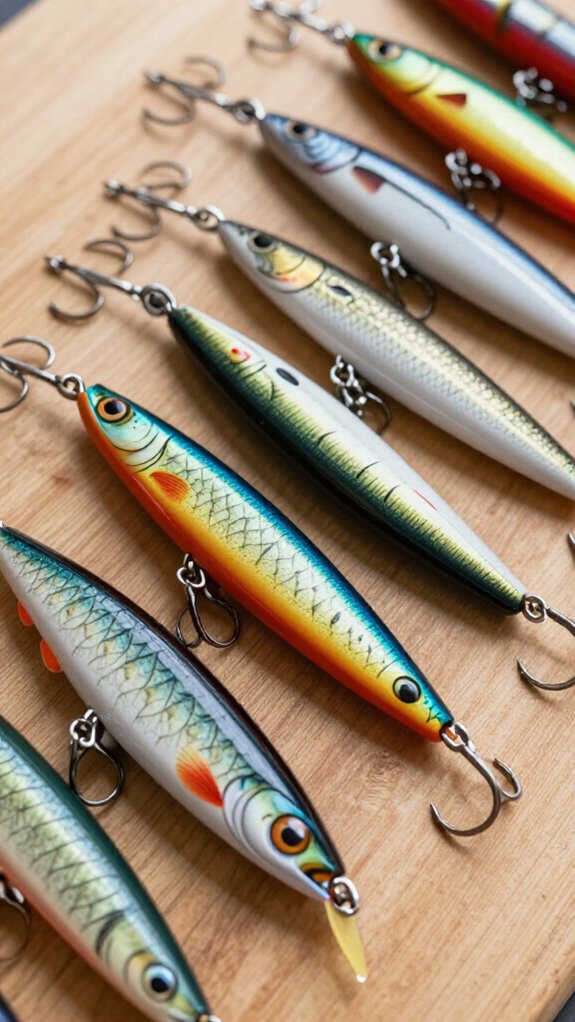
If you want more strikes, you’ve got to give your target species exactly what they’re already hunting, and that starts with picking the right lure blank before I ever touch a brush.
Know Your Fish Target
I always study what my fish target eats daily. Bass crush shad and crawfish, so I grab larger, robust blanks with natural color patterns.
For panfish, I downsize to subtle perch or bluegill imitations.
Water Clarity Matters
In gin-clear water, translucent or reflective blanks fool wary fish. That flash mimics real baitfish movement.
Build Your Realistic Finish
The right foundation makes every layer pop. When I match profile and color patterns to local forage, I create a realistic finish that triggers instinctive bites.
Your blank choice determines everything that follows.
Sand, Clean, and Prime for Maximum Paint Grip
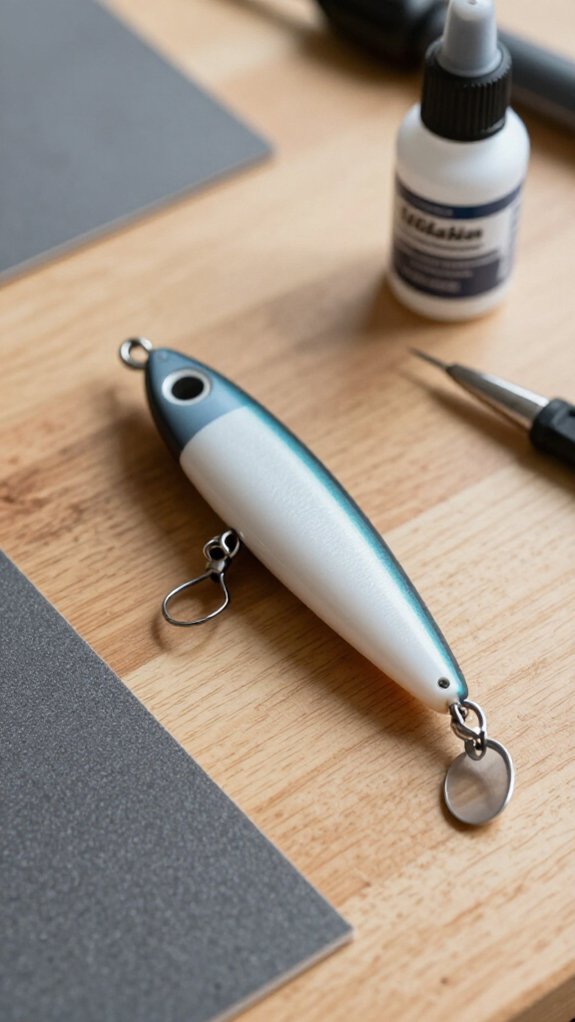
Once I’ve picked the perfect blank, I don’t just grab my airbrush and start spraying, that paint’s gonna peel right off if I skip the prep work.
Scuff for Grip
I sand every lure with 320–600 grit sandpaper, creating tiny scratches that give the paint something to bite into. That texture’s the secret to rock-solid adhesion.
Wash Away Trouble
Next, I clean the surface with isopropyl alcohol or degreaser. Oils from my hands, dust, factory residue—any of it’ll bubble or chip my finish. I wipe until it’s squeaky clean.
Prime the Canvas
After it’s bone-dry, I mist on a light, even coat of white or gray primer. This seals porous spots and builds a uniform base. Heavy coats drip; thin coats grip. That’s my foundation for durable, professional-looking lures that last season after season.
Choose Water-Based or Powder Paint for Your Lure Material
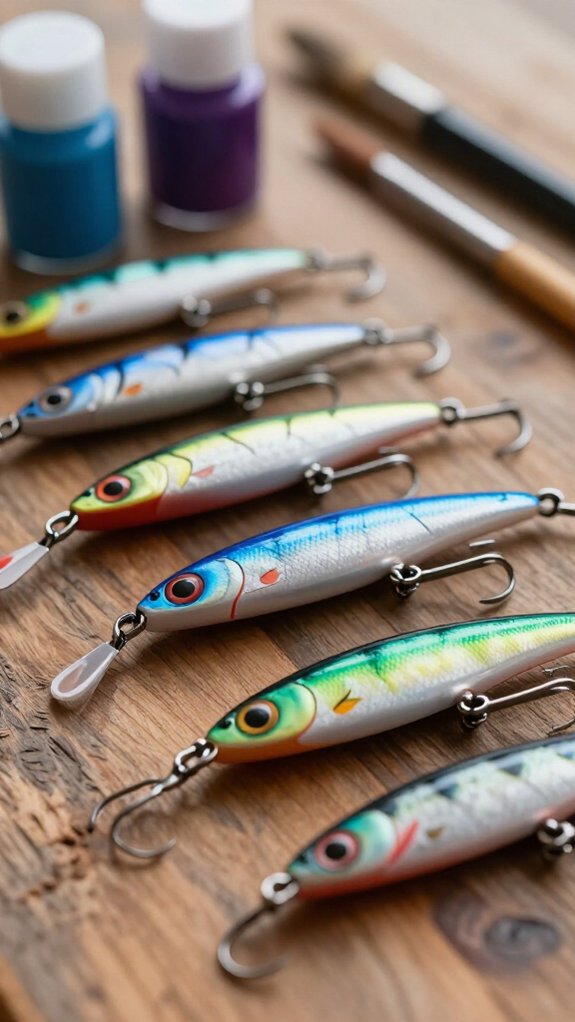
Whether I’m working with plastic, wood, or metal, picking the right paint type makes or breaks my lure’s finish, and its lifespan in the water.
I match my paint to my lure material for the best results. Water-based paints work beautifully on plastic and wooden lures. They flex with the lure’s movement, clean up with plain water, and dry fast enough that I’m layering colors within minutes. I thin them slightly for silky airbrush flow.
For metal lures, I reach for powder paints when I need serious durability. After coating the lure, I heat-cure it in a toaster oven until the powder melts into a tough, chip-resistant shell that survives rocky riverbeds and toothy predators.
Choose water-based paints for flexibility and convenience, or powder paints when maximum durability on metal is non-negotiable.
Layer Thin Base Coats for Even Color Buildup
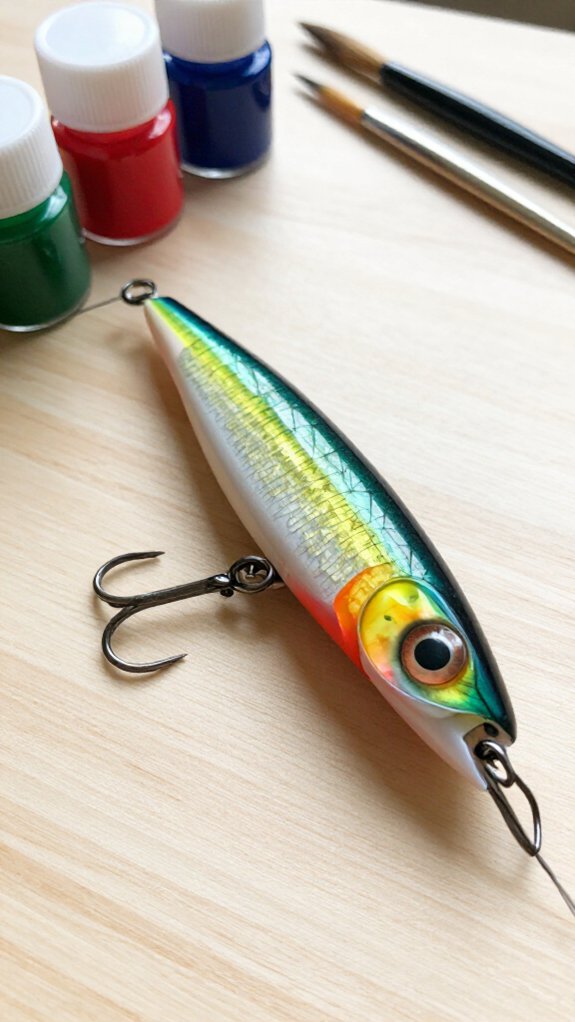
I always start my lure painting with thin, even base coats because nothing ruins a paint job faster than thick globs that run and drip, leaving you with uneven coverage that’ll show through every layer after it.
By building up multiple light coats instead of slapping on one heavy layer, I get colors that pop with real depth and durability. Plus, I keep that lure’s original swimming action intact since I’m not adding bulky weight that throws off the balance.
Just give each coat time to dry completely before you hit it again; I’ve learned the hard way that rushing leads to bubbling and peeling that’ll have you stripping paint and starting over.
Prevent Uneven Coverage
If I’ve learned anything from ruining a perfectly good crankbait with a single heavy coat of paint, it’s that thin base layers are the difference between a lure that looks factory-fresh and one that looks like it was dipped in a bucket. I always apply thin coats now, building up color through careful layering instead of one gloppy mess.
Here’s my approach for even coverage:
| Step | Action | Result |
|---|---|---|
| 1 | Hold sprayer 6-8 inches away | Consistent paint distribution |
| 2 | Apply first thin coat | Light, transparent base layer |
| 3 | Let dry completely | No tackiness, smooth surface |
| 4 | Repeat 2-3 times | Solid, durable finish |
I can’t stress patience enough. Rushing between coats traps moisture and causes peeling. When I let each layer dry completely, the paint bonds properly and won’t chip after a few strikes. Thin coats mean I control exactly where color goes, no surprises, no wasted lures.
Build Color Depth
Why settle for flat, lifeless colors when a few extra passes with the spray gun can turn a basic lure into something that pulses with depth? I build that depth by layering thin coats of base color, letting each one dry completely before adding the next.
Here’s what this approach gives your lures:
- Confidence that you’re not ruining hours of work with drips or runs
- Excitement watching vibrant colors emerge gradually instead of choking under thick, sloppy paint
- Satisfaction controlling exactly how intense each hue becomes
- Pride holding a finished lure that looks alive in the water
I keep my spray distance and pressure consistent, building opacity slowly. Those thin coats let me blend and adjust until the color practically glows. The result? A lure fish can’t ignore.
Maintain Lure Action
Because I want every lure I paint to swim exactly as designed, I keep my base coats whisper-thin and build them up gradually. Thick paint is the silent killer of action, adding weight and drag that turns a darting minnow into a sluggish lump.
I rely on layering thin coats because they cure faster and eliminate drips that ruin a lure’s balance. Each lightweight pass lets me control color saturation while preserving the natural wobble or dart that triggers strikes.
I always wait for full drying between applications. This patience pays off with a smooth, durable finish that won’t chip or crack when I’m banging rocks for smallmouth.
Using gentle, sweeping motions with my airbrush, I protect lure action by avoiding buildup in joints or around the lip, keeping every bait running true.
Paint Strike-Triggering Patterns Like Fire Tiger and Sexy Shad
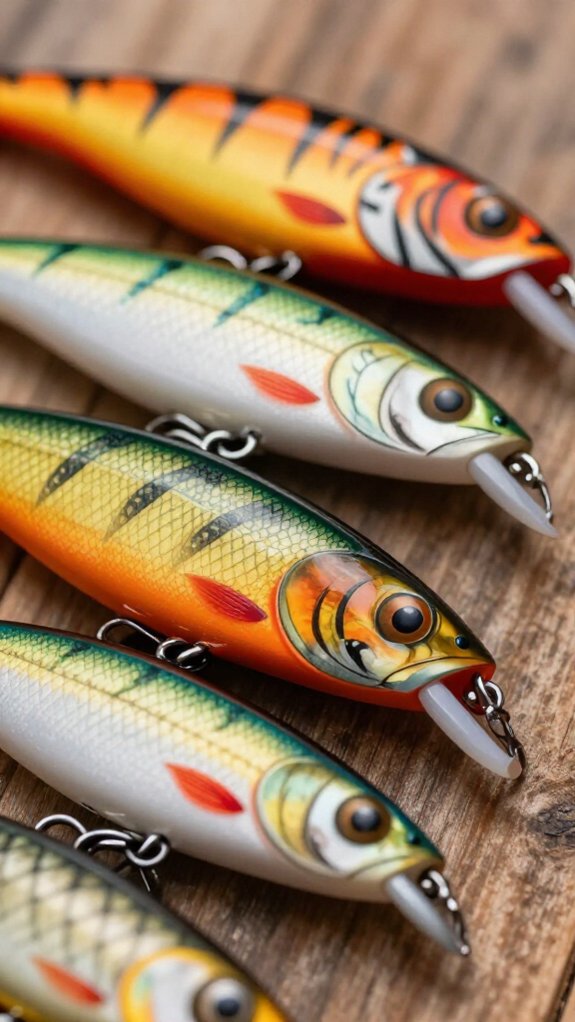
When I’m looking to turn a slow day into a hot bite, nothing beats the visual punch of a well-executed Fire Tiger or Sexy Shad pattern on my lure. These two classics flat-out produce because they tap into what predators crave.
For a realistic Fire Tiger, I lay down a pearl white base, then spray translucent orange and yellow stripes, finishing with bold black bars. The metallic shimmer underneath makes those colors absolutely glow in murky water.
Sexy Shad starts silver or blue pearl, with subtle shading that mimics a dying shad’s flash.
Here’s what separates good from great:
- Layering translucent paints over metallic bases creates depth that drives fish wild
- Contrasting dots along the gill plate mimic wounded baitfish perfectly
- Thin, crisp edges on every stripe or scale keep the pattern clean and believable
- A quality clear coat locks in vibrancy so your work lasts season after season
Seal With Epoxy Clear Coat That Handles Abuse
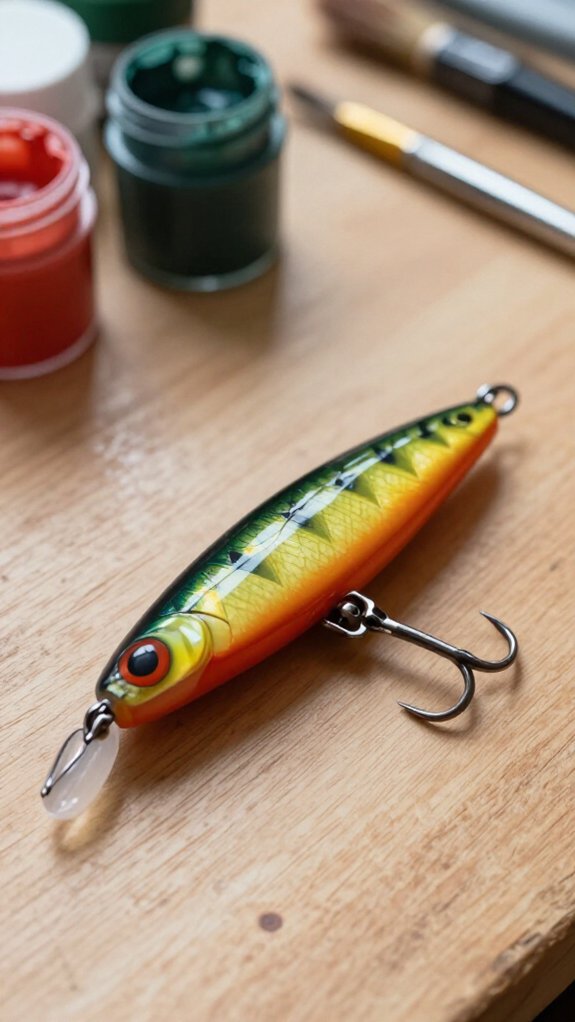
I’ve seen too many beautifully painted lures turn into chipped disappointments after just a few trips, which is why I won’t let a lure leave my bench without a bulletproof epoxy clear coat.
I always reach for a quality two-part epoxy resin. It creates a thick, durable barrier that laughs off rocks, teeth, and UV rays. Here’s what separates the good from the great:
| Feature | Why It Matters |
|---|---|
| Hard glossy finish | Deflects scratches and maintains realism |
| Chemical resistance | Survives fish oils and cleaners |
| Temperature stability | Won’t crack in summer heat or winter cold |
| Water impermeability | Locks out moisture from painted surfaces |
| Clarity | Keeps your fire tiger pattern popping |
Mix thoroughly, apply thin layers to dodge bubbles, and cure dust-free. That clear coat isn’t just shine, it’s serious protection that keeps your handiwork looking fresh season after season.
Cure Clear Coat Fully Without Clouding or Soft Spots
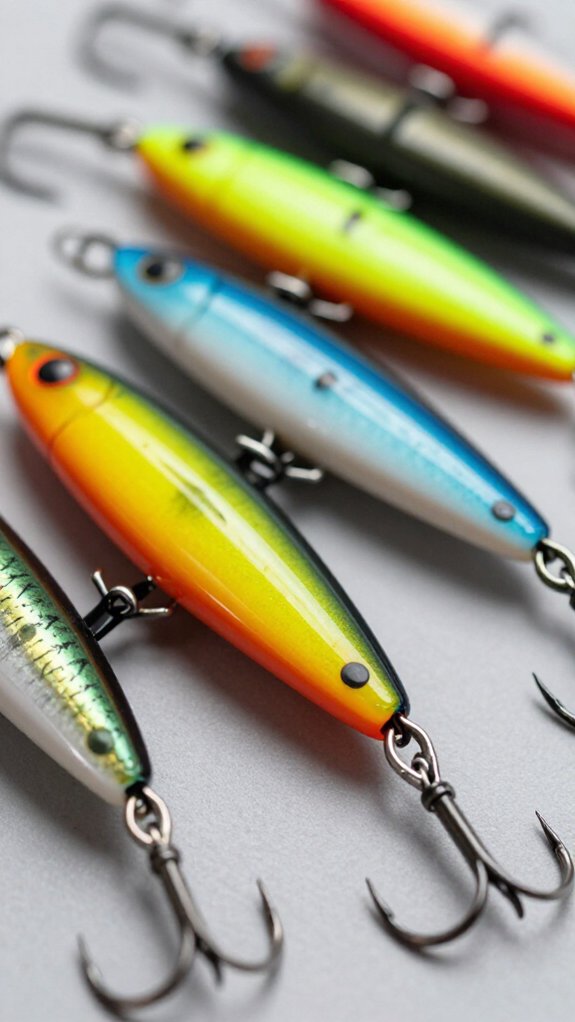
I cure my clear coats at a steady 70-75°F because temperature swings are what turn a glossy finish into a cloudy mess you’ll want to strip and redo. I’ll let each layer sit undisturbed for the full manufacturer’s window, usually 24 to 72 hours, since rushing this step leaves soft spots that’ll fail when a trophy bass thrashes against rocks.
I also run a dehumidifier in my shop when moisture climbs above 50%, because I’ve learned the hard way that humidity traps itself in the finish and hazes over what should be crystal-clear armor.
Optimal Curing Temperature
Although temperature might seem like a minor detail, I’ve learned it makes or breaks a clear coat’s finish. I’ve ruined too many lures by rushing the cure in my cold garage, resulting in soft, cloudy messes that peeled within weeks.
The sweet spot sits between 70°F and 85°F. Below 70°F, you’ll get stubborn soft spots and hazy patches that never fully harden. Above 85°F, the clear coat races through curing, trapping bubbles and creating spiderweb cracks.
Here’s what temperature control delivers for your lures:
- Glass-like clarity that lets your paint job shine through
- Rock-hard durability against toothy predators and rocky bottoms
- Consistent results every single batch, no guesswork
- Longer lure life that saves money and catches more fish
I always use a temperature-controlled space now. Your patience pays off in toughness you can feel when that trophy strikes.
Proper Timing Intervals
While temperature sets the stage, timing determines whether your clear coat becomes armor or an expensive mistake. I always let each layer application dry completely before adding another coat, rushing this drying time traps solvents and creates cloudy, soft finishes you’ll regret.
Here’s my timing breakdown:
| Stage | What I Do |
|---|---|
| Between coats | Wait 4-6 hours until the clear coat feels tack-free |
| Final coat | Let curing run 24-48 hours per manufacturer specs |
| Water exposure | Hold off a full 48 hours minimum |
I don’t touch or move lures during curing, fingerprints ruin that glassy depth we’re after. If I’m impatient, I’ll use a UV light or heat gun, but only when the manufacturer specifically approves it. Skipping proper intervals wastes every hour you’ve already invested.
Humidity Control Methods
Timing won’t save your finish if the air itself is working against you. Humidity is the silent culprit behind cloudy clear coats and those frustrating soft spots that never fully harden. I keep my workspace between 40-50% humidity during curing, and it makes all the difference.
Here’s how I lock out moisture for good:
- I run a dehumidifier to strip excess humidity from the air before I even crack the clear coat.
- I tent my lures with vented plastic wrap, creating a microclimate that shields curing from sneaky moisture.
- I lay silica gel packs nearby—those little warriors absorb what my dehumidifier misses.
- I apply thin, even coats and wait 24-48 hours; Rushing traps moisture and ruins everything.
Patience beats do-overs every time.
Touch Up Paint Chips and Store Finishes Safely
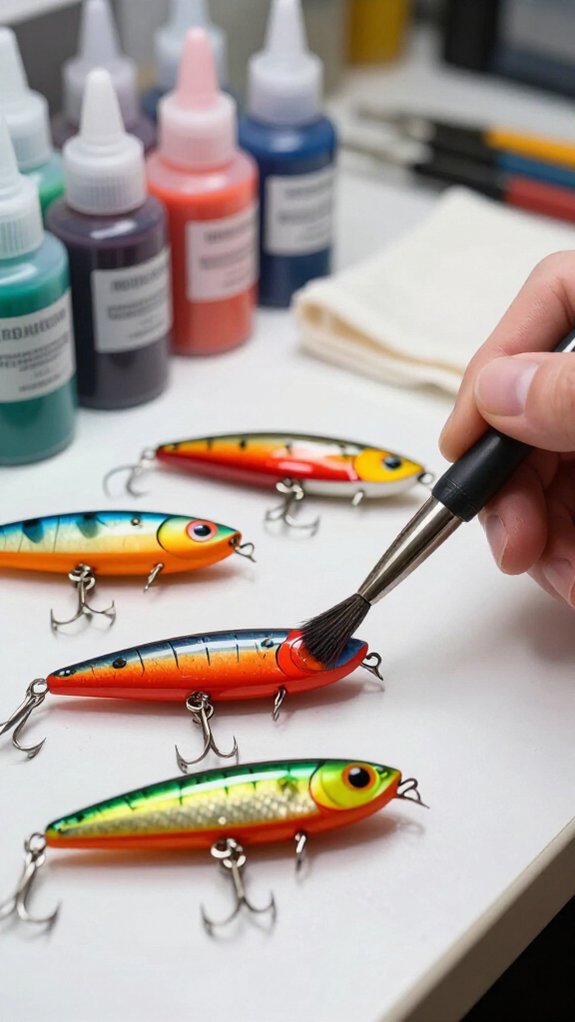
Even the most carefully painted lure takes a beating after a few aggressive strikes and rocky shorelines, so I’ve learned to keep my touch-up kit ready instead of letting small chips turn into big problems.
Quick Repairs That Last
I grab fine-tipped brushes or toothpicks for precision work, dabbing matching paint into those annoying nicks. Thin layers blend better than one thick glob—I’ll build up three or four coats, letting each dry completely.
Once I’m satisfied, I seal the repair with clear coat to lock in that finish and block water damage.
Smart Storage Saves Your Work
For storage, I keep finished lures in a cool, dry spot away from windows, that UV light fades colors fast. I nestle them against soft cloth or foam padding so they don’t rattle around and scratch.
Simple habits keep my paint jobs looking fresh season after season.
Frequently Asked Questions
What Is the Best Paint for Painting Fishing Lures?
I prefer acrylic airbrush paints like Createx for most lures since they’re vibrant, easy to use, and adhere well. For extreme durability, I’ll grab epoxy or UV-cure paints instead.
What Is the Most Durable Clear Coat for Fishing Lures?
Like Achilles’ shield, I choose epoxy clear coats, Devcon or West System, for unparalleled armor against water, scratches, and UV rays. I’ll prep the surface and layer thin coats so my lures withstand battle after battle.
How Do You Paint Lures?
I clean and sand the lure, then apply primer. I build colors with thin airbrush layers, add details, and seal with epoxy or UV-cure clear coat.
I let each layer cure fully before fishing.
Can You Paint Fishing Lures?
You bet I can, and I’ve metamorphosed hundreds. I prep the surface, choose compatible paints for each material, layer colors for realism, then seal everything with a protective clear coat.
It’s cost-effective magic that revives old lures beautifully.
In Conclusion
You’ve now got every step needed to turn plain lure blanks into fish-catching works of art that’ll survive season after season. Remember: patience in curing beats speed every time, rush the epoxy, and you’ll watch your hard work peel like sunburned skin. I’ve ruined dozens learning that lesson so you don’t have to.
Now grab your airbrush, trust the process, and start painting lures that outfish store-bought tackle. The bass won’t know what hit ’em.