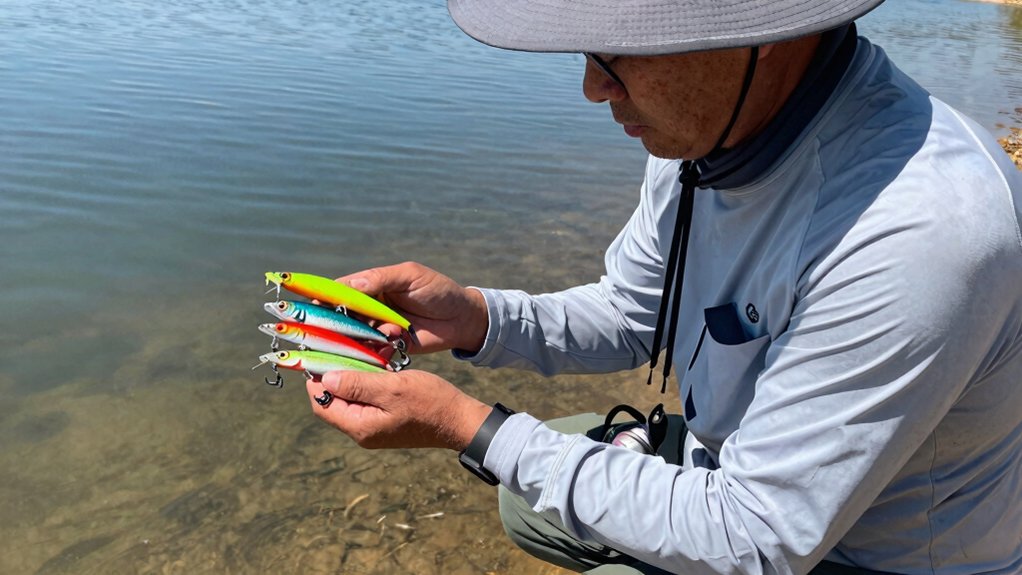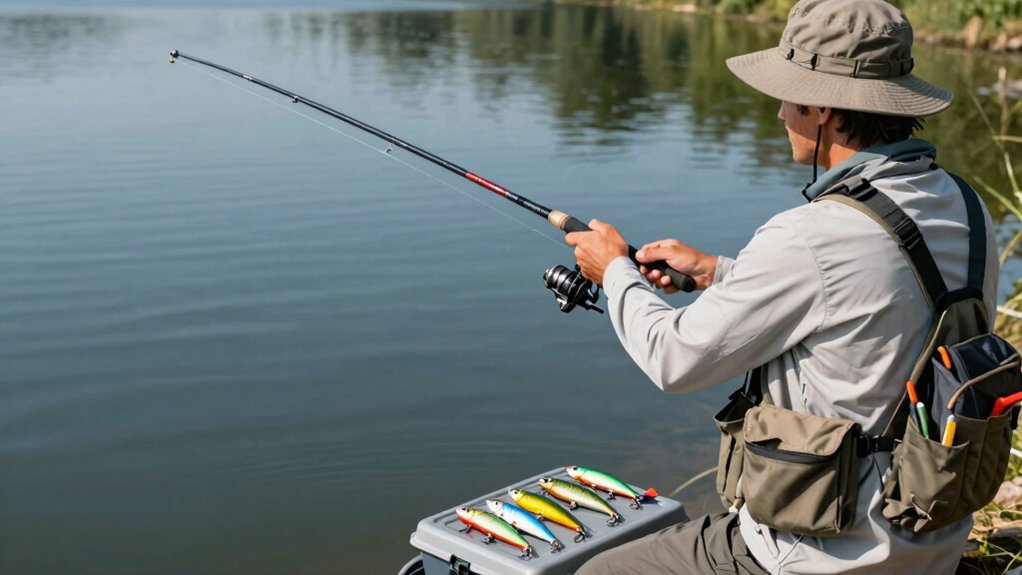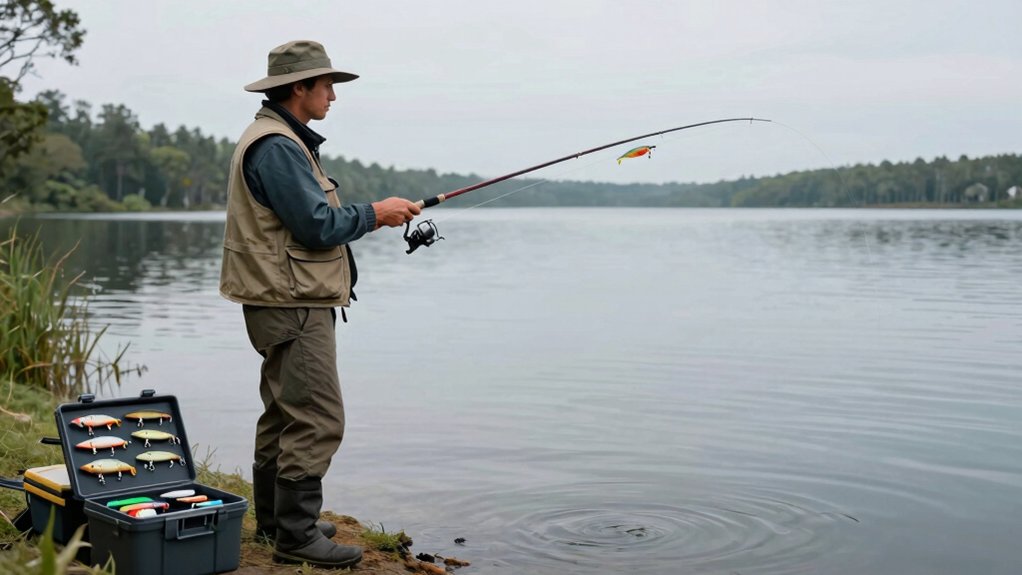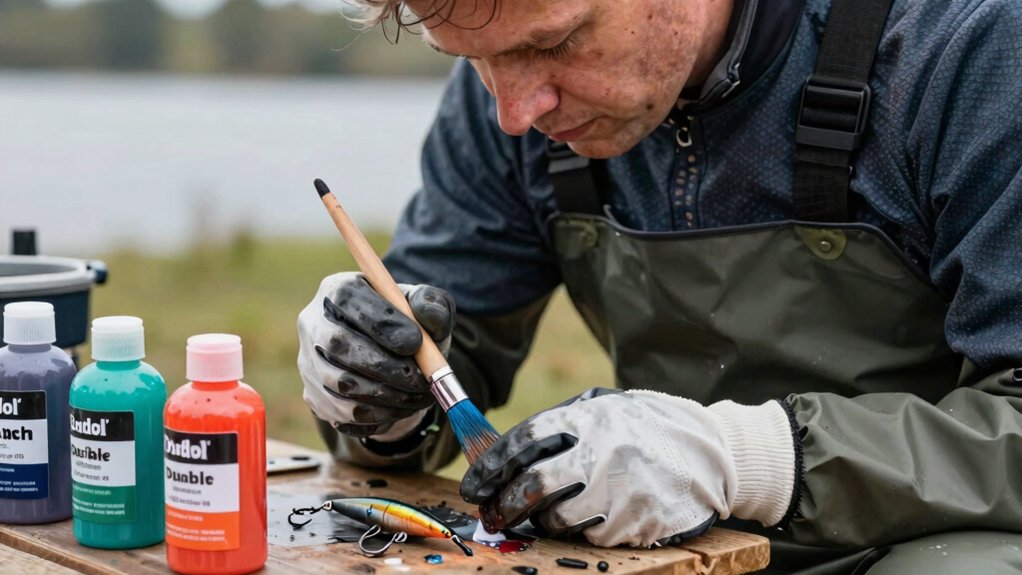

I use Createx Wicked airbrush paint for vibrant, detailed work on hard baits and jig heads, sealing everything with Flex Coat Ultra V epoxy for that glass-like, tooth-resistant finish that actually survives rocky river bottoms and toothy predators.
For brutal conditions where I’m bouncing jigs off structure all day, Pro-Tec powder paint beats spray options hands down: it bonds chemically for a coating that won’t chip when you need it most. Budget paints like Rust-Oleum work in a pinch, but only if you’re willing to bury them under a proper epoxy topcoat.
The real secret isn’t just the paint you pick, it’s what you seal it with, and there’s a method to matching each technique to your fishing style that’ll save you headaches later.
What Fishing Lure Paint Do the Pros Actually Use?
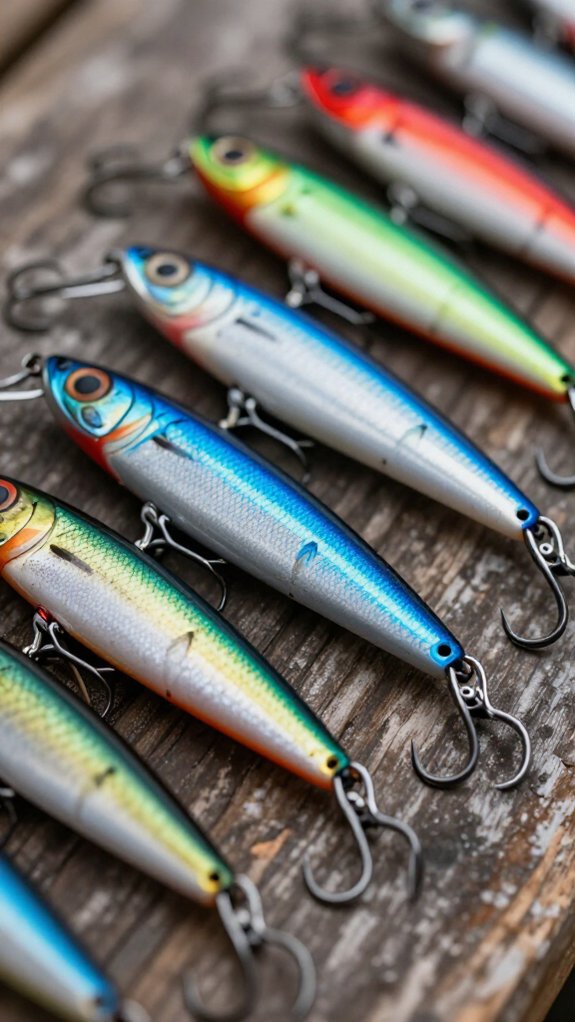
If you’ve ever wondered what separates a hand-painted lure that fools trophy bass from one that chips after a single strike, the answer usually starts with the paint itself.
I’ve spent years watching pro lure makers work their magic, and here’s what I’ve learned about fishing lure paint that actually holds up.
The Brands Pros Trust
Most professionals I know reach for Createx Wicked Airbrush Paint when they want colors that pop and stick. For that glass-like, bulletproof finish, they swear by Flex Coat Ultra V, an epoxy coating that laughs off toothy strikes.
Some old-school builders prefer Barlows Epoxy Powder Paint for its rock-hard durability. When they’re layering realistic scales or that perfect pearl shimmer, they’ll mix in transparents from Nova Stone.
Here’s the secret: Every pro seals everything with clear epoxy or polyurethane. Skip this step, and you’re basically throwing money in the lake.
Powder, Spray, or Airbrush: Which Type Fits Your Needs?
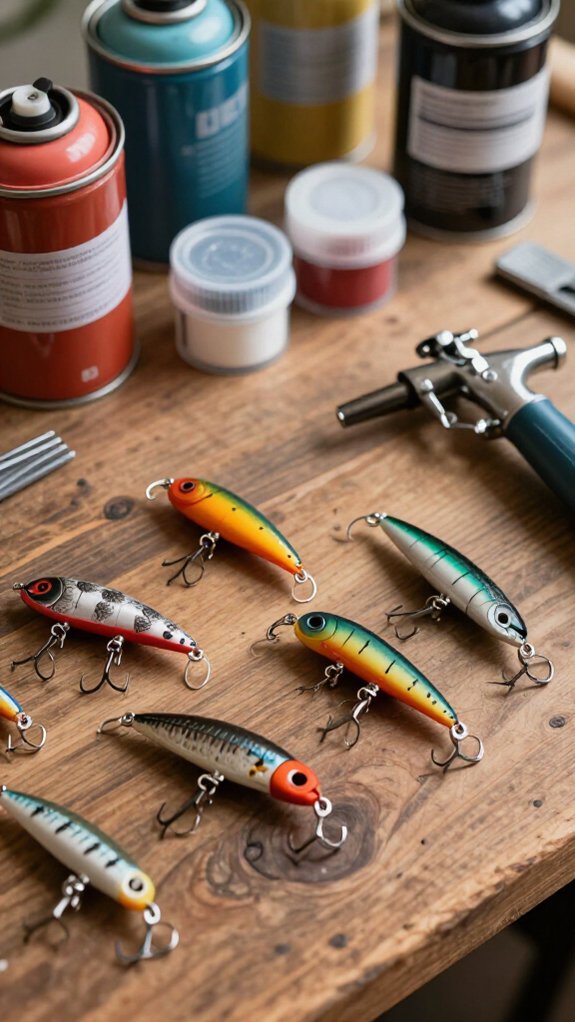
Choosing the right paint method for your lures comes down to what you’re building and how much time you’ve got on your hands. Let me break down your three main options:
- Powder paints deliver a rock-hard, glossy finish that laughs off toothy strikes and rocky bottoms.
- Spray paints get you on the water fast with even coverage, though you’ll want a clear coat for serious durability.
- Airbrush paint unlocks intricate scales, fades, and patterns that make fish commit, just seal it properly afterward.
- Hybrid approaches combine methods, like spraying a base then adding powder or epoxy protection.
I personally lean toward airbrush paint when I’m crafting tournament-grade crankbaits, but I’ll grab powder for jigs that’ll bounce off rip-rap all season.
Match your method to your mission, and you’ll build lures that look sharp and hold up strike after strike.
Best Fishing Lure Paint for Jig Heads and Hard Baits
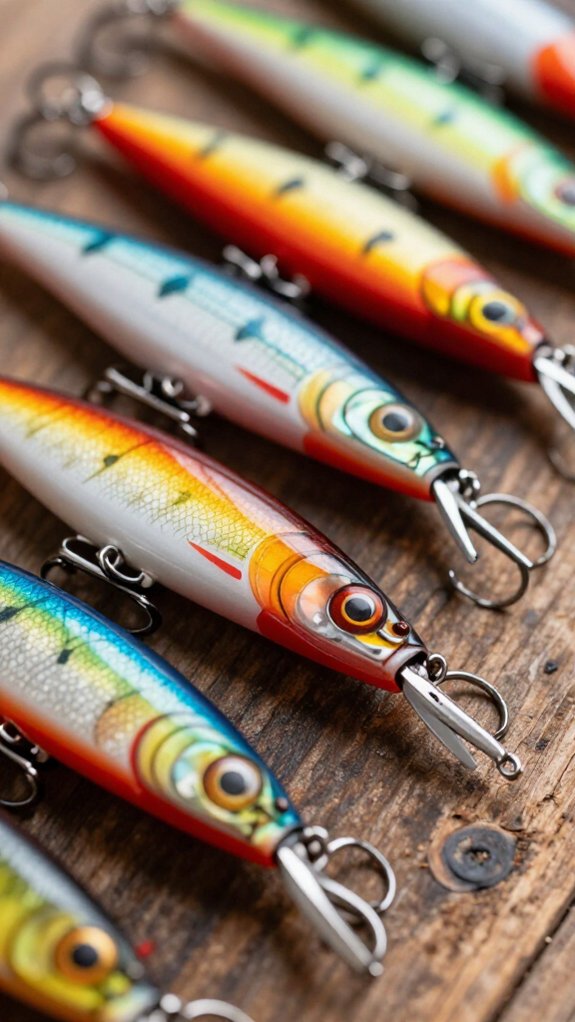
When I’m looking to put a finish on jig heads and hard baits that’ll survive season after season of abuse, I’ve learned that not all paints are created equal, and picking the right one can mean the difference between a lure that looks factory-fresh after fifty fish and one that flakes off before you even hit the boat ramp.
For my jig heads and hard baits, I reach for acrylic water-based paints like Createx Wicked. They cure tough and waterproof.
Epoxy-based coatings, including Barlow’s Epoxy Powder Paint, give that hard, candy-like gloss I love.
Vinyl paints in those handy 1 oz. or 4 oz. bottles flex without cracking.
Here’s my go-to process:
- Sand and prime every surface
- Apply quality paint from reliable lure painting supplies
- Seal with clear epoxy topcoat
That final layer? It’s my insurance against chips, peels, and water damage.
Pro-Tec vs. Barlows: Which Powder Paint Lasts Longer?
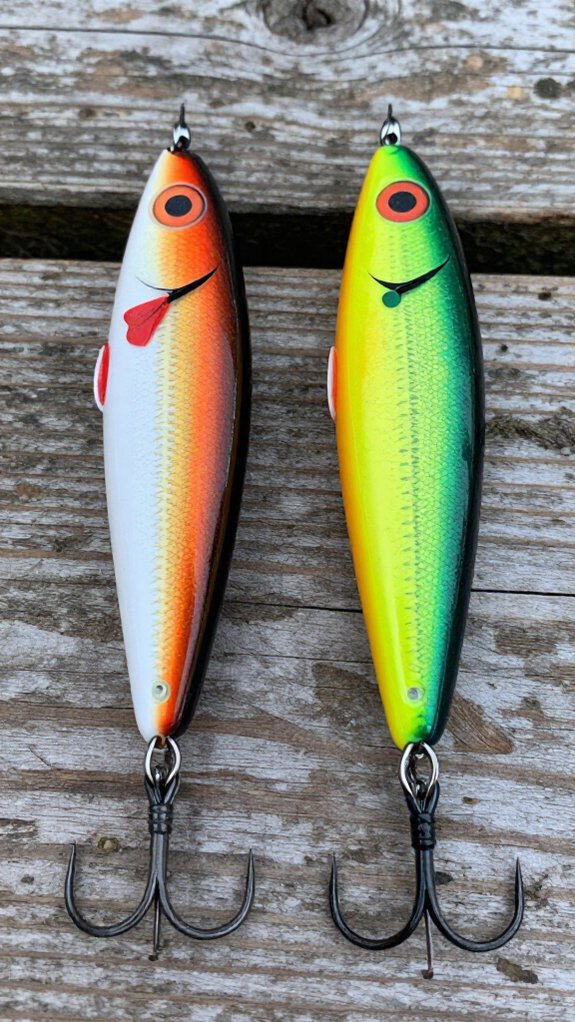
When I’m choosing between Pro-Tec and Barlows powder paints for my lures, durability and how I apply the finish are the two factors that make or break a long-lasting coating.
Pro-Tec’s larger 1 lb. bottles and epoxy formulation give me thicker, more resilient coverage that holds up against rocks, teeth, and repeated casts.
Barlows’ smaller 2 oz. epoxy-based option delivers a glossy, chip-resistant shell that I’ve found works best with careful, thin application and a proper seal.
I’ll walk you through how each paint performs under real fishing conditions and which application methods help you get the most mileage from your finish.
Durability Comparison
If you’re trying to decide which powder paint will hold up through season after season of hard fishing, I’ve found that Pro-Tec Powder Paint generally outlasts Barlows Epoxy Powder Paint on finished lures.
Pro-Tec’s epoxy paint formulation delivers industrial-strength chip resistance that I’ve seen survive rock collisions and toothy strikes. While Barlows offers attractive decorative options, their powders prioritize vein effects over pure toughness.
Here’s what separates these two:
- Pro-Tec’s 1 lb. bulk sizing suits serious builders needing consistent, heavy-use coatings
- Barlows’ smaller 2 oz. bottles run $5.79-$6.19, but often need multiple coats for matching durability
- Pro-Tec’s specialized epoxy base bonds harder and resists wear longer
- Barlows excels at detailed finishes, though they sacrifice some longevity for artistic versatility
For lures taking abuse in gnarly cover, I’d reach for Pro-Tec every time.
Application Methods
How you apply powder paint matters just as much as which brand you choose, and I’ve learned this the hard way after ruining more than a few crankbaits with sloppy technique.
Application Methods That Optimize Durability
I’ve found that proper preparation separates Pro-Tec and Barlows performance more than the labels suggest. With Pro-Tec’s 1 lb. bottles, I apply a thin, even coat. If it’s too thick, you’ll get drips that chip later. I always mix in their Glitter Top Coat for extra armor against toothy predators.
Barlows’ epoxy-based formula demands precise curing. I heat my jig heads to exactly 350°F, dip quickly, and give them a full 20-minute cure. Rush this, and that glossy finish flakes off after a few casts.
The Bottom Line
Your technique beats brand loyalty every time. Clean metal, consistent thickness, and patient curing—that’s what keeps lures looking fresh season after season.
Do You Really Need an Airbrush? Starter vs. Pro Setups
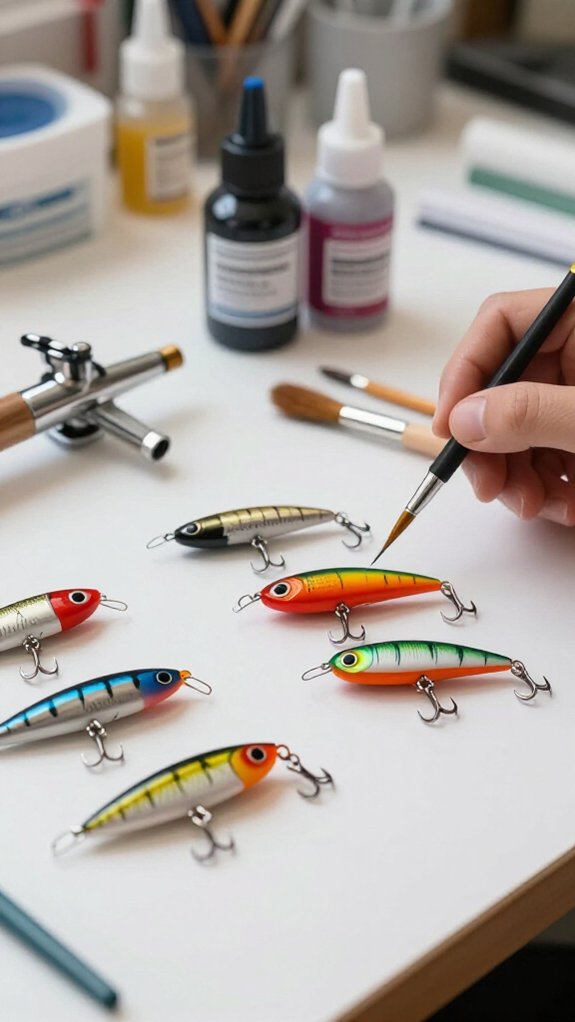
Although a $500 pro airbrush delivers incredible precision, I’ve found that a basic $30 to $80 starter kit is more than enough for most hobbyists who just want durable, good-looking lures without breaking the bank.
Starter vs. Pro: What Actually Matters
When I’m helping anglers choose their first airbrush, I always ask how often they’ll paint. Here’s what I’ve learned matters most:
- Single-action simplicity, beginner airbrushes let you focus on learning without fighting complex controls
- Compressor size, a small compressor handles weekend projects; pros need steady airflow for marathon sessions
- Included accessories, starter kits bundle cleaning tools and cups so you’re ready immediately
- Upgrade path, start basic, then invest in double-action precision once you’re hooked on custom lure painting
Your budget and goals should drive this choice, not ego.
How to Airbrush Fishing Lures With Createx Paint
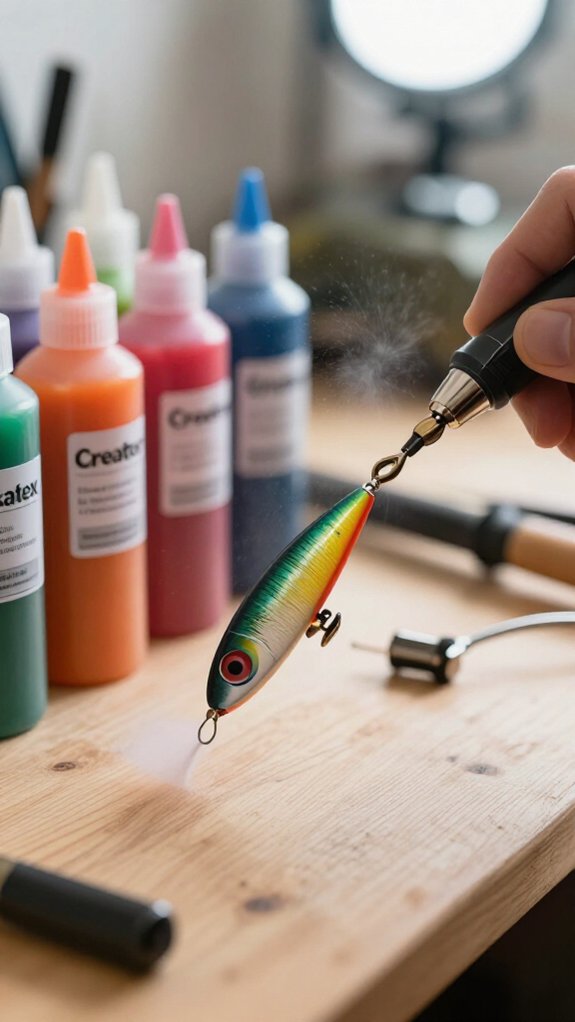
I’ll walk you through everything you need to know about getting Createx paint ready, setting up your airbrush right, and applying it like a pro so your lures come out looking sharp and fish-ready.
We’ll start with thinning your paints properly and prepping your gear. Then move into the actual spraying techniques that’ll give you smooth, durable finishes without the headaches.
Paint Preparation Basics
Before I lay down any color with my airbrush, I’ve got to prep that lure like I’m setting up for the catch of a lifetime, because sloppy prep means chipped paint and wasted hours on the water.
Getting the Surface Ready
I start by sanding every lure with fine-grit sandpaper. That rough surface gives the paint something to grip, so my finish won’t flake when a bass strikes hard.
My Prep Checklist
- Sand the lure body until it feels slightly textured, not glassy
- Spray a white primer basecoat using water-based or 2X acrylic paint for a clean, bright foundation
- Thin my Createx colors with the proper reducer so they flow without clogging
- Build up multiple light coats, letting each one dry completely before adding the next
I always clean my airbrush thoroughly after every session. Skipping this step ruins tomorrow’s spray pattern.
Airbrush Setup Essentials
When I’m ready to move from prep to paint, getting my airbrush dialed in right makes the difference between a lure that looks factory-fresh and one that belongs in the trash bin.
I always reach for a double-action airbrush because it gives me the precision I need for intricate scale patterns and fine details. Before I start spraying, I mix Createx Wicked Airbrush Paint with their thinner until it flows like skim milk, this prevents splatter and ensures smooth coverage.
I set my compressor between 20-30 PSI for consistent atomization without overspray. Thin, multiple coats beat one heavy layer every time; I let each coat flash dry before adding the next.
After my session, I break down and clean my airbrush thoroughly. Skipping this step guarantees clogs and ruined paint jobs tomorrow.
Createx Application Techniques
With my airbrush dialed in and ready to go, it’s time to put Createx paint to work on the lure itself. I’ll walk you through the application techniques that will give your lures that professional, fish-catching finish.
First, I prep the surface by lightly sanding and spraying a white basecoat. This makes those Createx colors absolutely pop. Then I thin my paints properly to keep the flow smooth and my airbrush clog-free.
Here’s my step-by-step approach:
- Prep matters: Sand and prime for maximum adhesion
- Thin correctly: Use Createx thinner or water for consistent spray
- Build layers: Apply multiple light coats instead of one heavy pass
- Seal it up: Protect with clear topcoat or epoxy for durability
These Createx application techniques convert plain lures into durable, eye-catching targets that predators can’t resist.
Seal Your Lure: Epoxy Top Coats for Maximum Durability
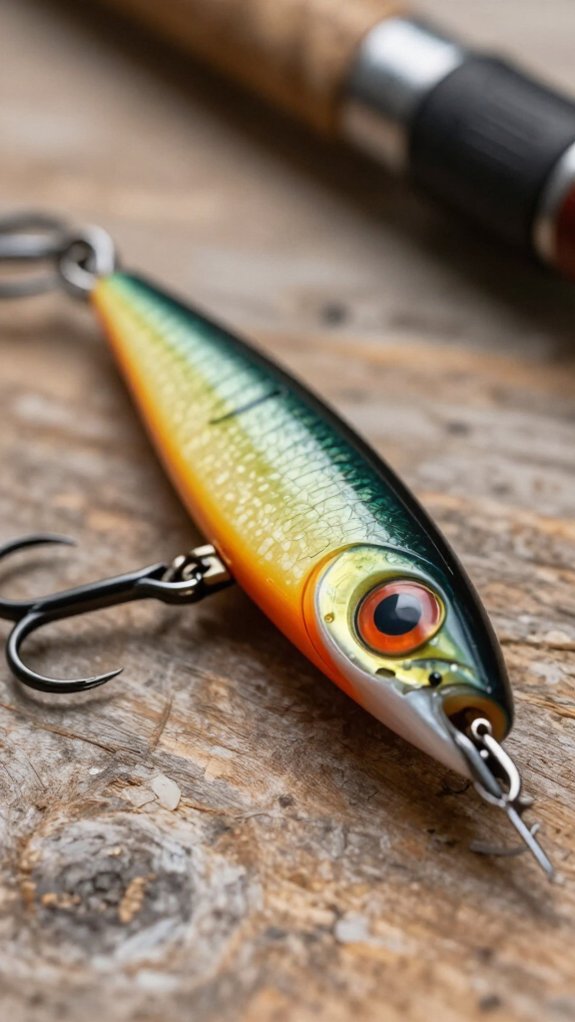
Once I’ve put in the hours painting a lure to perfection, I’m not about to let that work get chewed up by a musky’s teeth or dulled by sun and water, so I seal it with an epoxy top coat that turns a fragile paint job into armor.
Why Epoxy Wins
I reach for products like Flex Coat Ultra V or Envirotex because they cure into a clear, glossy shield that’s honestly bulletproof. The finish laughs off scratches, locks out water, and keeps colors popping trip after trip.
My Application Routine
- Prep first – I lightly sand the surface so the epoxy bites properly
- Mix precisely – Resin and hardener go by exact ratios, no guessing
- Spread thin and even – Bubbles become headaches fast
- Rotate while curing – I keep things turning in a dust-free spot for that glass-smooth finish
Add Glitter to Fishing Lures Without Hurting the Finish
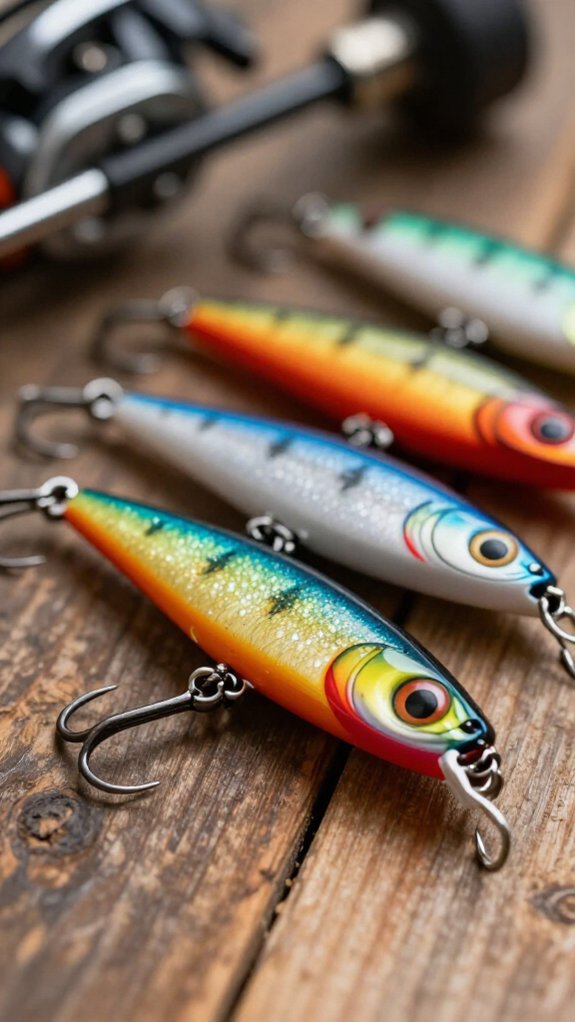
That rock-solid epoxy finish keeps my lures protected, but sometimes I want a little extra flash to mimic scales or catch light at depth. Only I’ve learned glitter applied wrong turns a smooth coating into rough, chipping disaster. The trick? I always suspend fine, lightweight glitter directly into my epoxy or clear topcoat, never into base paints. This locks the sparkle beneath a durable, transparent armor that won’t flake or peel after repeated strikes.
Here’s how I keep the finish glass-smooth:
- Mix glitter into epoxy or clear topcoat before brushing or dipping, never after
- Choose fine, lightweight glitter that won’t settle unevenly or clog nozzles
- Stir thoroughly to prevent glitter from pooling during cure
- Let the epoxy self-level completely for that factory-grade gloss
Budget Spray Paint That Works (And When It Doesn’t)
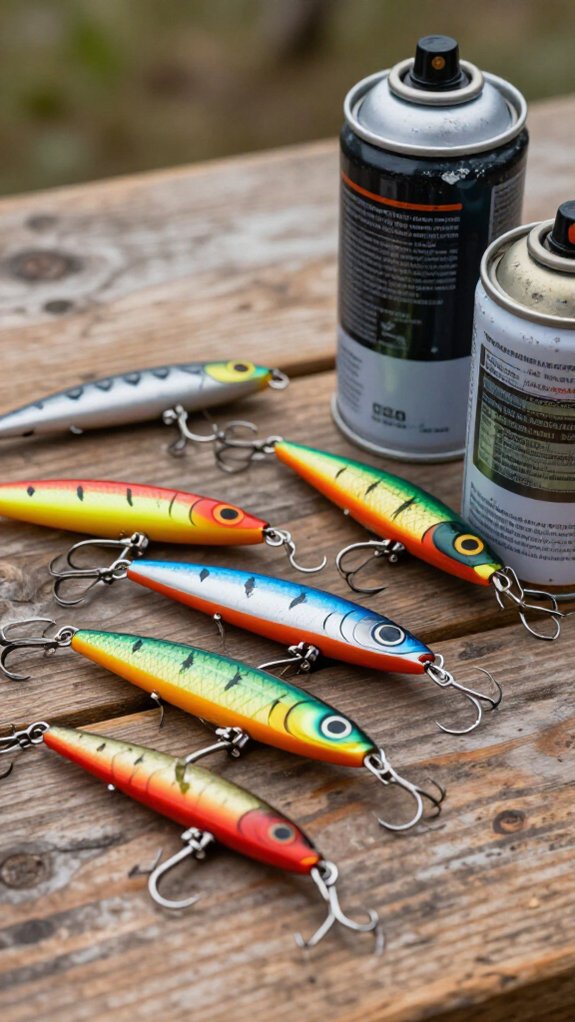
Although I’ve dropped serious cash on specialty lure paints over the years, I’ve also pulled plenty of perfectly respectable cranks from my drying rack that were shot with nothing fancier than Walmart’s Color Place or a can of Rust-Oleum from the hardware store.
When Budget Spray Paint Shines
For hobbyists or short-term projects, these spray paints deliver decent color and coverage without draining your wallet. They work fine for display lures or occasional weekend fishing.
Where They Fall Short
I’ve watched these finishes chip after a few rocky river outings and fade under summer sun. They simply lack the toughness and UV resistance of specialized coatings.
Making It Last
Seal your budget spray paint job with clear epoxy or a quality topcoat. That extra layer buys you durability you’d otherwise miss.
Frequently Asked Questions
What Is the Best Paint for Painting Fishing Lures?
I prefer Createx Wicked Airbrush Paint for my lures since it’s incredibly durable. But I’ll also use epoxy-based powders or vinyl paints when I need extra toughness.
I always seal with an epoxy topcoat like Flex Coat Ultra V for maximum protection against water and wear.
Can I Paint a Fishing Lure?
I paint fishing lures all the time, and you can too. I clean the surface, apply primer, then use epoxy powders, acrylics, or specialized lure paints.
I always seal with a clear coat for durability.
Is Acrylic Paint Good for Lures?
Yes, I think acrylic paint works great for lures. It’s water-based, so I’m cleaning up easily, and it dries fast to a waterproof finish.
I’m getting tons of color options, and I’ll seal it with epoxy for extra durability against chips.
Can You Use Fingernail Polish to Paint Fishing Lures?
I’ve used fingernail polish on lures, and it works for quick touch-ups or accents, but it chips easily and isn’t water-resistant. I’d seal it with clear epoxy if I want it to last.
In Conclusion
The right paint keeps your lures catching fish season after season, and now you’ve got the roadmap to make it happen. I’ll never forget watching my buddy Mike lose a 6-pound smallmouth because his cheap spray-painted crankbait chipped down to bare plastic, and that fish never bit again.
Don’t let that be you. Pick durable powder or Createx with a proper epoxy seal, and you’ll build lures that outlast the fish stories you’ll tell about them.