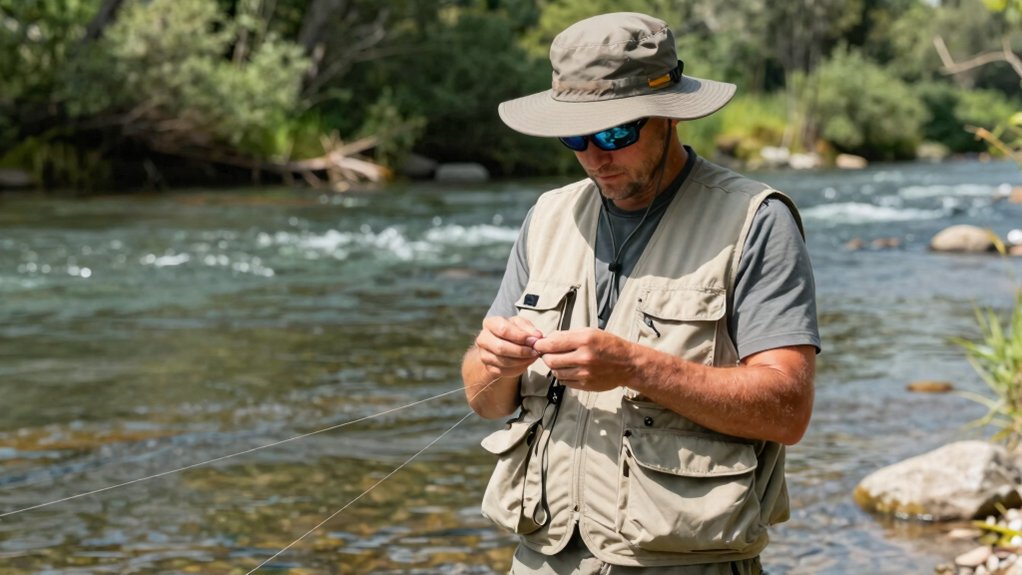

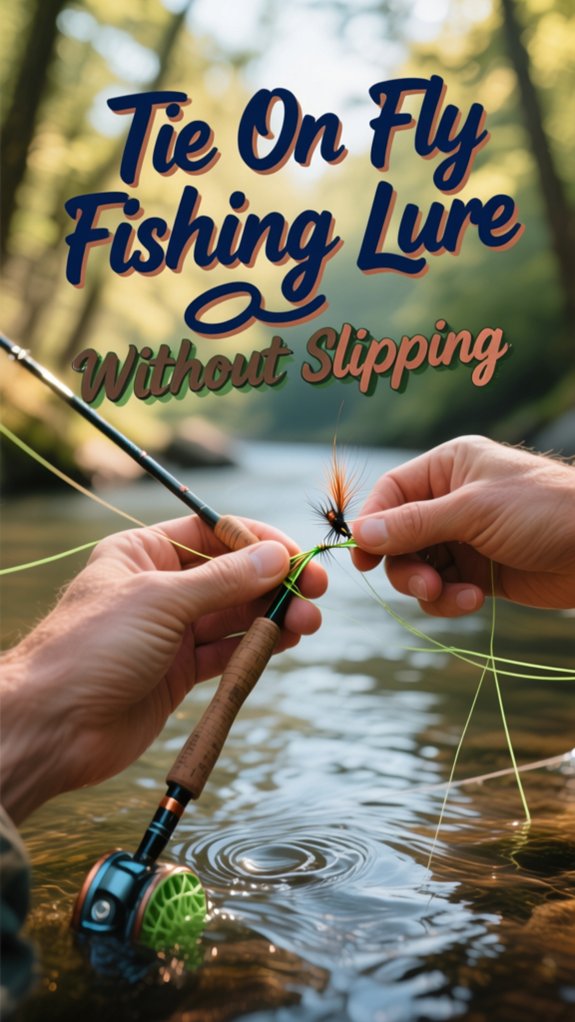
I stop my fly from slipping by matching the right knot to each lure. For standard flies up to size 14, I’ll tie an Improved Clinch Knot—threading the line through the eye, wrapping the tag end 5-7 times around the standing line, then passing it back through both loops before moistening and tightening slowly.
For big streamers, I switch to a Non-Slip Loop Knot so the fly can dart and shimmy like a wounded baitfish. I always tug-test before casting, because a knot that holds at 80-95% of my line’s strength means I’m fighting the fish, not my gear.
There’s more to knot selection than most anglers realize, and getting it right redefines how many fish actually reach the net.
Stop Your Fly From Slipping: Start With the Improved Clinch Knot
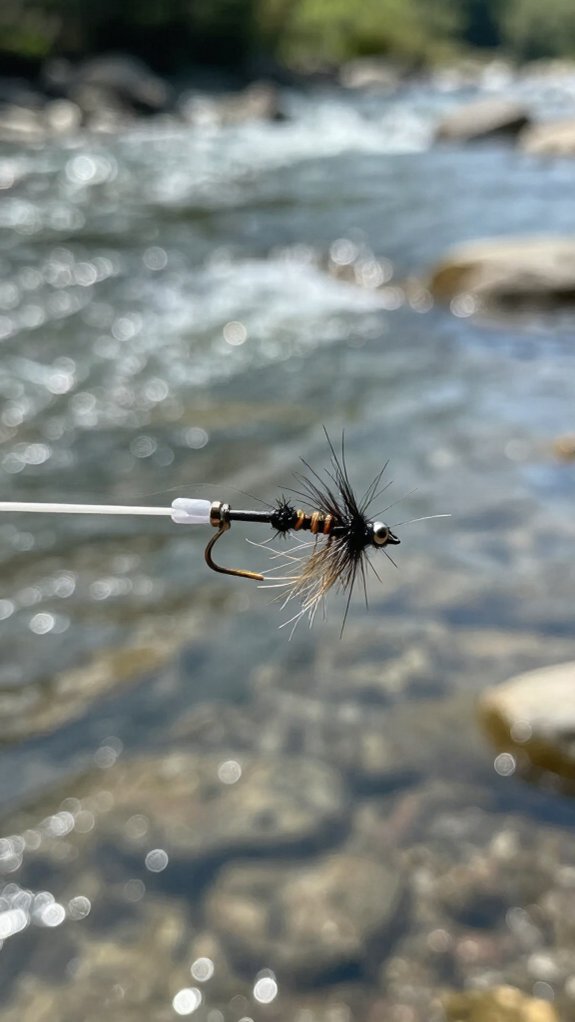
Because nothing ruins a perfect cast faster than watching your fly sail off into the weeds, I always start with the Improved Clinch Knot when I’m tying on a lure. Among fly fishing knots, it’s my go-to because it simply won’t let me down.
Why This Knot Earns My Trust
I’ve tested plenty of connections over the years, and the improved clinch knot delivers a secure hold that refuses to slip, even when I’m stripping line hard or a brown trout surges downstream. The key? Those tight wraps cinch down firmly, locking the tag end in place against the standing line.
The Moisture Secret
Here’s a trick I’ve learned: I moisten the knot with a quick dab of saliva before tightening. That little bit of lubrication cuts friction dramatically, letting me seat everything snug without weakening the line.
Tie the Improved Clinch Knot Step by Step
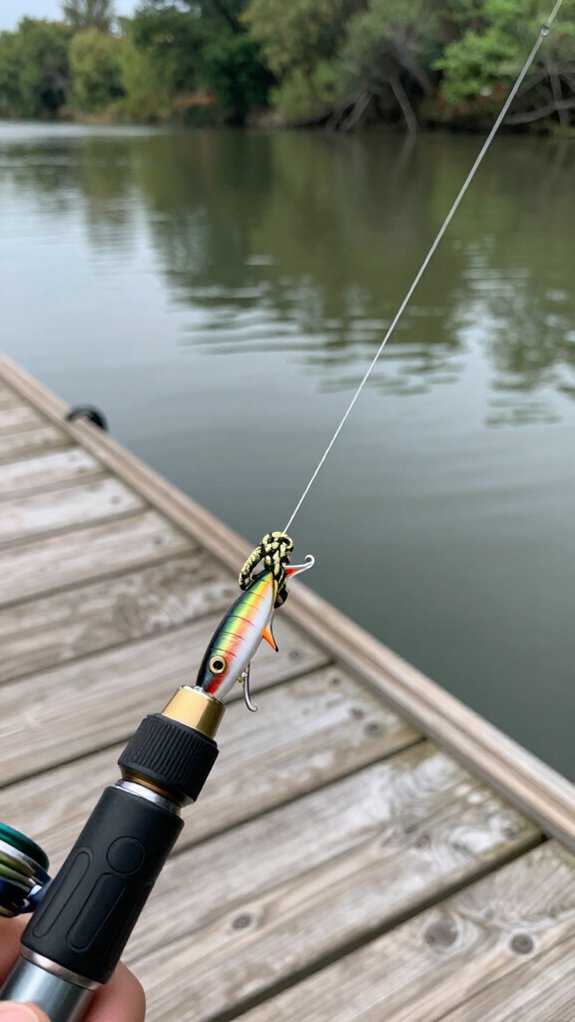
Once you’ve got your line ready, I’ll walk you through the Improved Clinch Knot exactly as I tie it streamside, no guesswork, just five simple moves that’ll lock your fly down tight.
Here’s how I build this clinch knot every time:
- I thread my line through the hook eye, leaving six inches of tag end to work with.
- I wrap that tag end around the standing line five to seven times—watching the coils stack like a tiny spring against my thumbnail.
- I pass the tag end through the small loop above the hook eye, then back through the bigger loop I’ve just created.
- I moisten the knot with a quick dip in the current, then pull both ends until it seats tight against the eye.
I trim the excess, give it a test tug, and I’m fishing.
Add Action to Streamers With the Non-Slip Loop Knot
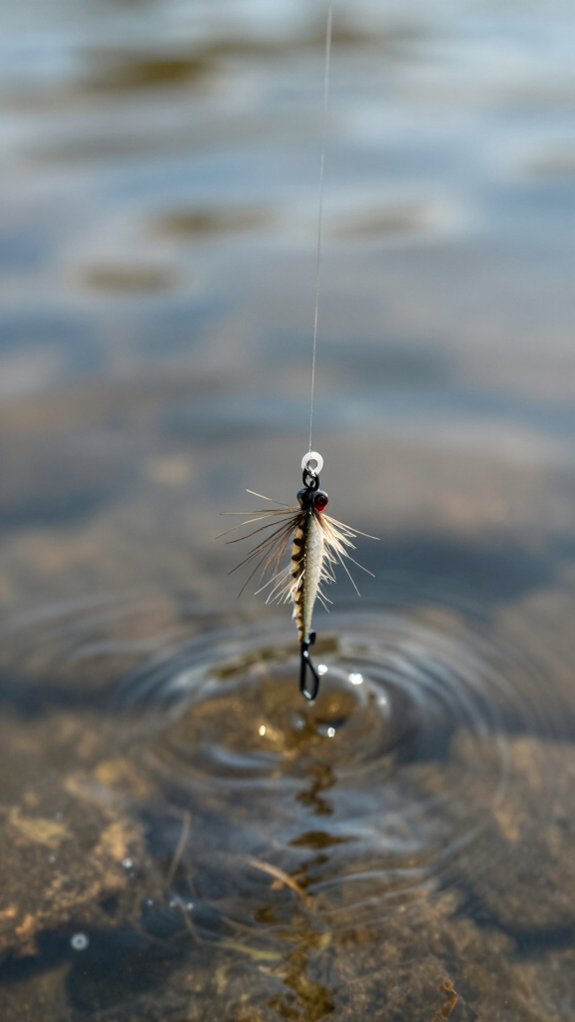
I use the Non-Slip Loop Knot whenever I want my streamers to swim with lifelike movement because the flexible loop lets the fly pivot and dart like a fleeing baitfish.
Unlike fixed knots that lock the fly in place, this connection keeps your tippet strong and secure while giving the streamer full freedom of motion.
I’ll walk you through why this knot outperforms others for action, how to tie it step by step, and a few tricks to enhance that enticing wiggle that triggers aggressive strikes.
Knot Purpose & Benefits
When I’m targeting aggressive trout with streamers, I reach for the Non-Slip Loop Knot because it changes how my lure behaves in the water. This knot creates a secure, flexible loop that won’t slip or loosen, even when I’m hammering casts into heavy cover or fighting a bulldogging brown.
Here’s what I picture when this knot’s working:
- The loop flexing as the streamer darts left, then right, like a wounded minnow
- Tension spreading evenly through the knot while a fish shakes its head
- The fly holding true, no spinning, no awkward angles, just natural movement
- Confidence at the hookset, knowing the connection won’t fail under sudden load
That reliable hold lets me fish bigger, more active patterns without worrying about losing my trophy.
Tying Step Instructions
Because I want my streamer to swim with that wounded-baitfish action that triggers violent strikes, I tie the Non-Slip Loop Knot using a simple five-step process that takes under thirty seconds once you’ve got the muscle memory down.
The Steps
First, I pass my line through the hook eye and form a generous loop, leaving plenty of tag end to work with, about six inches keeps me comfortable.
Next, I twist that tag end around my standing line four or five times. With heavier line, I keep these wraps tight and tidy so they stack cleanly.
Then I thread the tag end back through the original loop at the base. I’ll moisten everything here to cut friction and protect my tippet.
After that, I pull both ends simultaneously to tighten and secure the knot, checking that my loop stays firm yet lets the streamer wiggle freely.
Finally, I trim the tag end flush and give it a quick tension test before that first cast.
Action Enhancement Tips
While a snug knot pins your streamer in place like a statue, the Non-Slip Loop Knot turns it into a living, breathing baitfish that darts and shimmies with every strip of line.
I wrap the tag end 4-5 times around the standing line before threading it back through the loop. This creates a secure, flexible connection that lets your streamer pivot freely.
The non-slip loop knot keeps the fly close-to-the-eye for a natural presentation that predators can’t resist.
Here’s what happens when you strip line:
- The streamer darts sideways like a spooked minnow
- The body shimmies with lifelike vibration through the water
- Flashing scales catch light from every angle
- The tail kicks with erratic, wounded-baitfish movement
I always lubricate before tightening, saliva works fine, to reduce friction and ensure a tight, reliable hold that preserves every bit of that lively action.
Tie Small Flies Faster Using the Davy Knot
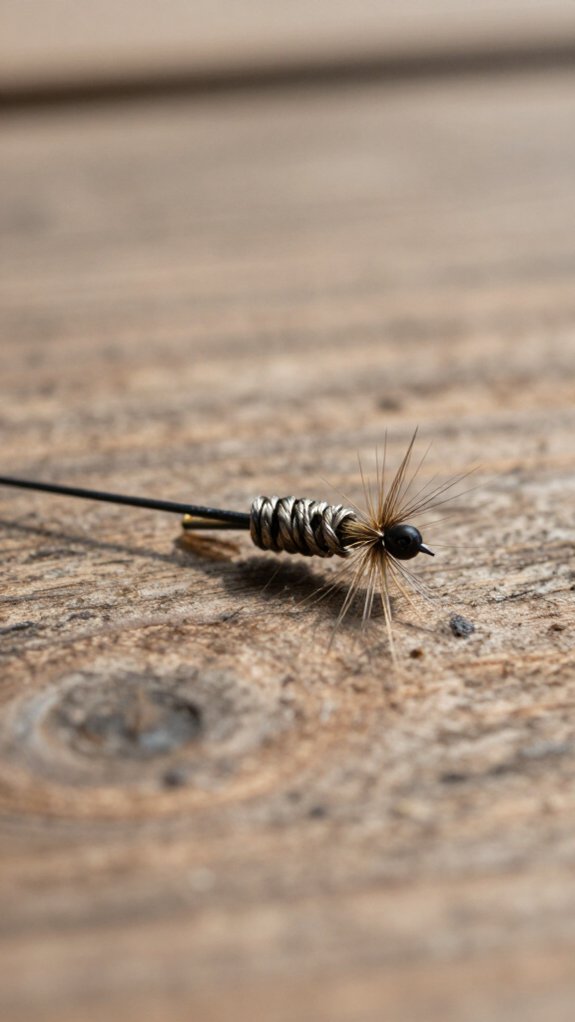
The Davy Knot is my go-to solution whenever I’m fumbling with tiny size 18 or 20 midges and the trout are rising all around me. This slip-resistant knot lets me tie faster than anything else I’ve tried, getting my small flies into the water before the hatch ends.
Why It Works for Small Flies
The Davy Knot requires minimal wraps, fewer than a traditional clinch knot, saving precious seconds when every moment counts. I create an overhand knot with my fishing line, pass the tag end through the hook eye, wrap around the standing line 4-6 times, then feed it back through that initial loop.
Build Muscle Memory
I practiced this repeatedly until I could tie it consistently in under 30 seconds. Now I don’t waste time thinking, My hands just know.
Choose the Right Knot for Your Fly Size and Type
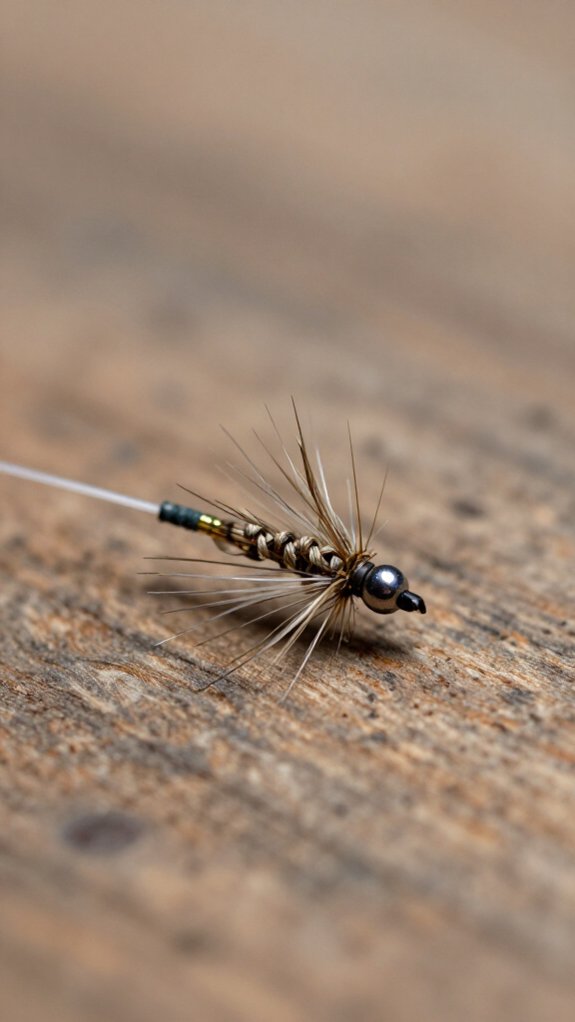
I always match my knot to the fly I’m tying on, because the wrong choice means lost fish and wasted time on the water. In fly fishing, your knot is the critical link between you and the catch, so let’s break it down by fly size and type.
Match Your Knot to the Fly
- Tiny dries and midges – I reach for the Davy knot when I’m handling size 16 and smaller; its slim profile disappears and keeps my presentation delicate.
- Standard nymphs and dries – The improved clinch knot gives me a secure hold on flies up to size 14 with minimal bulk.
- Streamers and heavy patterns – I tie the non-slip loop knot so my larger flies gain lifelike movement underwater without slipping free.
- Bead-headed or weighted flies – A double surgeon’s loop adds extra security and flexibility when I’m dredging deep runs.
I’ll also consider my tippet material, since fluorocarbon often pairs better with specialized knots like the Alberto for maximum strength.
Strengthen Any Knot With Proper Lubrication and Seating
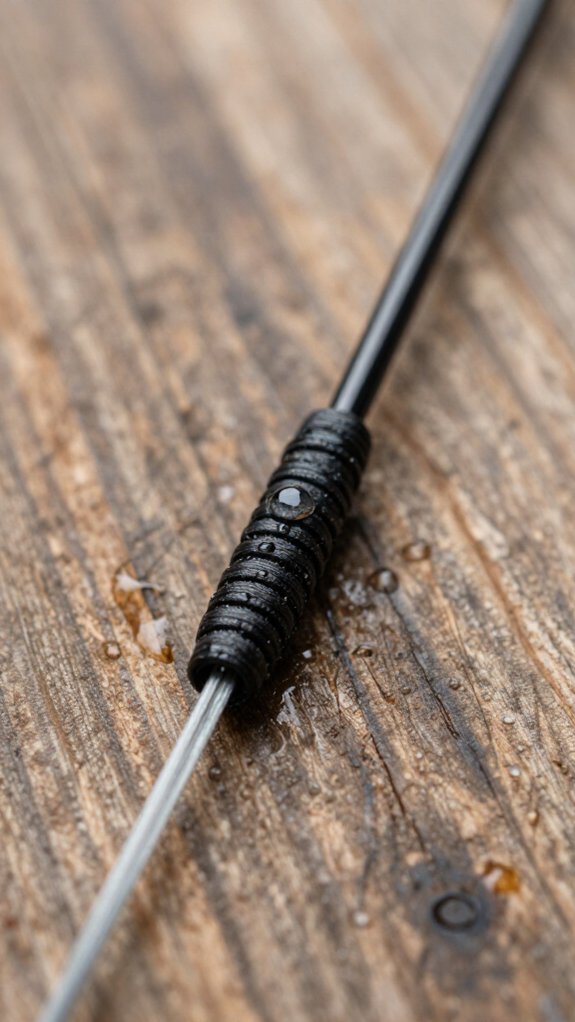
Picking the right knot is only half the battle, how you finish it determines whether you’ll land that fish or watch your fly swim away with a broken tippet.
Why Lubrication Matters
I always moisten my line with saliva or water before I tighten any knot. This simple step reduces friction that can burn or weaken monofilament during cinching. Without proper lubrication, you’re essentially sanding down your own tippet.
Studies show moistened knots achieve 80–95% of the line’s original breaking strength.
The Art of Seating
Here’s where most anglers slip up. I pull both the standing line and tag end simultaneously to seat the knot fully, never just yanking one side. This ensures all wraps nest together evenly.
I’ll use forceps for extra grip when my fingers can’t generate enough proper tension.
Tighten gradually and evenly. Rushing creates uneven pressure that compromises knot strength when you need it most.
Test Your Knot Before You Cast
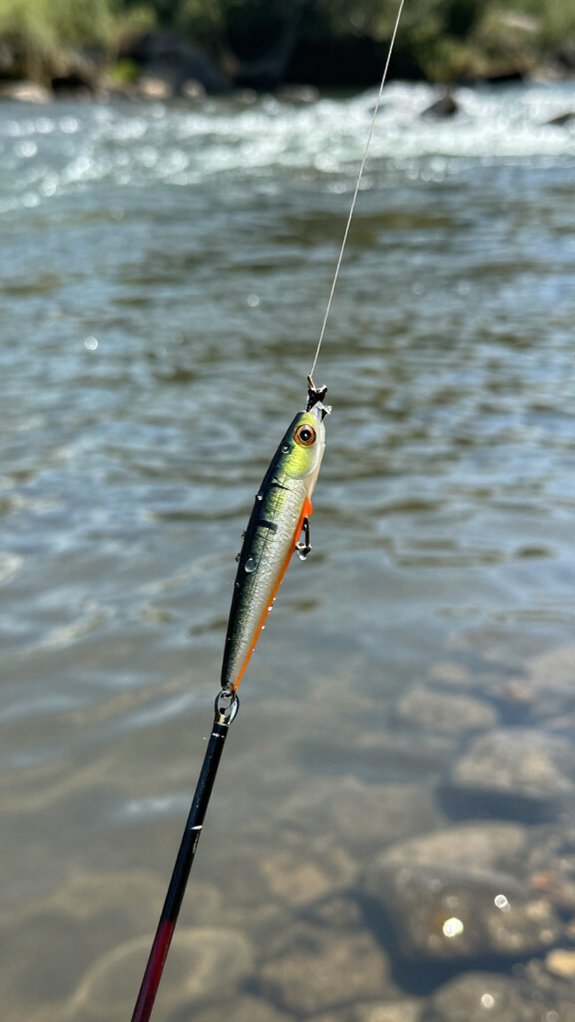
I always start by giving my knot a careful once-over, checking that it’s seated cleanly with no hidden twists or slack that’ll betray me mid-cast.
Then I grip the tippet and hook, sometimes with my fingers, sometimes with pliers for extra oom, and pull steady and firm to feel that reassuring resistance of a knot that’s locked down tight.
It’s a two-second habit that’s saved me from the heartbreak of watching a good fly sail off without its hook more times than I can count.
Visual Inspection Methods
The last thing I want is to watch a perfect fly drift by because my knot failed before I even got started. That’s why I never skip a thorough visual check of every knot I tie.
My Visual Inspection Routine
- I hold the knot up to the light and examine every wrap, searching for gaps where the line doesn’t sit snug against itself.
- I look for crossed wraps that create uneven tension, those twisted spots scream weakness.
- I Scan for frayed fibers or tiny nicks that could turn into catastrophic breaks when a trout surges.
- I watch closely as I tug the fly, confirming there’s zero slip before I call it good.
This quick inspection gives me the security I need to fish with confidence.
Physical Pull Testing
Since a picture only tells part of the story, I always put my knots through a hard physical test before they ever touch the water.
The Pull Test
I grip the fly and the standing line, then pull firmly to feel that satisfying resistance. This tension check reveals slippage you’d never spot visually.
I’m aiming for 80-95% of my line’s rated strength, anything less, and I retie.
Direction Matters
Fish don’t fight straight. I test my knot security by pulling at angles—up, down, sideways, mimicking a trout’s head shakes and sudden runs.
Tools for Precision
When I’m rigging at home, I’ll clip a fishing scale to measure actual pounds of tension. It’s eye-opening how some knots fail well below expectations.
On-Water Habits
After every snag or retie, I give another quick pull. That thirty-second test beats losing the fish of a lifetime.
Match Your Tippet Material to Your Fishing Conditions
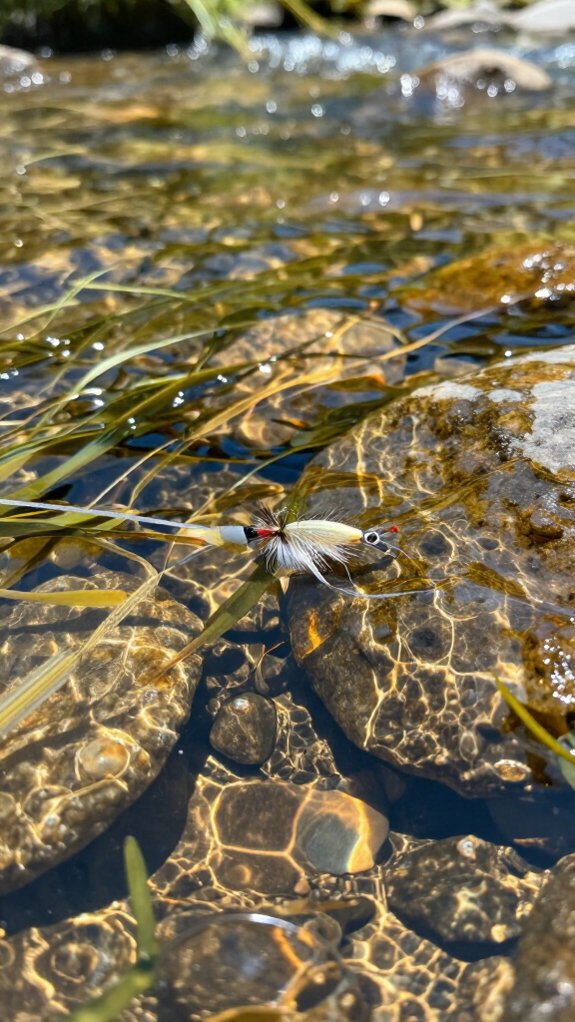
When I’m standing at the water’s edge, the first thing I do is read the conditions before I even touch my tippet spools, because matching your material to what you’re actually facing can make or break your day on the water.
Choosing the Right Tippet Material
I grab fluorocarbon when the water’s gin-clear, and those trout are spooky. Its near-invisibility keeps me hidden. For murky flows, I’ll save money and reach for nylon instead.
When I’m dredging nymphs through rocky runs or dragging streamers past logjams, I need abrasion-resistant fluorocarbon that won’t shred on the first contact.
My Quick-Decision List:
- Crystal streams: Fluorocarbon vanishes like morning mist against pale stones
- Coffee-colored rivers: Nylon stretches and saves my wallet
- Boulder gardens: Abrasion-resistant leaders scraping through granite slots
- Glassy pools: 6X tippet threading through rising rings at dusk
Prevent Knot Failure With These 5 Pre-Cast Checks
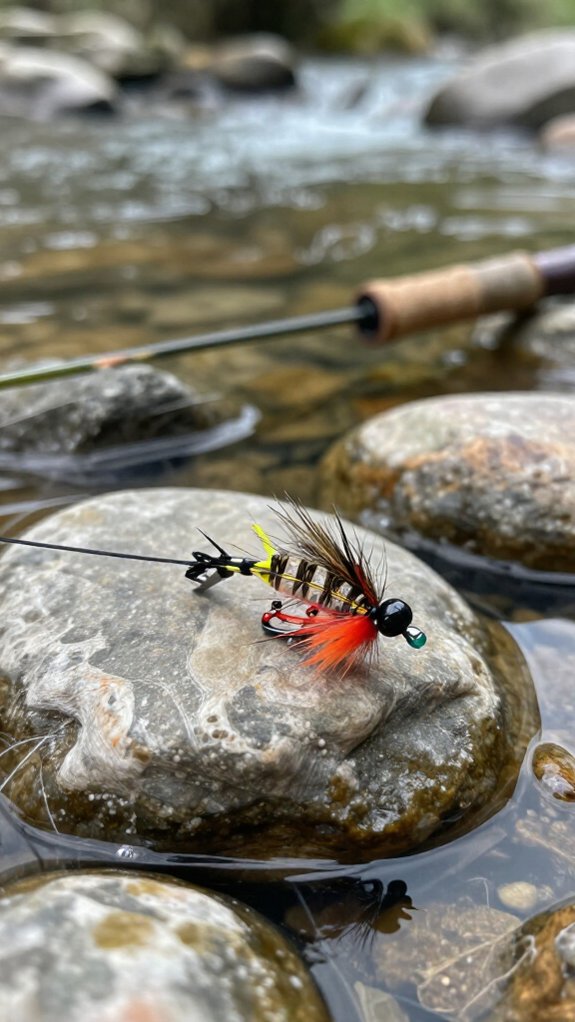
Before I make my first cast, I run through a quick mental checklist that’s saved me from losing countless flies to sloppy knots. I start with moistening line before tightening knot, saliva works fine, to reduce friction and heat that weakens monofilament.
Proper knot seating follows; I pull steadily so the knot cinches fully without gaps. Then I trim tag end excess carefully, leaving about 1/16 inch to prevent slippage under tension. Here’s my quick reference:
| Check | What I Look For |
|---|---|
| Moisture | Line is wet before final pull |
| Seating | Knot sits tight with no gaps |
| Tag End | 1/16 inch excess remaining |
| Wraps | Even, uncrossed coils |
Final inspection means pulling the line firmly to test. If anything feels off, I retie. One minute of checking beats losing a fish to knot failure.
Splice Leader to Tippet for a Complete Secure Rig
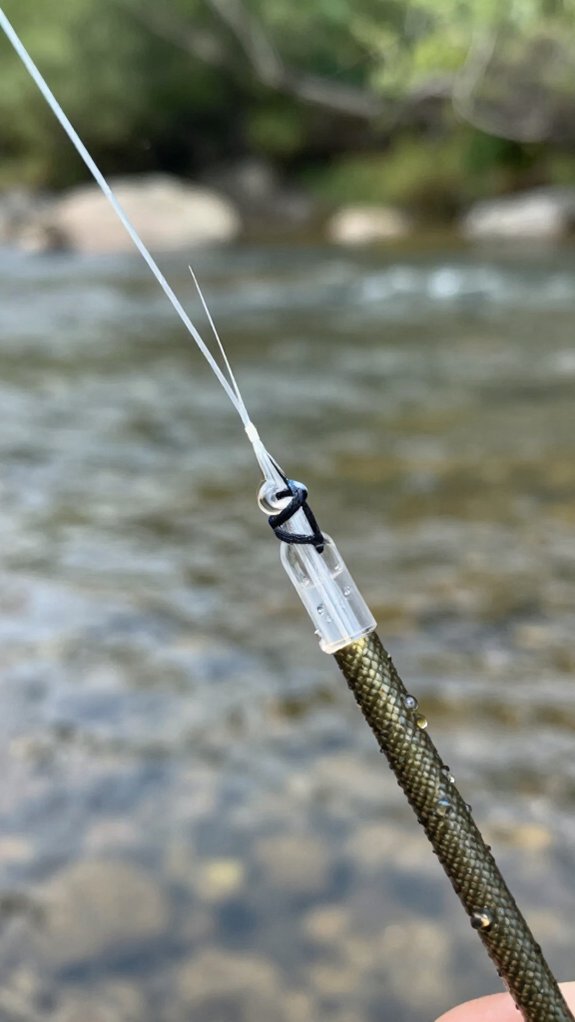
You’ve got several solid options when splicing leader to tippet, and I’ll walk you through three I’ve relied on over the years. The Triple Surgeons Knot remains my go-to for quick, strong connections in anything from calm spring creeks to windy lake shorelines.
For those chasing picky trout in crystal-clear water, the Infinity Tippet Alternative offers a slimmer profile that disappears better than bulkier alternatives.
Knot Selection Options
Because a secure leader-to-tippet connection can make or break your day on the water, I always reach for proven splice techniques that lock these two sections together without slippage or bulk.
When I’m rigging up, I’ve found these knot options deliver the slip-resistant performance I need:
- Loop-to-Loop splice – I watch the two loops nest together like interlocking fingers, creating a flexible hinge that lets my fly dance naturally through current seams.
- Double Davy Knot – I feel the line bite down as I tighten this compact splicing method, leaving barely a bump to catch on rod guides.
- Secure connection testing – I give a firm tug, watching the join hold steady under simulated fighting pressure.
- Streamlined profile – I see my leader-to-tippet transition disappear into the water, invisible to wary trout below.
Triple Surgeons Method
When I need a splice that absolutely won’t let me down, I reach for the Triple Surgeons Knot, it’s become my go-to method for locking leader to tippet with complete confidence. I make three equal wraps with the tag end around both the leader and tippet, pass it through the loop, then tighten evenly. Wetting the line prevents friction and strengthens the connection.
| Step | Action | Purpose |
|---|---|---|
| 1 | Overlap leader and tippet | Creates base for connection |
| 2 | Three wraps with tag end | Prevents slip under tension |
| 3 | Pass tag through loop | Forms secure structure |
| 4 | Wet and tighten evenly | Optimizes knot strength |
This slim profile glides through guides effortlessly. I’ve trusted this durable splice for hard-fighting fish without a single failure.
Infinity Tippet Alternative
If I’m looking for a faster, cleaner way to splice leader to tippet without sacrificing strength, I’ll tie the Infinity Tippet Knot every time. This knot alternative beats traditional options when I need a seamless leader connection that won’t fail under pressure.
Here’s what makes the ITK stand out:
- I loop the tippet through itself in a figure-eight motion, feeling the line glide into place.
- I cinch it tight and watch the knot disappear into a slim, almost invisible profile.
- I test the slip-resistant hold by pulling hard, imagining a trout surging downstream.
- I cast my fly fishing lure with confidence, knowing the splice won’t budge.
Among knot alternatives, this one delivers durability without bulk, perfect for fluorocarbon or mono rigs.
Frequently Asked Questions
How to Tie on a Fly Lure?
I Thread my line through the hook eye, wrap it around the shank five to seven times, then pass the tag end back through the loop I’ve created. I Tighten carefully, lubricate with water, and trim the excess.
How to Tie Fishing Line so It Won’t Slip?
I tie my line so it won’t slip by using an improved clinch knot, wrapping 5-7 times through the eye, moistening before tightening, trimming excess to 1/16 inch, and testing with a firm pull.
What Is the Best Way to Tie on a Lure?
I favor the foolproof Improved Clinch Knot for fastening flies firmly. I thread, twist five to seven times, tuck through, then tighten after moistening.
I’m stopping slippage, securing success, and snipping spare line short.
What Are the Best Knots That Don’t Slip?
I trust the Non-Slip Loop Knot, Eugene Bend, and Palomar Knot most for slip-resistant lure attachments. I’ll also use Loop-to-Loop connections when I need quick changes without sacrificing security on the water.
In Conclusion
You can stop fly slippage for good by matching the right knot to your fly size and fishing conditions, it’s like choosing the right key for every lock.
I tie the Improved Clinch for security, the Non-Slip Loop for action, and I always test before casting. With practice, these knots become second nature, and you’ll spend less time re-rigging and more time catching. Solid knots mean solid hookups.