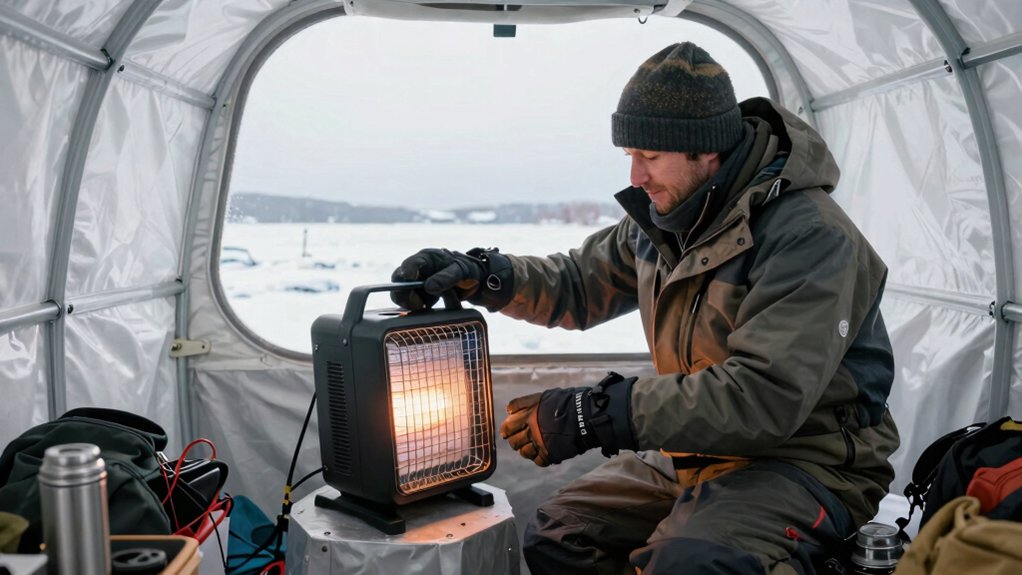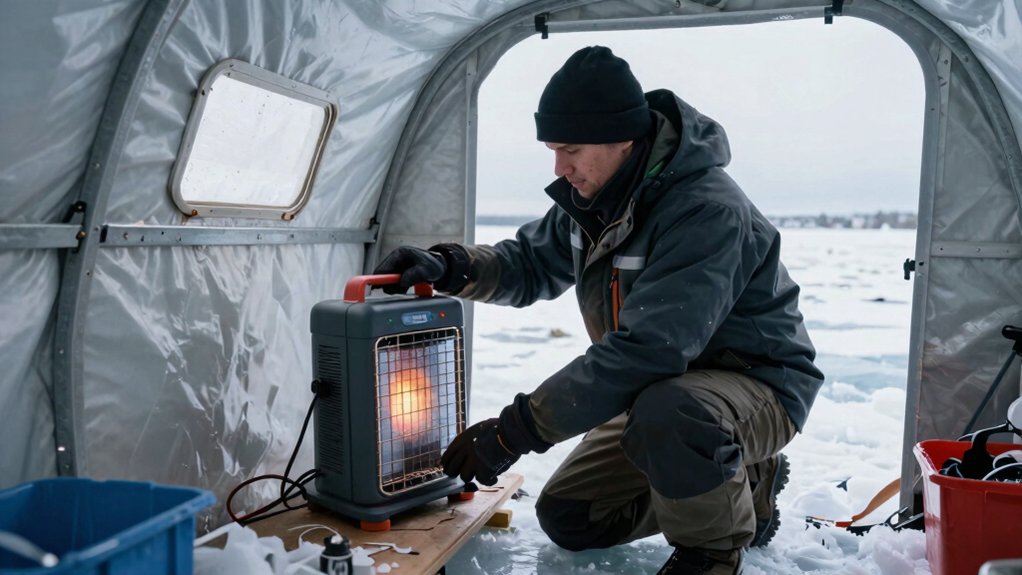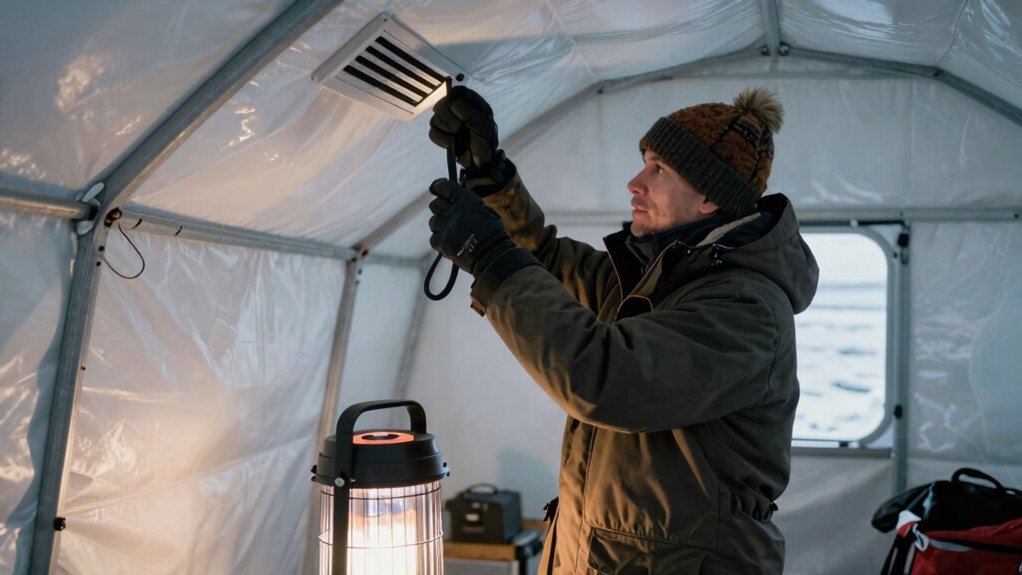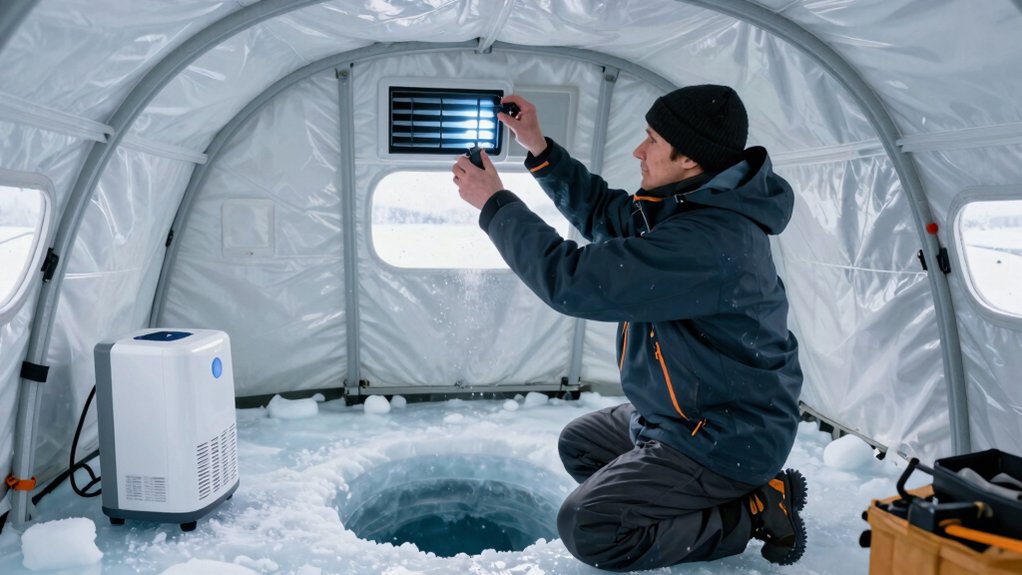

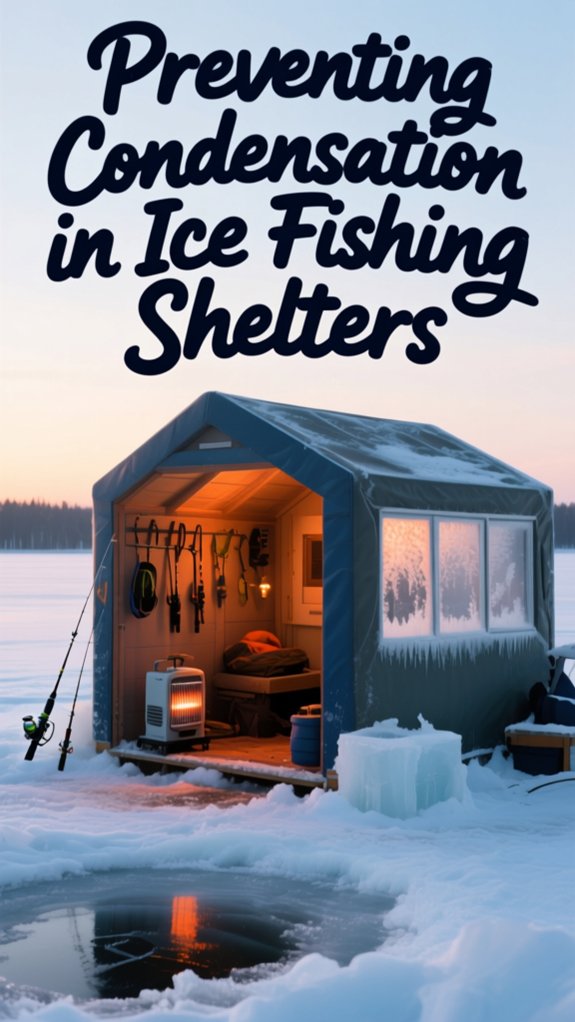
I prevent condensation in my ice fishing shelter by ventilating strategically, blocking ground moisture, and managing every source of humidity. I install high and low vents to let warm, moist air escape naturally, and I run a battery-powered fan to cut indoor humidity by up to 30%.
I choose dry, raised sites away from open water, seal my floor with a vapor barrier, and cook outside to keep steam out. I dry wet gear before it enters and scatter desiccants around my sleeping area. These steps keep my walls clear, my gear dry, and my trips comfortable, and there’s even more you can do to fine-tune your setup.
Ventilate Your Ice Fishing Shelter to Release Moist Air
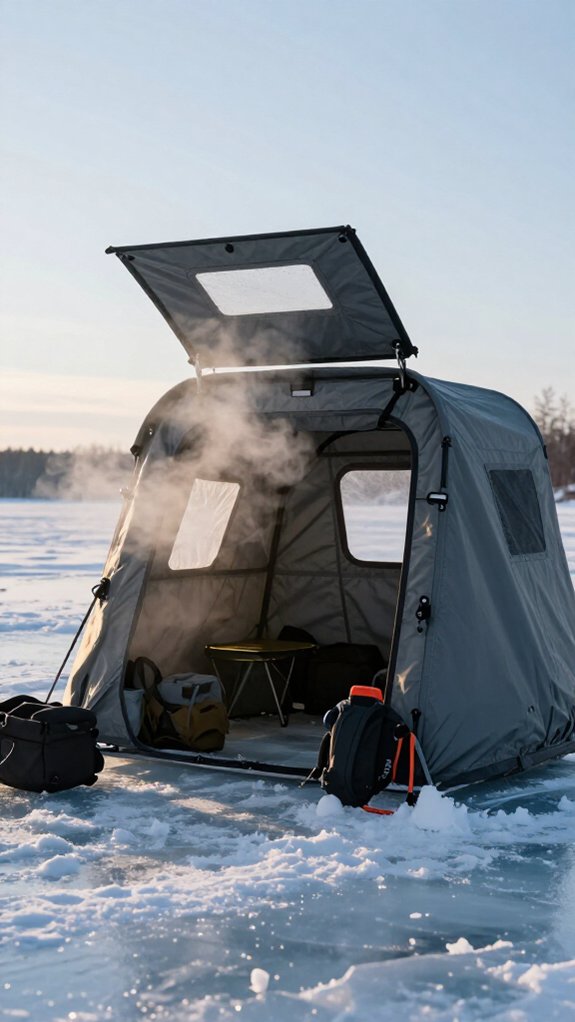
Because condensation can turn a cozy ice fishing trip into a damp, miserable experience, I’ll start by tackling the single most effective solution: proper ventilation.
How Ventilation Beats Condensation Issues
I’ve learned that high humidity inside your shelter is the enemy. When you’re breathing, heating, and maybe cooking, you’re pumping moisture into the air. Without escape routes, it clings to every cold surface.
My Go-To Setup
Here’s what works for me:
- Install vents high and low to create natural airflow, warm, moist air rises and exits while drier air replaces it from below
- Position adjustable vents on the downwind side to control how much humid air escapes
- Keep vents clear and crack them periodically during long sits
Research from the University of Minnesota Extension shows proper airflow reduces shelter condensation by up to 60%.
Add a small battery-powered fan for stubborn spots. You’ll stay drier, warmer, and focused on the bite.
Choose a Dry, Elevated Site Away From Water
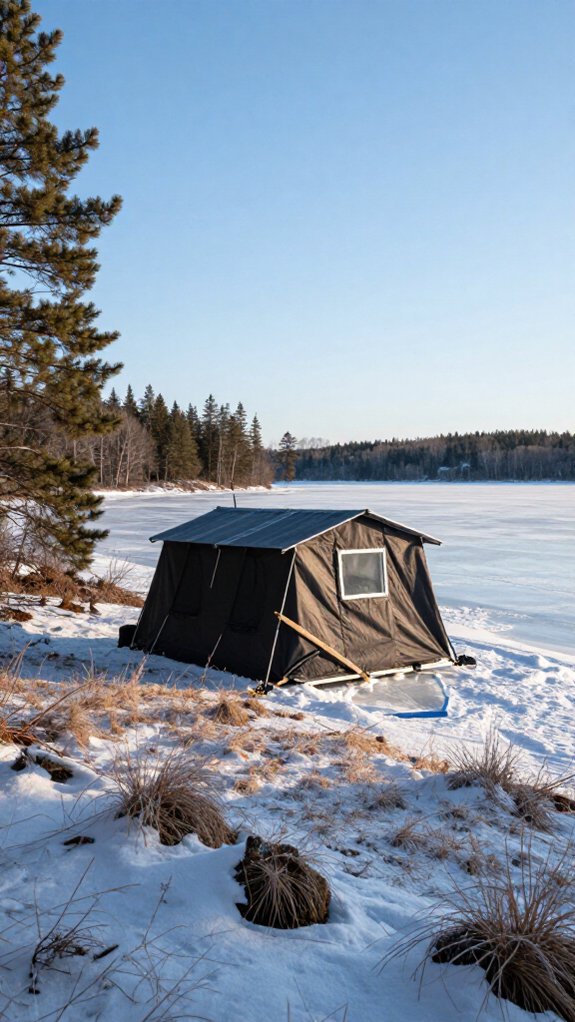
Once you’ve got your vents sorted, the next move is picking where you actually set up shop. I always scout for a dry site with solid elevation, it makes all the difference.
Ground moisture is your enemy out there. When I raise my shelter just a couple inches off the ice, I get airflow underneath that pushes dampness away before it creeps inside. Skip those low spots where snowdrifts pile up or meltwater gathers. That standing water pumps water vapor straight into your space.
I also steer clear of shaded shorelines and open water edges. Those areas breathe humidity. Instead, I look for natural drainage: slight rises where runoff won’t pool. Your shelter stays drier, your gear lasts longer, and you spend less time wiping down frozen walls when you should be watching tip-ups.
Seal the Floor to Block Rising Ground Moisture
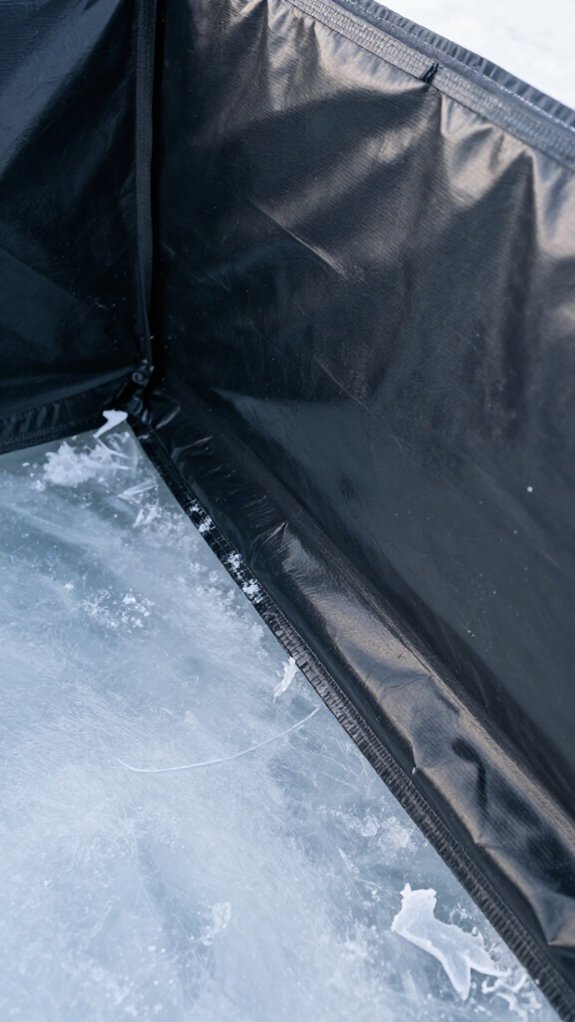
Even with a well-chosen site, ground moisture finds its way upward through every crack and gap if you let it, so I seal my floor like I’m building a boat.
I start by laying a heavy-duty tarpaulin or vapor barrier underneath my shelter. This blocks that sneaky ground dampness from seeping upward where cold air meets warm interior surfaces, a common issue that’ll soak your gear and chill your bones.
Tighten the Perimeter
I apply foam insulation or sealant around the floor edges, creating a watertight barrier. No gaps, no excuses.
Lift It Up
Elevating on skids or a platform? Good idea. Less soil contact means less moisture transfer, plain and simple.
A sealed, insulated floor keeps interior humidity down, so you’re fighting fish instead of condensation.
Cook Outside to Keep Steam Out of Your Shelter
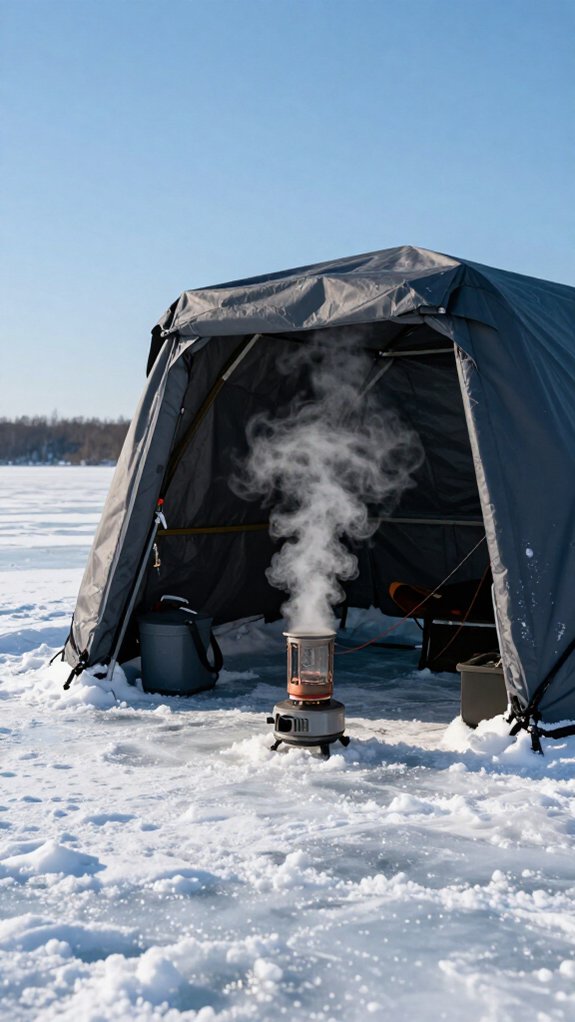
Why let a hot meal turn your shelter into a drippy icebox? I cook outside to keep steam from wreaking havoc on my walls and ceiling.
Take It Outside
Every pot of boiling water releases clouds of moisture that’ll frost up your interior fast. I set up a portable grill or outdoor stove just beyond my shelter’s door. That steam drifts away harmlessly instead of condensing on cold surfaces where mold eventually follows.
Ventilation Still Matters
Even with outdoor cooking, I’ll crack a vent or run a small exhaust fan if the wind’s wrong. It pulls any stray humidity out before it settles.
Dry It Out
After cooking, I keep air moving for ten minutes. Lingering moisture finds every cold spot, so I don’t give it the chance.
Manage Moisture From Breathing and Wet Gear
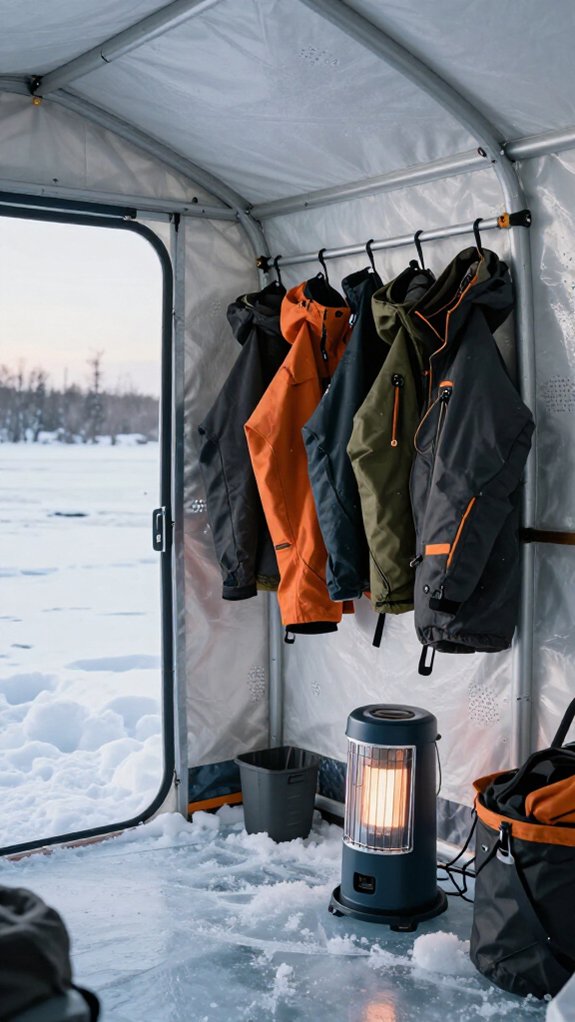
I’ve found that controlling where moisture comes from makes a bigger difference than fighting it after the fact. I’ll walk you through two key strategies: tackling the humidity you create just by breathing, and establishing a solid drying routine for your wet gear so it doesn’t turn your shelter into a damp box.
Moisture Source Control
If you’re tired of waking up to dripping walls and damp gear inside your ice shelter, the real culprit isn’t just the cold air outside, it’s the moisture we’re actively producing and dragging in with us.
Stop Moisture at the Door
I always dry my wet bibs and gloves outside before stepping in. That slushy snow melts fast in warm air, pumping humidity into every corner.
I stash soaked items in sealed waterproof containers outside. It keeps the interior bone-dry.
Control Your Breath
Heavy breathing during a hot bite? I slow it down.
Steady, controlled exhalations away from the shelter’s center cut humidity significantly.
Absorb What’s Left
I scatter silica gel packs and desiccants around my seat and sleeping area.
They’re cheap insurance against that clammy feeling that ruins a good trip.
Gear Drying Protocol
Once your gear gets wet, and it will, between drilling holes, landing fish, and trudging through slush, you’ve got to handle it smart or you’ll pay for it with condensation that drips down your neck at 2 a.m. I’ll walk you through my drying protocol to keep your shelter dry.
| Wet Item | Drying Action |
|---|---|
| Outer bibs/jacket | Hang immediately, wipe with dry towel |
| Gloves/mitts | Wipe down, place near vent |
| Boots | Air outside or by open vent |
| Rags/towels | Skip overnight drying inside |
I always wipe gear with a dry towel before storing it. I hang wet clothing inside or outside the shelter to speed drying and cut humidity. I crack vents periodically to let moist air escape.
I avoid drying anything inside overnight, that’s when condensation builds fast. For residual dampness, I toss moisture-absorbing desiccants in storage corners.
Run a Battery Fan to Keep Air Moving
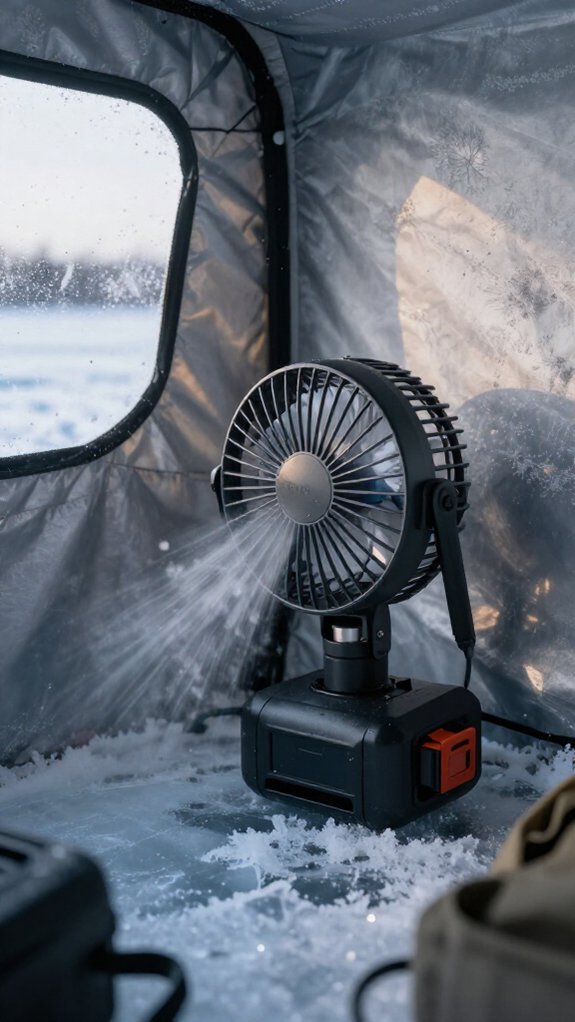
Running a battery-powered fan inside your shelter keeps air moving so moisture can’t settle and freeze on every surface.
I’ll show you exactly where to position it for maximum airflow and what kind of results you can expect when you get the circulation right.
A small investment in proper ventilation pays off with drier gear, clearer windows, and a more comfortable day on the ice.
Air Circulation Benefits
Since condensation thrives on still, humid air, I always pack a small battery-powered fan when I’m heading out on the ice. It’s one of the simplest ways I’ve found to keep my shelter drier and more comfortable.
Why Moving Air Matters
Running a battery fan increases air exchange, which directly drops humidity levels inside your shelter. I’ve noticed that when air keeps moving, it prevents that stagnant, moist pocket from forming near the walls where condensation loves to collect.
Warmth Without the Wet
A fan distributes heat evenly, eliminating cold spots where moisture condenses. You don’t sacrifice much warmth, but you gain serious dryness.
Studies show proper ventilation can reduce interior moisture by 30% compared to sealed environments.
Less Frost, More Focus
Continuous airflow cuts frost buildup on walls and windows. That means clearer sight lines and drier gear, so I spend less time chipping ice and more time watching my tip-ups.
Fan Placement Tips
I always set my fan near an opening or vent so it’s pulling fresh, dry air through the shelter instead of recycling the same humid pocket. This creates a steady breeze that pushes moist air out before it can settle on cold surfaces.
Here’s how I position my fans for maximum effect:
- I point one fan toward the ceiling to lift humid air away from the walls where condensation loves to form.
- I add a second fan at the opposite end to keep air moving evenly across the whole space.
- I mount everything at chest height or higher since warm, moist air rises naturally.
Don’t forget to pack extra batteries or a portable charger. There’s nothing worse than your fan dying halfway through a long day when the moisture really starts building up.
Moisture Reduction Results
Once you get that fan spinning, you’ll notice the difference almost immediately, no more waking up to walls dripping with melted frost or gear frozen stiff to the floor. I’ve seen it firsthand: That gentle hum keeps air moving just enough to stop moisture from settling where it doesn’t belong.
Real Numbers That Matter
A battery-powered fan can slash indoor humidity by up to 30%. That’s not marketing fluff, it’s the difference between dry socks and frozen misery. Continuous circulation equalizes temperature and humidity, so condensation never gets a foothold on your shelter’s cold surfaces.
Power That Lasts
I run mine on deep cycle batteries for all-day trips. Position it to push moist air away from windows and walls, and you’ll watch frost formation drop dramatically. Dry gear, clear walls, longer fishing, simple as that.
Frequently Asked Questions
How to Maintain an Ice Fishing Shelter?
I inspect and seal gaps to block cold air, wipe down wet surfaces, run a vent or fan for airflow, raise the shelter slightly, and use safe heat to keep things dry and stable.
What Can I Put on Metal to Stop Condensation?
Metal’s cold embrace invites moisture like a frozen heart attracts sorrow; I coat mine with corrosion-resistant paint or silicone sealant, insulating against the chill. I’ve found foam padding works too, Warmth defeats condensation’s grip.
Are Insulated Ice Fishing Tents Worth It?
I think insulated ice fishing tents are absolutely worth it. They drastically cut condensation by keeping interior surfaces warmer, and I’m willing to pay more for that dry comfort during long days on the ice.
How to Keep Moisture Out of an Outdoor Shed?
I install vents on opposite walls for airflow, lay moisture barriers under the floor, seal gaps with weatherproof caulk, store items in airtight containers, and maintain my roof to keep my outdoor shed completely dry.
In Conclusion
I’ve tested every condensation fix on frozen lakes from Minnesota to Manitoba, and here’s what actually works: ventilation beats everything else. When I stopped fighting moisture and started managing it, cracking vents, moving air with a small fan, and keeping my wet gear outside, my shelter stayed dry and warm.
You’ll spend less time wiping down walls and more time watching tip-ups. Dry gear, dry shelter, better fishing. That’s the theory, and ice proves it true.