
I clear coat every lure I build because it’s the difference between a bait that lasts one season and one that survives years of abuse from toothy predators, rocky shorelines, and relentless sun exposure. I choose polyurethane for faster curing and UV resistance, or epoxy when I want that thick, glass-like armor.
I prep surfaces with isopropyl alcohol and light sanding, mix slowly to banish bubbles, then dip or brush in thin coats. I hang lures belly-down to let excess drip away cleanly, wait 24 hours to touch and a full week before they hit the water. Skip any step and you’ll watch your finish crack, yellow, or peel before the first bass strikes. Stick with me and I’ll show you exactly how I dial in each phase for bulletproof results.
Pick the Best Clear Coat: Epoxy vs. Polyurethane vs. Spray
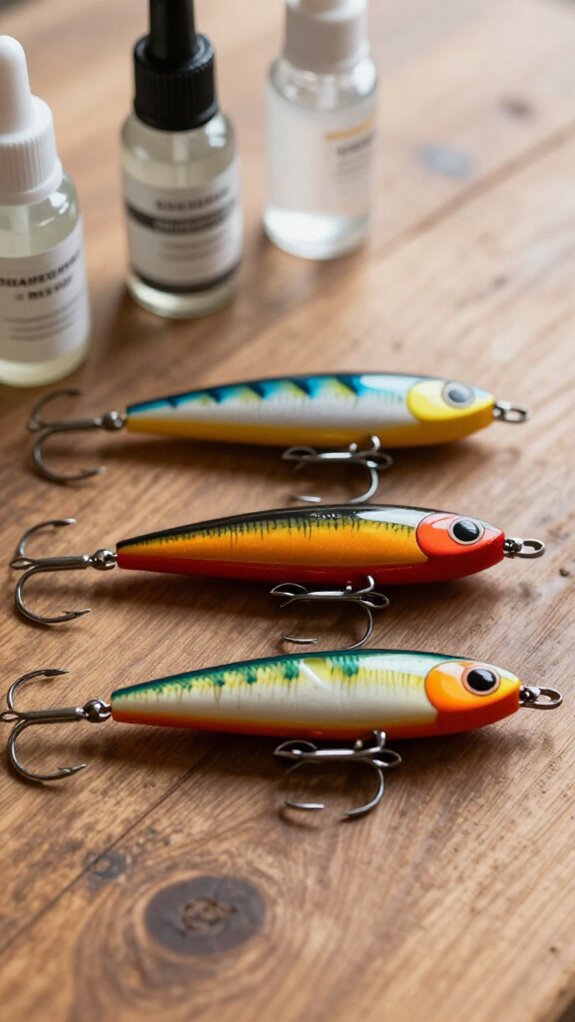
Because I want my lures to survive strike after strike without turning dull or brittle, I always start by choosing the right clear coat before I ever mix a batch or pull the trigger on a spray can.
Epoxy: Thick and Tough
I reach for epoxy when I need that thick, glass-like armor. It’s incredibly impact-resistant.
But I’ve learned the hard way that non-lure-grade epoxy risks yellowing over time.
Plus, I’m stuck waiting through longer curing times since I’m mixing two parts together.
Polyurethane: My Go-To Workhorse
For most builds, I grab polyurethane, especially moisture-cured urethanes.
I get durable, flexible protection without the yellowing headache.
It’s single-part, so application moves faster, and curing won’t keep me off the water.
Spray: Quick but Limited
I’ll use spray finishes for touch-ups when speed matters, but I know I’m trading some durability and depth for convenience.
My choice depends on conditions, timeframe, and how much punishment I’m expecting.
Prep Your Lure Surface for Coating
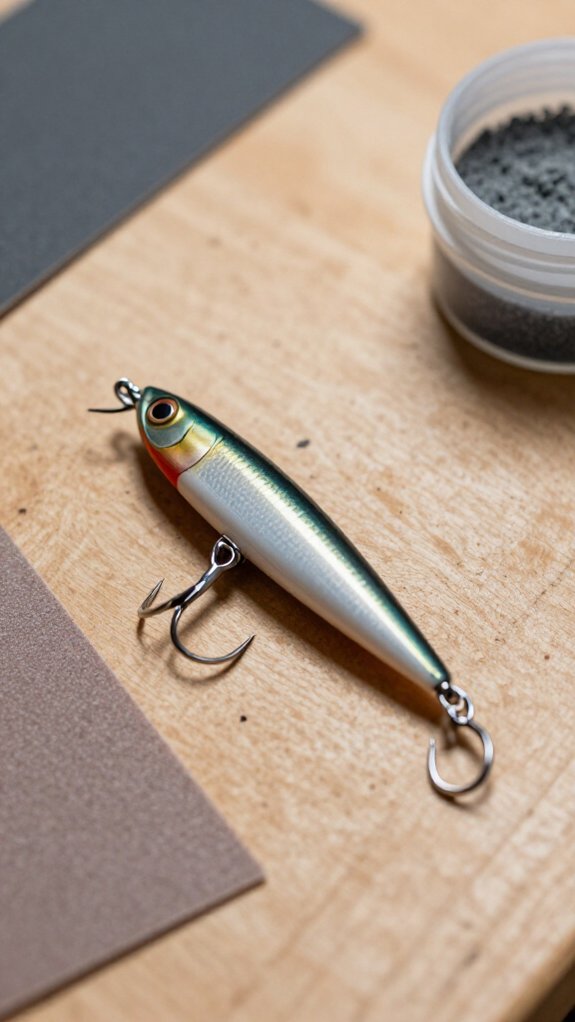
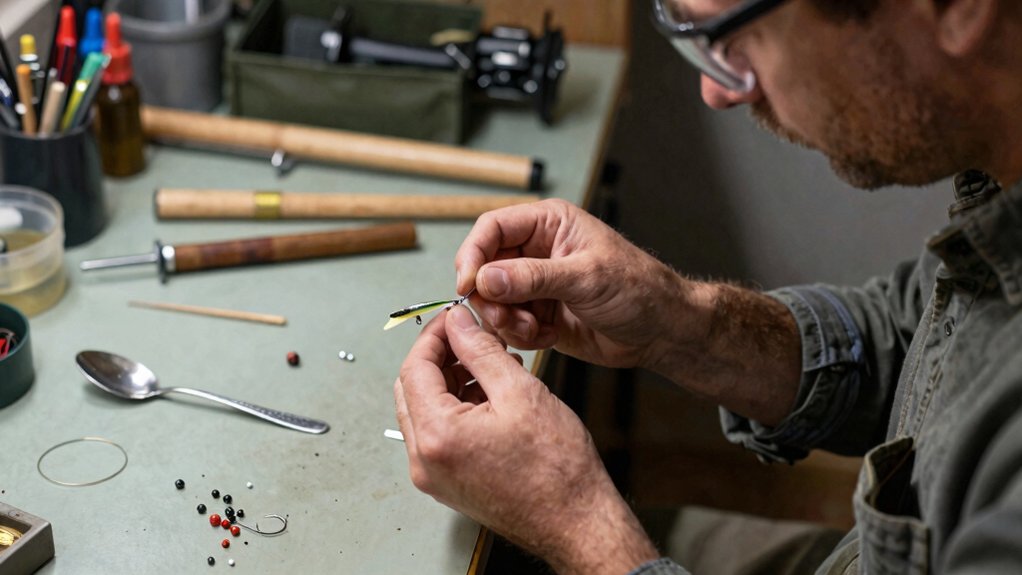
I always start by giving my lure a thorough wipe-down with isopropyl alcohol to strip away every trace of oil, dust, and mold release that could sabotage my finish. Once it’s bone dry, I’ll hit the surface with 400-grit sandpaper, just enough to rough it up so my clear coat has something to grip onto.
Skip this prep work and you’re basically begging for peeling, chipping, and that heartbreaking moment when your perfect paint job bubbles up mid-cast.
Clean Surface Thoroughly
Before I even think about opening my clear coat, I make absolutely sure my lure’s surface is pristine, because nothing ruins a finish faster than hidden grime lurking underneath. I grab isopropyl alcohol and wipe every inch, removing fingerprints, oils, and any residue that could sabotage my coating.
Here’s my foolproof routine:
- Clean and degrease – I swab the entire surface with alcohol until it’s squeaky clean.
- Sand lightly – I scuff with fine-grit paper, then banish every speck of dust with a tack cloth.
- Dry completely – I let the lure sit until bone-dry, since even trace moisture causes clouding.
I double-check for dampness before coating. A properly prepped surface means my clear coat bonds tight and my lures look factory-fresh trip after trip.
Sand For Adhesion
Why does even the best clear coat sometimes flake away after a few trips? I’ll tell you: poor surface preparation kills adhesion before your lure ever hits the water.
Prep Your Lure Surface for Coating
I always start with clean hands and a clean lure, oils and grime sabotage the bond. Then I grab fine-grit sandpaper, around 220-400 grit, and work in consistent circular motions. That rough texture gives the clear coat something to bite into, adapting a glassy surface into one that grips.
Here’s my quick sanding checklist:
- Sand in circles for even texture
- Avoid pressing too hard, you want grip, not gashes
- Check for uniform dullness across the body
After sanding comes dust removal. I wipe with a damp cloth, then a tack cloth, chasing away every particle. Skip this, and you’re sealing debris beneath your smooth finish.
Get the surface right, and that clear coat locks down for seasons of hard fishing.
Mix Epoxy Clear Coat Without Trapping Bubbles
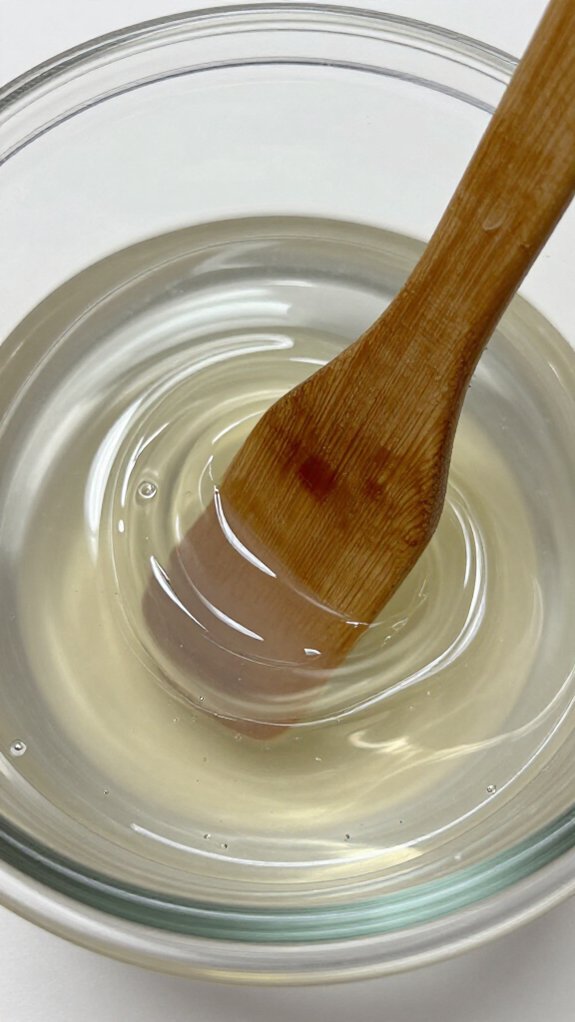
Because bubbles are the fastest way to ruin a perfectly painted lure, I take my time mixing epoxy clear coat with deliberate, patient strokes that keep air out from the start.
Here’s my bubble-busting routine:
- Stir slowly – I use thin, slow-moving motions for 2-3 minutes, folding rather than whipping, since vigorous stirring means trapping air I’ll regret later.
- Rest before applying – I let the mixed epoxy sit briefly so remaining bubbles rise and pop naturally before the curing process begins.
- Apply gentle heat – I pass a heat gun over the surface to release stubborn bubbles that survived stirring.
This patience pays off.
A 2019 survey of custom lure makers found that 78% ranked bubble-free mixing as the top factor in professional-looking finishes.
Thin Epoxy for Smoother Brush or Dip Application
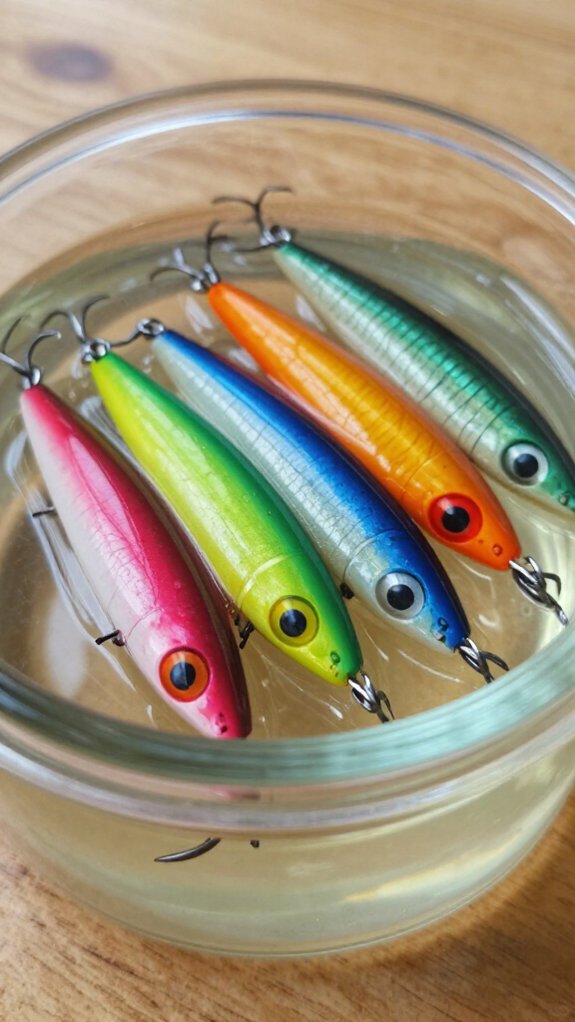
Once I’ve got my epoxy bubble-free, I thin it down so it’ll flow like honey off a warm biscuit, because that’s when brushing or dipping really shines. Lower viscosity makes all the difference.
Why Thin Epoxy Matters
I gently warm my resin or add a compatible solvent like acetone to thin epoxy for my lures. This reduced viscosity lets the finish self-level beautifully, giving me that glass-smooth coating every angler craves. No brush strokes, no globs, just pure gloss.
My Application Approach
I always apply multiple thin coats rather than one thick layer. Here’s why this works:
- Fewer bubbles and drips
- More uniform curing
- Better overall durability
After thinning, I stir thoroughly to prevent curing issues. Trust me, patience here means lures that look professionally finished and stand up to countless strikes.
Apply Clear Coat by Dipping, Brushing, or Spraying
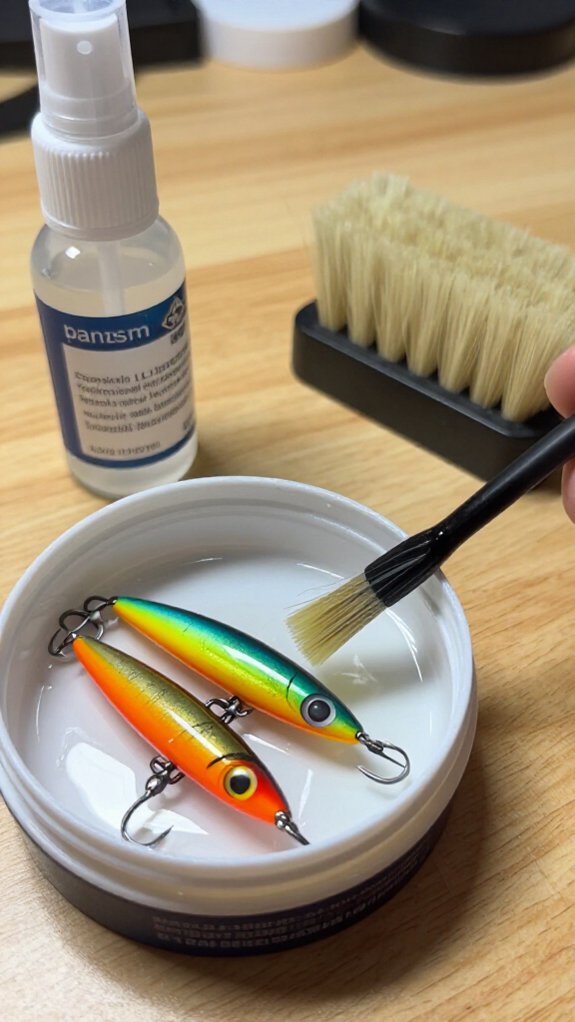
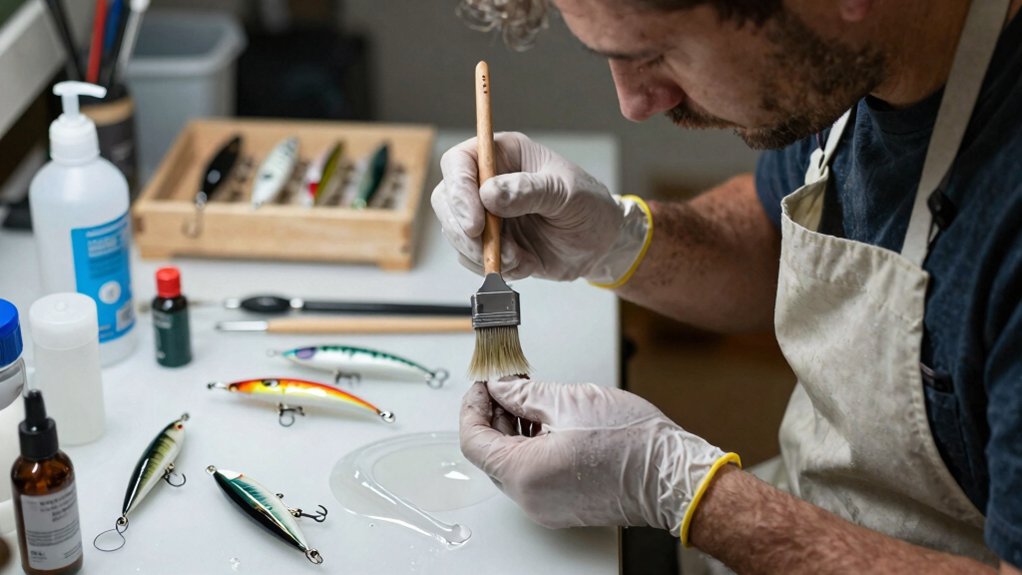
Now that my epoxy’s thinned to that perfect honey-like consistency, I’m ready to lock in my lure’s finish with one of three tried and true methods: dipping, brushing, or spraying. Each technique delivers a smooth finish when done right.
Here’s how I choose between them:
- Dipping – I submerge the lure slowly into the clear coat to avoid bubbles, then let excess drip off before moving to my drying area.
- Brushing – I use this for precision around intricate details and when I’m building up multiple coats or doing touch-ups.
- Spraying – I reach for this when I need quick, uniform coverage with thin, even layers.
Whichever method I’m using, I always work in a dust-free environment. That clean space ensures my clear coat cures to a professional, glass-like shine without debris marring the surface.
Hang Lures to Dry Without Smudges or Runs
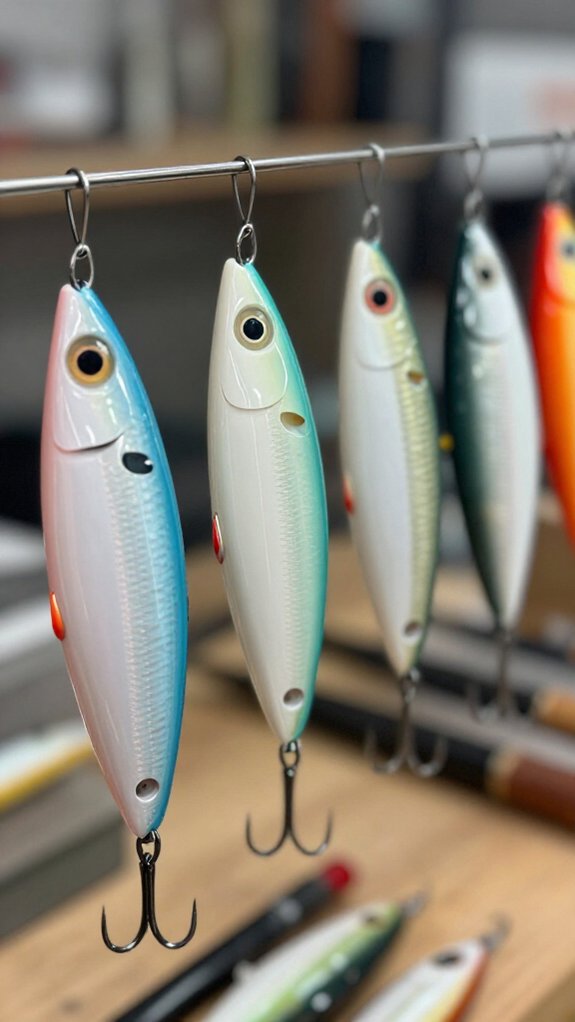
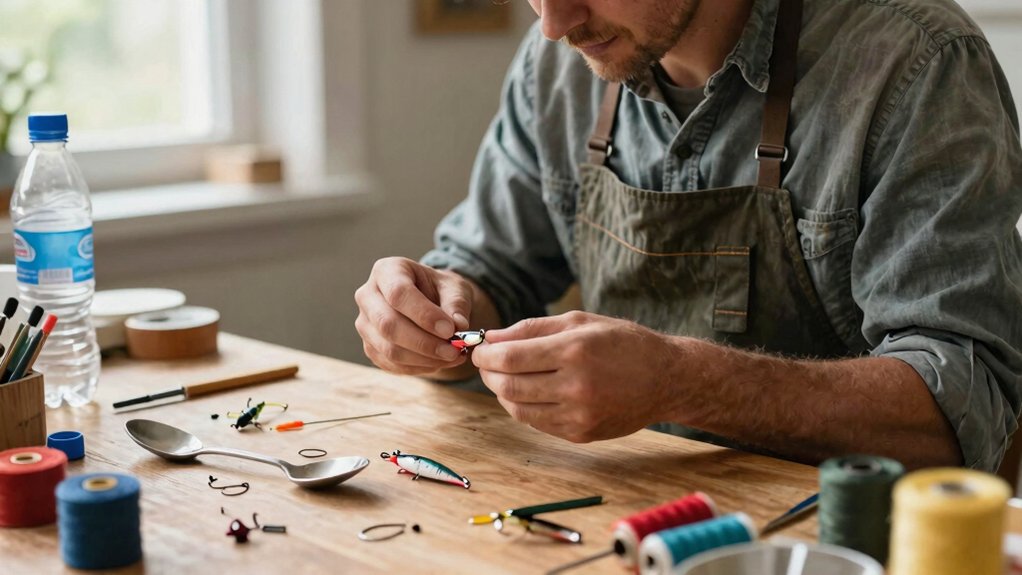
I hang my freshly clear-coated lures using a small wire hook through the eyelet with the painted belly facing down, which lets gravity do the work while excess epoxy drips cleanly away.
Setting up a slight angle or dedicated drying rack keeps everything organized and prevents that heartbreak of a perfect paint job getting smudged against a workbench.
I’ll walk you through the hardware options that’ve saved my lures, and my sanity, plus how to position each bait so you won’t find those ugly drips or sags once the cure’s finished.
Hanging Hardware Options
Because a flawless finish is what separates a lure that catches eyes from one that catches nothing, I always hang my lures to dry rather than laying them down where the clear coat can pool, smudge, or pick up dust. Choosing the right hanging hardware makes all the difference for coating protection.
Here’s what I’ve found works best:
- Cling clips or hook clamps. These grab securely without touching the wet surface, so I never leave fingerprints in my finish.
- Small paper clips bent into half loops. I thread these through lure eyes for minimal contact and easy hanging.
- Wire support across my workspace. I string sturdy wire between two points and hang multiple lures evenly spaced.
For bigger batches, I’ll use a dedicated drying rack or grid system inside a storage container to keep everything separated and dust-free while curing.
Drip Prevention Setup
I stretch sturdy wire or twine between two points for my support, then attach hooks through each lure’s rear eyelet. This keeps hanging lures suspended freely, no surface contact means no smudges.
Height matters. I position them high enough that excess coating drips cleanly off the body rather than pooling at the tail or creating ugly runs down the sides.
Protecting Your Workspace
I always slide drip catchers, shallow trays, jar lids, even cardboard, underneath to catch those inevitable drops. This simple drying setup keeps my workspace clean and my floor coating-free.
Finally, I pick a spot with gentle airflow and zero dust. Nothing’s worse than debris settling into wet epoxy, turning your masterpiece into a textured mess.
How Long to Cure and Where to Store Finished Lures?
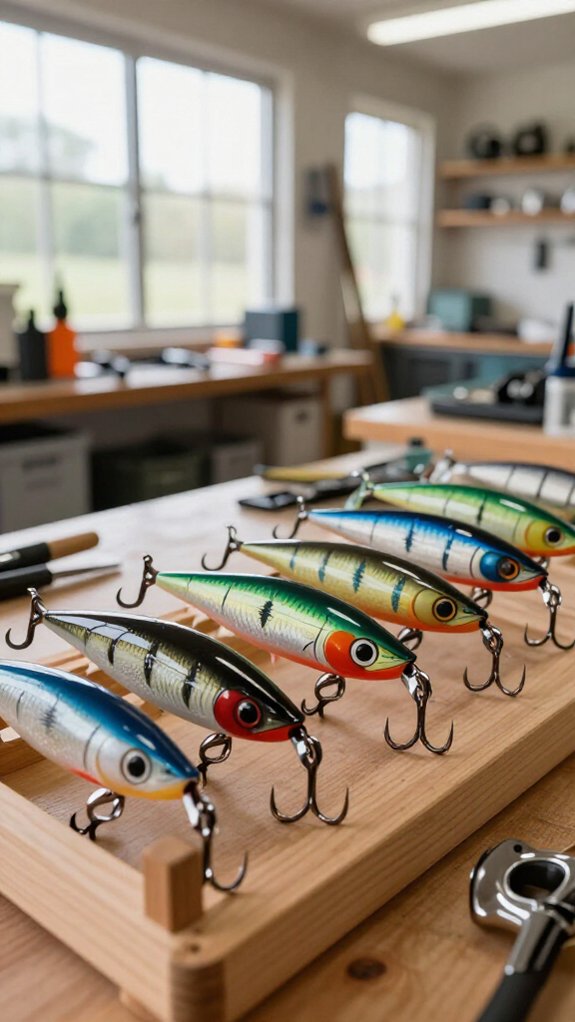
Once you’ve applied that final layer of clear coat, you’ll need to give your lures plenty of time to cure properly before they hit the water.
Most clear coats need 24 hours to dry to the touch and a full 7 days to become fully cured. I can’t stress enough how proper cure time directly impacts coating durability. Rush it and you’ll sacrifice hardness, flexibility, and water resistance.
Here’s how I handle storage:
- Find the right spot: Keep lures in a dry environment, ideally 70°F–75°F, with good airflow.
- Position matters: Hang or lay them flat to prevent drips and dust from ruining your finish.
- Control conditions: Avoid high humidity and direct sunlight, which extend curing and weaken the coating.
A temperature-controlled space makes all the difference. Trust me, your patience pays off when that trophy fish strikes.
Fix Bubbles, Yellowing, and Peeling in Your Clear Coat
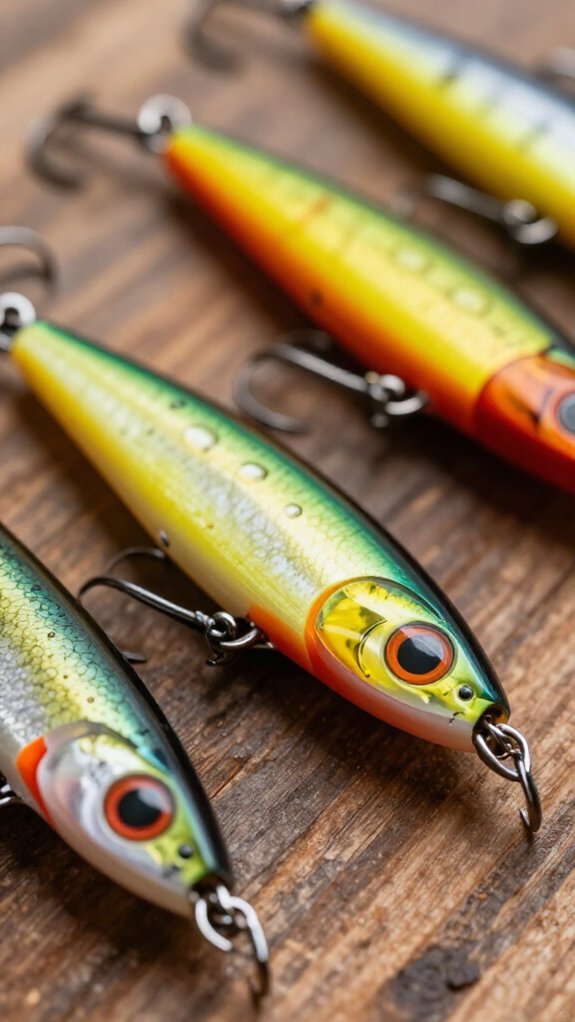
Even the most careful lure builder runs into trouble with bubbles, yellowing, or peeling now and then, so I’ll walk you through exactly how I’ve salvaged finishes that looked ruined and gotten them back to glass-smooth perfection.
Bubbles form when air gets trapped during application. I pop them immediately with a quick pass of a heat gun before the clear coat starts curing. Waiting even five minutes means they’re permanent.
Yellowing drives me nuts, especially on white or pearl patterns. I switched to UV resistant formulas like Flexcoat epoxy and KBS DiamondFinish, which contain UV inhibitors that block the sun’s damaging rays. I also store finished lures away from windows.
Peeling traces back to poor surface preparation. I scrub every lure with denatured alcohol, ensure complete curing between thin coats, and verify paint compatibility. Skip these steps and your clear coat lifts within weeks.
Frequently Asked Questions
What Is the Most Durable Clear Coat for Fishing Lures?
I believe two-part epoxy resins like Devcon Two Ton offer the most durable clear coat for fishing lures, though UV-cured resins and moisture-cured urethanes also provide excellent impact resistance and long-lasting protection when I apply them properly.
What Is the Best Sealant for Fishing Lures?
Choosing the best sealant’s like picking armor for battle: I match my lure’s needs to the fight ahead. Epoxy’s my go-to for toughness, urethane for flexibility, each battle demands its own shield.
What Lure Was Banned From Bass Tournaments?
I know the Berkley PowerBrawn crankbait got banned from bass tournaments in 2014. Tournament officials worried about its sharp, exposed hooks injuring anglers. They also disliked its aggressive diving action and loud rattles.
Some organizations even restricted bright, reflective colors for fairness.
What Is the Best Clear Coat for Plastics?
I’ve tested this theory through years of trial and error, and polyurethane clear coats, especially water-based types, win for plastics. They’re flexible, resist cracking, and won’t yellow.
I always test a small area first, though.
In Conclusion
Clear coating your lures right means they’ll survive season after season of abuse. I’ve found that matching your technique to your clear coat type—epoxy for bulletproof depth, polyurethane for quick fixes, sprays for delicate details—makes all the difference.
Prep like you’re defusing a bomb: clean, scuff, and degrease every time. Mix slow, thin when needed, and hang those lures like a rotary phone on a kitchen wall, steady, spaced, and perfectly still while they cure. Patience pays. Rushed jobs peel, yellow, and bubble.
Store your finished work in a cool, dark spot, and you’ll be catching fish on hand-built lures for years.