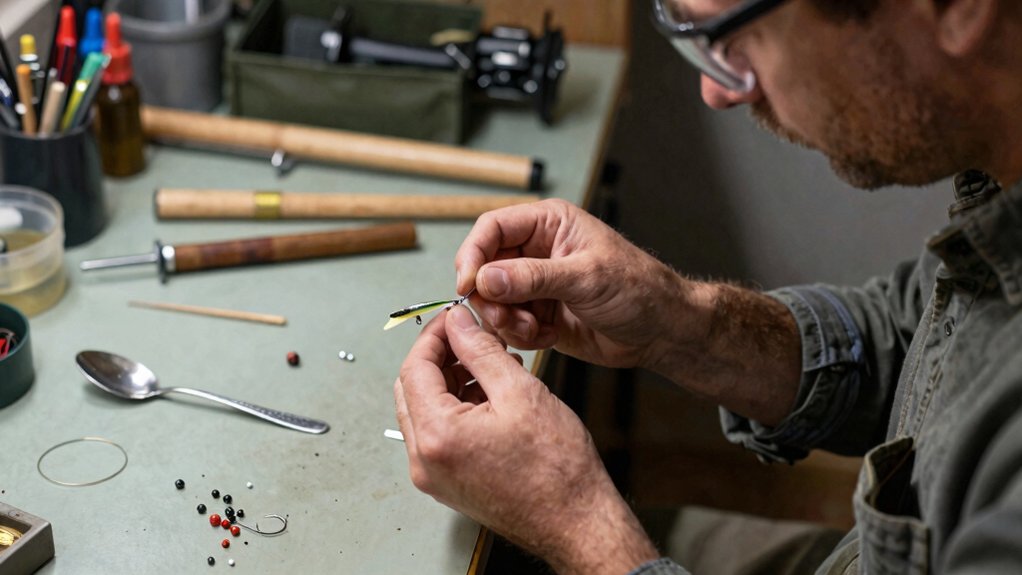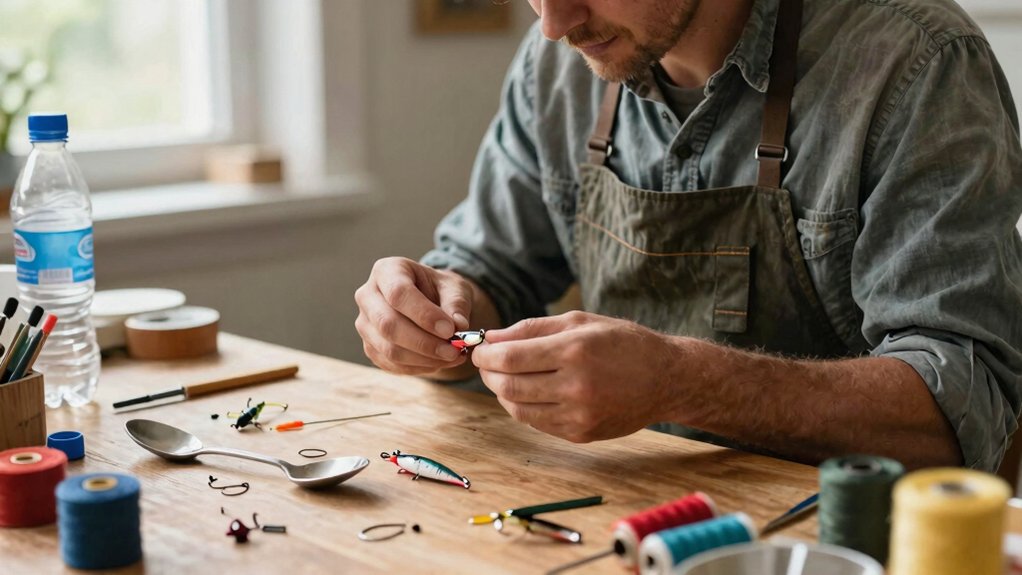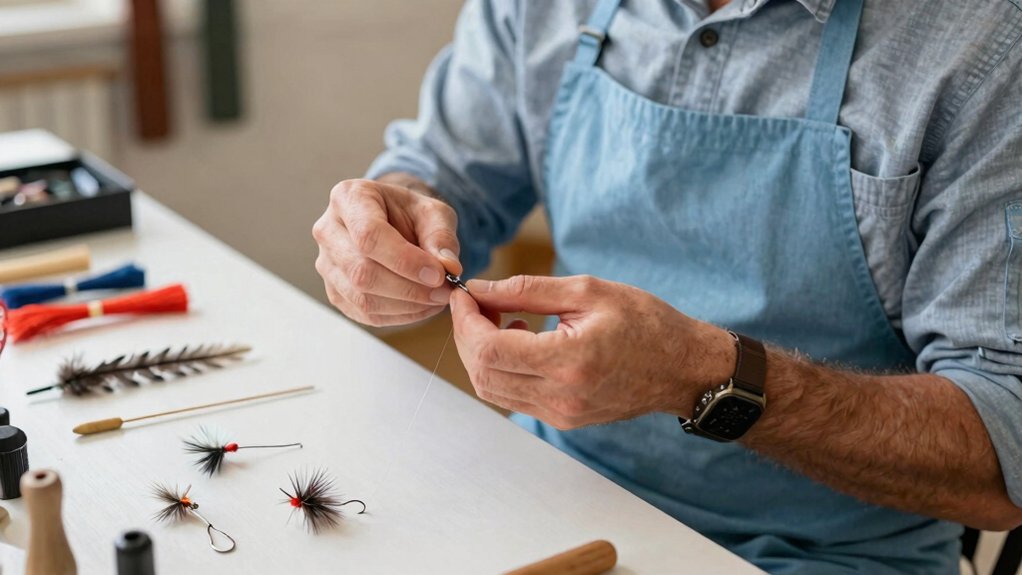

You can start tying effective fly fishing lures with just five essential tools: a vise ($20–$50), bobbin ($10–$20), sharp scissors ($5–$15), hackle pliers ($5–$10), and a whip finisher ($10–$20). Match your hook size and thread weight to your target pattern: small hooks with thin 8/0 thread for delicate dries, larger hooks with 3/0 for bulky streamers.
Secure materials using a pinch wrap, build your body with even tension to avoid lumps, and finish with tight whip knots brushed with head cement for durability. Select materials that mimic local insects or baitfish, and you’ll soon craft flies that fool pressured trout.
Start Tying: The 5 Tools You Actually Need
When you’re ready to start tying your own flies, you don’t need a workshop full of gear, just five essential fly tying tools that’ll get you building effective lures without draining your wallet.
The Core Five
First, grab a vise—this holds your hook steady while you work. Basic models run $20-$50 and work perfectly for beginners.
You’ll also need a bobbin to manage your thread tension; expect to pay $10-$20.
Sharp, fine-tipped scissors ($5-$15) make clean cuts through feathers and synthetic materials.
Hackle pliers ($5-$10) grip tiny feathers so you can wrap them evenly.
Finally, a whip finisher ($10-$20) knots your fly’s head securely.
That’s it, five tools, roughly $50-$115 total, and you’re ready for fly fishing success.
Match Your Hook and Thread to Your First Fly
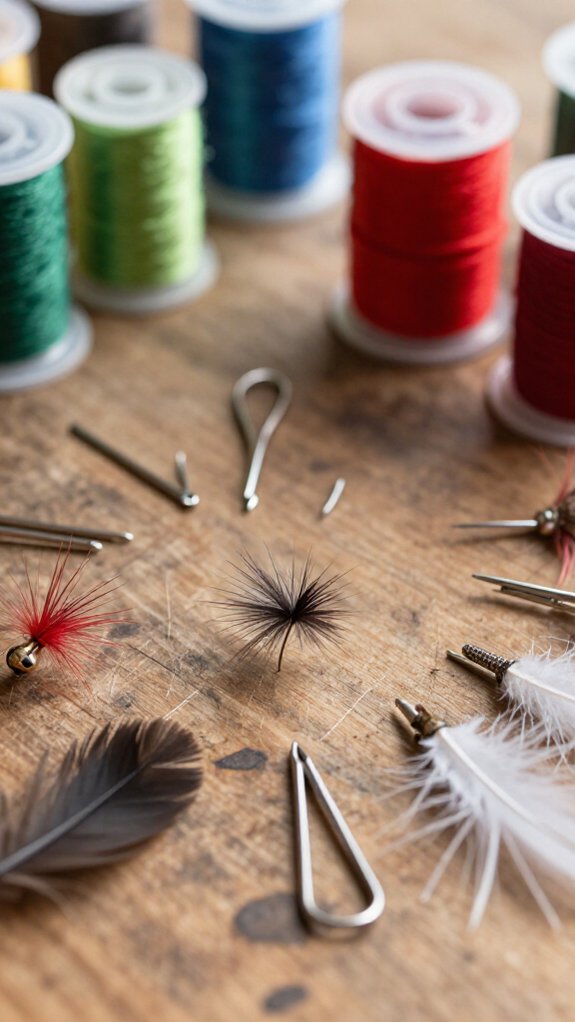
Because the right hook and thread pairing can make or break your first fly, I’ll show you exactly how to match them without second-guessing yourself. Matching hook and thread starts with your fly design.
I pick hook size first—size 10-14 dry fly hooks for delicate mayflies, size 6-8 streamer hooks for baitfish patterns.
Next, I grab basic tying materials that complement my material selection. Thread weight matters hugely here.
- Thin 8/0 thread whispering around tiny hooks like silk
- Thick 3/0 thread gripping bulky streamers with authority
- Contrasting thread color blazing through translucent bodies
- Matching thread color vanishing into dubbing like camouflage
I keep thread tension steady throughout, loose wraps mean disaster.
With 6/0 or 8/0 nylon, you’ve got versatile thread color options for most patterns.
Lock Materials in Place With the Pinch Wrap
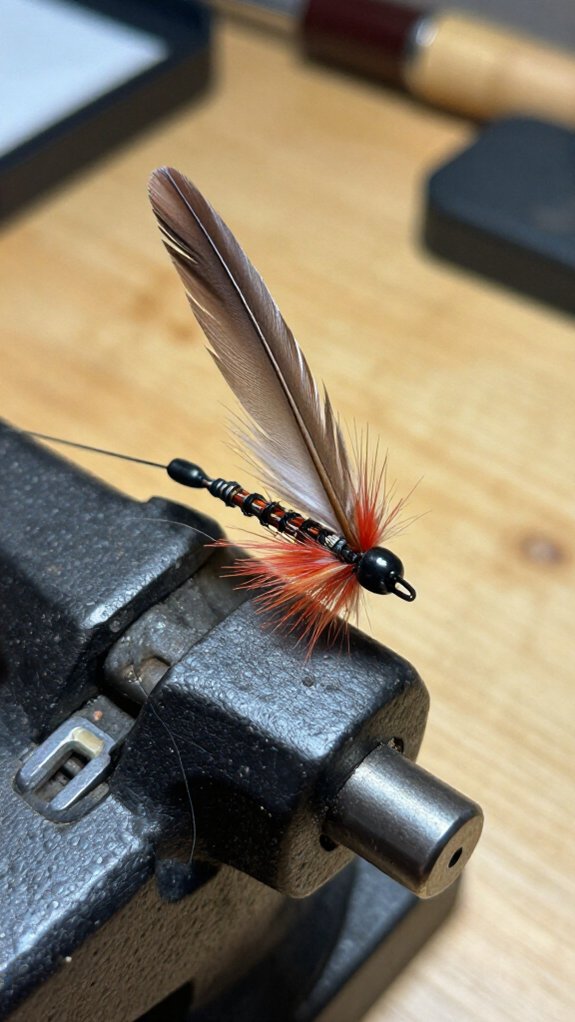
Once you’ve got your hook and thread matched up, you’ll run into the first real test: keeping your materials from twisting, sliding, or going crooked the second you start wrapping. That’s where the pinch wrap saves your sanity.
Master the Pinch
Here’s how I do it: I stop the thread, grasp the tying materials with my thumb and forefinger, then bring the thread up and over, pinching everything in place before I wrap.
This simple move gives me control I can’t get any other way.
Why It Matters
When I hold the materials steady with a pinch wrap, I secure them firmly from the start. That means my thread wraps stay even, my flies look symmetrical, and nothing spins out of place.
In fly tying, that control separates sloppy work from realistic lures that actually catch fish.
Tie Your First Woolly Bugger: Tail and Body
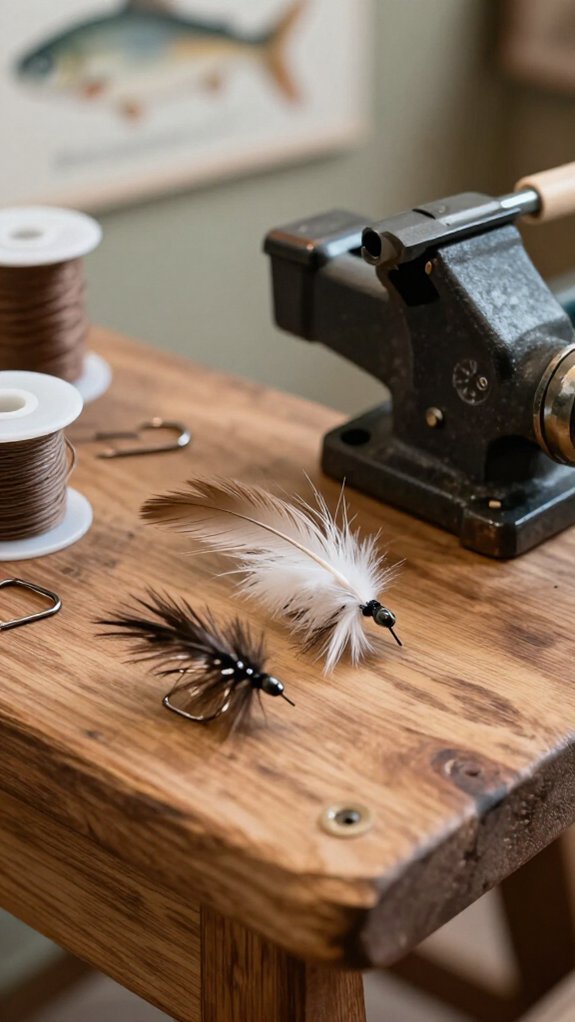
I’ll show you how choosing marabou tails and wrapping chenille bodies forms the foundation of a Woolly Bugger that actually catches fish.
Start by securing your hook and laying a thread base. Then tie in a plume of marabou at the bend so it extends just past the hook length. This creates that irresistible, pulsing action trout can’t ignore.
Wrap your thread forward to build a smooth shank. Attach your chenille or dubbing at the rear, and work it into a tapered, centered body that’ll hold up cast after cast.
Choosing Marabou Tails
When you’re tying your first Woolly Bugger, the tail isn’t just an afterthought, it’s what gives the fly its seductive, lifelike pulse in the water. I always reach for marabou feathers as my go-to tying materials because their natural movement perfectly mimics struggling baitfish or drifting insects.
Before securing anything, I’ll spend a moment teasing fibers apart to build that bushy tail profile without creating unwanted bulk. For tail length, I measure it against the hook shank: extending roughly one shank length beyond the bend matches natural prey proportions that predators recognize instantly.
- Soft marabou undulates like a wounded minnow in current
- Fibers breathe and pulse between strips
- Secure wraps anchor the tail against aggressive strikes
- Aligned fibers track straight without spinning
I use a pinch wrap to keep everything centered, then add several tight thread wraps just behind the hook bend. These secure wraps prevent the tail from twisting or slipping during casting and retrieves.
Wrapping Chenille Bodies
Why does the Woolly Bugger catch fish when so many other patterns fail? It’s that irresistible, pulsing chenille body that drives trout wild.
Building Your Bugger Body
I secure my hook in the vise and start my thread base near the bend. After tying in my marabou tail, I attach my chenille at that same spot, pointing toward the hook eye.
Here’s what matters:
| Step | Action | Result |
|---|---|---|
| 1 | Tie in chenille at tail base | Secure anchor point |
| 2 | Wrap forward with smooth turns | Even body coverage |
| 3 | Cover hook shank completely | Bulky, attractive profile |
| 4 | Secure near eye, whip finish | Durable, fish-ready fly |
That fuzzy chenille material creates movement and silhouette that mimics everything from leeches to baitfish.
In fly tying, the body makes the difference between a fly that sits there and one that hunts.
Wrap Hackle and Whip Finish Your Fly
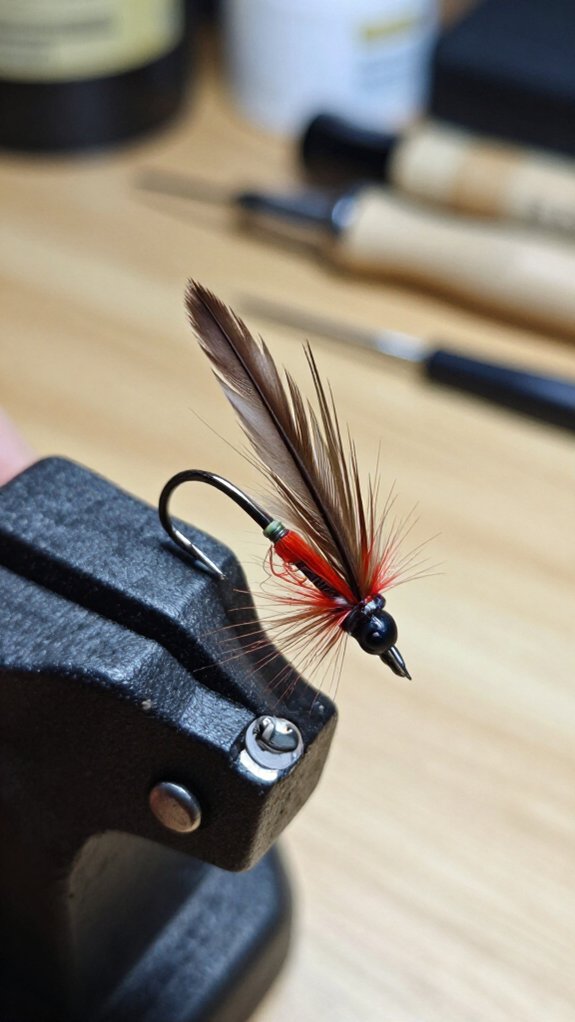
I’ll wrap a properly-sized feather around the hook shank using hackle pliers, keeping tension steady so the fibers stay aligned and slightly overlapping as I work from base to tip.
Once I’ve secured the hackle with a few tight wraps at the head and trimmed any excess stem, I’m ready to finish the fly properly.
I grab my whip finisher tool to create a series of tight knots at the head, rotating carefully to form a secure thread loop before trimming close for that clean, professional look that’ll hold up cast after cast.
Hackle Wrapping Technique
Now that I’ve got my thread base built up and the tail and body are sitting pretty, it’s time to bring this fly to life with hackle, the wispy, breathing fibers that’ll fool trout into thinking dinner just landed on the surface.
I grab my hackle pliers and select a properly sized feather, starting my hackle wrapping from the base and working toward the hook eye. I follow the feather’s natural curvature, laying each turn in tight, even spacing. The alignment matters—fibers must lie flat, not twisted or bunched.
After a few wraps, I secure the stem with thread behind the wraps, then continue forward with steady tension.
Once I’ve reached the desired length, I lock it down with tight thread wraps, trim the excess feather stem flush, and I’m ready for the final knot.
- Silky fibers pulsing like insect legs in the current
- Golden hackle tips catching afternoon light on the water
- The satisfying tug of pliers gripping delicate barbs
- A collar of living texture that breathes between each wrap
Whip Finishing Methods
With the hackle collar in place and the feather stem trimmed flush, I’m ready to lock everything down with a whip finish, the knot that separates a fly that’ll survive a dozen strikes from one that unravels halfway through your first drift.
Hand vs. Tool-Assisted Methods
You can whip finish by hand, looping thread around your finger for 3–6 wraps, or use a tool-assisted approach with a whip finisher for tighter, more consistent results. Both methods work with basic tying materials.
Securing Your Work
I thread through the loops, cinch the knot tight, then trim excess.
For extra durability, I brush on head cement. This seals the thread and keeps your fly tying investment intact through aggressive strikes and rocky drifts.
Fix Lumpy Bodies and Pick Your Next Fly
Even the most carefully wrapped fly bodies can turn out lumpy, which is why I’ve learned to fix them instead of starting over. When I’m fly tying and spot those dreaded bumps, I reduce my dubbing or synthetic material and tease the fibers apart. This creates a smooth profile every time.
I’ve found that easing up on tension prevents lumps from forming in the first place. For tricky synthetics or natural fibers, I use a dubbing loop to distribute everything evenly. And I always secure materials with controlled wraps to keep the fly body uniform.
- A silky rope of teased-out dubbing gliding onto the hook
- Tight, even spirals hugging the shank like a second skin
- Translucent synthetic fibers catching light underwater
- A tapered, bug-perfect silhouette ready to fool trout
For your next pattern, match local insects or baitfish and gather materials that’ll make your lure irresistible.
Frequently Asked Questions
What Do You Need to Make Fly Lures?
I need a basic fly tying vise to hold hooks, sharp scissors, a bobbin for thread control, and hackle pliers for wrapping feathers.
I’ll also grab thread, feathers, dubbing, a whip finisher, and head cement to secure everything properly.
What Are the Basic Materials Needed for Fly Tying?
Like Daedalus weaving wings, I gather hooks, thread, feathers, and dubbing, these four elements form my foundation. I’ll add natural hackle or peacock herl, perhaps synthetic flash, and craft imitations that fool fish.
How to Make Homemade Fishing Lures for Beginners?
I start with simple patterns like woolly buggers, securing hooks in my vise and wrapping thread evenly. I add feathers or dubbing, keep tension steady, and finish with a whip finish and head cement for durability.
What Are Some Basic Fly Tying Techniques?
I thread the needle like a poet weaving verse, pinch wraps anchor my vision, dubbing spins life into form, hackle wraps breathe flight, and a whip finish knots my dreams to the hook’s steel eye.
In Conclusion
You’ve now got everything you need to start tying flies that actually catch fish. I won’t lie, your first few Woolly Buggers might look like they were tied by a medieval blacksmith with a drinking problem, but that’s part of the fun.
Stick with the pinch wrap, keep your thread tension steady, and you’ll be cranking out lures that outfish store-bought stuff in no time. Tight lines!