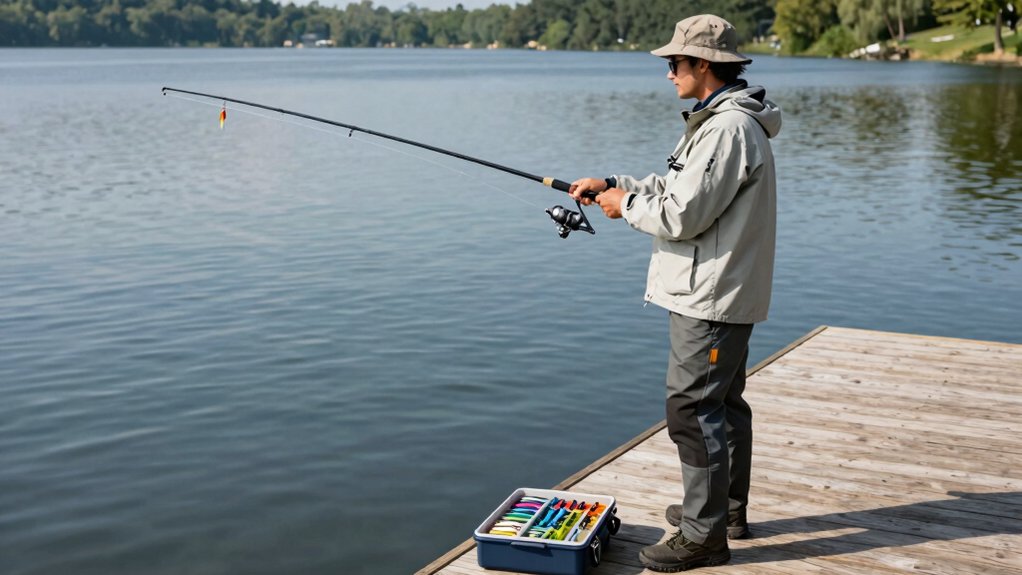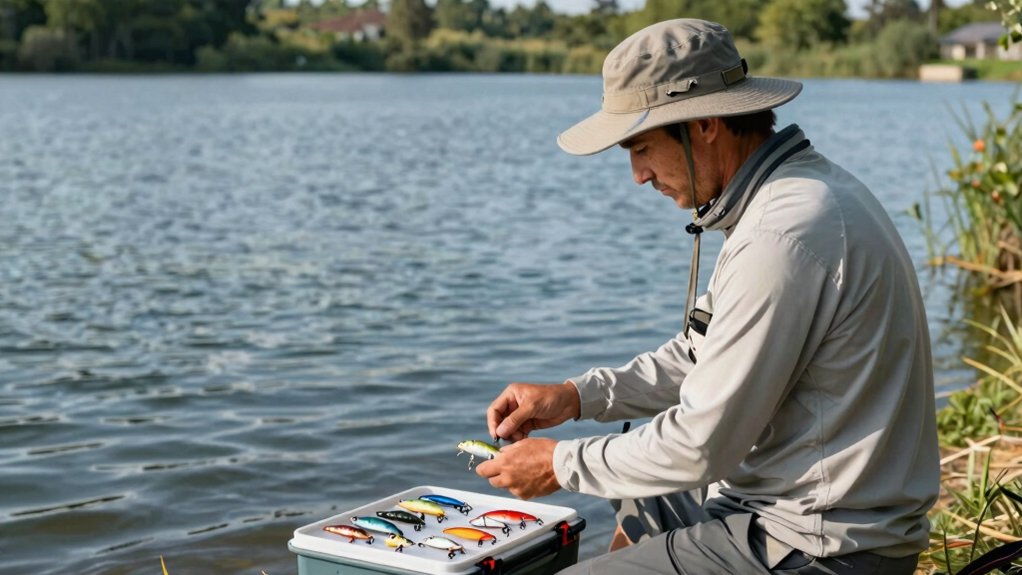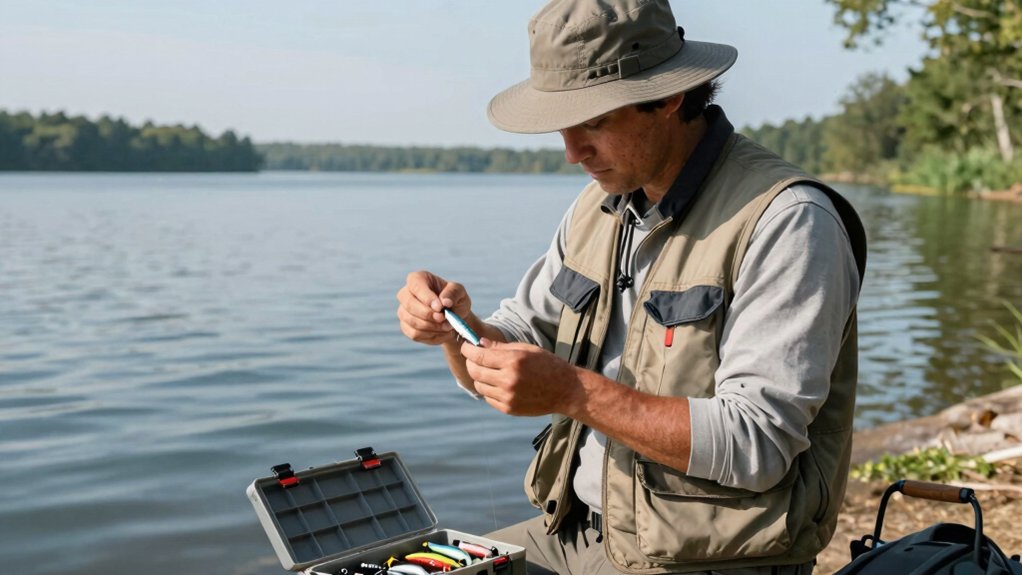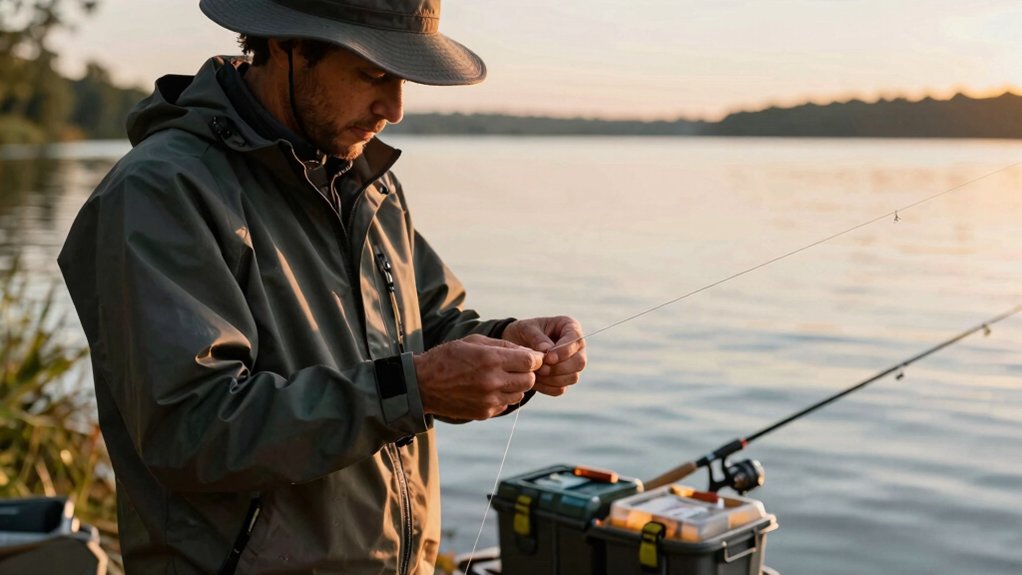

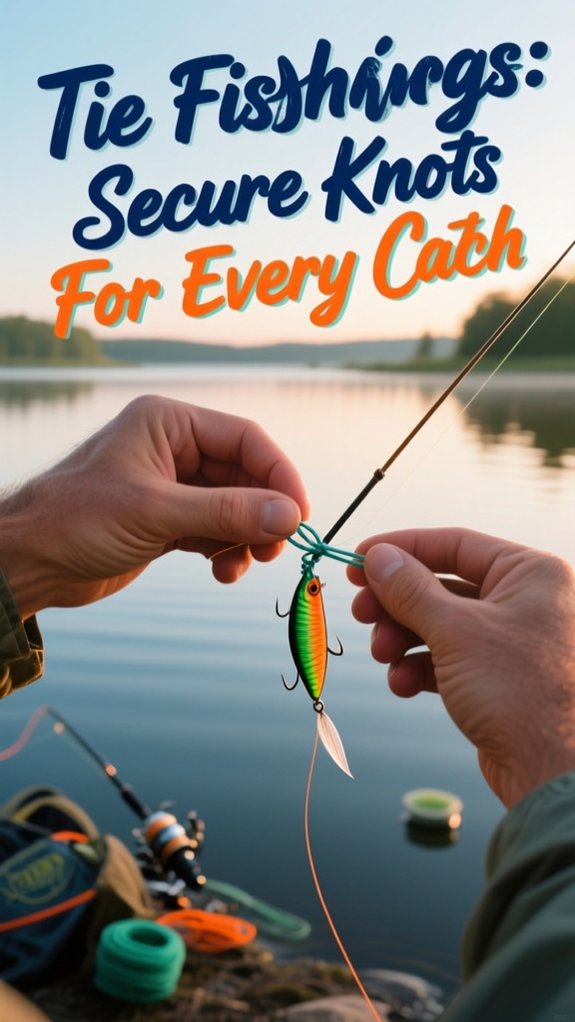
To tie a fishing lure securely, I always match my knot to my line type. I use the Palomar knot for braided line since it maintains 100% strength and never slips, and I switch to the Uni knot for monofilament or fluorocarbon to preserve up to 90% of line strength.
I moisten every knot before tightening, trim tag ends to a quarter inch, and slide the knot snug against the lure eye. With the right knot and proper technique, you’ll spend less time re-tying and more time catching fish, stick around to learn exactly which knots work best for your specific setup and how to tie them blindfolded-fast.
Start With the Palomar: Best Knot for Braided Line and Lures
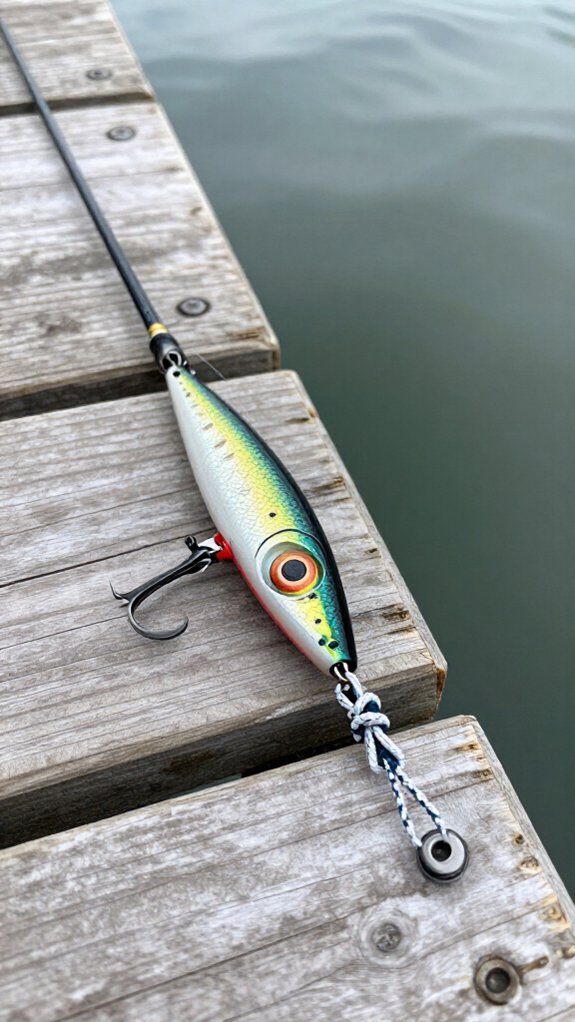
If you’re fishing with braided line, the Palomar Knot is the one I reach for every single time I’m tying on a lure. This knot keeps roughly 100% of your line’s original strength, which matters when you’re battling fish on slick, thin-diameter braid that can slip out of weaker knots.
Here’s how I tie it: I double about six inches of line, thread it through the lure’s eye, then make a simple overhand knot.
Before tightening, I loop that doubled line completely over the lure.
Here’s a tip I learned the hard way: I always moisten the line first. Dry braid can heat up and weaken when cinched tight.
Once it’s snug, I trim the tag end to about a quarter inch. That little nub keeps everything locked in place when I’m fighting bass in thick cover.
Switch to Uni Knot for Monofilament and Fluorocarbon
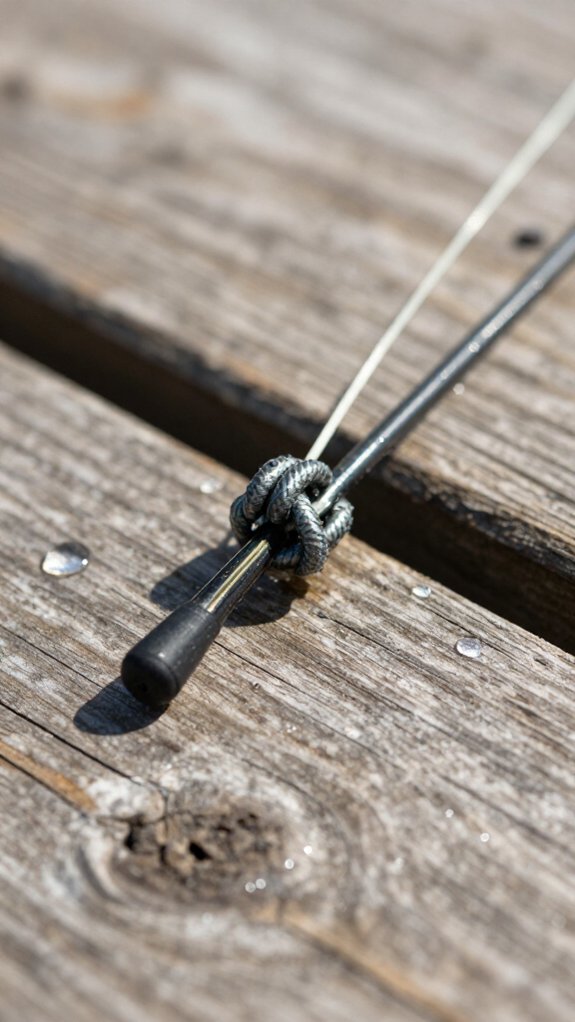
I reach for the Uni Knot whenever I’m rigging monofilament or fluorocarbon because it keeps up to 90% of my line’s original strength while giving me a rock-solid connection I can trust when a big fish hits.
You’ll love how simple it’s to tie: just thread the line through the eye, double it back into a loop, wrap the tag end around both strands six times, then pull tight after moistening everything with a quick lick to cut friction and prevent heat damage.
I always slide the finished knot snug against the hook eye or swivel, and I’ve found it shines whether I’m tossing crankbaits for bass, drifting live bait on a Carolina rig, or tying on a snap swivel for quick lure changes during a hot bite.
Why Uni Knot Excels
When I’m spooling up with monofilament or fluorocarbon, I reach for the Uni Knot without hesitation because it’s the one knot that truly delivers on strength, simplicity, and reliability all at once.
Knot Strength That Holds
I’ve tested plenty of knots over the years, and the Uni Knot’s knot strength stands out. It maintains up to 90% of your line’s original breaking strength. That means when you’ve got a trophy fish on, you’re not worrying about connection failure.
Why It Works So Well
The Uni Knot tightens evenly and resists slipping under tension, which is exactly what you need with stretchy mono or dense fluorocarbon. It slides smoothly down to hook eyes, swivels, or lure rings for a snug, secure fit every time.
Quick to Master
You’ll nail this knot in 4–5 steps. After a few practice runs, you’ll tie it blindfolded on a rocking boat. Trust me, I’ve done it.
Step-By-Step Tying Guide
Switching to the Uni Knot for monofilament and fluorocarbon takes just seconds once you’ve got the muscle memory down, and I’m going to walk you through exactly how I tie it every single time I’m on the water.
The Steps
First, I thread my line through the lure’s eye and leave plenty of tag end to work with, about six inches does the trick.
Then I form a circle by doubling the tag end back alongside the main line.
Here’s where the magic happens: I wrap that tag end around both lines six times, working away from the lure.
Before I cinch anything, I always moisten the knot with a quick lick or dip. This cuts friction so my line doesn’t weaken or burn during tightening.
Finally, I pull the main line to draw the wraps together, slide the knot down snug against the lure eye, and trim the tag end close.
Clean and ready for fishing.
Best Use Cases
The Uni Knot earns its spot as my go-to for monofilament and fluorocarbon because it solves real problems I’ve faced on the water. I’ve watched too many lures slip free with inferior knots, that’s why I switched.
Best Use Cases
| Scenario | Why It Works |
|---|---|
| Bass fishing with crankbaits | Maintains 90% line strength through aggressive strikes |
| Leader-to-line connections | Slides tight for seamless mono/fluoro joining |
| Quick lure changes | 4-5 simple steps get me back to casting fast |
I love how this knot slides precisely to the hook eye, eliminating that annoying gap weaker knots leave behind. Whether I’m matching different diameter lines or need dependable attachment in clear water where fluorocarbon shines, the Uni Knot delivers.
It’s versatility I trust when the bite’s hot and I can’t afford failure.
Match Your Knot to Your Lure and Line Type
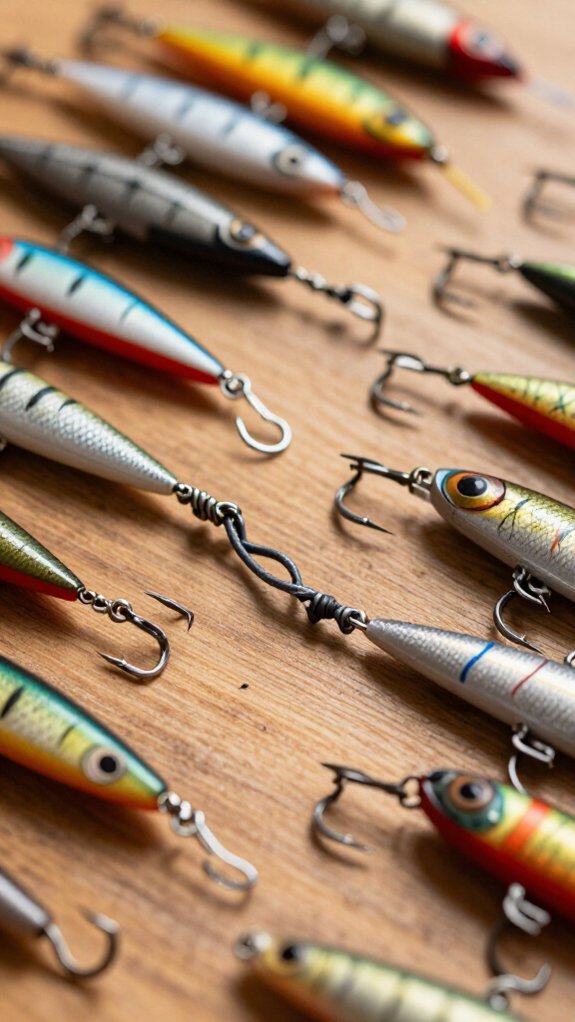
Since every lure and line combination behaves differently on the water, I’ve learned that matching the right knot to your setup isn’t just good practice, it’s what keeps fish on the line when it matters most. Your knot choice directly impacts how your lure moves and how well your line holds under pressure.
Here’s how I match knots to my gear:
- Braided lines and heavy lures — I always reach for the Palomar Knot. Its double-line design grips slick braid and won’t slip when I’m hauling in big fish.
- Monofilament with small lures — The Trilene or Improved Clinch Knot gives me reliable holding without bulky knots that spook wary fish.
- Fluorocarbon leaders — The Uni Knot creates nearly invisible connections that let my lure work naturally.
I always moisten every knot before tightening, it’s a simple step that prevents heat damage and keeps my line strength intact.
Add a Leader: When and How to Join Two Lines
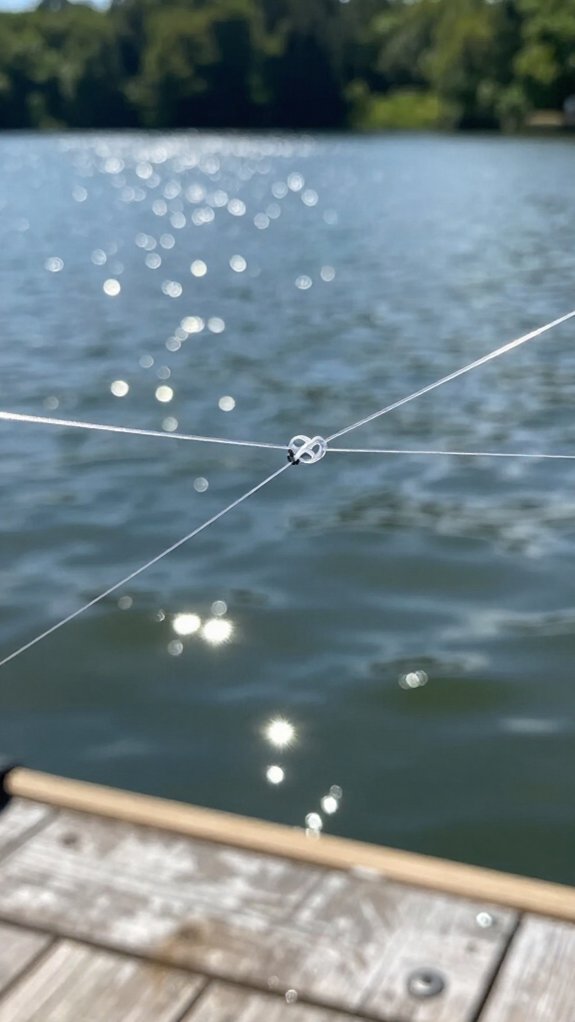
When I’m targeting line-shy fish or fishing around abrasive structure, I’ll add a leader to protect my mainline and improve my presentation. Knowing how to join lines properly keeps your setup strong and stealthy.
Choosing Your Connection
I match my knot to the lines I’m connecting. For similar diameters, the Uni-to-Uni Knot preserves up to 90% of line strength, it’s my go-to for quick, reliable joins.
When I need to join lines of different diameters, I’ll grab a Surgeon’s Knot for its simplicity and security.
Braid-to-Leader Connections
Connecting braided mainline to fluorocarbon or mono? I reach for the Albright Knot. Its low-profile design slips through guides smoothly without catching.
Final Steps
I always moisten both lines before tightening, dry friction weakens connections. Then I trim tag ends close, ensuring the knot seats fully.
A properly finished join lines up straight and holds confidence when I’m fighting fish.
Test Your Knot: Catch-Proof Checks Before You Cast
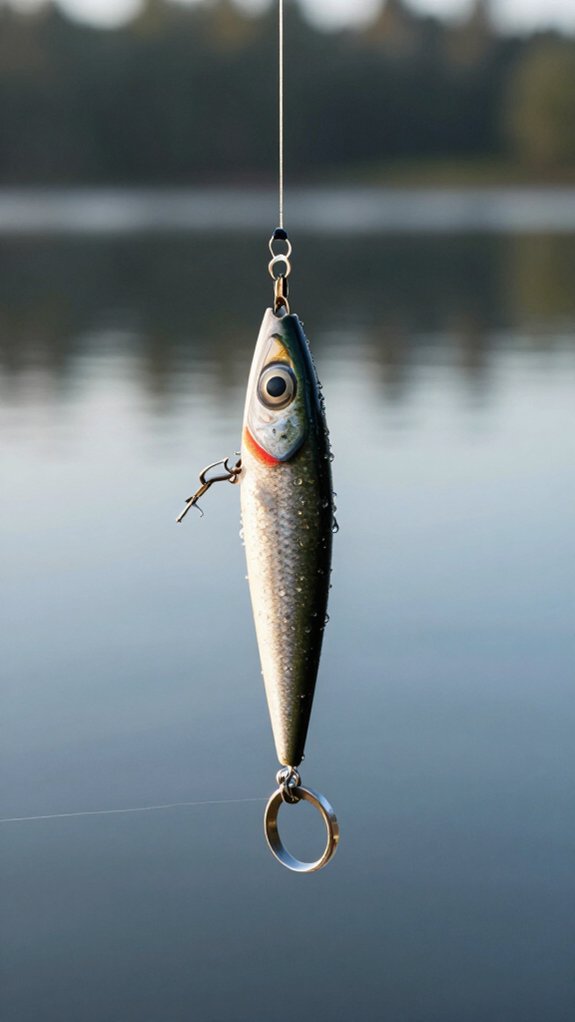
Before I make my first cast, I run through a quick knot check that takes ten seconds and saves me from losing the fish of a lifetime.
Here’s my three-step verification routine:
- Moisten and tighten — I wet the line before cinching to cut friction and lock the knot properly.
- Tug test — I pull firmly to confirm the connection holds under pressure.
- Visual scan — I check for twists or uneven loops that sabotage knot strength.
I always match my knot to my line type, Palomar for braid, Uni for mono, to optimize security.
A sloppy knot costs more than lures; it costs the strike you’ve waited hours for. Ten seconds of attention now beats hours of regret later.
Tie Knots With Your Eyes Closed: Speed Drills for Confidence
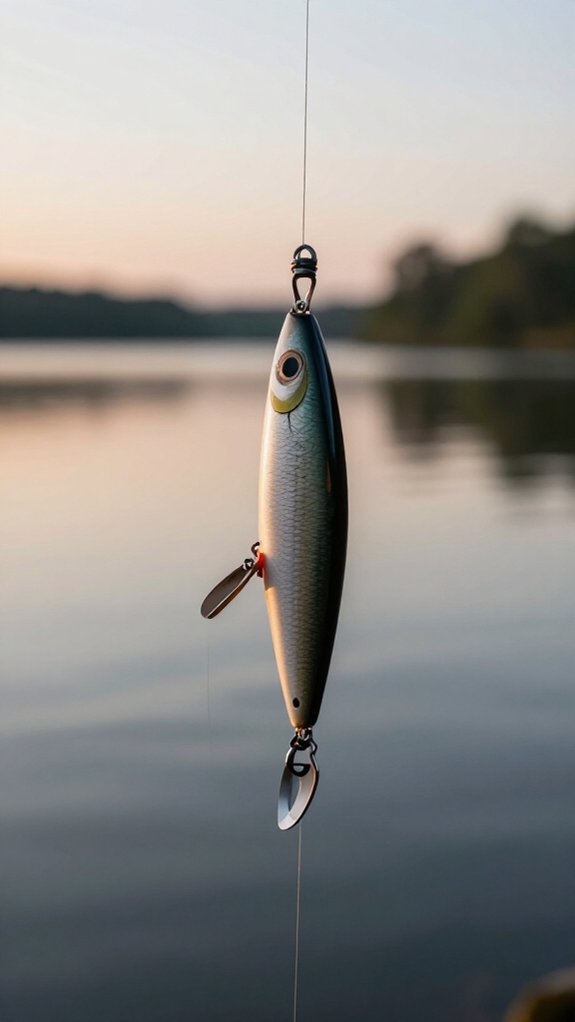
I shut my eyes and let my fingers find the tag end, loop it, and pull tight, muscle memory taking over where sight can’t help.
This isn’t a party trick; it’s how I’ve prepared for countless night fishing trips when headlamp glare would spook every fish within fifty yards.
Training your hands to work blind builds speed you can trust when the pressure’s on and the bite won’t wait.
Muscle Memory Training
Once you’ve mastered the basic steps, the real conversion happens when you can tie a knot without looking at your hands, because that’s when muscle memory takes over and speed becomes second nature.
I practice blindfolded until my fingers instinctively know the sequence. The goal? Under 10 seconds per knot.
Here’s my drill routine:
- Close your eyes and repeat the same knot until your hands move automatically
- Record yourself or use a mirror to check consistency without peeking
- Focus on tactile cues—line texture and tension tell you everything
I run timed challenges weekly. Feeling the line bite at tension points replaces visual confirmation. When you’re racing daylight or fighting a current, that confidence pays off. Your knots become reflex, not thought.
Night Fishing Prep
Night fishing demands knot-tying skills you can trust without a headlamp’s narrow beam. I know fish behavior shifts after dark, especially in clear water where predators hunt closer to shore. Fumbling with line costs you strikes.
Blind Practice Builds Confidence
I start every angler with a simple guide to help them master basic knots under bright lights. Once you’ve nailed the Palomar or Uni knot visually, you’re ready to close your eyes. I use slow, deliberate movements, feeling each wrap and cinch to avoid twists that weaken your connection.
Speed Drills That Work
I time myself tying an Improved Clinch knot without looking, pushing to beat my record while keeping tension perfect. Regular darkness practice turns hesitation into instinct.
Choose the right preparation, and you’ll guarantee fishing success when it matters most.
Frequently Asked Questions
How to Tie All Fishing Knots?
I practice tying knots like the Palomar, Uni, and Clinch by watching demonstrations, then moisten my line before tightening to reduce friction.
I match each knot to my line type and double-check everything’s secure before casting.
How to Tie the Most Secure Fishing Knot?
I use the Palomar Knot for maximum security. I double six inches of line, thread it through the eye, tie a simple overhand knot, pass the loop over my lure, moisten, then tighten carefully.
How to Tie the Most Secure Knot?
Like a seatbelt for your dreams, I always turn to the Palomar Knot when I’m chasing monsters. I double six inches into a loop, thread it through, tie an overhand, then pass the lure through that loop and pull tight.
How Do You Tie Fishing Lure Knots?
I thread my line through the lure’s eye, double it back, and tie a Palomar Knot by making a simple overhand loop, passing the lure through it, then pulling tight after moistening the line.
In Conclusion
A poorly tied knot loses fish; a well-tied one lands trophies. I’ve watched braided line slip through weak knots while monofilament held firm with the right technique, opposite lines, opposite solutions, same reward.
Master these five methods and you’ll spend less time re-rigging, more time feeling that electric tug on your line. Your confidence grows with every cast. Now get out there and make every knot count.