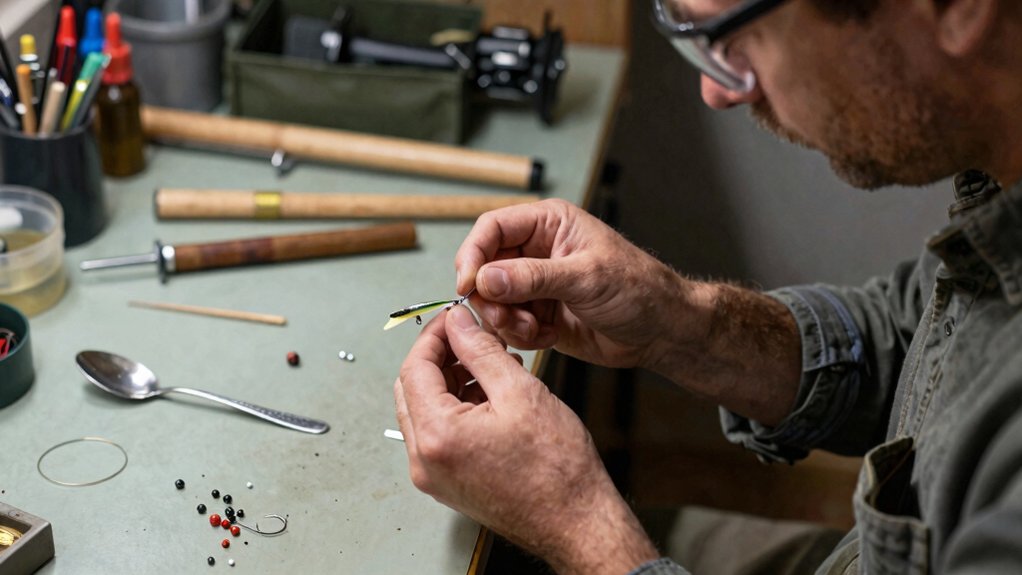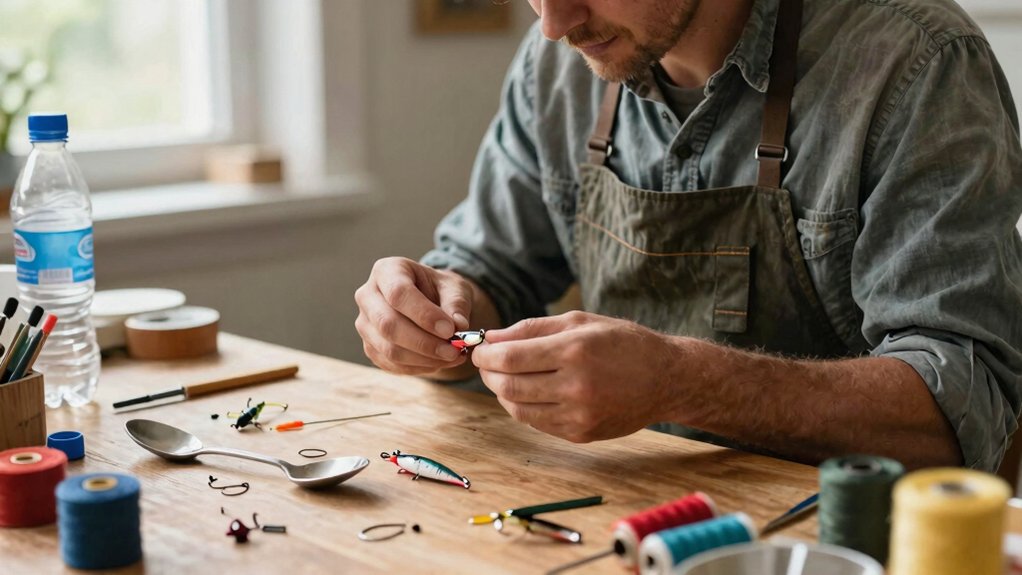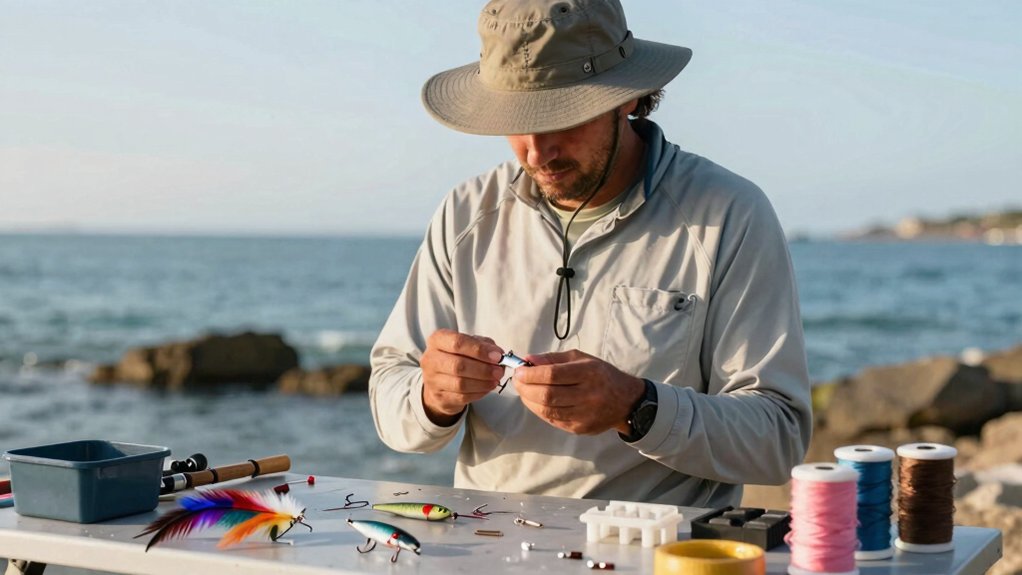

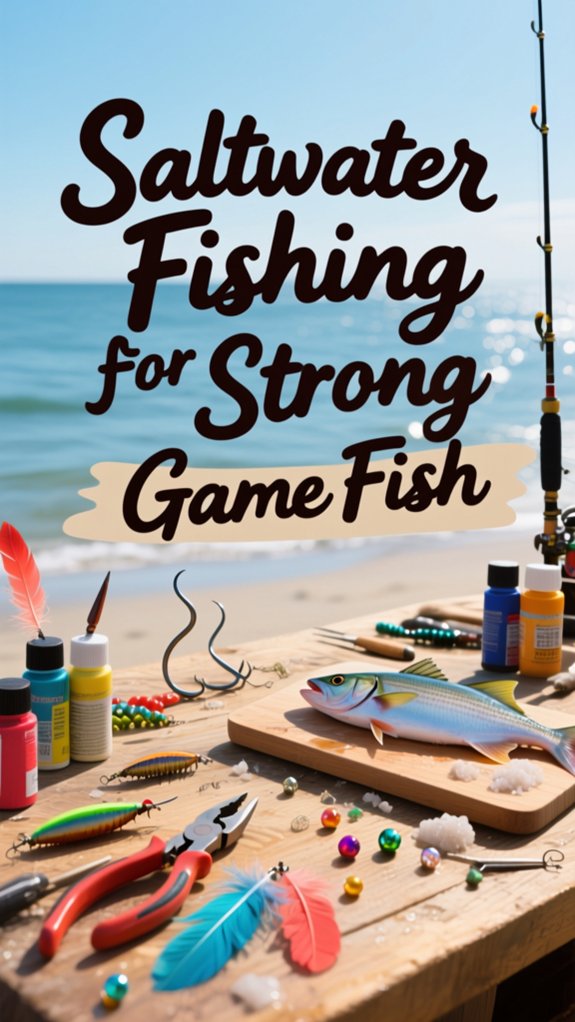
I build saltwater lures by matching the type to how fish feed, poppers for dawn surface explosions, jigs for deep-holding fish, and swimbaits for open-water reaction strikes. I shape bodies to mimic local prey: torpedo for menhaden, slender for mullet, wide for crabs.
Hard ABS plastics survive explosive strikes from snook and redfish, while reinforced soft plastics add lifelike action. I weight forward for casting distance, tail for swimming motion, and test in a pool until the wobble looks like a panicked baitfish.
Stainless or high-carbon hooks with forged points handle trophy fish without bending or rusting. I paint with fluorescent chartreuse or hot pink for murky visibility, add rattles and scent chambers to trigger multiple senses, studies show this amplifies strikes by 40%. Then seal every eyelet with waterproof polyurethane to stop salt corrosion.
There’s a method to fine-tuning that action until predators can’t tell your lure from dinner.
Choose Your Saltwater Lure Type: Poppers, Jigs, or Swimbaits
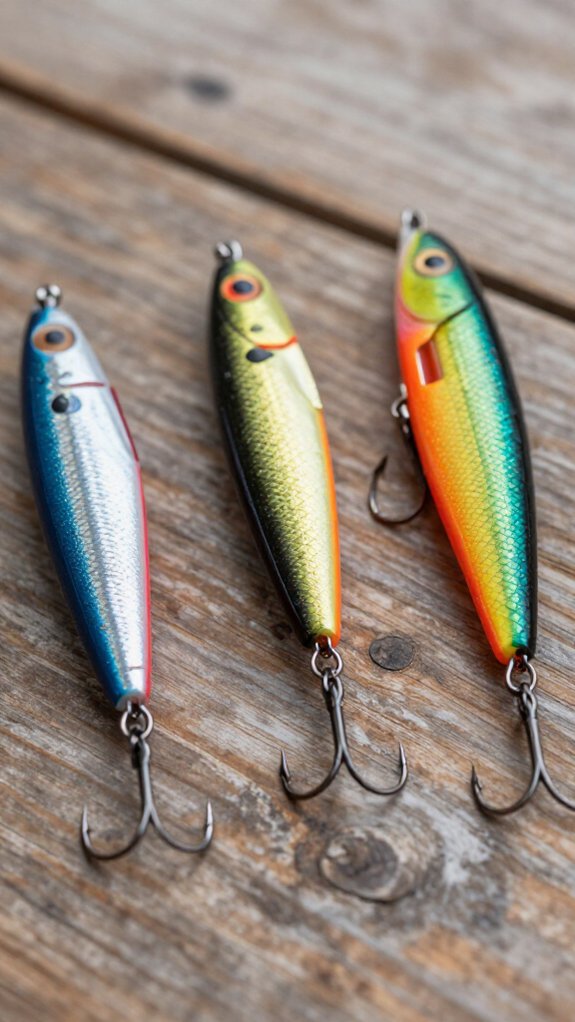
Before you tie on a single hook, you’ll need to pick a lure type that matches where the fish are feeding and what they’re hunting. I always start by reading the water and light conditions. Then match my lure choice accordingly.
Poppers
I reach for poppers when the surface is glassy and dawn or dusk paints the sky. That concave nose throws a satisfying bloop that drives snook and redfish wild. There’s nothing like watching an explosive strike erupt from below.
Jigs
When fish hold deep or hug structure, I’ll rig a weighted jig with soft plastics or a metal head. I work them vertically or bounce bottom, they’re incredibly adaptable.
Swimbaits
For open water where larger baitfish roam, I’ll swim a lifelike swimbait through the column. Those flexible tails or jointed bodies trigger brutal reaction strikes.
Pick Materials That Survive Saltwater Strikes
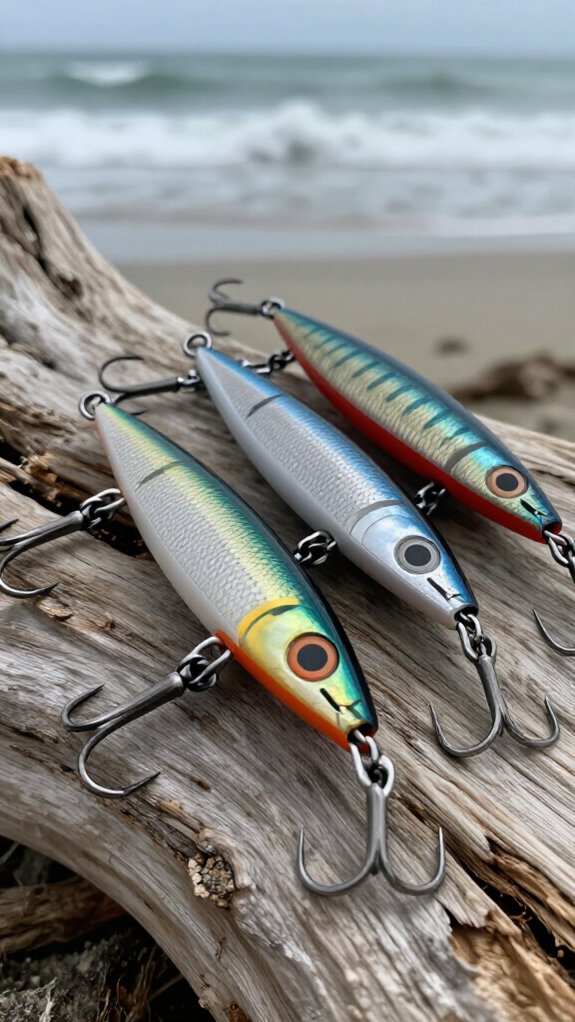
When I’m picking plastics for saltwater lures, I always weigh hard versus soft options based on what’ll take a beating from toothy predators.
Hard plastics give me that rigid, baitfish profile that stands up to repeated strikes, while soft plastics offer irresistible action that I’ll need to replace more often after fish tear them apart.
I’ll walk you through both choices so you can match the right material to your target species and fishing conditions.
Hard Plastic Options
Because saltwater hits harder than anything freshwater throws at you, I’m reaching for hard plastics built from ABS or polycarbonate when I’m targeting species that don’t tap politely, they explode on your lure. These materials deliver the durability I’m counting on when a tarpon or kingfish hammers my plug.
I mix and mold these tough plastics into topwater poppers or diving plugs, shaping them precisely before they cool rock-solid. The saltwater-grade formulas I’m using resist corrosion and cracking, maintaining color and form through brutal battles.
I always install metal eyelets and heavy-duty hooks because the plastic body won’t matter if the hardware fails.
For any angler building lures that survive explosive strikes, hard plastic construction isn’t optional, it’s the foundation that keeps me fishing instead of replacing.
Soft Plastic Choices
Although hard plastics handle explosive strikes, I reach for soft plastics when I need that irresistible, lifelike action that triggers cautious predators into committing.
Picking the Right Materials
I always choose durable silicone or thermoplastic elastomers for my lure design. They resist tearing from brutal saltwater strikes. I mix in saltwater-rated stabilizers to prevent degradation and keep that flexibility fish can’t ignore.
For extra toughness, I select soft plastics with reinforced cores or embedded fibers. They enhance tensile strength when game fish attack aggressively.
Here’s my balance: softer, more pliable materials create seductive movement, but they’ve got to be saltwater resistant or they’ll turn brittle fast.
I also grab premium scent-infused or scent-resistant options. They attract more bites and survive harsh conditions longer.
Shape Your Lure Body to Match Natural Prey
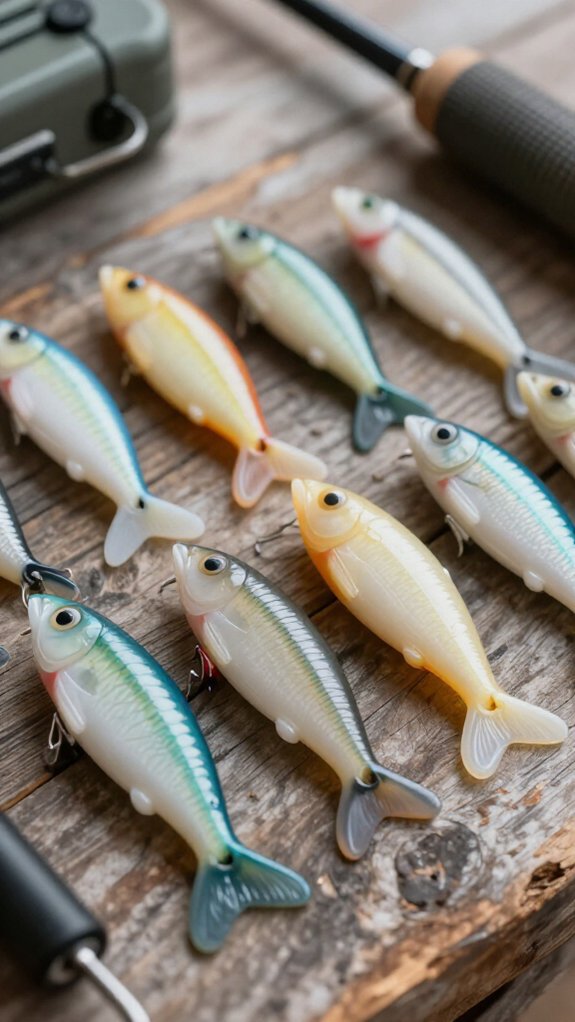
Since I’m after striped bass feeding on silvery menhaden or redfish crushing mullet, I’ll shape my lure body to mirror exactly what’s swimming in local waters, because fish aren’t fooled by abstract art, they’re keyed into specific prey profiles they’ve hunted since birth.
I choose my lure shape based on prey mimicry and the swimming action I need. Streamlined, torpedo-like bodies dart through currents like fleeing baitfish. Wider, flatter profiles wobble and glide, perfect for crab or shrimp imitations. I always taper the nose, round the belly, and point the tail to match local forage.
Here’s how I match prey to shape:
| Prey Type | Lure Shape & Action |
|---|---|
| Menhaden | Torpedo body, tight wobble |
| Mullet | Slender profile, darting action |
| Crab | Wide, flat body, gliding fall |
| Shrimp | Curved back, kicking tail |
I size my lure to what game fish see daily—Familiarity triggers aggressive strikes.
Weight Your Saltwater Lure to Cast Far and Swim True
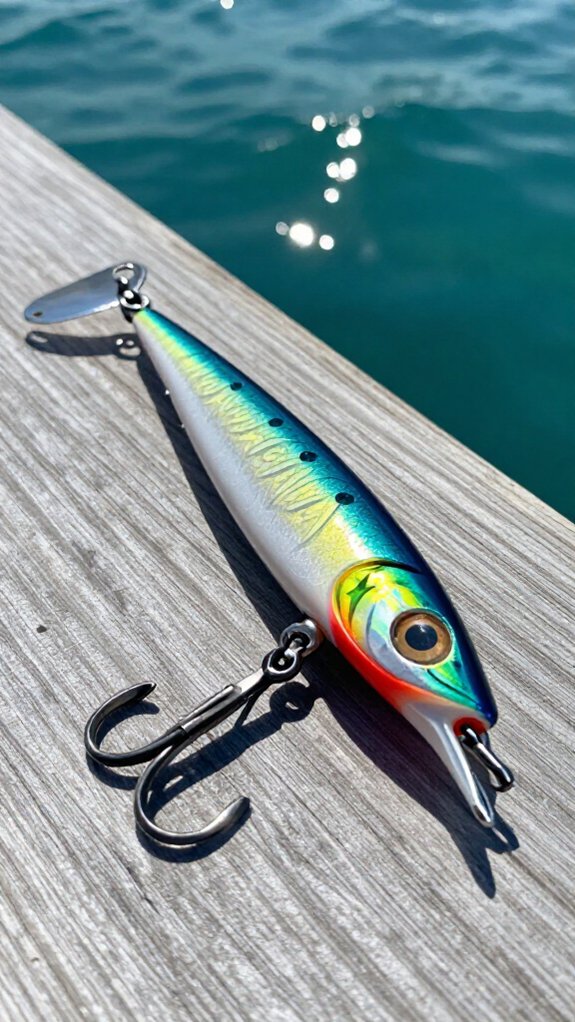
Once I’ve carved a lure body that matches the local baitfish, I need to nail the weighting, otherwise, my beautiful creation will helicopter through the air and spin like a broken propeller in the water.
Proper weighting changes a chunk of wood into a fish-catching machine. Here’s how I dial it in:
- Start with split shot or lead inserts – I drill precise holes and epoxy weights where needed, letting me fine-tune depth and stability for maximum casting distance.
- Distribute weight evenly – I balance the lure’s belly and tail so it tracks straight without twisting my line into a bird’s nest.
- Test front and tail placements – Shifting weight forward adds aerodynamic stability for bombing casts, while tail weight creates enticing tail-kick swimming action.
I tweak and test until my lure flies straight and swims true.
Rig Hooks That Won’t Rust or Bend on Big Fish
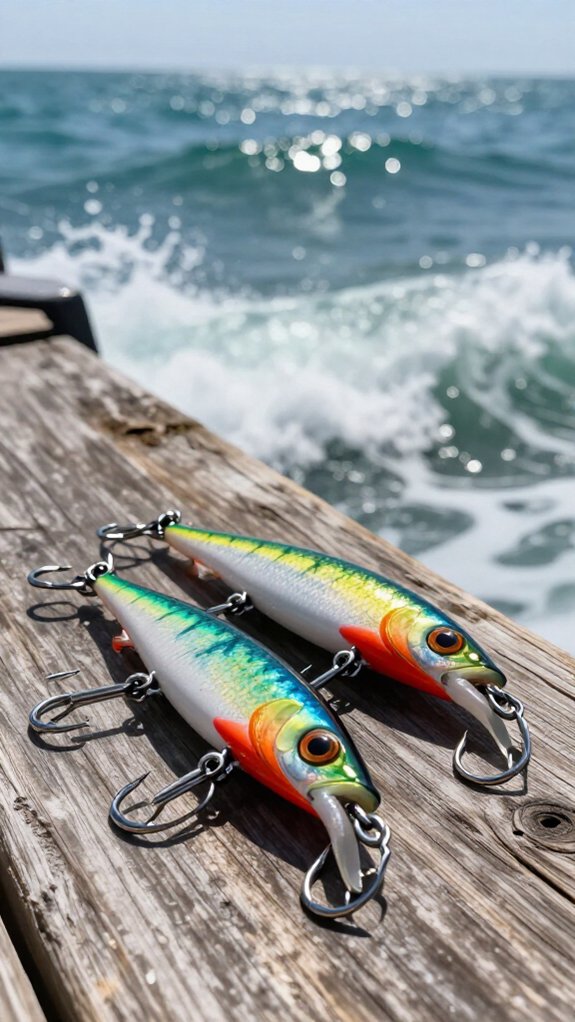
With my lure weighted to cast like a bullet and swim like the real thing, I’m ready to solve the problem that’s broken more hearts than missed strikes, hooks that rust shut or straighten out when a bull red or striped bass puts the screws to them.
I always rig stainless steel hooks for saltwater duty. Their corrosion resistance keeps points needle-sharp trip after trip, even after soaking in brine. When I’m targeting tackle-busters, I switch to high-carbon steel for backbone that won’t yield.
Here’s how I match hook material to the fight:
| Hook Material | Best For |
|---|---|
| Stainless steel hooks | All-around saltwater durability |
| High-carbon steel | Maximum bend resistance |
| Nickel/chrome plating | Extra corrosion resistance layer |
| Forged needle points | Deep hook penetration |
| Titanium | Ultimate strength-to-weight ratio |
I Inspect hooks after every outing—salt chews metal fast. Swap bent or spotted hooks immediately; that five-second check saves trophy fish.
Add Scent and Sound Triggers for Predatory Fish
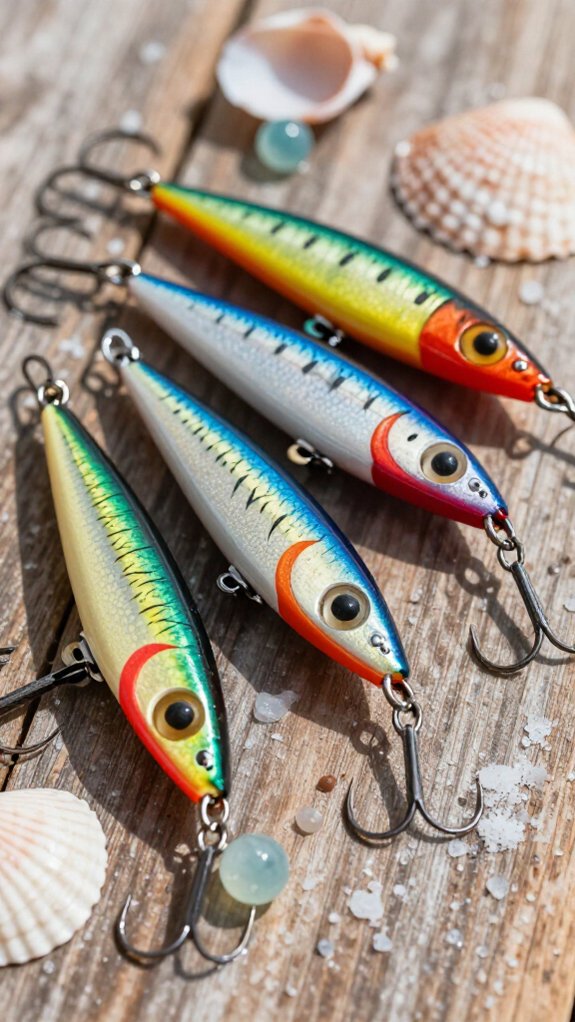
I’ll show you exactly how to layer scent and sound onto your homemade lures so they trigger more strikes from predatory fish.
We’ll start with scent application methods that’ll keep your lure smelling like real prey for hours.
Then move into sound trigger options that’ll make your lure impossible to ignore even in murky water.
Together, these two sensory layers turn a simple lure into a fish-attracting machine that outperforms anything store-bought.
Scent Application Methods
Because predatory fish rely heavily on their sense of smell to locate prey in vast saltwater environments, I’m going to show you exactly how scent application converts an ordinary lure into an irresistible target. I’ll apply scent to my saltwater lures using proven methods that enhance strike rates dramatically.
Here’s how I optimize scent effectiveness:
- Apply liquid attractants like Dr. Juice Inshore Slam directly to hard baits and soft plastics, letting the formula disperse naturally in the water column.
- Reapply every 15-30 minutes during long sessions. I’ve watched my bite rate plummet when I get lazy about refreshing the scent trail.
- Target clear, calm conditions where scent disperses predictably and predatory fish hunt primarily by olfactory cues rather than sight.
Adding scent stimulates aggressive strikes by mimicking distressed prey odors that strong game fish can’t ignore.
Sound Trigger Options
When I’m targeting aggressive predators in stained water or after dark, I always build sound triggers into my lures because the lateral line system gives fish a hunting advantage that vision simply can’t match in low-visibility conditions.
Choosing Your Sound Trigger
I load my lure bodies with rattles, metal beads, or clickers to create the sharp noise of distressed prey. These components bounce around with every twitch, sending vibrations through the water column that predators can’t ignore. Micro beads or metal chasers inside hollow plugs work beautifully for this.
Layering Scent with Sound
I don’t stop at sound alone. Adding scent to these noise-makers hits multiple senses at once, visual, auditory, and olfactory. Research from the University of Maryland shows multi-sensory lures can increase strike rates by up to 40%.
This combination proves deadly on redfish, snook, and striped bass.
Paint and Finish for Visibility in Murky Water
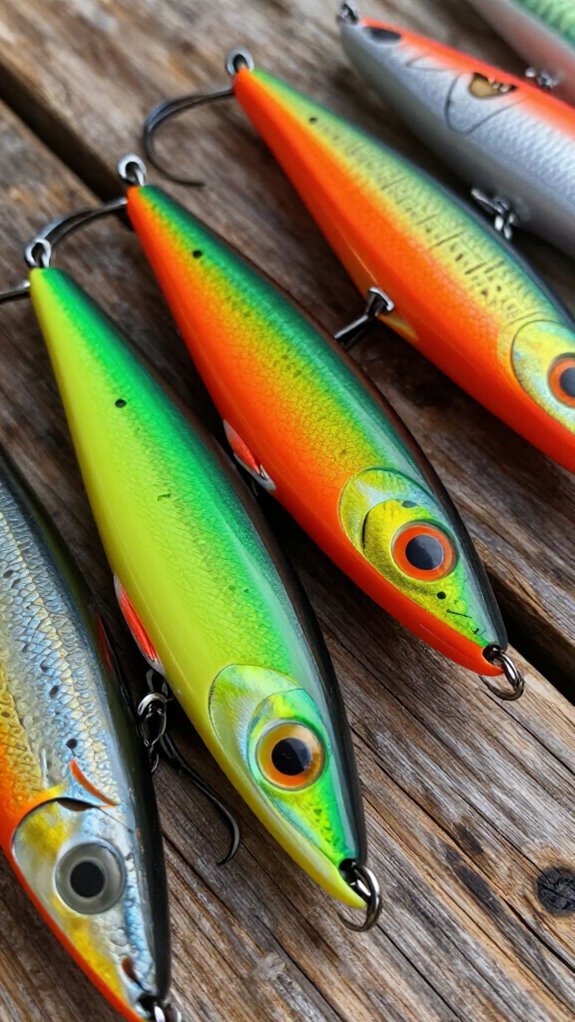
Whether I’m fishing through coffee-colored backwaters or stirred-up surf after a storm, I’ve learned that the right paint and finish on my homemade lures can mean the difference between a bent rod and a skunked morning.
Here’s how I optimize visibility when water clarity drops:
- Paint with fluorescent chartreuse, neon green, or hot pink—these colors penetrate murk better than natural tones.
- Add contrasting patterns like black stripes on yellow bodies to create definition fish can detect.
- Apply a clear, glossy finish using polyurethane or epoxy coating for reflectivity that catches any available light.
I also incorporate metallic paints or reflective finishes to generate flashes that trigger reaction strikes in turbid conditions.
A waterproof sealant preserves brightness trip after trip, keeping my lures visible and effective when I’m grinding through dirty water.
Seal Your Saltwater Lure Against Corrosion
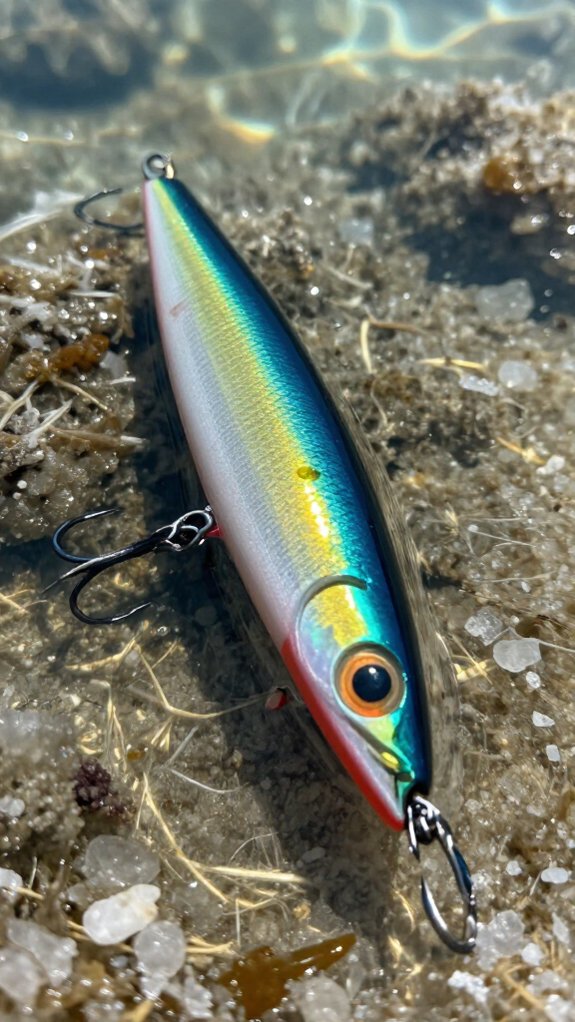
Saltwater will chew through an unprotected lure faster than a bluefish tears through a bunker school, so I don’t consider my homemade lures finished until they’ve got a rock-solid sealant barrier locking out every trace of corrosive moisture.
I apply three thin coats of waterproof polyurethane or polycrylic, sanding lightly between each layer. This waterproof coating creates genuine corrosion resistance that keeps paint, eyes, and finishes locked down tight.
Don’t forget the hardware. I glue every eyelet and hook mount with waterproof adhesive, then brush sealant over the joints. That extra step prevents the rust that kills most homemade lures within a season.
Finally, I give the whole lure a clear, durable sealant topcoat. It keeps that fresh-built look intact even after brutal days in the surf. Check your lures regularly and touch up the coating when you see wear.
Test Your Homemade Lure’s Action in a Pool or Tank
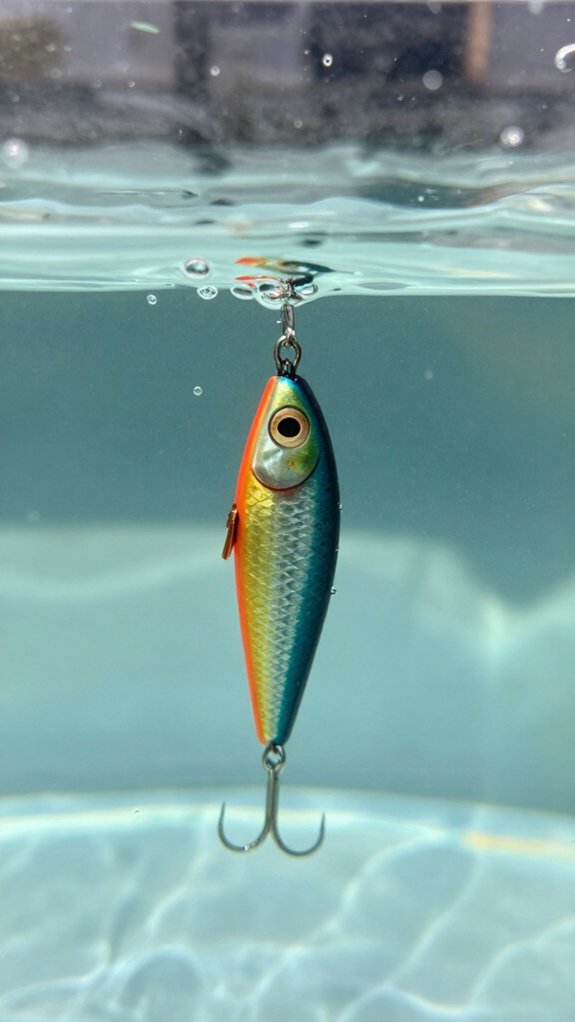
I fill a pool or tank with clear water so I can watch exactly how my homemade lure swims, wobbles, and tracks at different speeds before it ever hits the ocean.
By recording the action and checking for unwanted spin or poor balance, I spot problems I’d never catch otherwise.
Then I tweak the weight, add fins, or adjust the body until the movement looks irresistible, saving me from learning the hard way when fish are actually watching.
Pool Testing Basics
Once I’ve finished shaping and weighting a new lure, I head straight to the pool to see if it actually swims the way I imagined. Pool testing lets me watch every detail of water movement around my creation without fighting waves or current.
I use a shallow tank where I can spot problems instantly, spinning, tipping, or sinking too fast. Here’s what I focus on during each session:
- Wobbling action at slow, medium, and fast retrieves
- Weight balance and how it affects the lure’s posture
- Speed changes and angle adjustments to mimic wounded baitfish
This controlled setup saves me time and money. I tweak my design right there, ensuring my lure triggers aggressive strikes from strong game fish before it ever hits open water.
Action Observation Tips
I vary my retrieval speed until the lure finds its sweet spot. Too fast kills the action; too slow and it dies in the water. I’m hunting for that tight, nervous shimmy that screams injured baitfish.
Red Flags to Catch
- Veering off course means weight’s off
- Excessive rolling screams shape problems
- Dead tail kills the whole presentation
I jot down how paint jobs or added fins tweak performance so my next build hooks smarter, not harder.
Tank Adjustments Guide
After spotting those red flags in open water, I’ve learned the real magic happens back at home where I can control every variable. Tank adjustments let me perfect my lure before it ever faces a real current.
My Tank Testing System
- Dial in water flow, I crank the pump up and down to mimic everything from lazy tidal pools to ripping inlets, watching how my lure reacts to each shift.
- Vary retrieval speeds, Slow, moderate, and fast strips reveal if my creation wobbles naturally or spins like a broken propeller.
- Record and tweak, I note every flaw, then adjust lip angle, shift weight distribution, or tweak buoyancy until the action screams wounded baitfish.
Smart lure testing saves me heartbreak when that trophy redfish finally shows up.
Fix Build Mistakes That Ruin Your Lure’s Action
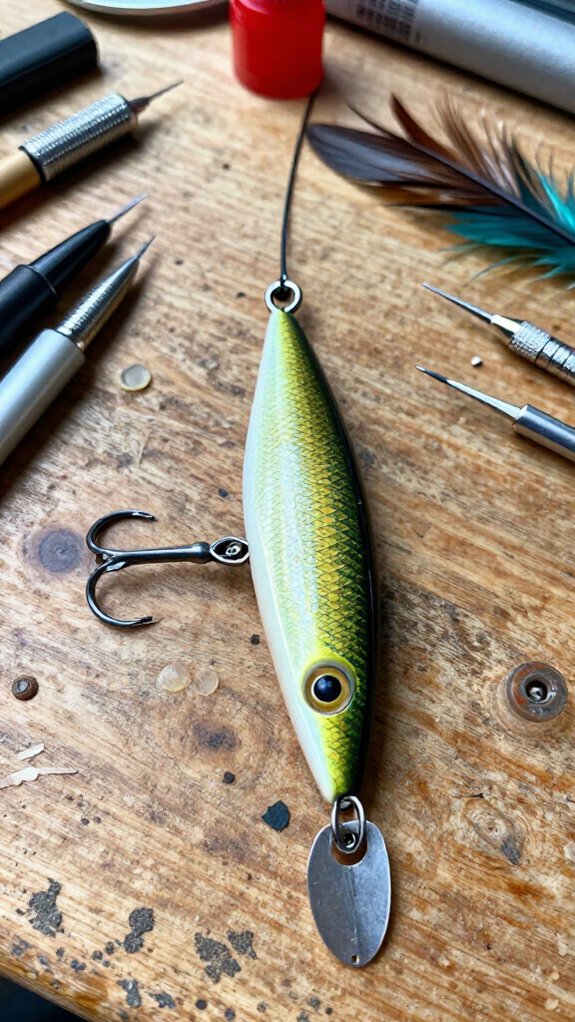
Even the most carefully built lure can swim like a wounded baitfish if I don’t catch and fix certain build mistakes early, which is why I’m always checking weight balance, surface smoothness, and hardware alignment before I ever tie one on.
Balance and Surface Matter
Uneven weight placement kills lure action, making my creation wobble or spin uselessly. I place weights carefully, testing frequently.
Rough spots snag and create erratic movement, so I sand every surface until it’s glass-smooth.
Hardware and Testing
Poor hardware alignment causes the same spinning problems. I double-check every eyelet and hook position before sealing.
Here’s my process:
- Test in water after each major step
- Watch for natural swimming motion
- Adjust weights immediately if something’s off
Water testing saves me from discovering failures with a trophy fish watching.
Frequently Asked Questions
What Is the 80/20 Rule in Fishing?
I apply the 80/20 rule by recognizing that 80% of my catches come from just 20% of my spots, techniques, or lures. I focus my energy on those high-yield factors and ignore what wastes my time.
What Lures Do Saltwater Fish Like?
Saltwater fish love lures that mirror their dinner, think baitfish, shrimp, or cranky crabs. I’ve watched chartreuse paddletails dance through murky water like fireflies at dusk, and snook explode on them.
Match size, color, movement; you’ll hook monsters.
What Are Some Homemade Fishing Baits for Saltwater Fishing?
I make homemade saltwater baits using shrimp, clams, and soft plastics carved to match local prey. I’ll add fish oil scents and incorporate bread or dough mixed with scraps to target big game fish effectively.
Does WD-40 Work as a Fish Attractant?
I don’t believe WD-40 works as a fish attractant. It’s a lubricant, not a bait formula, and I’d worry about harming fish and water with its chemicals.
I stick with proven commercial attractants instead.
In Conclusion
Building your own saltwater lures puts you in control of every strike. I’ve watched a buddy land a 42-inch striped bass on a popper he carved from cedar, same lure still catches fish three seasons later because he sealed it right.
When you craft smart and test thoroughly, you’re not just saving money; you’re creating tackle with proven trust built into every cast. That’s the edge homemade gives you.