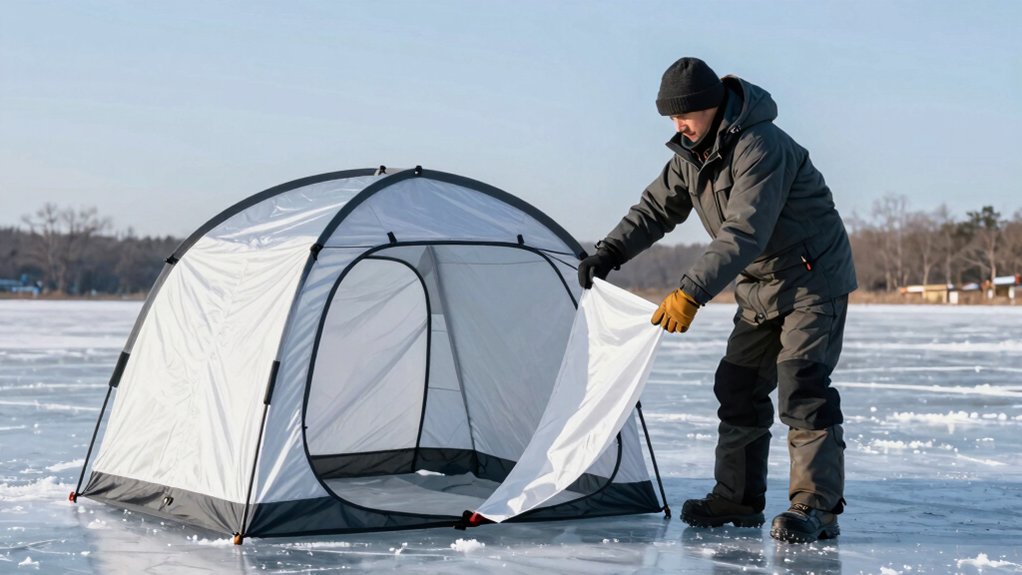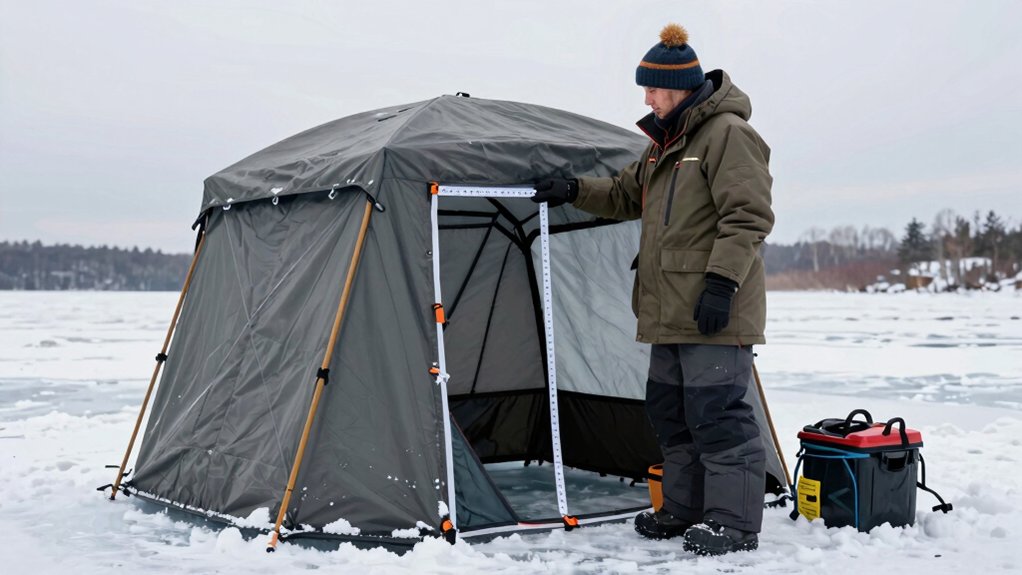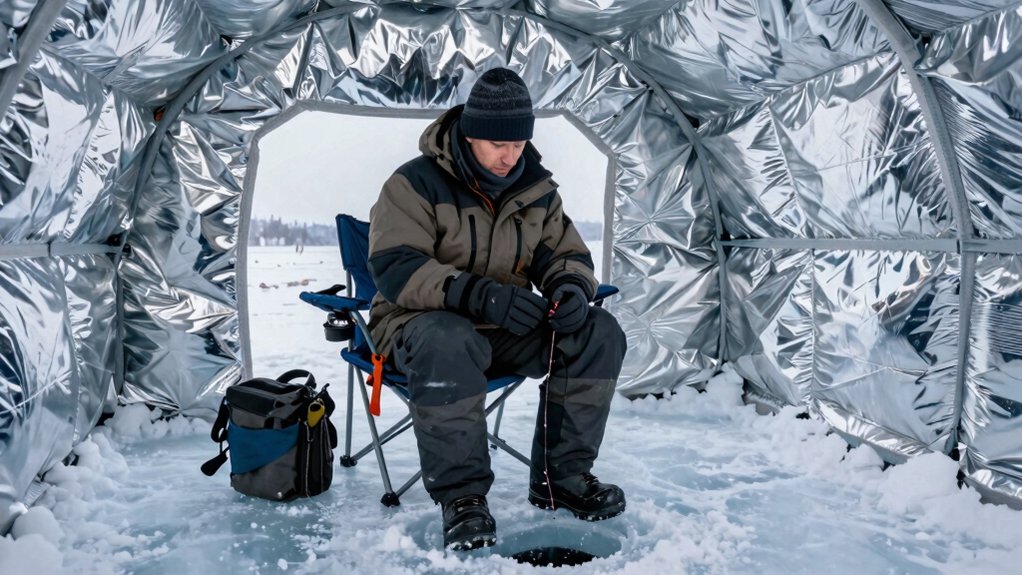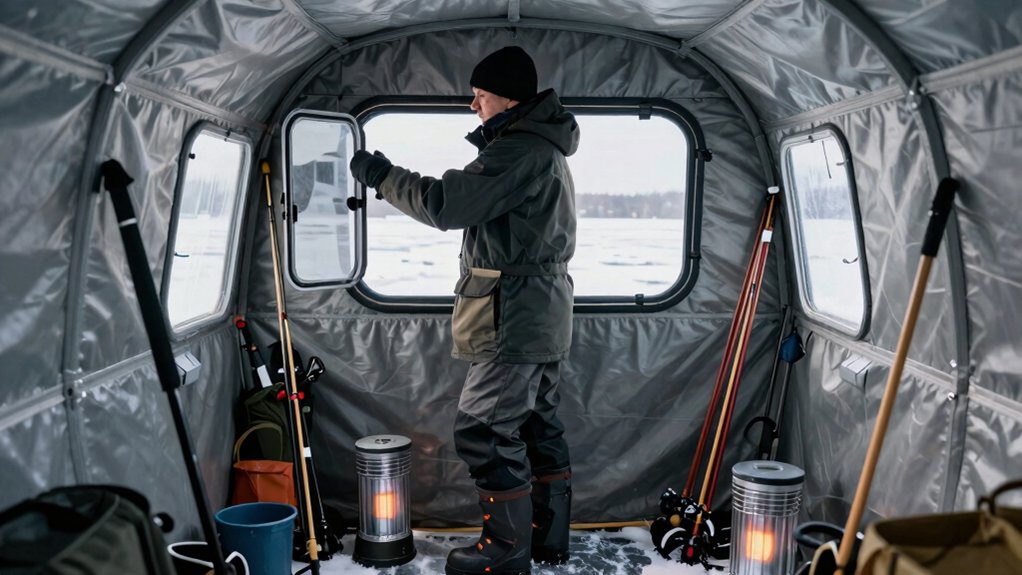

For two people, you’ll want at least 30–40 square feet of floor space, though I always push for 64 square feet (8×8 ft) so you’re not bumping elbows all day. Match your shelter to your style: flip-overs like the Eskimo Quickfish 3i deploy in under two minutes when I’m hole-hopping, while hub-styles such as the Clam X-600 keep us warm through brutal, all-day sits.
Prioritize 600D+ insulated fabric, proper ventilation for heater safety, and reinforced anchoring systems that handle 30 mph gusts. Your perfect shelter balances how you fish with where you fish, and there’s more to getting that balance right than most anglers realize.
Hub or Flip-Over: Match Your Two-Person Shelter to Your Style
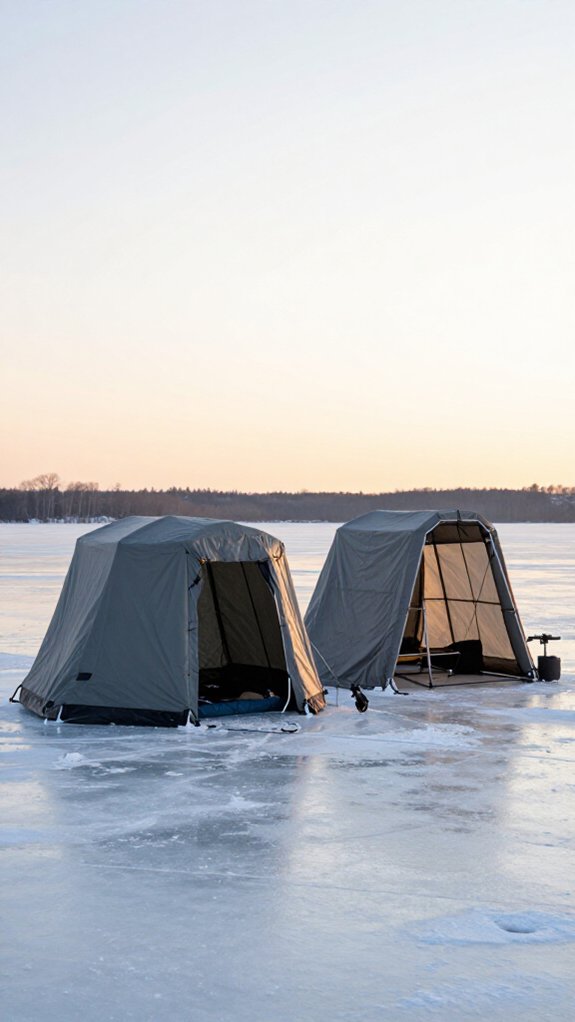
Whether you’re planning to hunker down for a full day on the ice or bounce between honey holes until you find the bite, choosing between a hub-style and flip-over shelter will make or break your two-person ice fishing experience.
Matching Your Shelter to Your Fishing Style
I always tell anglers: your ice fishing shelter should mirror how you actually fish. A hub-style delivers serious interior space and stability, perfect when I’m posted up with a buddy from dawn to dusk. The extra room lets us spread out gear, stretch our legs, and stay comfortable during marathon sessions.
But when I’m chasing active fish across the lake? A flip-over wins every time. Its portability and lightning-fast set up speed keep me mobile without wearing me out. I’ll pop it open, drop lines, and bounce again in minutes.
Consider your typical day: comfort-driven hub-style, or fast-flexible flip-over?
How Much Space Two Anglers Actually Need
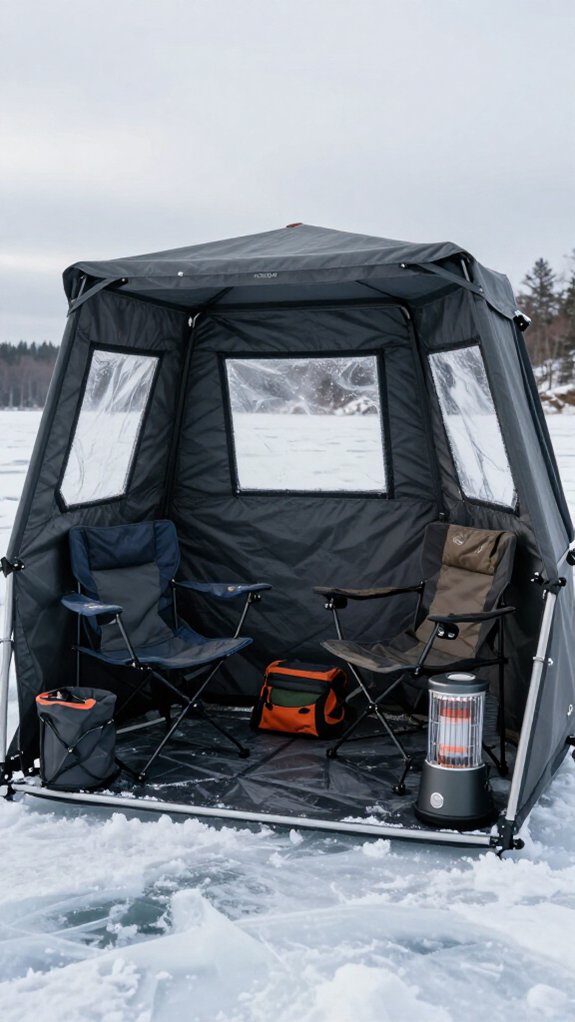
When I’m packing for a day on the ice with a buddy, I’ve learned that cramming into a shelter that’s too small turns a fun trip into a claustrophobic nightmare fast.
The Minimum for Two Anglers
I’ve found that 30-40 square feet is the absolute floor for functional space in ice fishing shelters designed for pairs. Anything less, and you’re bumping elbows while drilling holes or reaching for rods.
My Sweet Spot Recommendations
For real comfort, I look for these specs:
- Shelter size of 8×8 feet (64 square feet), this gives genuine interior room for movement
- Standing height of 6-7 feet, prevents that hunched, aching back after hours waiting for bites
- Dedicated zones for gear storage so augers and sleds aren’t underfoot
I’ll even size up to 10×10 when possible. That extra space transforms cramped endurance into relaxed fishing, and you’ll thank yourself when the bite turns hot and you’re not tripping over each other.
Best Two-Person Ice Fishing Shelters by Fishing Style
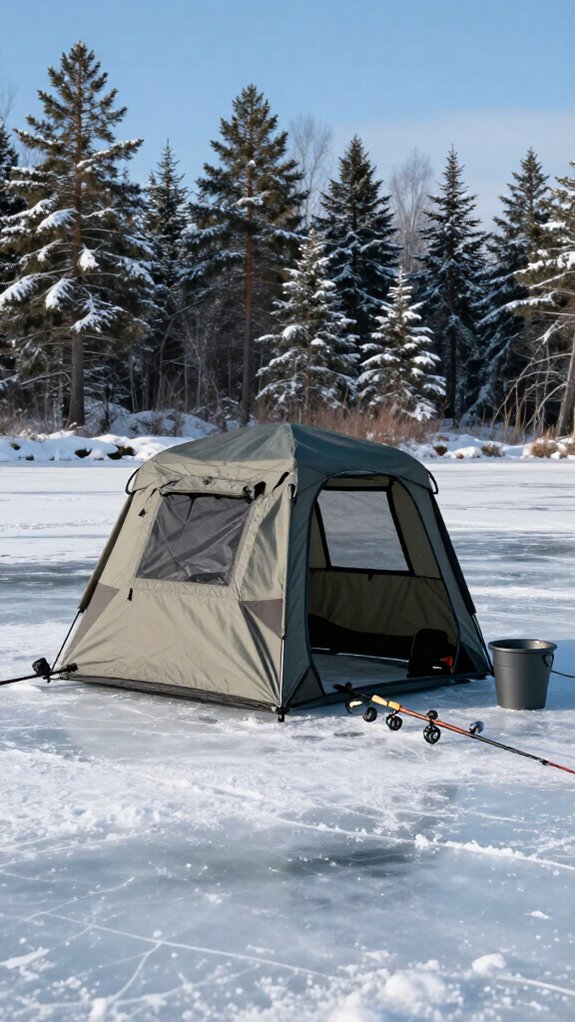
I’ll match your fishing style to the right two-person shelter so you don’t waste money on gear that fights your routine.
If you’re constantly hopping between holes and chasing flags, you’ll want a lightweight flip-over like the Eskimo Quickfish 3i that pops up fast and rides light in your sled.
But when you’re posting up for long hauls in brutal cold, a thermal hub-style such as the Clam X-600 gives you room to stretch, store gear, and actually enjoy the wait between bites.
Run-and-Gun Mobility
If you’re constantly hopping from hole to hole chasing active fish, a flip-over shelter‘s your best friend for run-and-gun ice fishing with a partner.
Why Flip-Overs Dominate Mobile Fishing
I prioritize mobility when I’m drilling twenty holes before lunch. Flip-over shelters deliver exactly that, most set up in under two minutes, so you’re fishing while others still wrestle their hubs.
The lightweight designs make transport painless. I haul my 35-pound Eskimo Quickfish 3i across rough ice behind my snowmobile without breaking a sweat.
The sled-based construction doubles as a wind barrier, giving you rock-solid stability when gusts hit 35 mph.
Key Features for Run-and-Gun Success****
- Quick setup under 2 minutes
- Lightweight frame (30–40 lbs ideal)
- Durable sled for rough terrain
You’ll sacrifice some space, but for active anglers, that trade-off means more fish on ice.
Extended Stay Comfort
Not every trip calls for sprinting across the ice, sometimes I’m posted up from dawn to dusk waiting for that trophy bite, and that’s where extended stay shelters earn their keep.
Sizing Up for the Long Haul
I always prioritize interior space for marathon sessions. An 8×8 hub-style or larger lets me stretch, organize gear, and avoid that cramped, stir-crazy feeling by hour six.
Warmth That Works
Insulated fabric and thermal fabrics make a massive difference. I’ve watched my propane consumption drop significantly while maintaining toasty conditions inside shelters like the Clam X-600.
Liveability Features
Full-size doors save my back when hauling equipment, and high ceilings, some reaching 86 inches, prevent that claustrophobic hunch. Multiple venting options keep condensation manageable and air fresh.
Built to Last
Durability matters. Reinforced hubs, heavy-duty zippers, and weather-resistant materials ensure my investment survives brutal winters season after season.
Two-Person Shelter Setup: 60 Seconds or 10 Minutes?
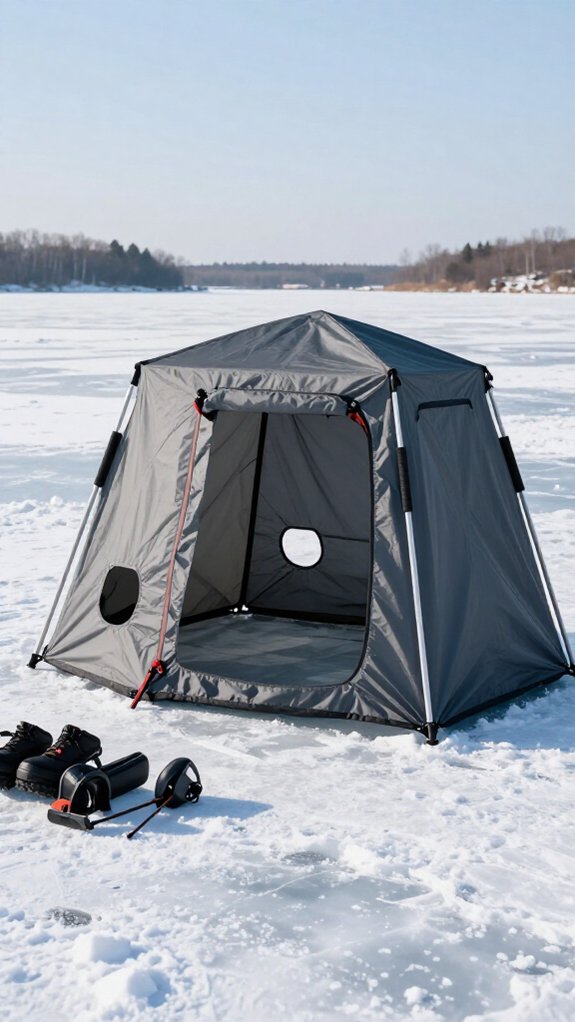
I can flip over my two-person sled shelter and be fishing in under two minutes flat, but my buddy’s hub-style setup keeps him busy for nearly ten.
That gap between sixty seconds and ten minutes comes down to choosing between flip-over speed and hub setup time.
I’ll break down exactly what that means for your day on the ice.
Your shelter type determines whether you’re dropping lines while others are still wrestling with poles and fabric.
Flip-Over Speed
How quickly can you really expect to get your two-person flip-over shelter ready when you’re standing on frozen lake with wind biting at your cheeks? I’ve found the answer depends heavily on your experience level and preparation.
The flip-over design fundamentally changes your setup speed. Unlike other styles, this ice shelter flips directly over you and your gear, eliminating tedious assembly. Here’s what I’ve learned about deployment:
- Experienced anglers: 60 seconds from sled to fishing
- First-timers in harsh weather: Up to 10 minutes of fumbling
- After dedicated practice: Consistent sub-2-minute performance
Your quick-move capability hinges on familiarity with your specific model. I recommend dry runs in your garage before hitting the ice. That practice transforms frustrating delays into seamless transitions, letting you chase biting fish instead of fighting your shelter.
Hub Setup Time
While flip-overs get the glory for speed, I’ve learned that hub shelters can be just as lightning-fast once you’ve got the technique down. I’ve popped up my Quickfish 3i in 60 seconds flat after a few practice runs in my garage. That pop-up magic comes from lightweight poles and integrated frames designed for quick-setup performance.
But not every hub shelter plays that game. Some complex models with insulation and extra features stretch assembly time to 10 minutes. Here’s how they compare:
| Shelter Type | Setup Time | Best For |
|---|---|---|
| Basic pop-up hub | 60 seconds | Mobility, minimal gear |
| Insulated hub | 5-7 minutes | Cold weather comfort |
| Feature-rich complex hub | 8-10 minutes | Extended trips, luxury |
I pre-assemble my poles at home to shave precious minutes off my time. Choose your priority: lightning mobility or cozy features.
Getting Your Shelter on the Ice: Sled, ATV, or Backpack?
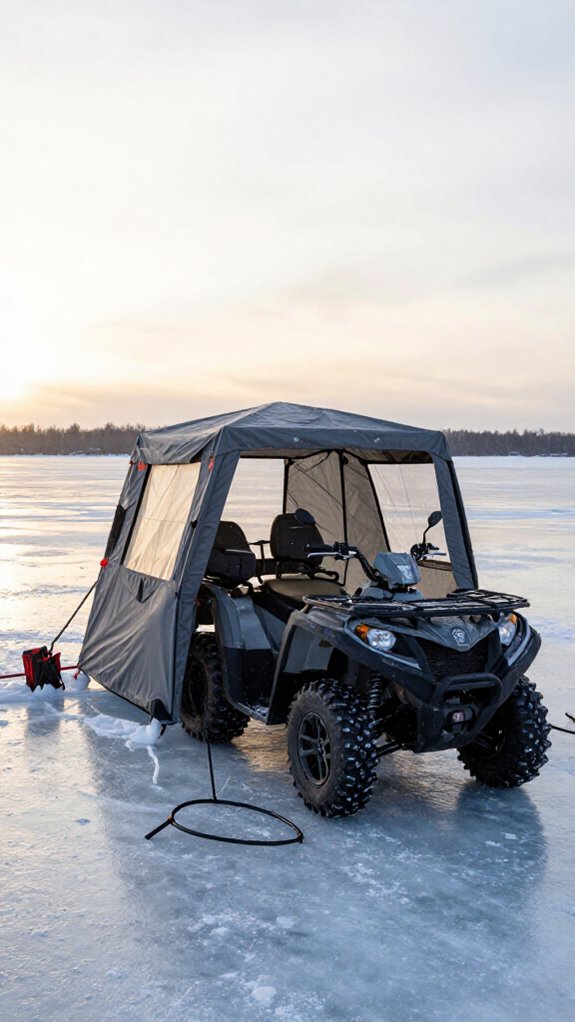
Once you’ve picked out your shelter, you’ll need a solid plan for hauling it onto the ice, because a great setup does you no good if it’s sitting back at the truck.
For a two-person portable shelter, your transportation choice shapes your entire day.
I’ve dragged shelters across frozen lakes every way possible. Here’s what works:
- Sled – I hitch my larger shelter to an ATV or snowmobile when I’m hauling serious gear for weekend trips
- ATV – I rely on this for quick access to remote spots with heavy loads
- Backpack – I shoulder this for short hikes when mobility matters most
Your shelter size, distance to your hole, and available ice transportation determine the best path.
Match your method to your mission, and you’ll spend more time fishing and less time wrestling gear.
Wind Resistance: Anchoring Your Two-Person Shelter in 30 MPH Gusts
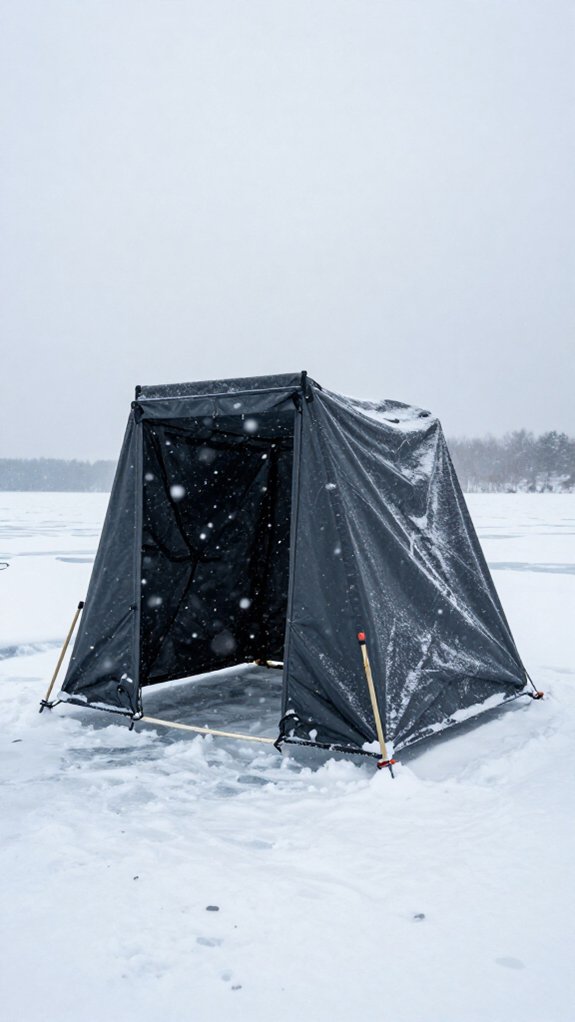
When I’m battling 30 MPH gusts on the ice, my anchor selection strategy and wind load distribution make the difference between a stable shelter and one that’s flapping like a kite.
I always start by positioning my two-person shelter with the narrowest end facing the prevailing wind.
Then I distribute tension evenly across multiple ice anchors and guy lines rather than relying on a single point.
This approach spreads the wind load across the entire frame, keeping my shelter locked down and my fishing hole ice-free when those sudden gusts hit.
Anchor Selection Strategy
Because 30 mph gusts can rip an unanchored shelter across the ice like a runaway sled, I’ve learned that choosing the right anchor system isn’t optional, it’s survival. My anchoring strategy centers on heavy-duty ice anchors that bite deep and refuse to let go when lateral force hits.
Here’s what solid shelter security looks like in brutal wind:
- Screw-in stakes at every corner – I don’t skimp; multiple ice anchors per corner lock in stability
- Side tie-downs every four feet – This prevents that terrifying ballooning effect when gusts strike broadside
- Sled anchors for flip-overs – Extra tie-downs through the sled base stop the whole rig from skating away
I check tension hourly. Slack lines mean cold air invasion and compromised wind protection. Smart anchor selection keeps you fishing, not chasing your gear across the lake.
Wind Load Distribution
While I’m hammering in ice screws at each corner, I’m already thinking about how that 30 mph gust is going to hit my shelter broadside, and exactly where the force is going to concentrate.
Understanding Wind Load Distribution
Wind load isn’t uniform; it peaks at the leading wall and roof ridge. My flip-over’s sled-based design naturally deflects gusts downward, but pop-up fabric catches air like a sail. That’s why strategic anchoring matters.
Boosting Stability in Gusty Conditions
I always:
- Secure perimeter anchors every 4–6 feet
- Pile snow berms against wind skirts for ground sealing
- Check guy lines hourly as conditions shift
Sled shelters gain wind resistance from their low profile, while hub-style units demand extra anchoring attention. Proper anchors metamorphose a shaky setup into a rock-solid fishing base, even when Mother Nature tests your resolve.
Heating Your Two-Person Shelter: Ventilation Rules That Save Lives
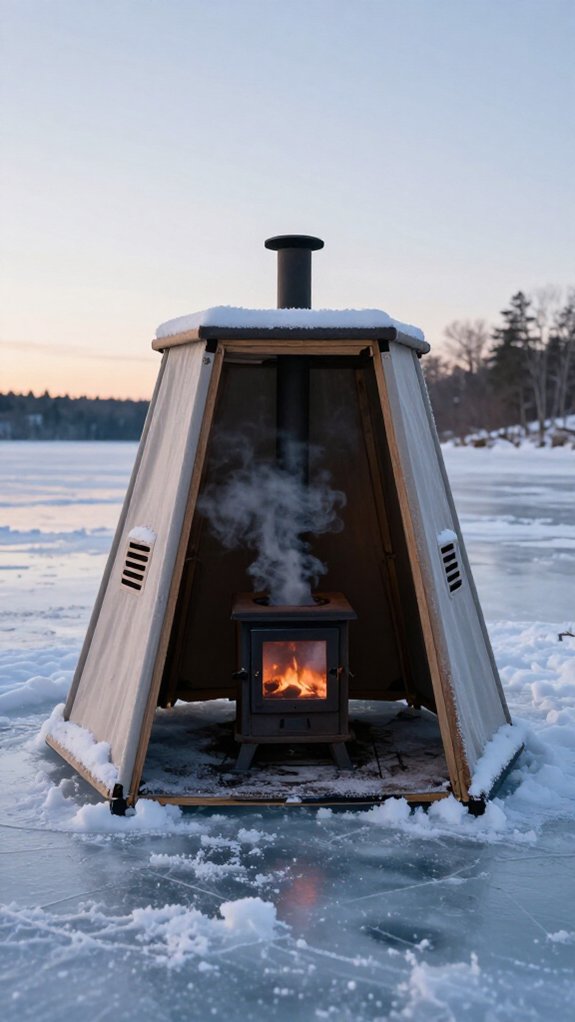
I’ve learned the hard way that staying warm in a two-person ice fishing shelter isn’t just about cranking up the heat, it’s about keeping the air moving so I don’t end up with a silent, deadly problem. Carbon monoxide from fuel-powered heaters can build up fast in tight spaces, and without proper ventilation, I’m risking my life for comfort.
Here’s how I balance airflow and warmth:
- I crack adjustable vents or windows to create steady airflow without turning my shelter into a freezer.
- I position exhaust vents or vent tubes to pull fumes directly outside, protecting my air quality.
- I check my setup regularly—never running heaters in completely sealed conditions.
Finding that sweet spot between safety and heat retention keeps me fishing longer and breathing easier.
Two-Person Shelter Insulation: What “Thermal” Actually Means
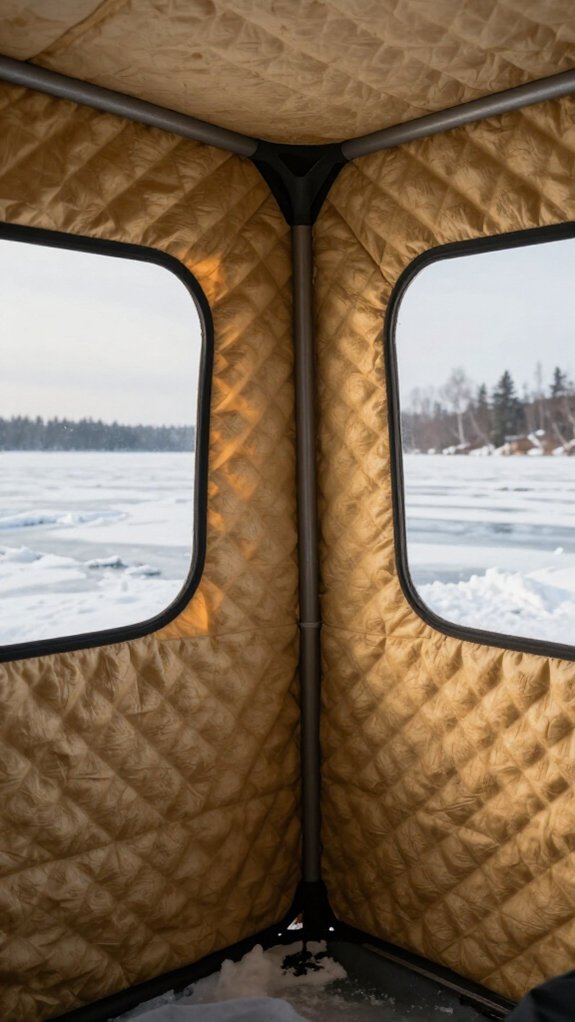
Once I’ve got my ventilation dialed in, the next thing I notice is how fast my shelter loses heat when the wind picks up. That’s where thermal insulation makes all the difference. “Thermal” isn’t just marketing, it’s about quilted fabrics with multiple insulating layers that trap warm air and block cold drafts.
| Feature | What It Does for You |
|---|---|
| Fabric thickness (600D+) | Blocks wind, improves heat retention |
| Quilted fabrics | Creates air pockets that insulate |
| Multiple insulating layers | Maintains interior temperature 20-30°F warmer |
| Proper construction | Reduces condensation buildup |
| Quality stitching | Keeps warmth in, cold out |
I’ve learned that fabric thickness matters more than fancy branding. Thin walls mean you’re burning propane fast and still shivering. Thick, layered materials keep my two-person shelter cozy with minimal heat, letting me focus on the bite instead of battling the cold.
Durability That Justifies Higher Prices: Fabric, Poles, and Zippers
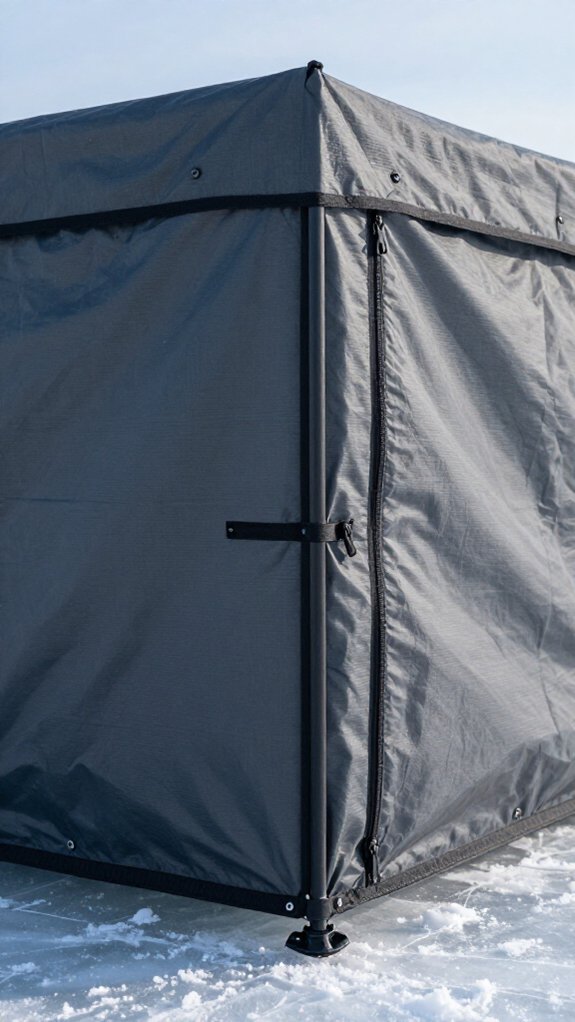
When I’m dropping serious money on a two-person shelter, I’m not just paying for a logo, I’m buying peace of mind that it’ll survive season after season of brutal conditions.
Here’s what separates premium shelters from disposable junk:
- Tougher fabric — 600-denier polyester or nylon fights tearing, UV damage, and delivers serious weather resistance when winds howl across the lake.
- Stronger poles — reinforced aluminum or carbon fiber flexes without snapping, handling heavy snow loads and rough setup.
- Smarter zippers — oversized YKK models with silicone lube glide smoothly at twenty below, not seizing up when you’re already freezing.
Reinforced seams and double-stitched panels matter too, they’re the difference between a shelter that leaks after ten trips versus one that lasts years.
High-grade materials cost more upfront, but I’m buying durability that pays for itself. No patching, no replacing, just reliable protection trip after trip.
5 Expensive Mistakes First-Time Two-Person Shelter Buyers Make
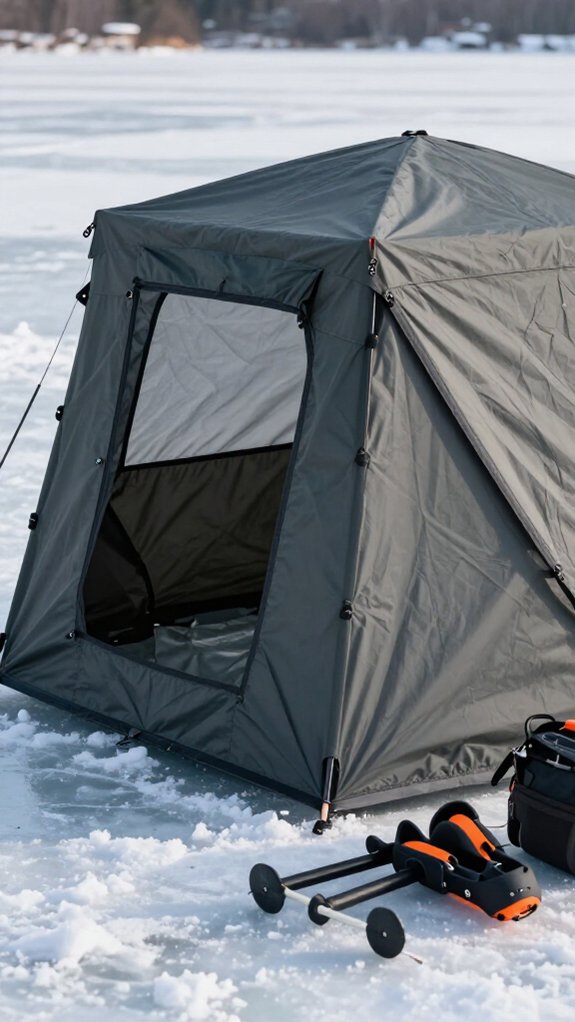
Buying a two-person ice fishing shelter for the first time feels like navigating a minefield of marketing hype and flashy features that drain your wallet without improving your catch.
Overspending on Shelter Size
First-time buyers often splurge on cavernous shelters they’ll never fill. I’ve watched anglers haul massive hubs for two rods and a bucket. Stick to practical shelter size, you’ll save money and stay warmer.
Ignoring Portability
That 80-pound palace looks tempting until you’re dragging it across slushy lake ice. Prioritize portability or you’ll fish accessible spots only, missing the best bites.
Skimping on Insulation
Cheap shells bleed heat. You’ll burn through propane and shiver through prime hours. Quality insulation pays for itself in comfort and fuel savings.
Neglecting Build Quality
Flimsy poles and weak stitching fail when winds howl. I’ve seen shelters collapse mid-storm.
Fixating on Budget Alone
A rock-bottom price with brutal setup time kills your fishing window. Balance budget against setup time, every minute rigging is a minute not catching.
Frequently Asked Questions
Who Makes the Best Ice Fishing Shelter?
I think Eskimo, Clam, Otter, and Frabill all make excellent shelters, but I’d pick Eskimo’s Outbreak series for quick setup and insulation, or Clam’s X-Series if I’m prioritizing thermal performance and comfort during longer trips.
What Is the Best 2-Person Flip-Over Shanty for Ice Fishing?
I’d recommend the Nanook XT as the best 2-person flip-over shanty. It sets up in under two minutes, offers 67 inches of headroom for standing comfort, and delivers excellent portability with its integrated sled design for active ice fishing.
What Are the Key Features to Consider When Buying an Ice Fishing Shelter?
I prioritize interior space, insulation, quick setup under five minutes, lightweight portability, adjustable ventilation, quality zippers, and durable materials when I’m selecting an ice fishing shelter for reliable cold-weather performance.
What Is the Best One-Man Ice Shelter?
I won’t pretend I’ve tested every shelter on frozen lakes, but the Eskimo Quickfish 3i wins my vote, it’s light, pops up fast, and keeps me warm when I’m alone out there.
In Conclusion
Choosing the right two-person ice fishing shelter means matching your gear to how you actually fish, not how you imagine you might.
Think of your shelter like a reliable hunting dog: it needs to fit your pace, not fight it. The hub-style plods patiently, giving room to breathe and stretch. The flip-over sprints alongside, ready at a moment’s notice when the bite moves. Neither’s better; they’re simply bred for different trails.
Pick the partner that matches your stride, and you’ll both come home with stories worth telling.