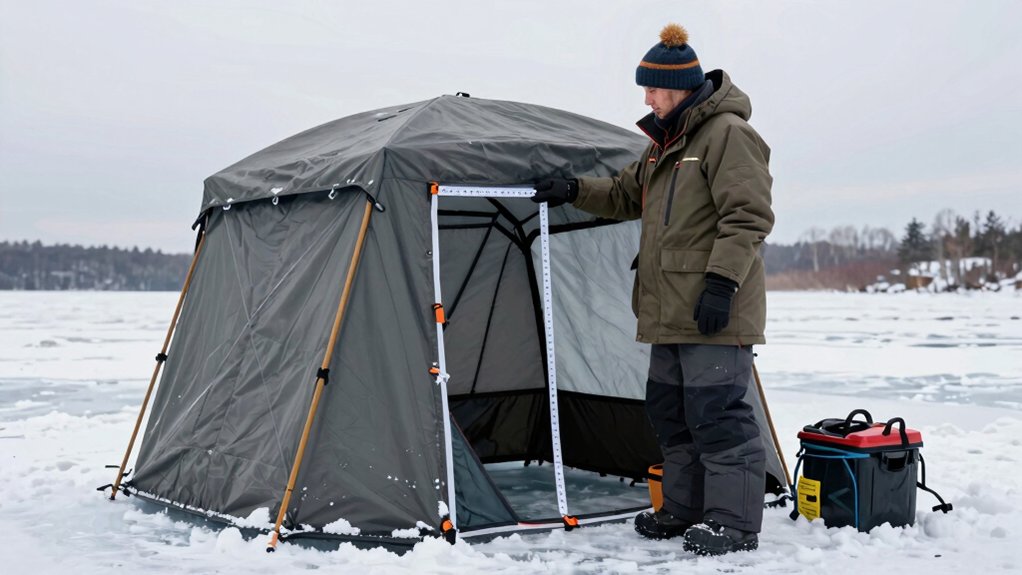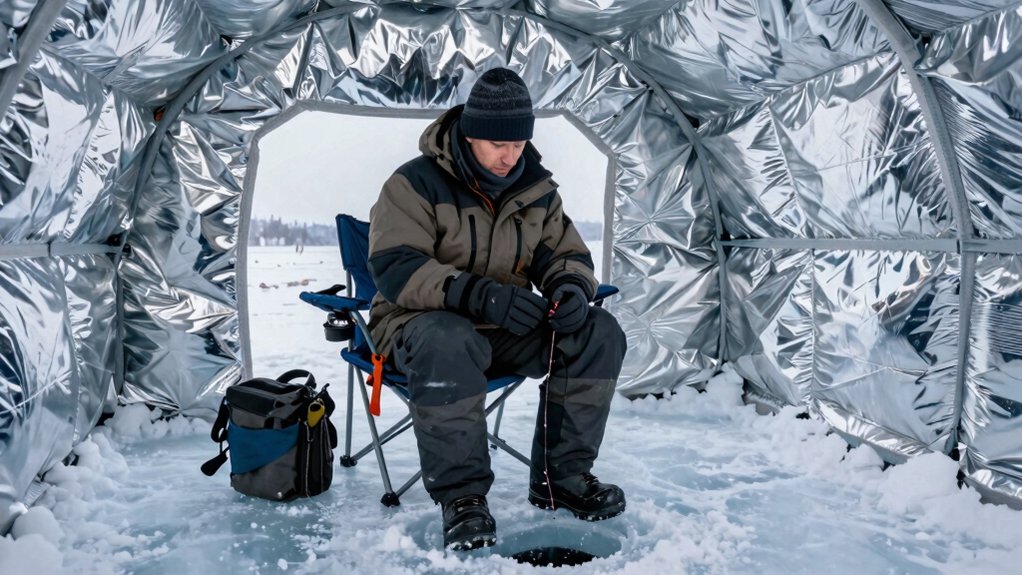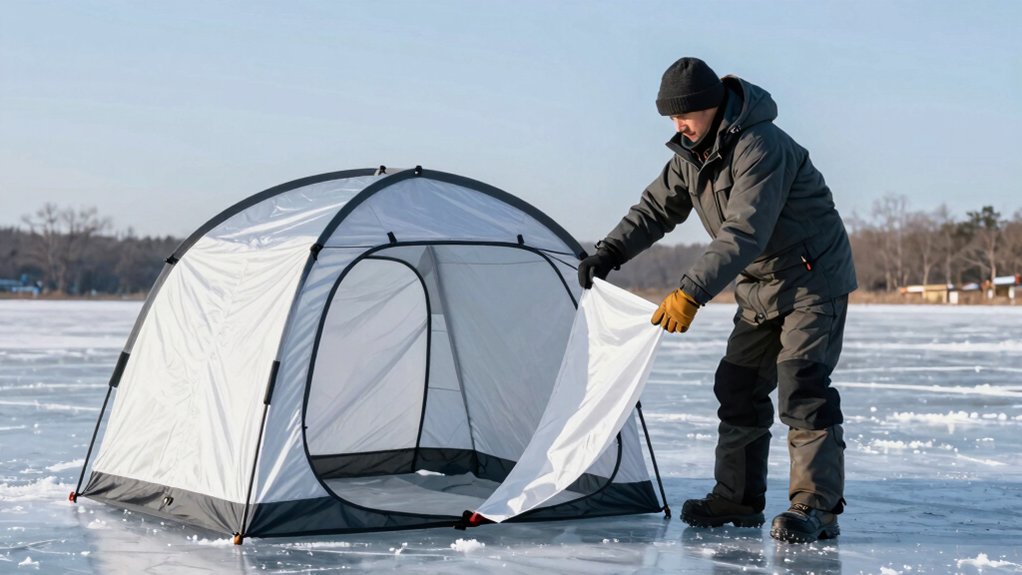

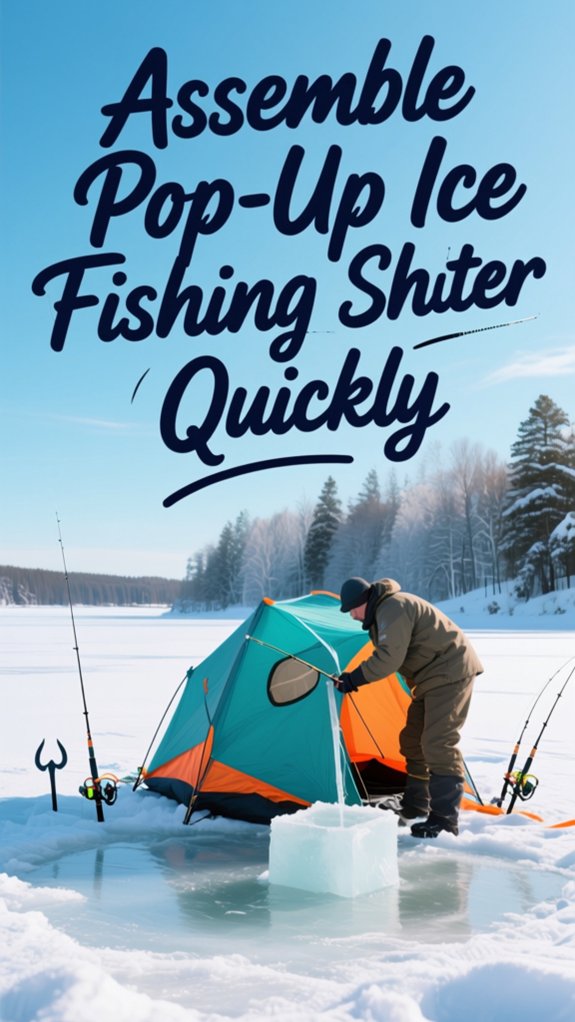
I can get a pop-up ice fishing shelter from packed bag to fish-ready in under 15 minutes by practicing my setup routine at home first. I verify 4+ inches of solid ice, clear a flat workspace, and lay out all components within reach.
I pop the roof first using steady pull-and-push tension, then expand the walls until support brackets click. I drive anchors at 45° angles, tighten straps in a crisscross pattern, and open vents before firing up my heater. The rest of my streamlined process keeps me fishing instead of fumbling.
Practice Setup at Home Before Your Ice Trip
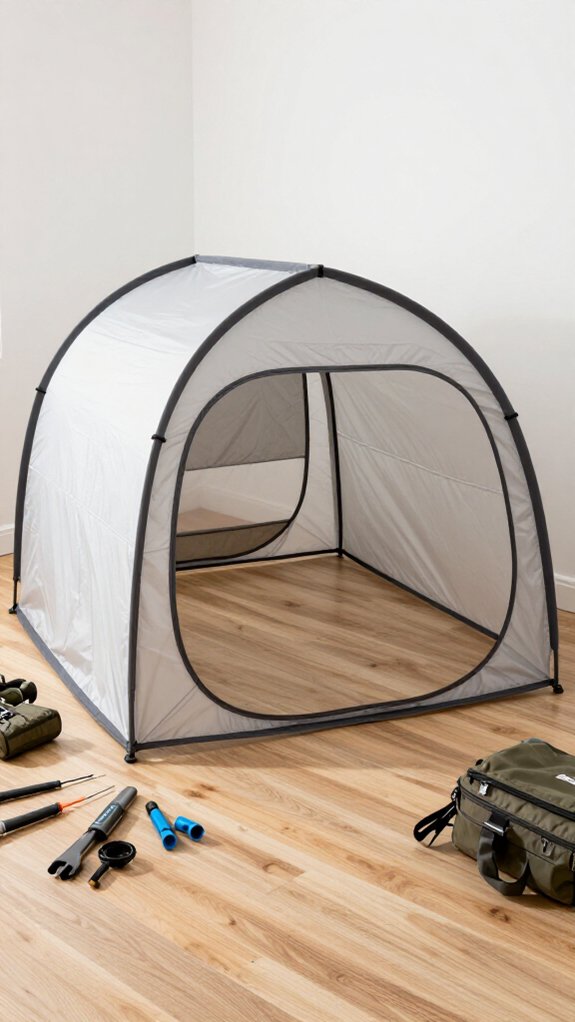
Before I’m shivering on a frozen lake with wind biting my cheeks, I always run through a full setup of my pop-up shelter in the backyard, because nothing kills a fishing trip faster than fumbling with poles and fabric while your fingers go numb.
Why Practice Setup Matters
Pop-up tents seem simple until you’re wrestling with frozen zippers and missing stakes. I pop out walls, secure the roof, and anchor everything down exactly like I’d on the ice. This reveals problems—bent poles, broken clips, manufacturer defects—when I can actually fix them.
Build Your Routine
I time myself during each practice setup, aiming for 10-15 minutes start to finish. Rehearsing in wind or light rain builds muscle memory and confidence. When conditions turn nasty, I don’t panic. I just execute.
Pick Solid Ice and Unpack Your Gear
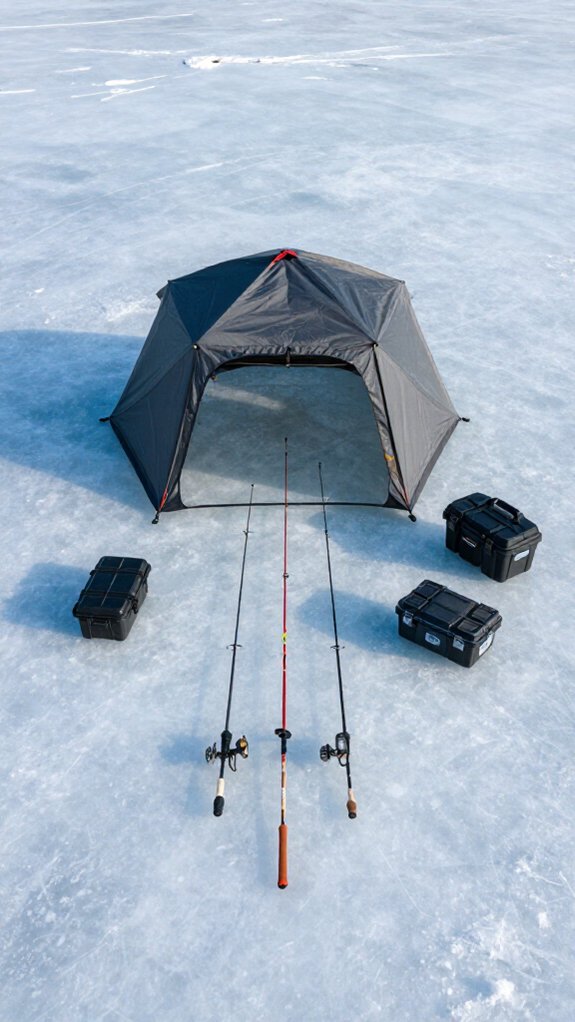
Before I pop my shelter up, I always check that the ice hits that four-inch minimum for safe walking. Then I clear away any snow or slush so I’ve got a flat, stable stage to work with.
Once I’ve found that solid, level patch, I’ll lay out all my components—poles, anchors, and fabric—right where I can grab them without fumbling.
Taking two minutes to organize here saves me ten minutes of frustration when I’m ready to frame up and get fishing.
Verify Ice Thickness
Where exactly do I set up so my shelter doesn’t end up as an underwater tent? I’ll tell you: solid, thick ice is non-negotiable before I even think about deploying ice anchors.
Verify Ice Thickness First
I grab my ice auger or spud bar and punch test holes across my chosen spot. I’m hunting for at least 4 inches of clear, blue, or green ice, that’s the strong stuff. White or opaque ice? That’s frozen slush, and I stay far away.
I methodically verify ice thickness every few feet because one thick patch doesn’t mean the whole area’s safe. I also scan for cracks, pressure ridges, or flowing water nearby.
Snow-covered ice gets extra scrutiny since it hides nasty surprises. Only after I’ve confirmed consistent, frozen depth do I start thinking about anchoring down.
Unpack Components Carefully
Once I’ve locked in a spot with ice I trust, I get right to unpacking my shelter before the cold starts biting my fingers. I lay out all components on flat, solid ice and verify nothing’s missing or damaged. Clean hands prevent tears and dirt transfer from the storage bag.
| Component | What I Check For |
|---|---|
| Poles | Cracks or bends |
| Walls | Tears or weak seams |
| Anchors | Missing pieces |
| Straps | Fraying or broken clips |
I organize parts in clear view so assembly flows smoothly. Unpacking methodically saves me from mid-setup headaches when the wind picks up. A quick inspection now beats discovering a torn wall with fish waiting below.
Pop Out the Roof of Your Ice Shelter First
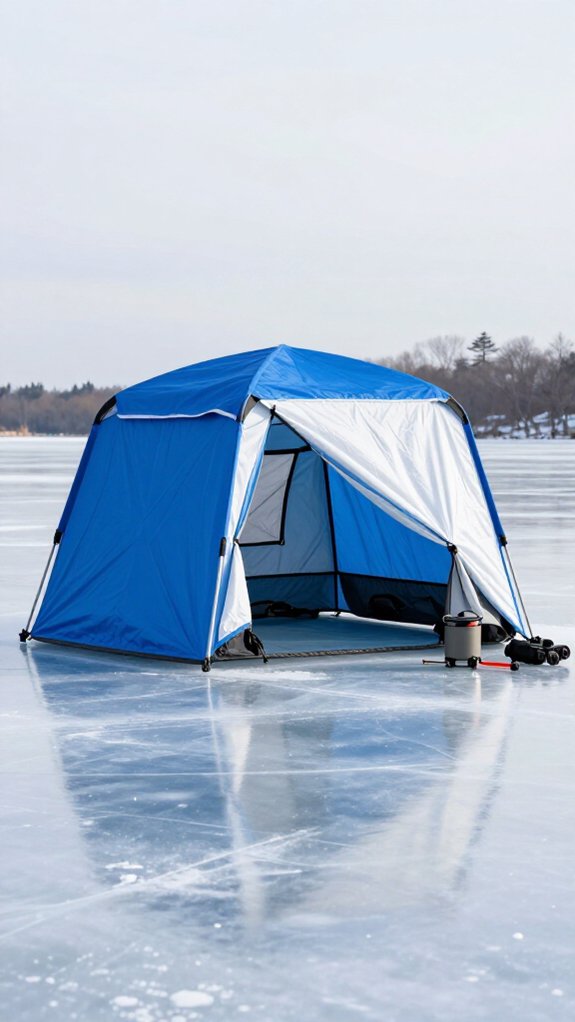
I’ll pop out the roof first because it’s the backbone of your entire shelter setup, and getting this step right means the rest of your assembly goes smooth as butter.
Find Your Webbing Loops
I locate the sturdy webbing loops threaded through the roof’s metal eyelets. These are my handles for the main event.
The Pop-Out Motion
I grab both loops and pull firm and steady. The roof starts expanding like an umbrella catching wind.
I use a pull-and-push rhythm, pulling the loops while pushing upward with my shoulders, to spread tension evenly across the triangle windows and roof panels.
No jerky motions; I’m letting the frame find its natural shape.
Lock It Down
Once the roof’s fully deployed, I check that the support brackets click into place.
I crack open the ventilation panels for airflow. Now we’re cooking with gas.
Expand the Walls and Lock the Frame
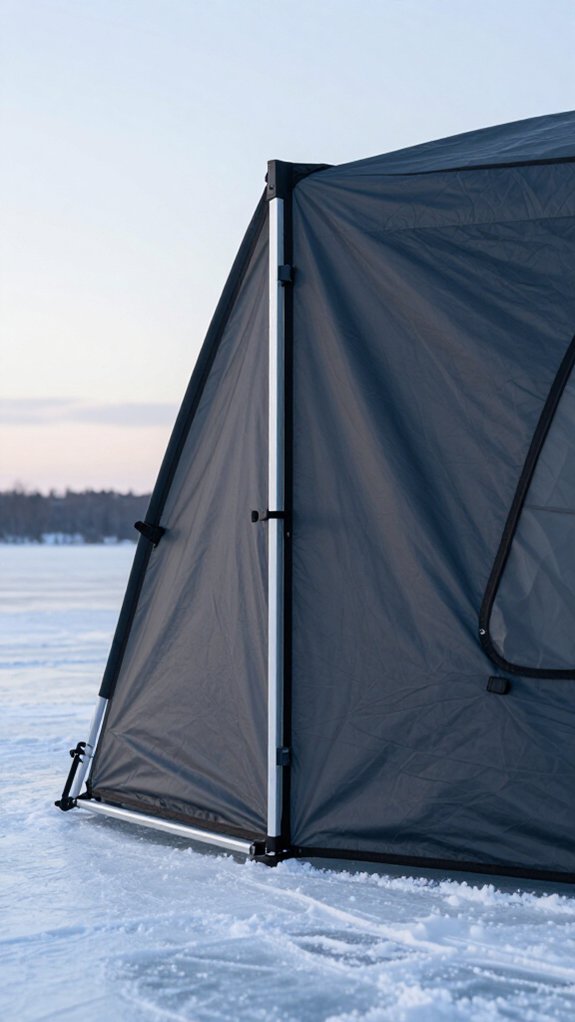
With the roof locked and ventilation flowing, you’re ready to bring the walls to life. I grab the webbing loops and pull outward until each wall pops into place, feeling that satisfying tension when the fabric goes taut.
Here’s how I keep this smooth:
- Pull one wall fully out before touching the next, half-expanded walls love to collapse on you
- Listen for the click when poles seat into brackets; That’s your cue the frame’s grabbing hold
- Step back and eyeball all four sides, uneven expansion means wobble later
Once I’ve got the shelter squared up, I engage the built-in locks and cinch any straps. The frame’s now rigid enough to shrug off gusts off the lake.
Lock the frame tight, and you’ve got a solid fishable space in under two minutes.
Anchor Your Ice Fishing Shelter to the Ice
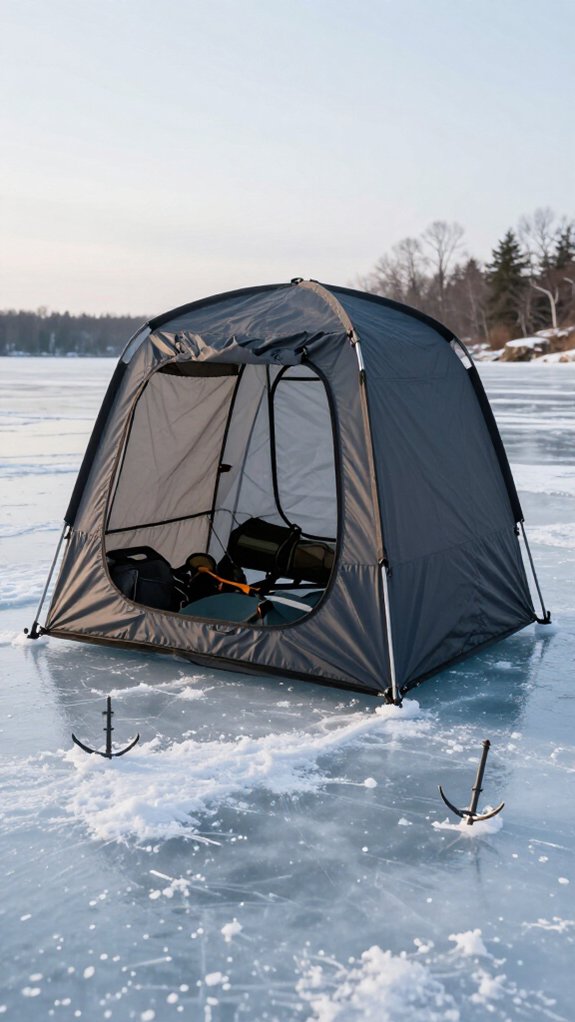
I drive ice anchors into the ice at a 45-degree angle using a hammer or auger, positioning them at each corner and along the sides for balanced support.
Next, I attach the black straps or tethers from my shelter’s anchor points to these ice anchors, tightening them until there’s no slack.
Throughout my fishing session, I’ll regularly check and tighten everything, especially when the wind picks up, so my shelter stays rock-solid and I can focus on catching fish rather than chasing my gear across the lake.
Ice Anchor Placement
Once your pop-up shelter’s frame is locked and the fabric’s taut, I’m already thinking about what’ll keep it there when the wind picks up across the ice. Ice anchors are the foundation of stability, and I’ve learned placement matters just as much as the anchors themselves.
I drive my ice anchors into the ice at a 45-degree angle, pushing down hard to seat them deep, especially when the surface is rock-hard. I always use four to eight anchors depending on my shelter size and what the weather’s doing.
- Feel the bite: You’ll know they’re set when the anchor grabs and doesn’t wiggle
- Walk the perimeter: Hit every designated anchor point, don’t skip corners
- Listen for the crunch: That satisfying sound means you’re locked in tight
I attach my straps, pull out every bit of slack, and recheck them every few hours since ice shifts and snow piles up.
Strap Securing Method
Because anchors alone won’t keep your shelter from becoming a kite when the wind gusts hit, the real work starts when you connect those anchors to your shelter with the right strap technique.
Step-by-Step Strap Securing
I grab the black straps from my kit and locate the designated anchor points on my shelter’s corners and sides. Here’s my method:
- Attach each strap to the shelter’s anchor point.
- Drive my ice anchors into the ice at a 45-degree angle using firm pressure or a hammer. This angle optimizes holding power.
- Connect straps to ice anchors and tighten gradually, eliminating all slack.
I maintain steady tension. Loose straps mean shifting shelters and cold surprises.
Wind Check Routine
Every 30 minutes, more often in gusts, I inspect my setup. Ice anchors can loosen as temperatures fluctuate. I re-tighten immediately if I spot any movement. Your shelter stays put, and you stay fishing.
Tighten Straps and Test for Wobble
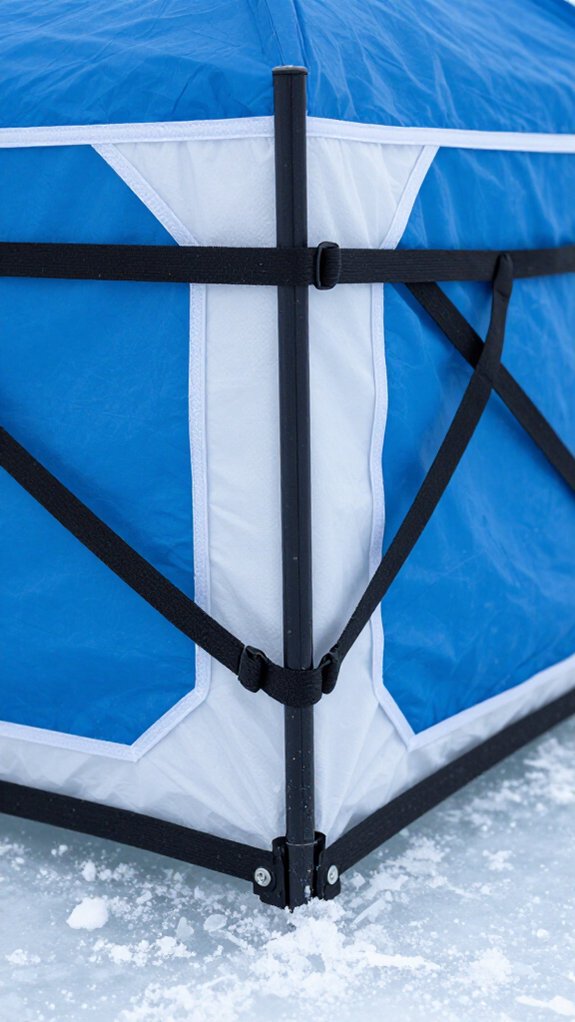
After you’ve got the frame fully expanded and the fabric pulled taut, I’ll grab each strap and start tightening them in a crisscross pattern so the shelter settles evenly rather than pulling to one side. I use a torque wrench to apply consistent pressure, over-tightening’s a rookie mistake that’ll crack your poles.
Next, I test for wobble by pushing each corner. If it sways like a drunk walrus, I’ll tighten straps until it feels rock-solid. A quick shake test confirms everything’s locked down tight.
- The “drunk walrus” test – Gentle pushes reveal weak spots before the wind does
- Sound check – Taut straps sing when plucked, loose ones thud
- Ice shift insurance – Rechecking after snow loads keeps you cozy when conditions turn nasty
Open Vents and Windows for Airflow
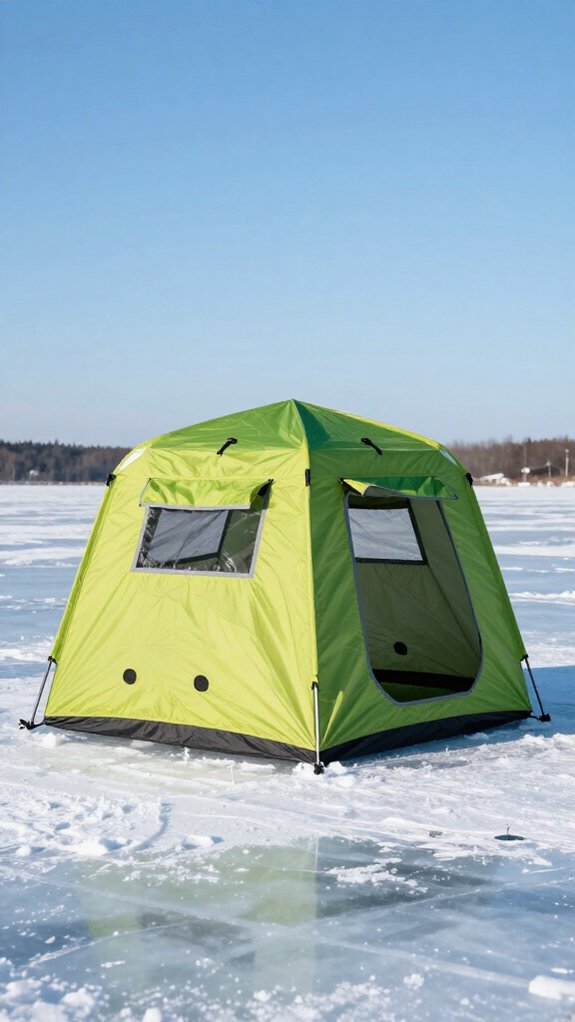
Why deal with fogged-up windows and that clammy, fish-bowl feeling when a few quick adjustments keep your shelter crisp and clear? I’ve learned that proper ventilation reconfigures a stuffy box into a breathable fishing haven.
Let Your Shelter Breathe
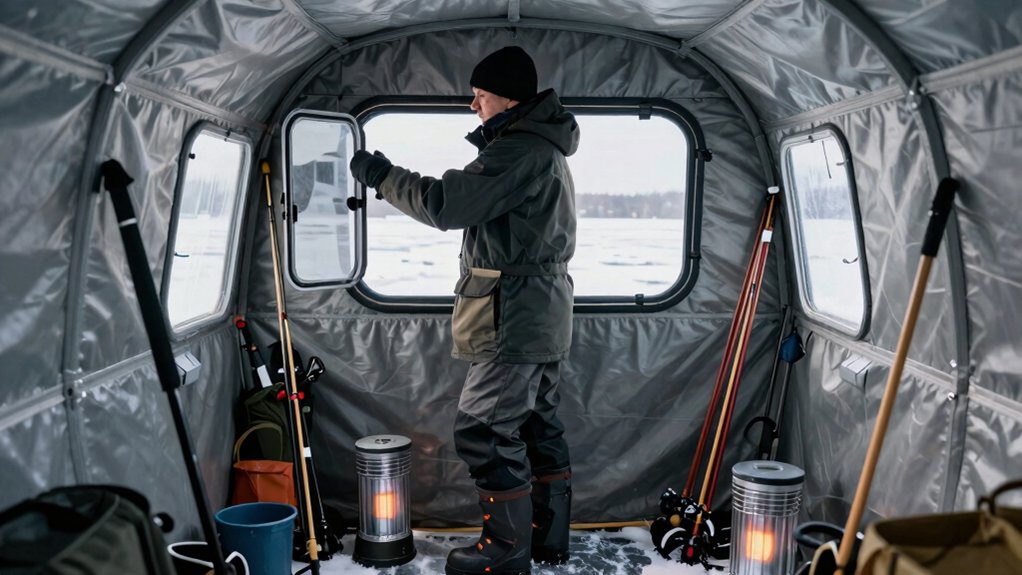
I pop open the roof vents first, then unzip the side windows just enough to create gentle cross-flow. This cuts condensation fast, no more wiping frost off every ten minutes. When I’m running a propane heater, I’m especially careful; that fresh airflow prevents carbon monoxide from creeping up on me.
| What You Feel | What Poor Airflow Does | What Good Ventilation Gives You |
|---|---|---|
| Stifling, heavy air | Fogged windows, hidden flags | Crystal-clear sight lines to your tip-ups |
| Damp, clinging cold | Soaked gear, shivering hands | Dry gloves, steady focus on the bite |
| Headachy, sluggish | Risky heater fumes | Safe, steady warmth all day long |
I Tweak my windows throughout the day—cracking them wider when the sun hits, narrowing them when wind kicks up. You’ll stay comfortable, visible, and ready for that flag to pop.
Fix Cold-Weather Setup Problems Fast
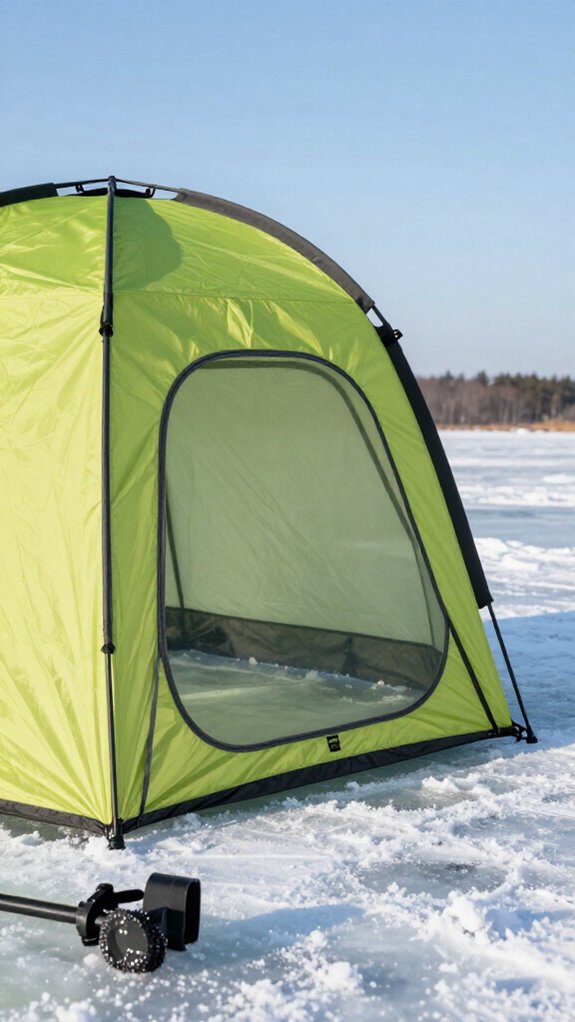
What’s the fastest way to keep a stubborn hub from turning your ice fishing day into a frozen frustration? I tackle it before I ever hit the ice.
With portable ice fishing shelters, preparation beats repair every time. I assemble mine in my garage first, fingers warm and nimble, checking each pole and webbing loop. When I spot a sticky hub or tangled strap, I fix it with patience rather than numb fingers later.
Here’s what saves me when mercury plummets:
- Dry-run your setup indoors so muscle memory kicks in when wind bites
- Organize components with labeled bags so nothing hides from gloved hands
- Pre-attach anchoring straps so I make sure they’re ready the instant my shelter pops
This groundwork transforms cold-weather chaos into five-minute confidence.
Frequently Asked Questions
How to Set up an Ice Fishing Shelter?
I unpack my shelter components first, then pull the webbing loops to pop out the roof and walls using a pull-and-push motion. I secure everything with ice anchors and adjust vents for airflow before I’m ready to fish.
How to Set up a Flip Over Ice Shelter?
I set up my flip-over shelter by unfolding it on flat snow, removing straps, centering the base over my hole, engaging hinges to flip it upright, latching it open, then anchoring with ice screws, takes me under two minutes.
How to Set up a Clam Ice Fishing Shelter?
I unpack my Clam shelter, check all parts, lay it flat on the ice, pull the frame open with the handles, anchor the edges, attach walls and roof with clips, then open vents for airflow.
What Are the Best Ice Fishing Shelters?
I prefer Eskimo, Clam, and Fish House shelters because they’re lightweight, insulated, and built for quick setup.
I always look for durable waterproof fabrics, multiple windows, sturdy anchoring, and reinforced seams when I’m choosing one for harsh conditions.
In Conclusion
A fast, well-anchored pop-up shelter turns a scrambling start into more time drilling holes and catching fish. I once set up beside another angler who fought his tent for twenty minutes in wind I beat in under five, by the time he got inside, I’d already iced three walleye.
Practice at home, trust your system, and you’ll spend less time wrestling gear and more time reeling in what you came for.