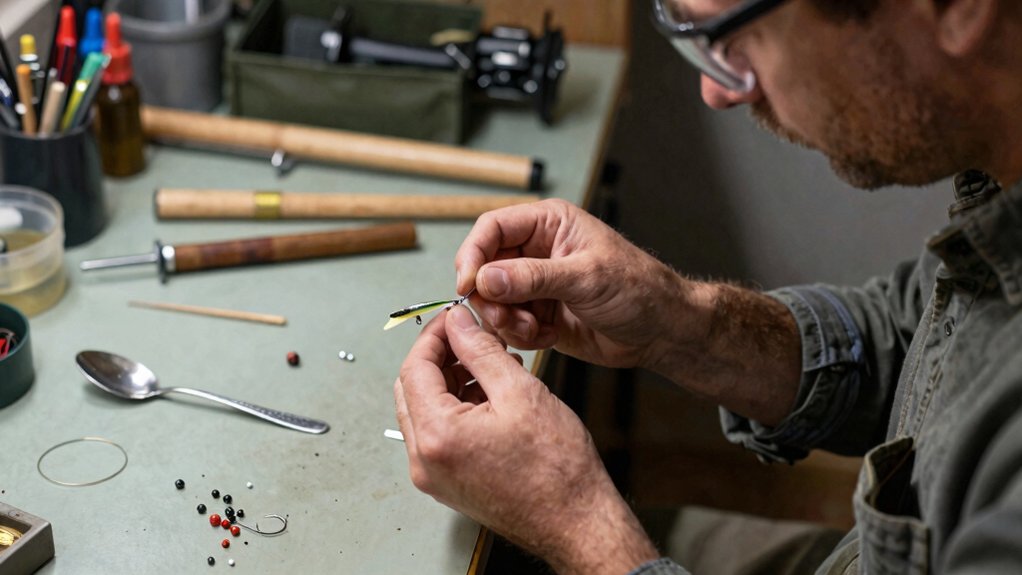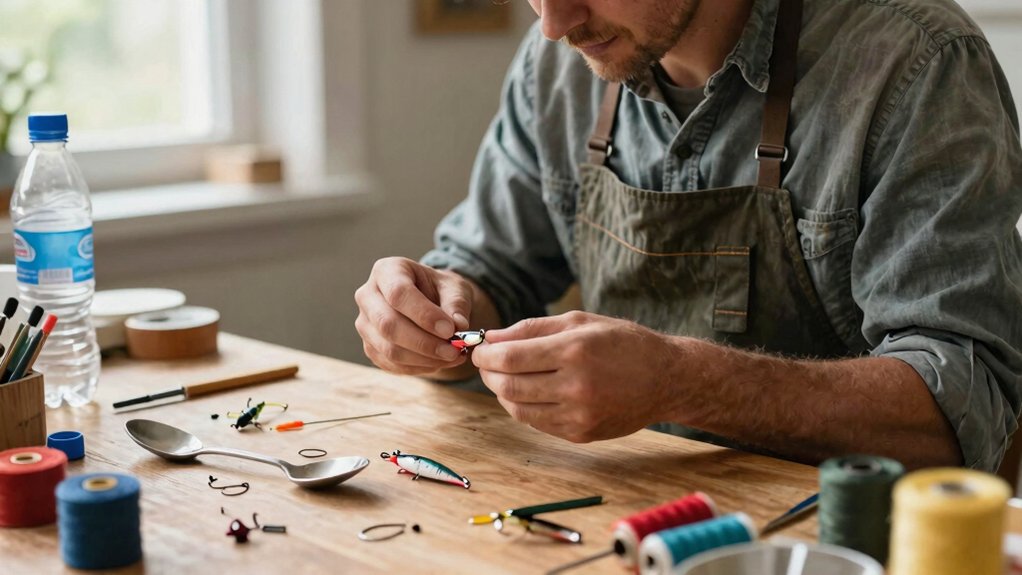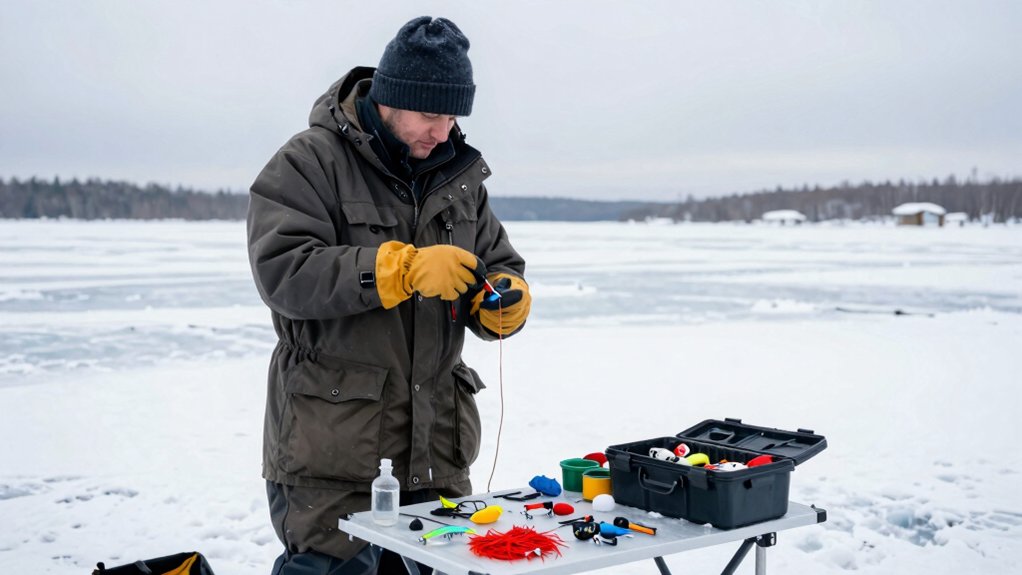

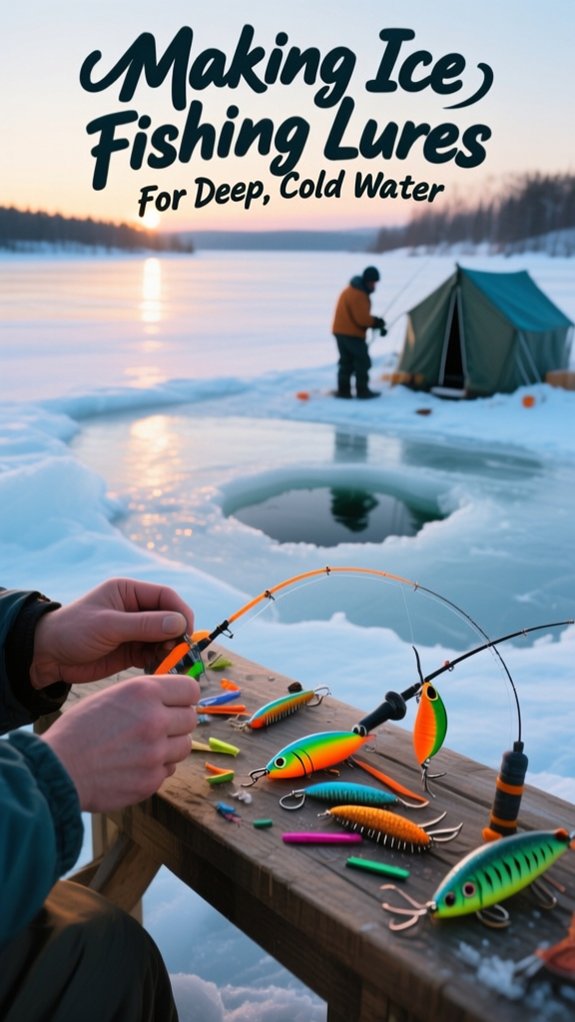
I make ice fishing lures from recycled bottle caps by flattening sturdy caps into a symmetrical V-shape, punching holes at the creased edges, and attaching split rings with lightweight hooks that hang level for a natural presentation. I test each lure in ice-cold water to confirm it swims true without spinning.
Then fish it with painfully slow, subtle movements, just inches per minute, since walleye metabolism drops roughly 50% near freezing and they won’t chase aggressive baits in 30 feet of bone-chilling water. The key is matching your jigging cadence to water temperature and using finesse techniques like lift-pause-flutter to mimic dying prey. Stick around and I’ll walk you through exactly how to craft these handcrafted jigs that outfish factory-made options when fish hug bottom and refuse everything else.
Gather Recycled Materials for Your Bottle Cap Lure
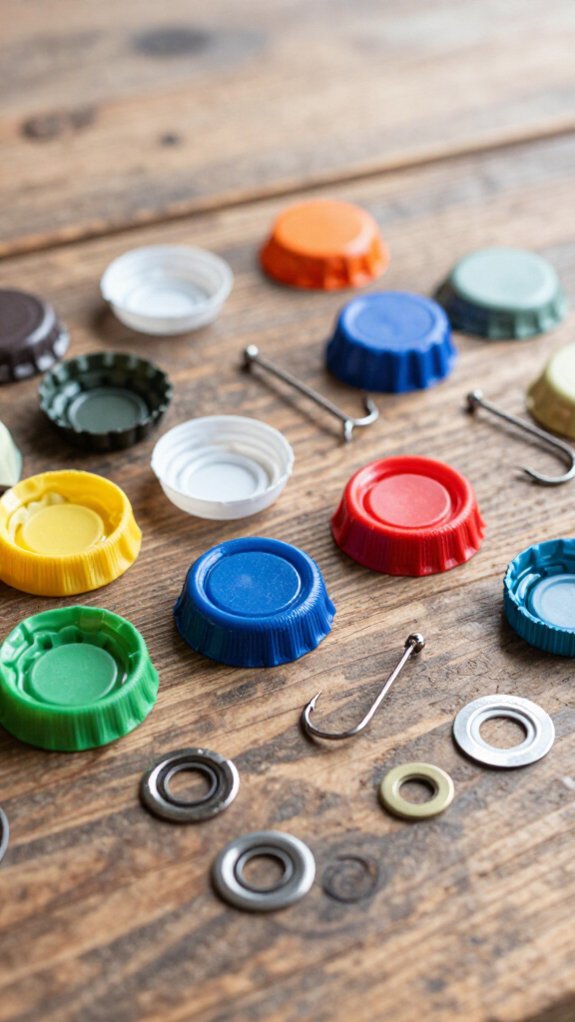
If you’re looking to craft a budget-friendly ice fishing lure that actually produces results, I’ll show you how to convert something you’d normally toss in the recycling bin into a fish-catching machine.
I start by gathering recycled materials, focusing on sturdy bottle caps from beverages like Killebrew Old Fashioned Cream Soda. Their metal construction holds up against crushing ice and aggressive strikes.
Prep Your Bottle Cap
Before any modification begins, I scrub each bottle cap clean, removing sticky labels and residue that could interfere with paint adhesion or movement in the water. A quick soak in warm soapy water does the trick, followed by thorough drying.
This foundation step ensures your homemade lure performs flawlessly when walleye or panfish inspect it below the ice.
Flatten and Fold the Cap Into a V-Shape
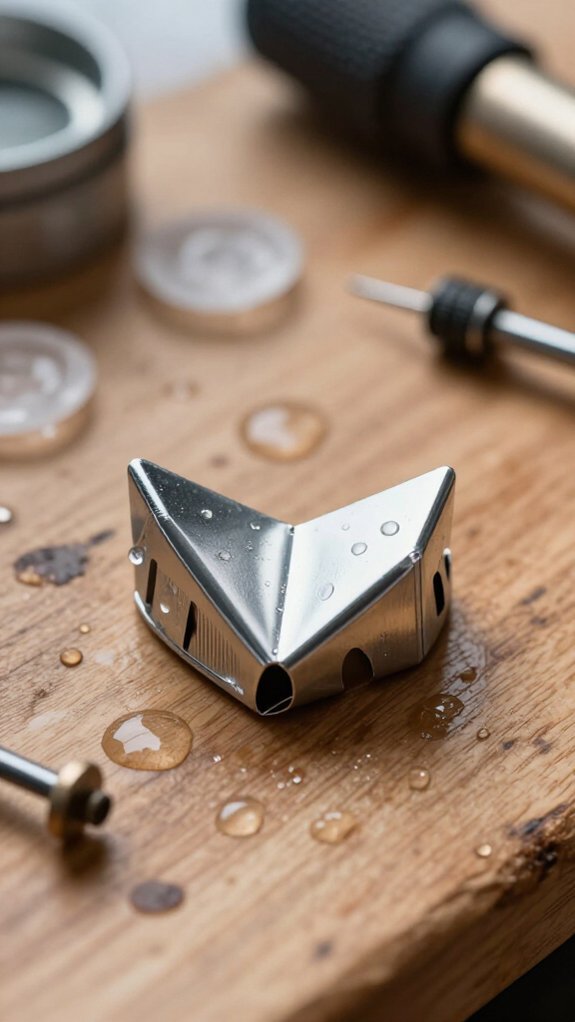
Once you’ve got a clean, dry bottle cap in hand, I grab my pliers and get to work pinching that creased end inward until it’s flattened as much as possible. This creates the foundation for how your lure’ll move and flash beneath the ice.
Forming the V-Shape
Next, I bend one side of the bottle cap to roughly 90 degrees, establishing the top profile.
Then I begin folding: Starting at that top corner, I bring it down to the middle, creating one half of the V-shape.
I repeat this folding process on the opposite side, ensuring both angles match perfectly.
This symmetry matters. Lopsided lures spin unnaturally and spook wary fish.
A balanced V-shape cuts through the water with tight, enticing action that triggers strikes in cold, sluggish conditions.
Punch Holes and Attach Split Rings
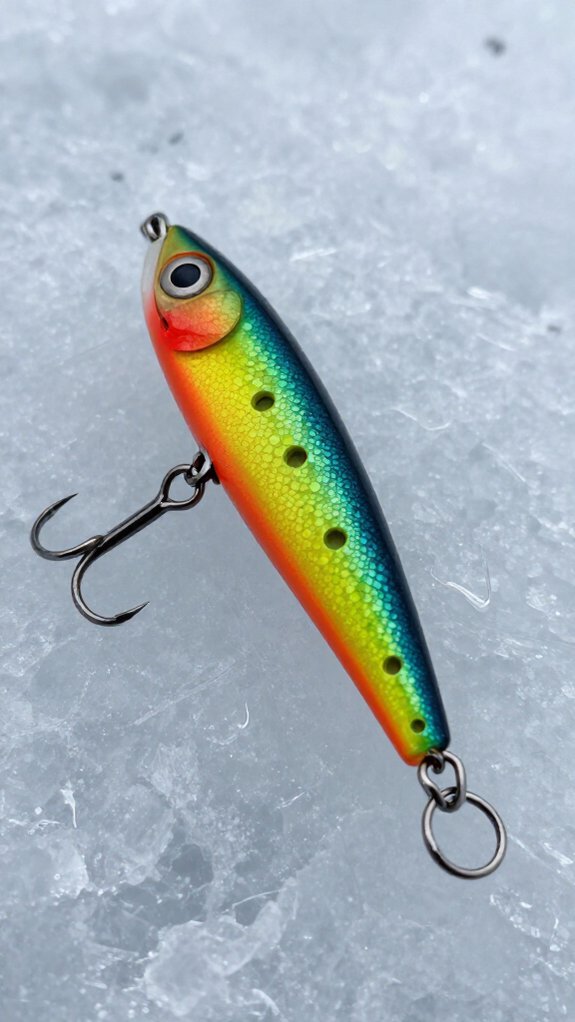
I’ll walk you through preparing holes and attaching split rings so your lure holds strong when a big walleye strikes. First, I lay a flattened bottle cap on a scrap piece of wood and carefully punch holes at the top and bottom creased edges using a nail and hammer. This protects my fingers and gives me clean attachment points.
Then I thread split rings through those holes, connect them into a chain with pliers, and attach the hook to the bottom ring and a barrel swivel to the top so everything moves freely underwater.
Hole Preparation Steps
I place a piece of wood on my workbench to create a solid, stable surface before I start punching holes in the flattened bottle cap, because a steady base keeps the metal from slipping and saves my fingers from a wayward hammer swing.
Hole preparation demands precision. I position my nail at the top and bottom creased edges, then tap firmly with my hammer to create clean openings for the split rings.
Here’s my proven approach:
- Secure your base, Wood prevents dangerous slipping during strikes
- Mark your spots, Top and bottom edges balance the lure perfectly
- Punch cleanly, One solid hit beats multiple weak taps
- Deburr thoroughly, File away any sharp edges that’ll shred your line
I always inspect each hole with my fingertip. Sharp edges spell disaster when you’re battling a lunker through the ice.
Clean holes mean your split rings seat flush and your tackle stays intact when it matters most.
Split Ring Attachment
With clean, deburred holes in hand, you’re ready to turn that flattened bottle cap into a functional lure by adding the split rings that will hold everything together. I grab my pliers and thread split rings through each punched hole at the top and bottom creased edges, creating solid connection points for hooks and swivels.
If a ring fights back, I’ll gently spread it open with pliers, slip it through, then squeeze it tight. Here’s how I organize the attachment:
| Location | Component | Purpose |
|---|---|---|
| Top hole | Swivel | Prevents line twisting |
| Bottom hole | Hook | Presents bait naturally |
| Ring gap | Pliers | Opens for threading |
| Final check | Firm closure | Maintains lure integrity |
I attach the bottom split ring to my hook and the top to a swivel, ensuring everything’s firmly closed. Solid split rings mean reliable ice fishing lures when that trophy fin-biter cruises below.
Rig Hooks So Your Lure Hangs Level
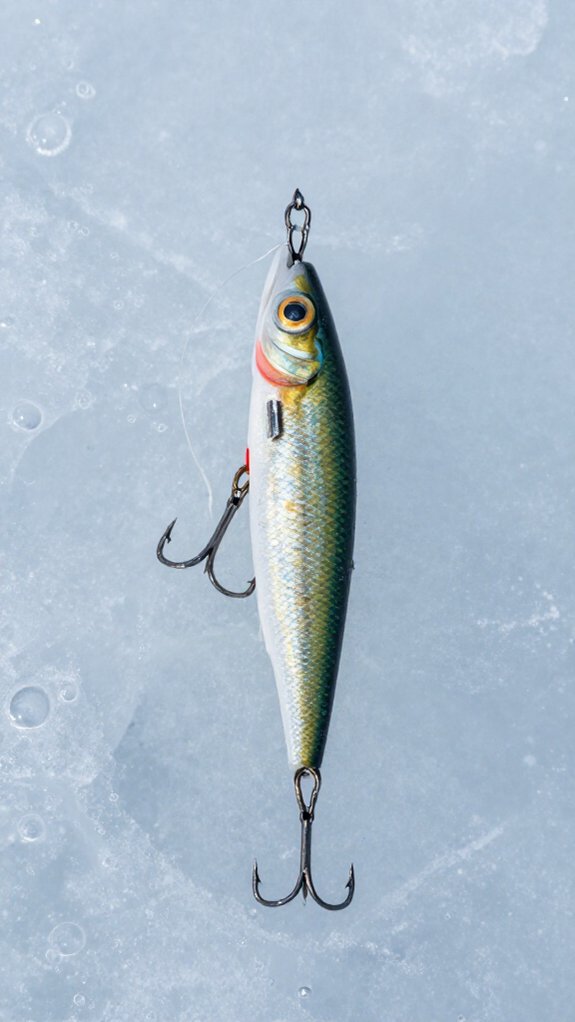
Once you’ve got your lure body ready, getting the hook rigged so everything hangs perfectly level is what separates a tempting presentation from one that spins awkwardly or tips sideways in the water.
Here’s how I dial in that perfect balance:
- Attach the hook directly to the split ring so it aligns horizontally with your lure body.
- Position the hook at the midpoint of the bottom edge to keep everything centered.
- Choose a small, lightweight hook that won’t tilt your lure to one side during retrieval.
- Adjust your leader length between split ring and hook to prevent upward or downward tilting.
I always finish by gently submerging the lure and watching how it sits. If it drifts off-level, I’ll tweak the hook position or swap to a lighter model until it suspends perfectly horizontal, that’s when you know you’ve got a fish-catching machine.
Test Your Lure Action in Real Ice Conditions
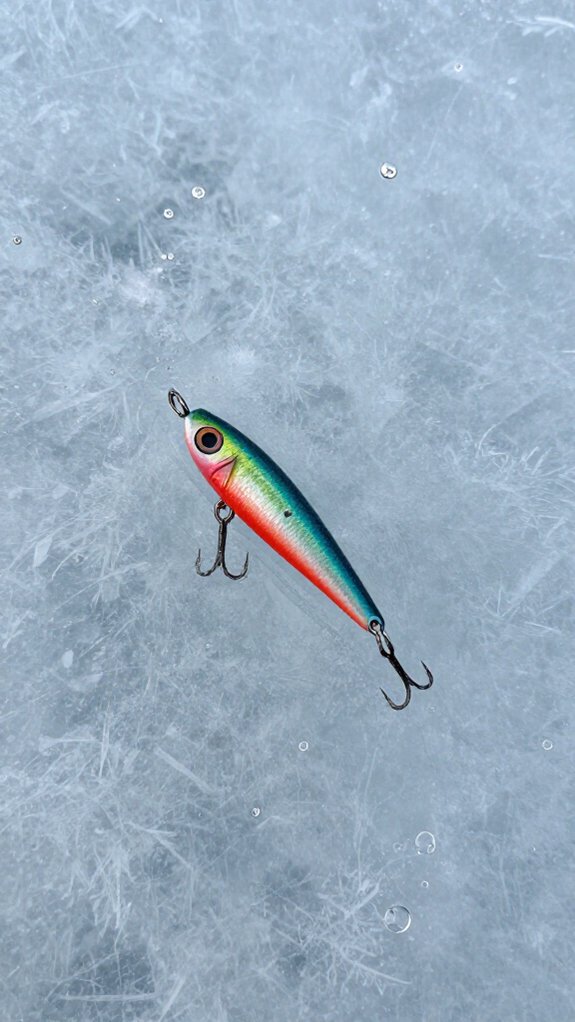
I start by dropping my finished lure into a bucket of near-freezing water to watch how it wobbles, darts, or shimmies. This quick tank test reveals if my design mimics a struggling minnow before I step onto the ice.
Once I’m on the lake, I drop the lure through an actual hole and study its behavior in the real stuff, because 34-degree water and ice pressure change everything.
I keep tweaking the body bend or tail fold until I see that tight, frantic action that triggers winter walleye and crappie to strike.
Water Tank Testing
Before I tie on a fresh lure and commit to hours on the ice, I always run it through a simple water tank test that reveals more about its performance than any guesswork ever could.
Why Water Tank Testing Matters
Cold water changes everything. Your lure’s action at room temperature won’t match its behavior in frigid conditions.
I’ve learned that lure testing in a controlled environment saves me from disappointment when I’m staring down a hole.
Here’s my four-step process:
- Fill a clear container with ice-cold water to mimic real conditions
- Drop your lure in and watch how it sinks, glides, and responds to subtle movements
- Record its swimming behavior—note vibration, wobble, and depth control
- Refine and repeat until it moves like actual prey
This water tank routine lets me adjust weight and shape before I’m freezing on the lake.
On-Ice Validation
Water tank testing builds confidence, but nothing beats the feedback you get when your lure hits actual ice water. I always bring my homemade creations out for on-ice validation before trusting them on a real outing.
What I Watch For
I drop my ice fishing lure through a freshly drilled hole and start experimenting. I’ll try slow lifts, sharp snaps, and steady twirls: each motion reveals something different about its underwater behavior. Sometimes what looked perfect in the tank goes sideways in 34-degree water.
Making Adjustments
If the lure spirals instead of darts, I’ll tweak the weighting or fold. I peer down the hole or use an underwater camera to confirm what I’m feeling through the rod translates to actual fish-attracting movement.
The Durability Check
After twenty drops, I inspect for cracked finishes or bent hardware. Freezing temps expose weak points fast.
Jig Properly to Trigger Bites in Cold Water
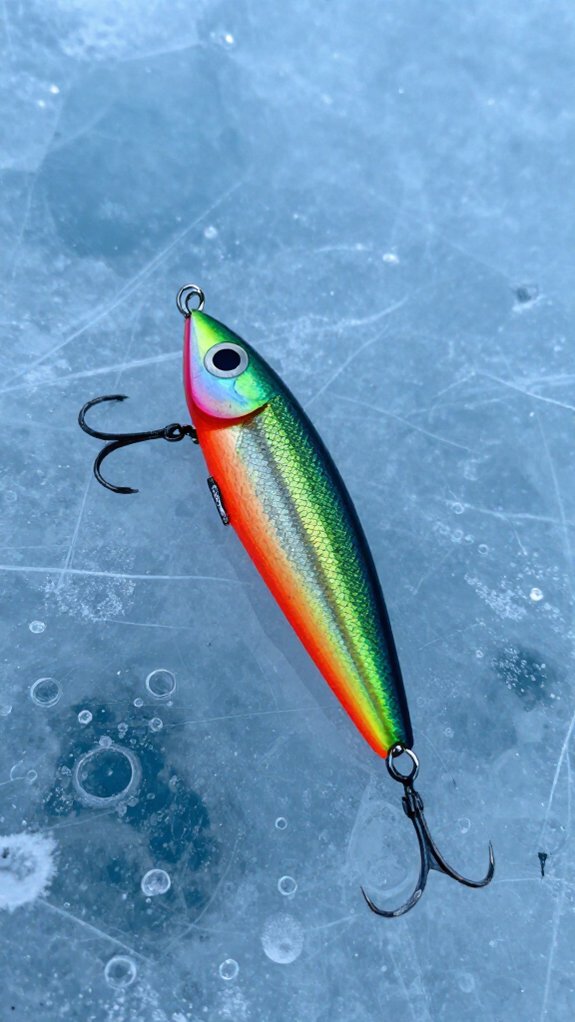
Because fish turn sluggish when the mercury drops, I’ve learned that jigging speed becomes the make-or-break factor for getting bites through the ice. A slow presentation isn’t just helpful, it’s essential when targeting lethargic fish in cold water.
Here’s how I dial in my technique:
- Drop the speed way down – I move my jig mere inches per minute, letting lethargic fish catch up without expending much energy.
- Embrace finesse movements – I use subtle twitches with minimal line tension, mimicking dying prey that barely struggles.
- Lift, pause, let flutter – I raise the rod tip gently, then kill it, allowing the lure to hover seductively in the strike zone.
- Match temperature to tempo – I slow my jigging cadence even further as temperatures plummet, since research shows fish metabolism drops roughly 50% in near-freezing water versus 40°F conditions.
Aggressive snaps spook fish, deliberate patience triggers strikes.
Frequently Asked Questions
What Lures Work Best for Ice Fishing?
I rely on small vibrating spoons, tungsten jigs, and UV-enhanced lures for deep cold water. I’ll pair active spoons with live minnows or mealworms to trigger more bites when fish turn sluggish.
What Is the 80/20 Rule in Fishing?
I follow the 80/20 rule by recognizing that roughly 80% of my catches come from just 20% of my spots, techniques, or lures. It’s helped me focus my efforts where they’ll actually pay off.
What Lure Was Banned From Bass Tournaments?
I know live bait faced bans in bass tournaments, and I’ve seen treble hooks and certain soft plastics restricted too.
The Bassmaster Classic banned all live bait in 2010 to promote conservation and fair competition.
How Much Ice for a 300LB Person to Fish On?
I need four inches of solid black ice to hold my 300-pound frame, though I’d sleep better with six, because nothing says “relaxing day” like wondering if I’ll star in my own polar plunge.
In Conclusion
You now hold a lure built like a phoenix from discarded bottle caps, rising from the junk drawer to dance beneath the ice. When that flat silver V-shape flutters in the black depths, You’re not just fishing; you’re speaking a language older than the lake itself.
Tight lines, and may your bucket overflow.