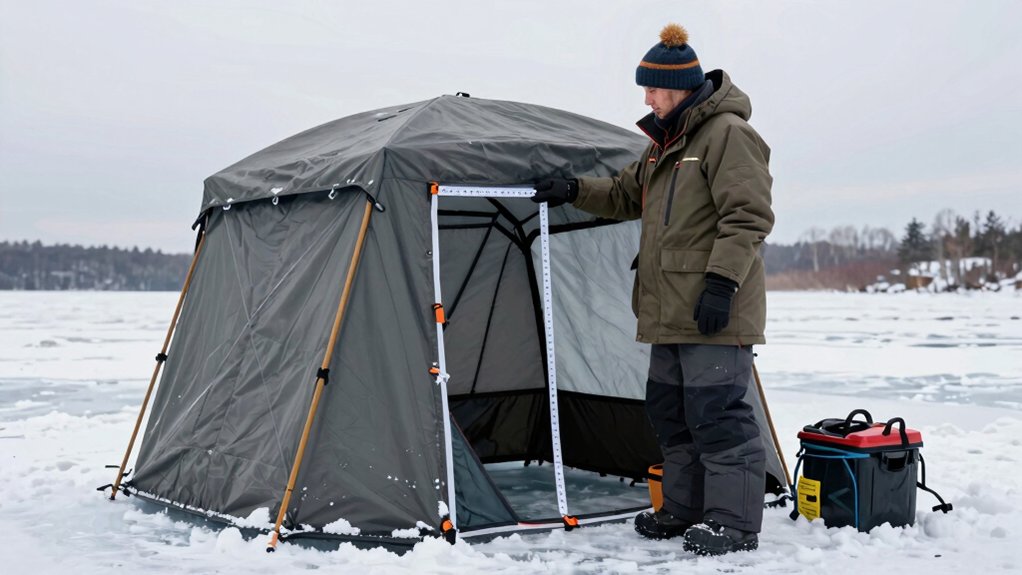

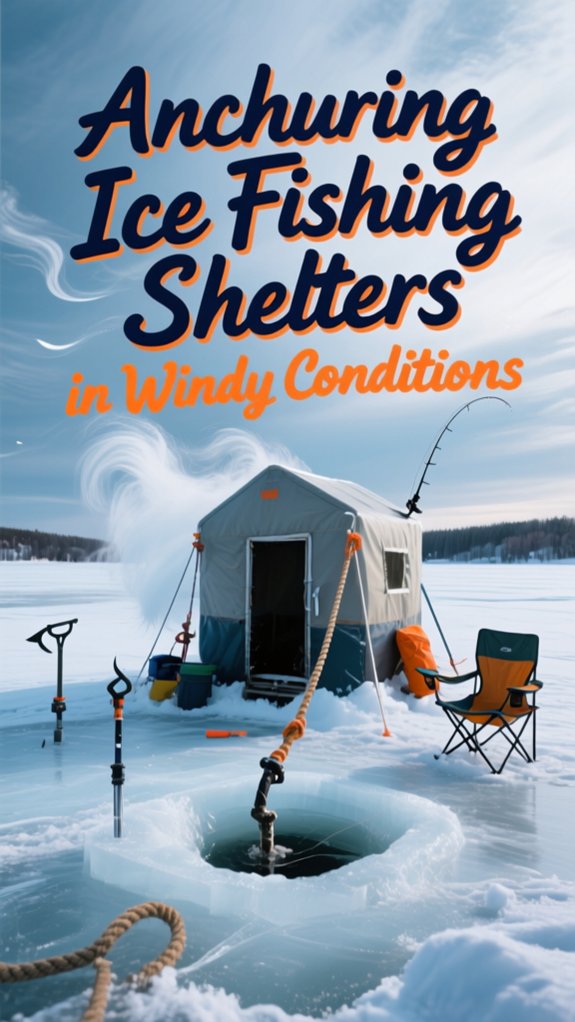
I anchor my ice fishing shelter by positioning it with the wind at my back, securing the windward side first with heavy-duty ice anchors driven deep at 45-degree angles. Then adding interior weight against that upwind wall and tying off to my sled or truck for extra hold when gusts hit.
I keep checking and retightening straps throughout the day since wind stretches them fast. When it’s time to pack up, I always collapse the windward side first so the shelter doesn’t catch air like a sail. There’s more to keeping your shelter rock-solid when the wind really howls.
Position Your Shelter With the Wind at Your Back
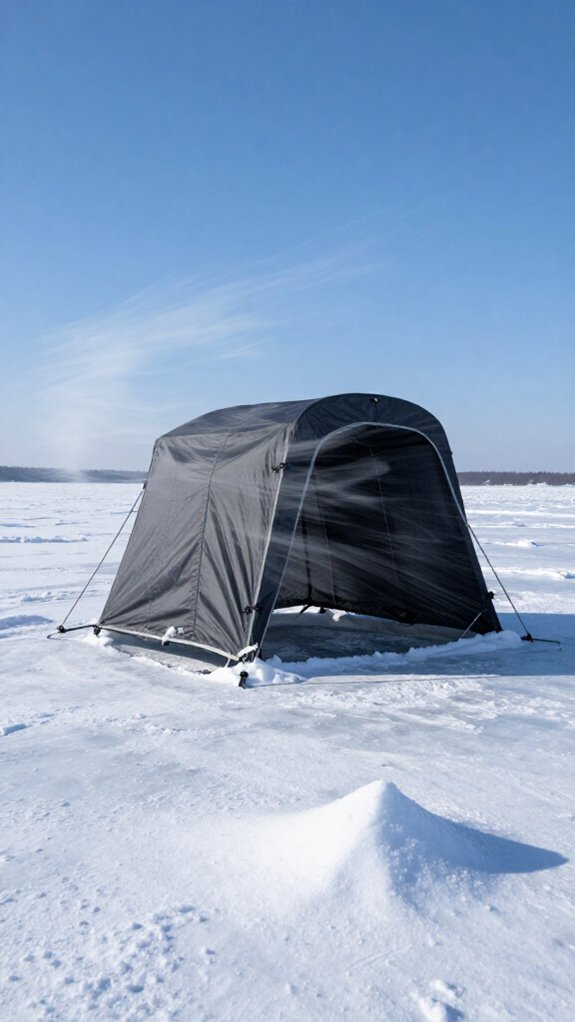
Because wind is the number one enemy of a stable ice shelter, I’ll always position your shelter with the wind at your back so the gusts hit my back instead of slamming into the sides. This simple move revolutionizes the entire structure into a natural windbreak, letting the aerodynamic profile do the heavy lifting while I focus on fishing.
When I set up, I make sure the door faces leeward, nothing ruins a warm interior faster than wind screaming through the entrance.
I also identify my anchor points early: the wind-facing side needs the most secure staking since it’ll bear the brunt of every gust.
Anchor the Windward Side Before Opening Fully
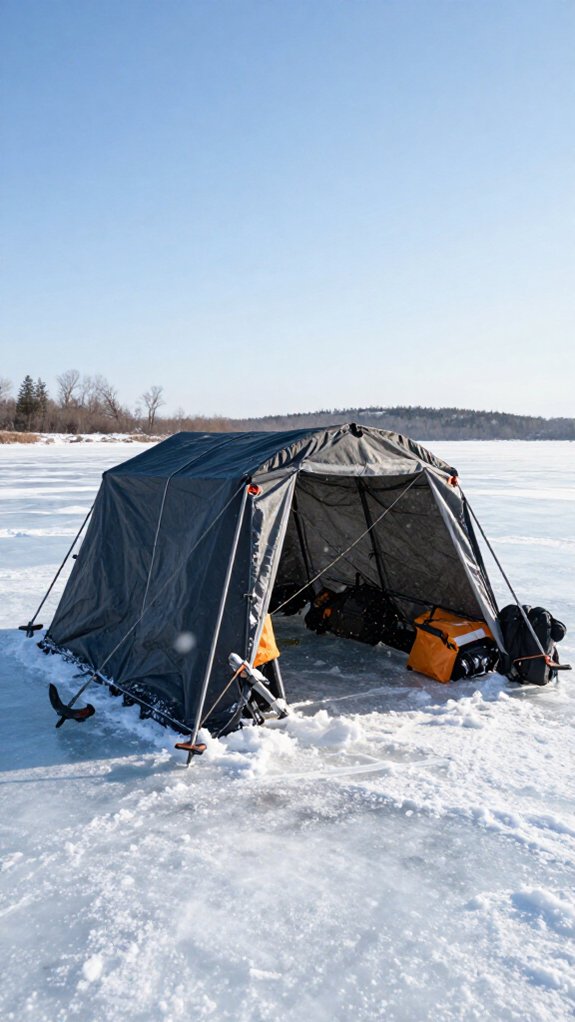
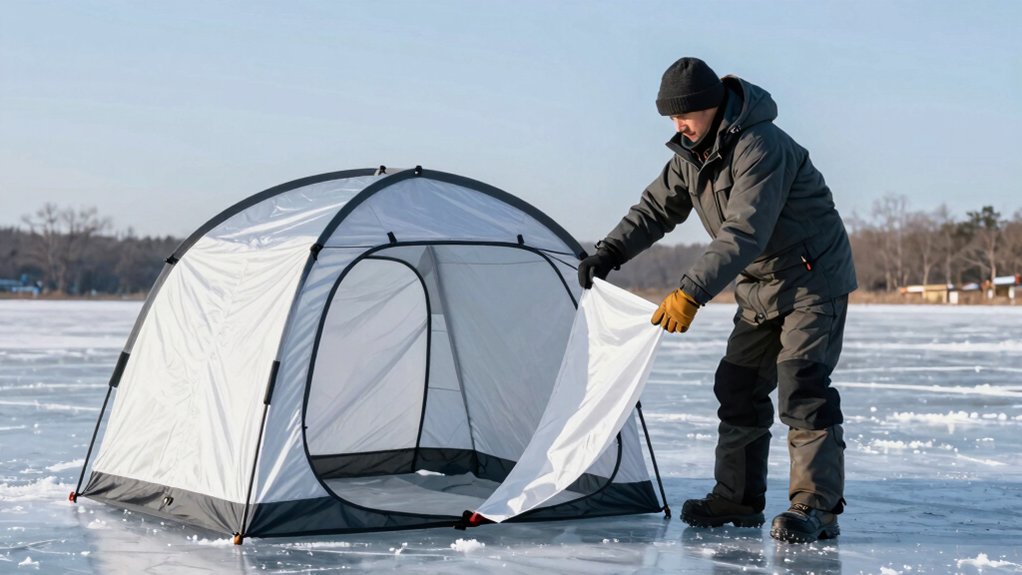
I always assess wind direction first, then partially set up my shelter with the windward side anchored before opening it fully.
I’ll walk you through the partial setup technique that keeps your shelter from catching wind like a sail, followed by quick stability checks I use to verify everything’s locked down tight.
This simple sequence has saved me from chasing gear across the ice more times than I can count.
Wind Direction Assessment
Before I pop my shelter open on a gusty lake, I always take a moment to read the wind, watching how the snow drifts, checking which way the neighbor’s flag is snapping, or feeling the bite of it against my cheek, because anchoring the windward side first is what keeps my hub from turning into a 30-pound kite.
Reading Nature’s Signals
I scan for smoke from distant cabins, observe how ice shavings scatter, or note which side of my face goes numb fastest. These cues reveal wind direction instantly.
Why the Windward Side Matters
Once I’ve identified where the gusts originate, I position my anchor straps on that wind-facing edge immediately. Securing this side before unfolding prevents the shelter from catching air like a sail.
I’ve watched too many anglers chase their gear across the ice. Taking thirty seconds to assess conditions saves hours of frustration and keeps my shelter intact through the day.
Partial Setup Technique
Once I’ve spotted where the wind’s coming from, I don’t pop my hub wide open like I’m unfolding a beach umbrella on a calm July afternoon. I’ve learned the hard way that ice fishing shelters become instant sails when you give gusts a broad surface to grab.
Instead, I crack open just the windward side first, maybe three feet, and immediately anchor that leading edge with my heaviest stakes or screw-in anchors. I want that wind-facing wall locked down tight before the fabric catches any real air.
Only then do I expand the shelter gradually, securing outside tie-downs as I go.
This partial setup technique keeps the structure from buckling or sliding across the ice while I’m still wrestling with poles. By anchoring the windward side first, I maintain the shelter’s shape and avoid that heart-stopping moment when a gust tries to launch my gear into the next county.
Stability Verification Steps
After I’ve got that windward edge pinned down, I’m not rushing to finish the job. I stop and verify every anchor is doing its job before moving on. Proper anchoring on that wind-facing side is what keeps your shelter from becoming a sail and your day from ending in a tangled mess of fabric and frustration.
Anchor the Windward Side Before Opening Fully
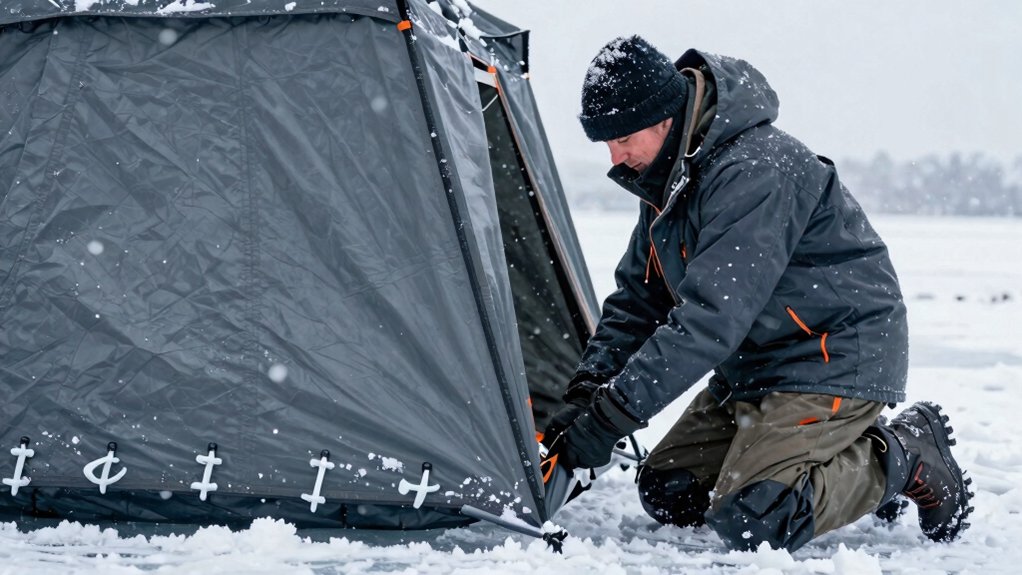
I drive heavy-duty ice anchors into the upwind corners first, tying the hub directly into the wind. I tug each line hard—if there’s any give, I’m resetting. That upwind stability matters most; gusts hit hardest there, and loose anchoring risks tears or bent poles.
Once those windward anchors sit taut and solid in the ice, I’ll pop the shelter open fully. Skipping this verification? I’ve seen shelters vanish across the lake.
Screw in Ice Anchors Deep at All Four Corners
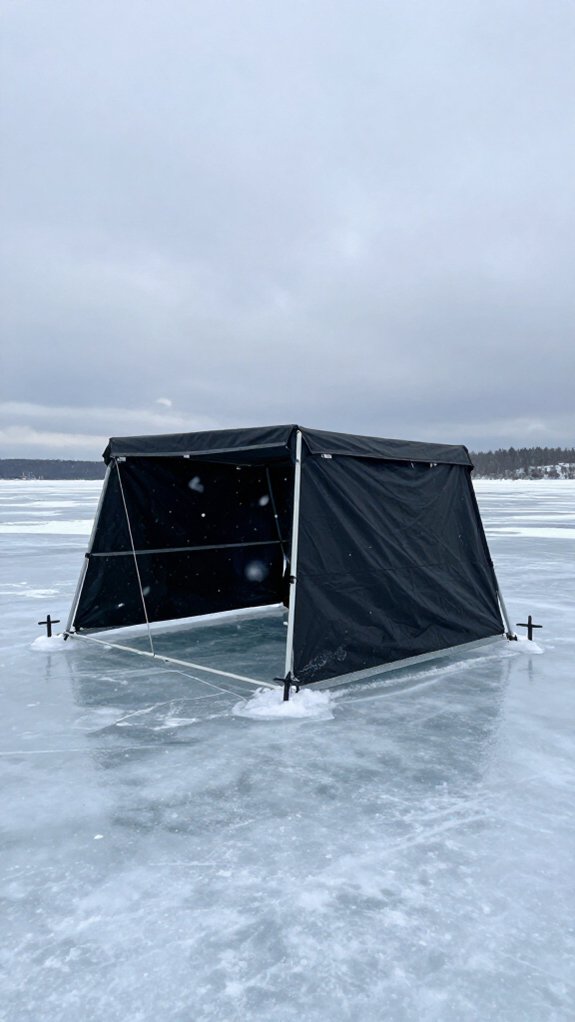
Why do so many ice shelters end up sliding across the lake like runaway sleds? I’ll tell you why, shallow anchors that pop loose the moment a gust hits.
Go Deep at Every Corner
I always screw in ice anchors at a 45-degree angle away from my shelter, not straight down. This positioning creates maximum resistance against wind forces trying to lift and drag my hub.
I use stainless steel anchors for durability and clean entry holes drilled with my auger first.
The Technique That Works
I apply steady clockwise pressure until each anchor sits fully below the surface—no exposed threads. Then I tug hard to confirm zero movement.
Four corners, four solid holds. No runaway sled, no ruined trip.
Tie Off to Your Sled or Truck for Extra Hold
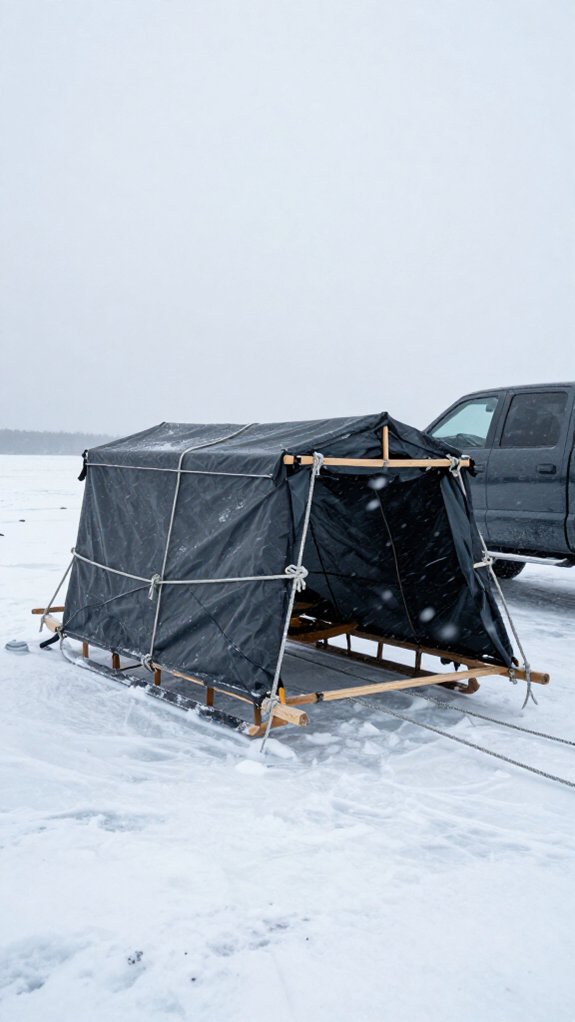
I always position my truck or sled upwind of my shelter so it blocks the worst gusts before they hit my walls, which immediately cuts down on how hard the wind’s pushing.
Then I’ll loop heavy-duty straps through my shelter’s tie-down points and cinch them tight to my vehicle’s frame or tow bar, creating rock-solid anchor points that won’t budge even when gusts climb past 20 mph.
Pairing this vehicle windbreak strategy with the strap anchor method spreads the wind load across multiple points instead of letting my ice anchors take all the punishment alone.
Vehicle Windbreak Strategy
When the wind’s howling across the ice at 15 mph and your shelter’s doing a shimmy that’d make a salsa dancer jealous, I’ll bet my last wax worm you’re looking for something more solid than those screw-in anchors to keep your shack planted.
Park Smart, Fish Steady
I always position my vehicle as a windbreak, parking my truck or sled upwind so it blocks the worst gusts. This simple move cuts wind exposure dramatically and gives me a rock-solid anchor point.
Strap It Down Right
I use heavy-duty straps or bungee cords to tie shelter corners directly to my vehicle’s frame or wheels, not just the bumper. This distributes wind load evenly and prevents torn fabric or snapped poles.
Stay Vigilant
I check and tighten my tie-offs every hour. Wind loosens everything eventually, and I’d rather tighten straps than chase my shack across the lake.
Strap Anchor Method
Although screw-in anchors work fine on calm days, I’ve learned the hard way that 20 mph gusts’ll rip them clean out like you’re pulling weeds. That’s why I always pack heavy-duty tie down straps for my ice shelters when the forecast turns nasty.
Here’s my strap anchor setup:
- Run straps from your shelter’s anchor points straight to your sled or truck bumper for rock-solid hold
- Grab non-ratcheting motorcycle straps, they cinch tight fast and won’t slip when gusts hit
- Check tension every hour; Vibration loosens things quicker than you’d think
- Pair straps with ground stakes for maximum stability in shifting winds
- Spread multiple straps on opposite sides to balance tension and stop lift-off
This combo’s kept my hub standing when neighbors’ tents went cartwheeling across the lake.
Drop Your Heater and Gear on the Upwind Wall
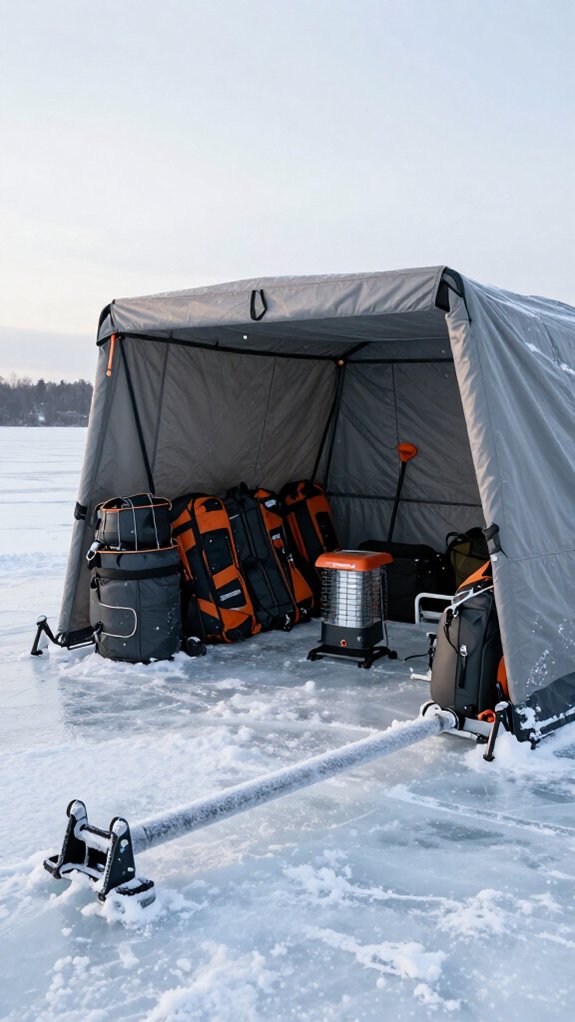
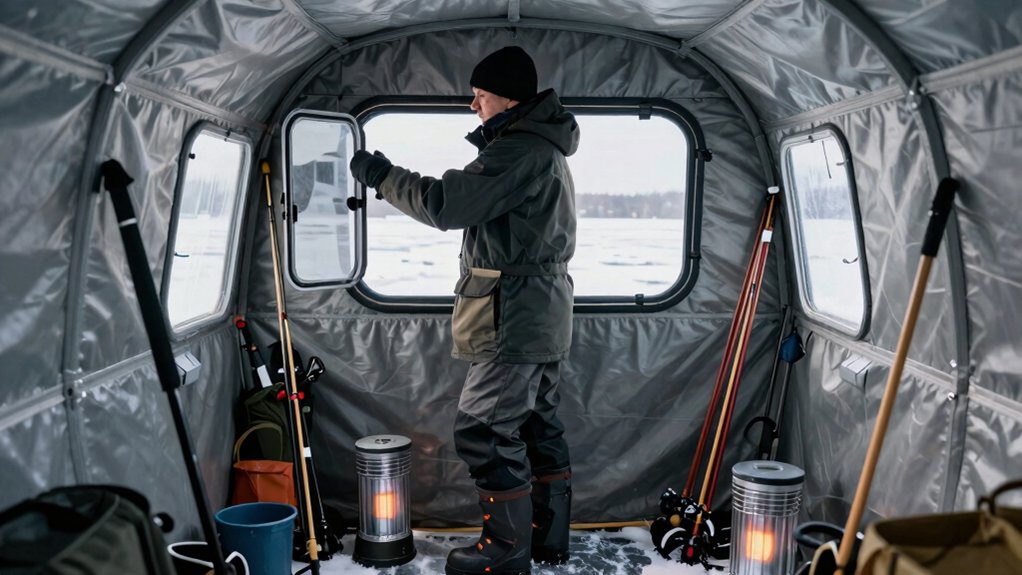
Because wind wants nothing more than to turn your shelter into a kite, I drop my heater and heaviest gear against the upwind wall the moment I’m set up. This simple gear placement strategy adds serious weight where the wind hits hardest, keeping my shelter planted when gusts come roaring across the ice.
Why the Upwind Wall Matters
I position my propane heater, bait buckets, and tackle boxes along that wind-facing side. These heavier objects anchor the shelter’s most vulnerable edge, creating a counterbalance that fights lift.
Without this interior weight distribution, your shelter acts like a sail. I’ve watched lightweight pop-ups slide across the ice before learning this trick.
Safety First
I always double-check that nothing blocks vents or my escape route. Secure gear placement means stability without sacrificing safety when conditions turn nasty.
Retighten Straps When Gusts Pick Up
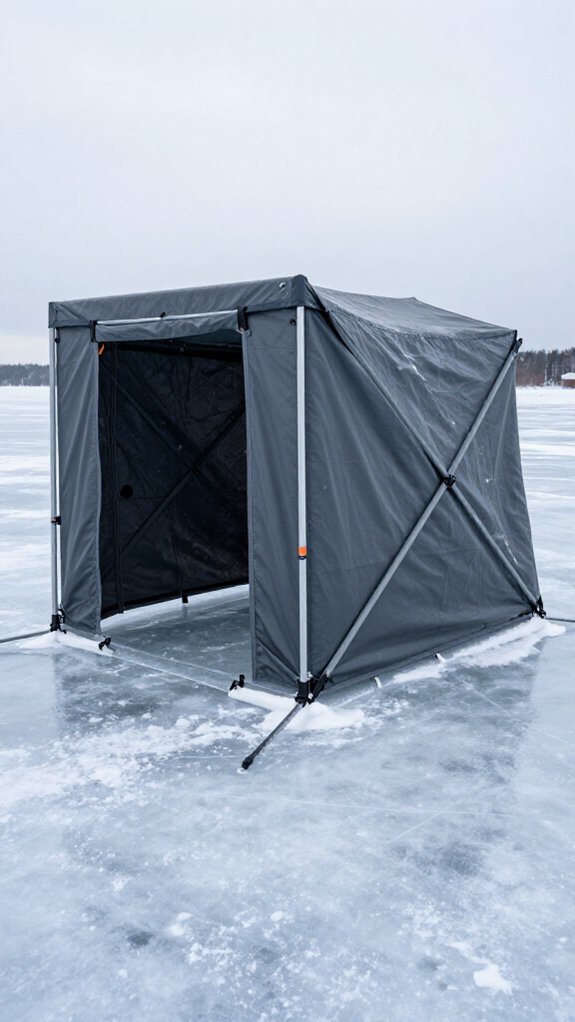
Once I’ve got my gear weighted against that upwind wall, I don’t just set it and forget it. I’m constantly checking my shelter straps throughout the day, especially when I feel the wind picking up. Those sudden gusts hit hard out on the ice, and I’ve learned they can stretch or slip straps in minutes, loosening your hold just when you need it most.
When I retighten straps after each blast, I’m keeping my shelter locked down against increasing speeds. Quick-release buckles make this rapid work; no fumbling with frozen fingers when the wind howls.
Here’s my field routine:
- Feel the nylon give under a fresh gust
- Check every anchor point immediately
- Pull each strap snug, listening for that high-pitched zip
- Test tension by hand—No slack means security
- Repeat hourly when forecasts show sustained winds
One loose strap and you’re chasing your house across the lake.
Collapse the Windward Side First When Packing Up
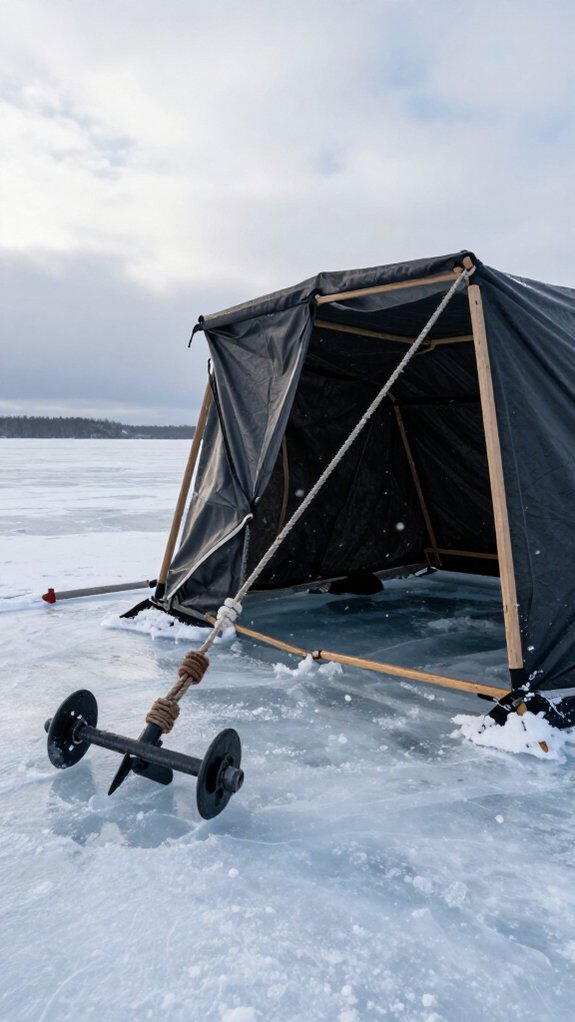
Why risk your shelter skittering across the ice like a runaway sled when a simple pack-up sequence keeps everything controlled? I always collapse the windward side first when breaking down my shelter in gusty conditions.
Why This Order Matters
When wind hits your shelter’s open face, it acts like a sail, catching gusts and creating dangerous lift. By folding the wind-facing side down immediately, I eliminate that pressure point before it can grab hold.
This prevents the whole structure from torquing or flipping while I’m still inside wrestling with poles.
My Step-by-Step Method
- Secure any loose gear so nothing blows away
- Release the windward side’s anchoring points first
- Fold or remove that side completely while the shelter’s still weighted
- Finish with the leeward side, which faces calmer air
This sequence keeps tension off the frame and stops wind damage. You’ll pack up faster, safer, and with your shelter intact for the next trip.
Frequently Asked Questions
How to Secure a Tent in High Winds?
I stake my tent at 45-degree angles, use multiple anchors on wind-facing sides, and strap everything tight with heavy-duty cords. I’ll also tie off to stable objects nearby and double-check all tension before the gusts hit.
How to Maintain an Ice Fishing Shelter?
I’ll check and tighten anchors religiously, add weights inside, inspect skirts for gaps, repair worn gear instantly, and adjust ventilation, it’s a million tiny battles against the wind, but I’m winning every single day out there.
How Windy Is Too Windy for Fishing?
I won’t fish in winds above 35 mph since my shelter becomes unsafe and nearly impossible to manage. I check forecasts beforehand. When gusts hit 40 mph, I’m staying home, my gear isn’t worth losing, and neither is my safety.
Which Ice Fishing Shelter Is the Best?
I think the Eskimo Quickfish 3i wins for most anglers since it’s quick to set up and handles wind well, though I’d grab an Otter XTH Cabin if I’m prioritizing space and maximum stability in gusty conditions.
In Conclusion
When Mother Nature decides to test your resolve with her “breezy personality,” a properly anchored shelter keeps you fishing instead of chasing your hub across the lake. I’ve learned that respecting the wind, rather than fighting it, turns a potentially miserable day into productive hours on the ice.
Take these precautions seriously, and you’ll spend more time setting hooks than retrieving runaway gear from the next county over.