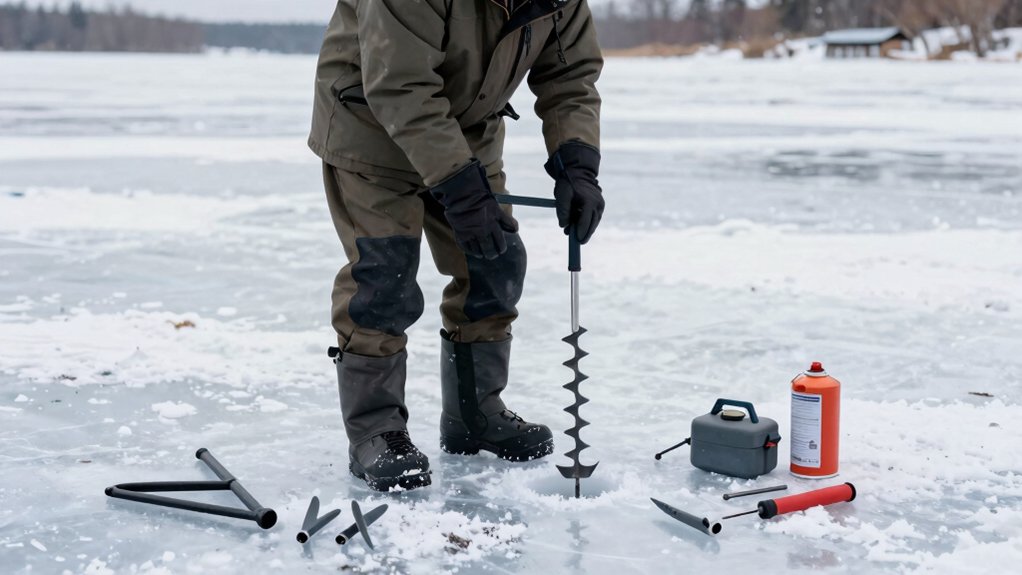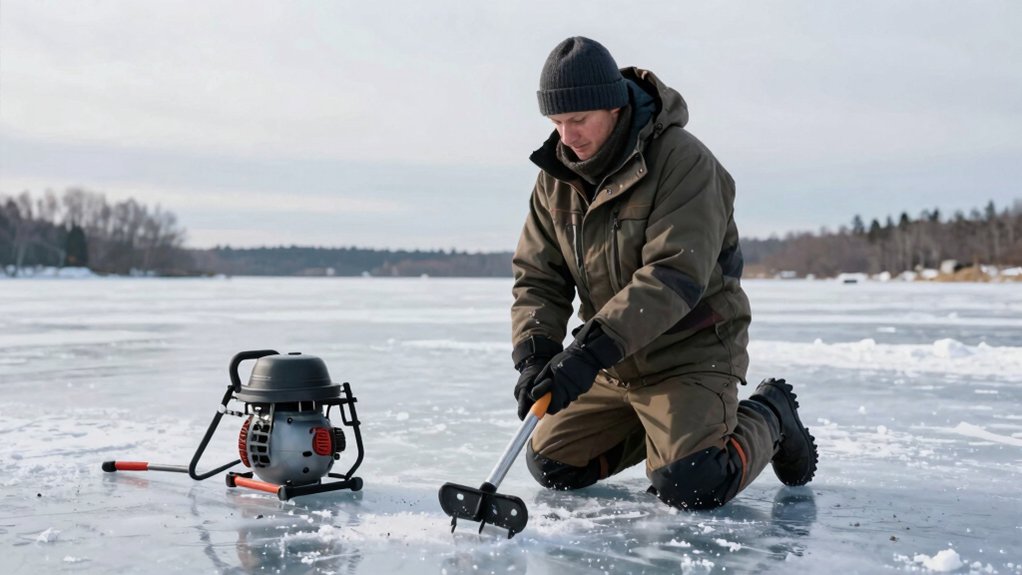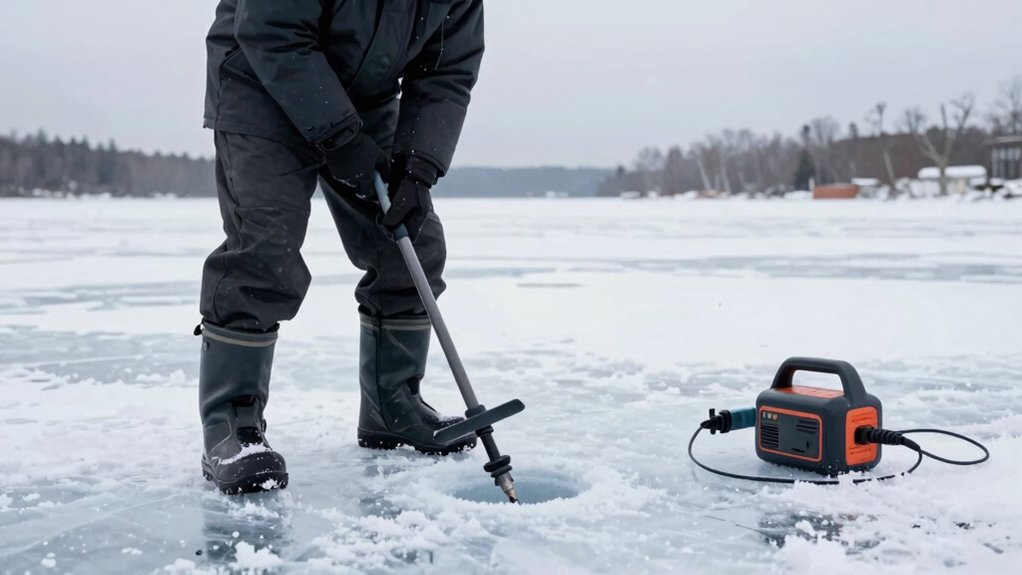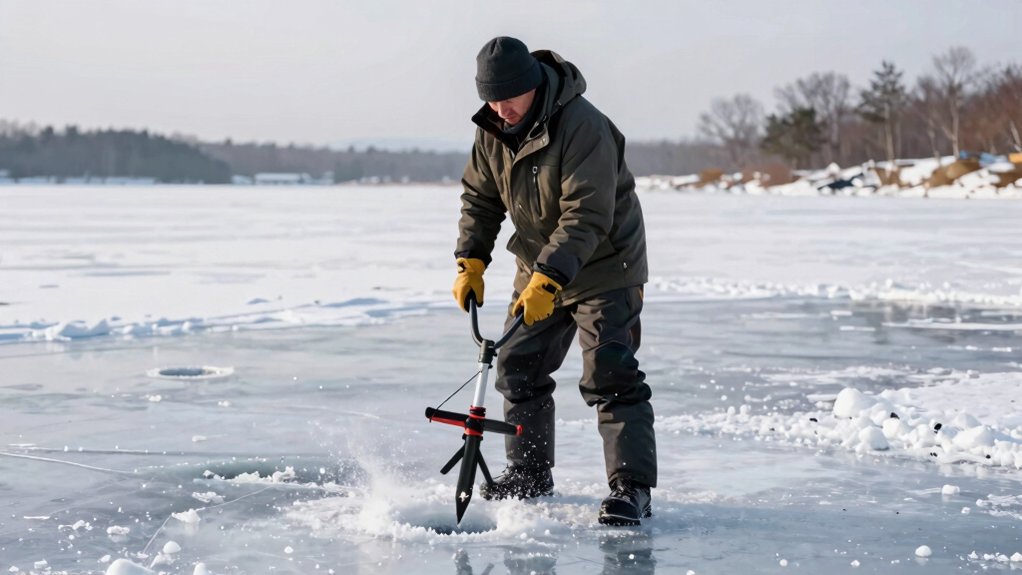

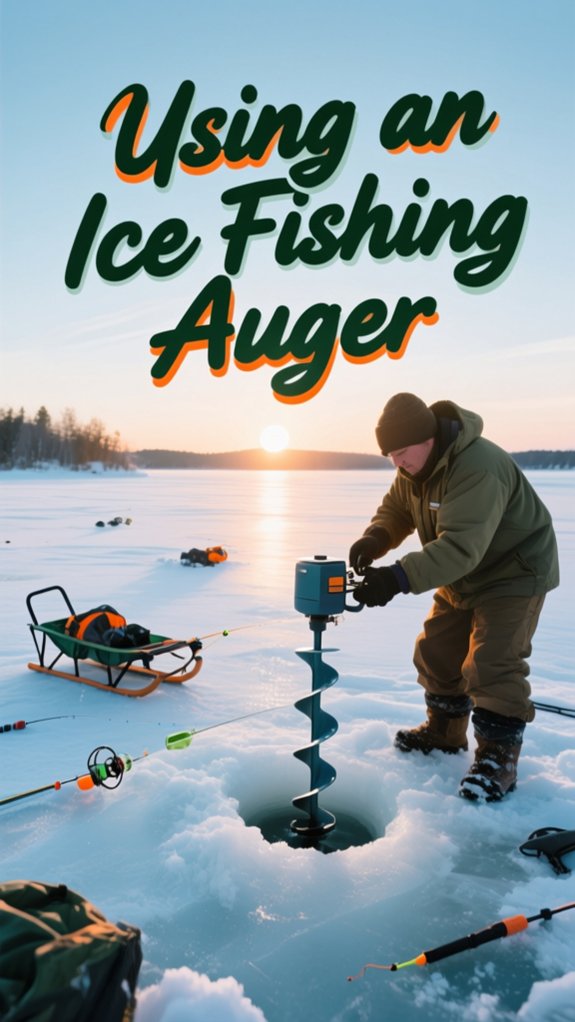
I use an ice fishing auger by first checking that the ice is at least 4 inches thick, 6 inches if I want to drill confidently. Then I prep my gas unit with fresh 50:1 fuel, sharp blades, and proper choke settings.
I prime the bulb 5-6 times, set the choke to “start,” and pull the cord until I feel resistance before giving it a full pull. Once running, I drill steady, controlled holes sized to my target species: 4-inch for perch, 6-inch for walleye, or 8-inch for pike. There’s more to know about blade selection and seasonal techniques that’ll save you time on the ice.
How Thick Should Ice Be Before You Drill?
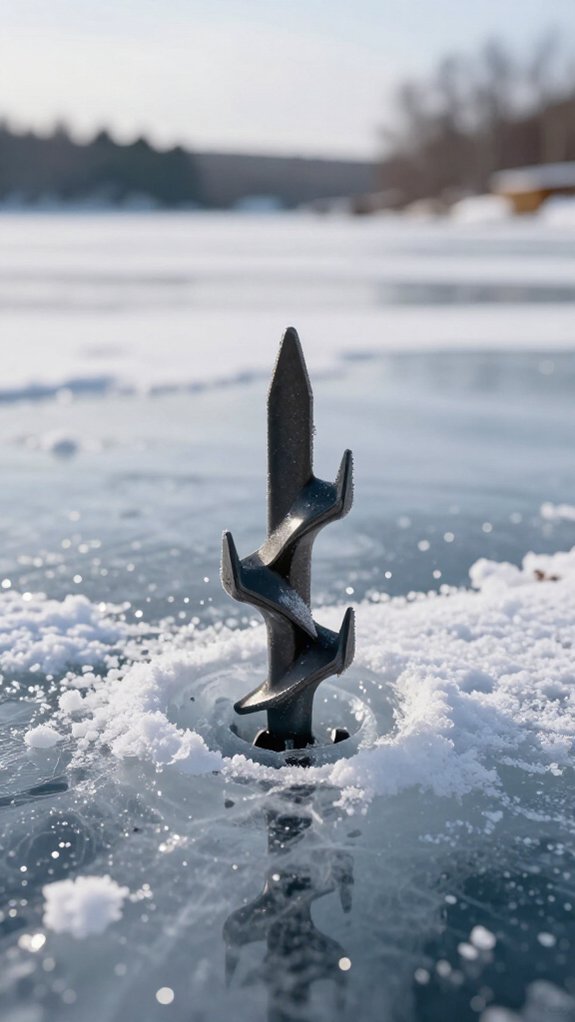
Before I even think about firing up my auger, I make sure the ice can handle my weight, and then some.
Ice Thickness Basics
I won’t step onto anything less than 4 inches. That’s my bare minimum for foot traffic. For drilling through thick ice confidently, I want 6 inches beneath my boots. Here’s how I break it down:
- 4 inches: Walking, basic fishing
- 5–7 inches: Snowmobiles or ATVs
- 8–12 inches: Larger groups, heavier gear
My Ice Safety Routine
Ice safety isn’t guesswork. I check local ice condition reports before heading out, even when everything looks solid.
Clear, blue ice is strongest; white or snow-covered ice makes me cautious. I’ll drill test holes near shore first, measuring actual ice thickness with a tape rather than trusting appearances.
No fish matters more than coming home dry.
Assemble and Prep Your Gas Ice Auger
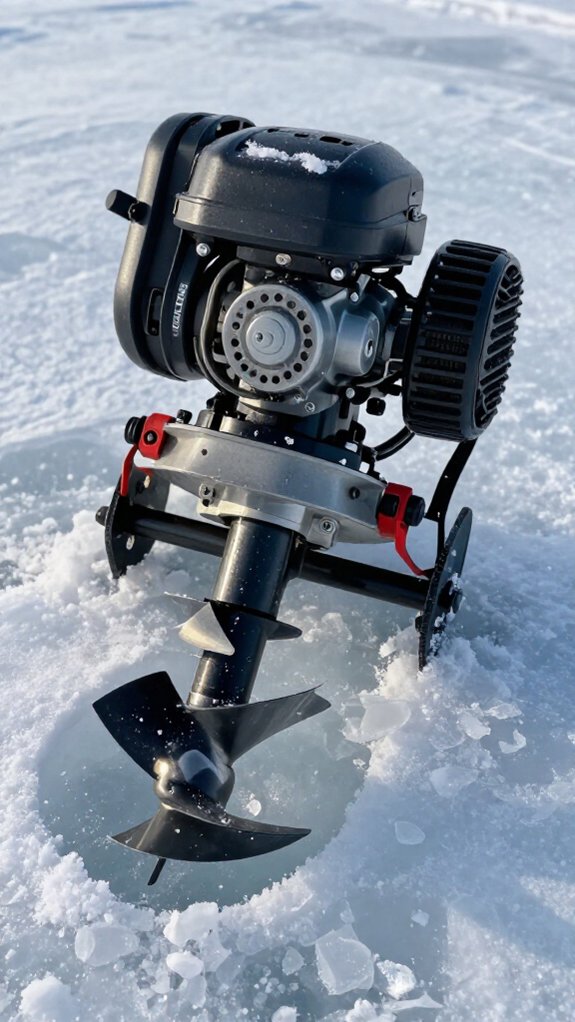
Once I’ve confirmed the ice is thick enough to hold me, I’m ready to get my gas auger set up and running. I unpack everything and double-check that all parts match the manufacturer’s diagram, missing a washer now means trouble later.
Here’s my prep routine:
- I fill the tank with Trufuel 50:1 mix, the only fuel I’d trust for clean-burning power.
- I grab a funnel to pour that gas without wasting a drop on the ice.
- I inspect the blades, tightening any loose bolts and checking alignment.
- I set the auger on stable ground where I can reach choke and throttle easily.
With fresh fuel in the tank and sharp blades secured, I’m positioned for smooth drilling. No shortcuts here, proper prep saves me from headaches when the fish are biting.
Start Your Gas Ice Auger in 5 Steps
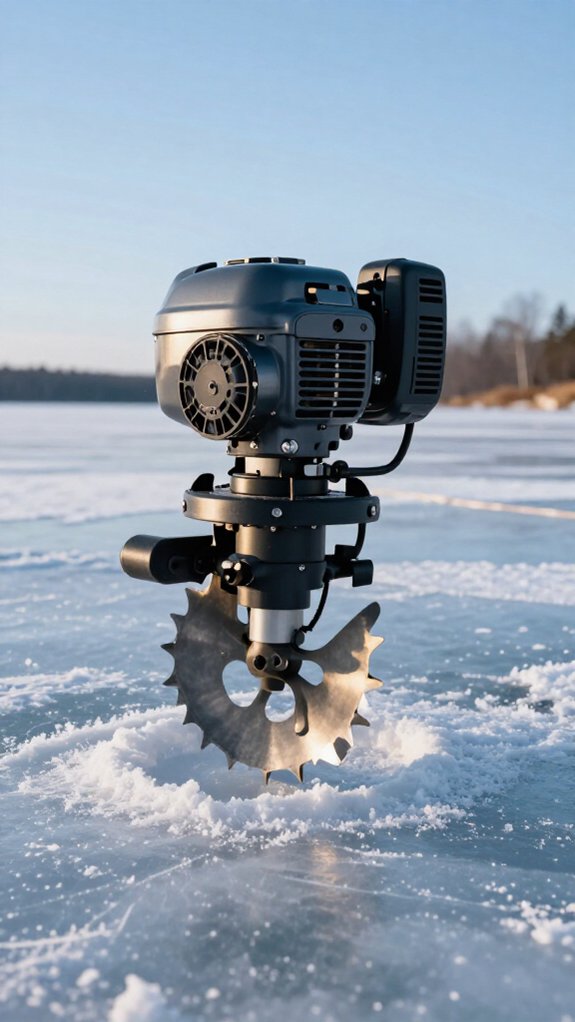
Starting a gas ice auger comes down to two critical phases: fueling and priming the engine properly, then managing the start and throttle sequence for a smooth ignition.
I’ll walk you through exactly how to prepare your auger’s fuel system and get that engine roaring without the usual headaches.
Once you’ve got fuel flowing and the choke set right, you’ll pull that cord with confidence knowing the throttle won’t get away from you.
Fuel and Prime
How do you get a cold gas auger roaring to life on a frozen lake? I’ll walk you through fueling and priming your engine properly so you’re drilling holes instead of troubleshooting.
First, I fill my tank with Trufuel 50:1 mix—it’s the only fuel I trust for consistent performance in brutal cold. Cheap gas gums up carburetors when temperatures plummet.
Here’s my pre-start routine:
- Fill with Trufuel 50:1 mix for optimal engine protection
- Set choke to “start” position for cold-weather starting
- Prime the engine 5-6 times to establish fuel flow
- Flip the switch to “on” to activate electrical systems
I never skip priming. That little bulb pushes fuel through cold lines, and without it, you’re yanking that cord until your arms burn while fish swim undisturbed below.
Start and Throttle
After you’ve got fuel in the tank and the engine primed, it’s time to fire up your auger and get that blade spinning.
Fire Up the Engine
I flip the engine switch to “on” and move the choke to “start.” Then I pull that fuel bulb 5-6 times until I feel resistance. This gets fuel flowing to where it needs to be.
Engage Compression and Pull
Next, I press the blue compression button and pull the starter cord halfway until I hit resistance. Once the engine sputters to life, I release that button immediately.
Control the Throttle
Finally, I ease into the throttle gradually. You’ll hear the engine rev higher as blade speed increases. That’s your cue to start drilling.
Smooth, steady pressure downward, and you’re cutting through ice like butter.
Troubleshoot Starting Problems Fast
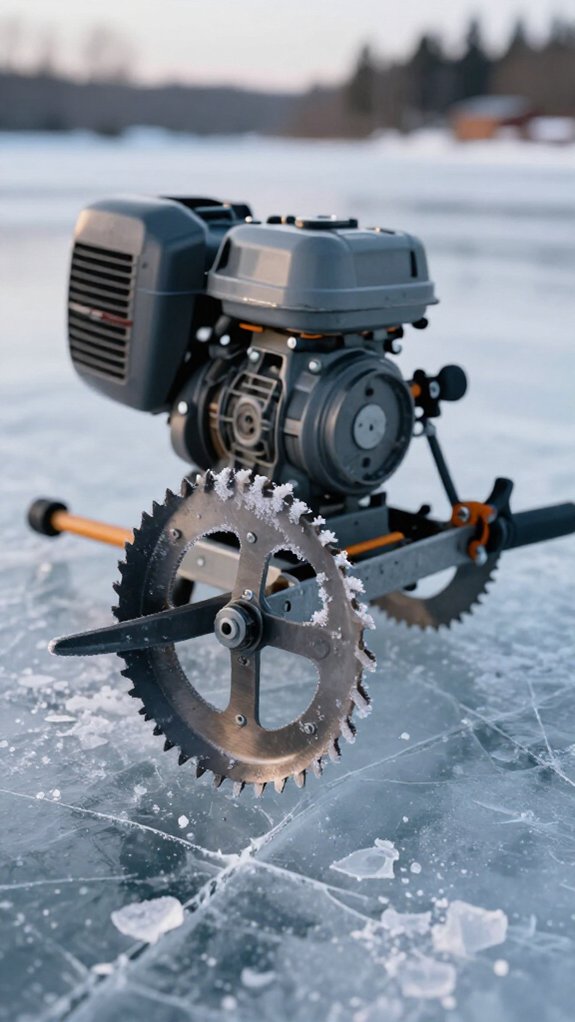
When I’m standing on frozen lake ice at dawn with my breath hanging in the air, there’s nothing more frustrating than an auger that won’t fire up. So I’ve learned to diagnose starting issues in under two minutes using a systematic approach that gets me drilling holes fast.
First, I verify my ice auger has fresh Trufuel 50:1 mix and a full tank. Stale gas kills more starts than cold weather. Then I check the choke, prime 5-6 times, and confirm the switch is on with the blue compression button engaged before pulling.
Here’s my rapid-fire checklist:
- Verify fuel quality and 50:1 mix ratio before every Ice Fishing trip
- Set choke to “start,” prime generously, and engage compression
- Inspect spark plug for corrosion and secure connection
- Test recoil starter tension; replace plug if problems persist
Once running, I’m ready to drill a hole and drop my line.
Drill Clean Holes Through Thick Ice
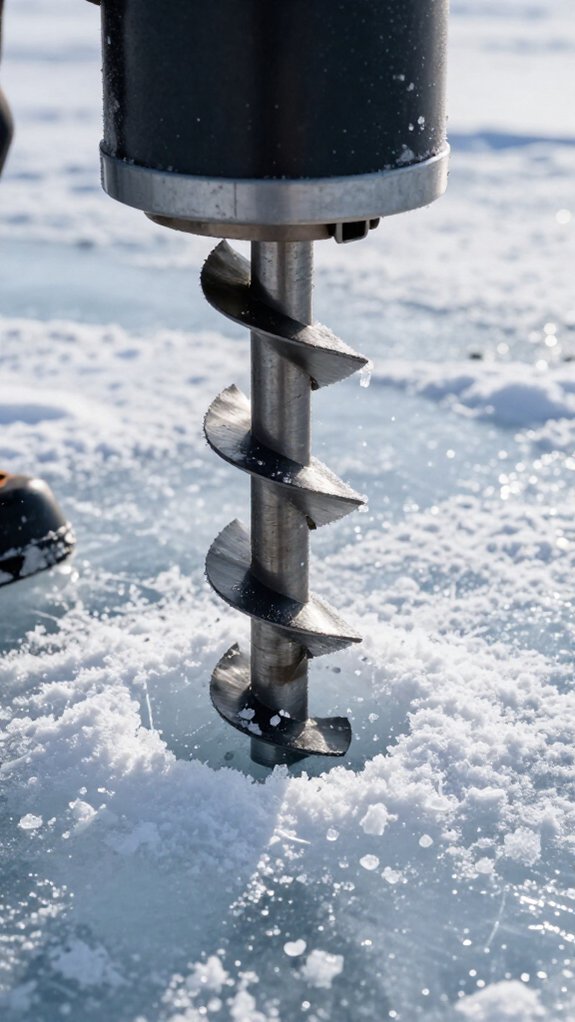
When I’m punching through two feet of solid ice, I’ve learned that blade selection matters just as much as brute force.
Too small a blade and you’ll burn out your motor before breakfast.
I’ll show you the proper drilling technique that keeps your holes clean and your arms fresh, starting with steady pressure and a rhythm that matches the ice density.
And we can’t skip ice thickness safety, because knowing when to stop drilling and reassess keeps you from swimming instead of fishing.
Blade Selection Matters
If you want clean, effortless holes through thick ice, I’ve learned that blade selection makes or breaks your drilling experience. After years of drilling through frozen lakes, I’ve seen how the wrong blade turns a simple task into exhausting work.
Here’s what I prioritize when choosing blades for my ice augers:
- Curved blades slice through heavy ice with noticeably less resistance than flat alternatives
- Proper blade sizing reduces strain when punching through dense, foot-thick ice
- Premium sharp edges stay effective longer, delivering crisp holes trip after trip
- Hardened steel construction withstands brutal cold and abrasive ice without chipping
I always match my blade to the conditions I’m facing. Using thick-ice-specific blades protects my investment and keeps me drilling smoothly when the freeze gets serious.
Proper Drilling Technique
Why does drilling through thick ice feel like a battle some days? Usually, it’s technique, not toughness, that’s missing.
Let the Auger Do the Work
I keep my blades razor-sharp and properly aligned before stepping onto the ice. Sharp steel bites clean; dull steel fights back. When I start drilling, I position the auger perfectly vertical, any tilt binds the blades and chews the hole unevenly.
The Rhythm That Works
I apply steady downward pressure while turning, maintaining that consistent cutting angle. Speed kills efficiency; I use a slow, controlled pace so the blades don’t overheat or dull prematurely.
Every few inches, I lift slightly to clear ice shavings. That simple reset reduces resistance dramatically, especially through thick layers.
Clean holes, less sweat, more time fishing.
Ice Thickness Safety
How thick is thick enough before I commit my full weight to frozen water? I won’t step onto ice under four inches, period. That’s my minimum for hand-powered augers, though I prefer six to twelve inches when I’m hauling heavier gear or chasing trophy fish.
I always verify thickness with an ice chisel or auger measurement tool before drilling, especially where conditions vary. Thick ice demands a six-inch blade or larger, and I’ll admit, it takes more elbow grease.
Here’s what I watch for:
- Black ice or slushy patches that signal weakness
- Cracking sounds beneath my boots
- Cracks and pressure ridges that hide thin spots
- Inflows and outlets where current undermines stability
I check continuously while drilling. One careless moment on bad ice isn’t worth the catch.
Adjust Your Technique for Layered or Slushy Ice
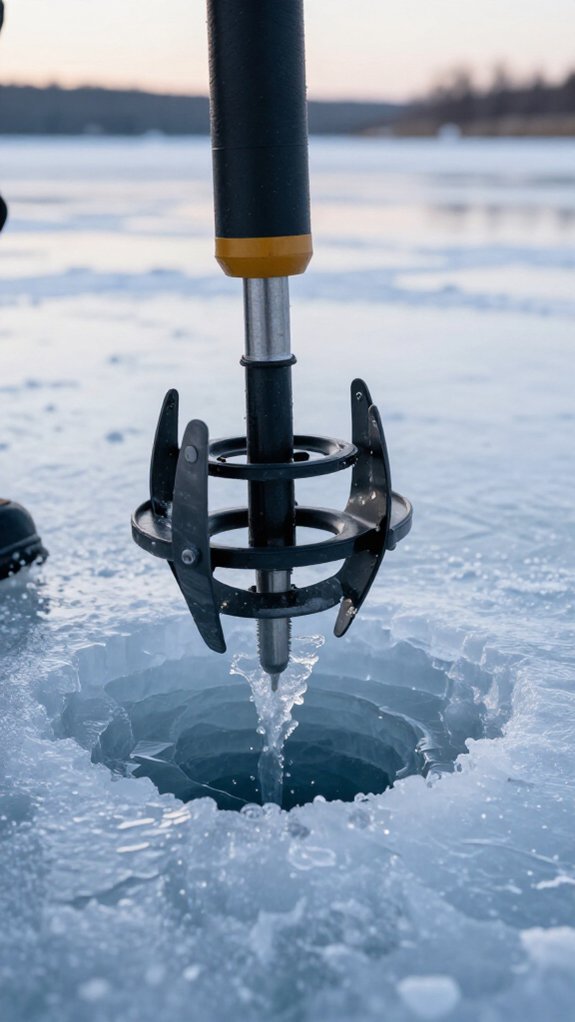
Because layered and slushy ice demands a more deliberate approach than solid ice, I’ve learned to slow my drilling speed right from the start. Rushing only leads to clogged blades and ragged holes that waste time and energy.
I apply steady downward pressure without forcing it, letting the blades do the work. Aggressive pushing stalls the motor and buries me in slush. Every few inches, I lift slightly to clear slush and melted ice from the hole edges. This prevents buildup that gums up my progress.
I also tilt the auger slightly, adjusting my angle to slice through softer layers cleanly. When conditions get tricky, I grab my 4- or 5-inch auger instead of my standard 8-inch. The smaller diameter cuts faster, demands less torque, and handles slushy pockets without bogging down.
Choose the Right Blade Type for Ice Conditions
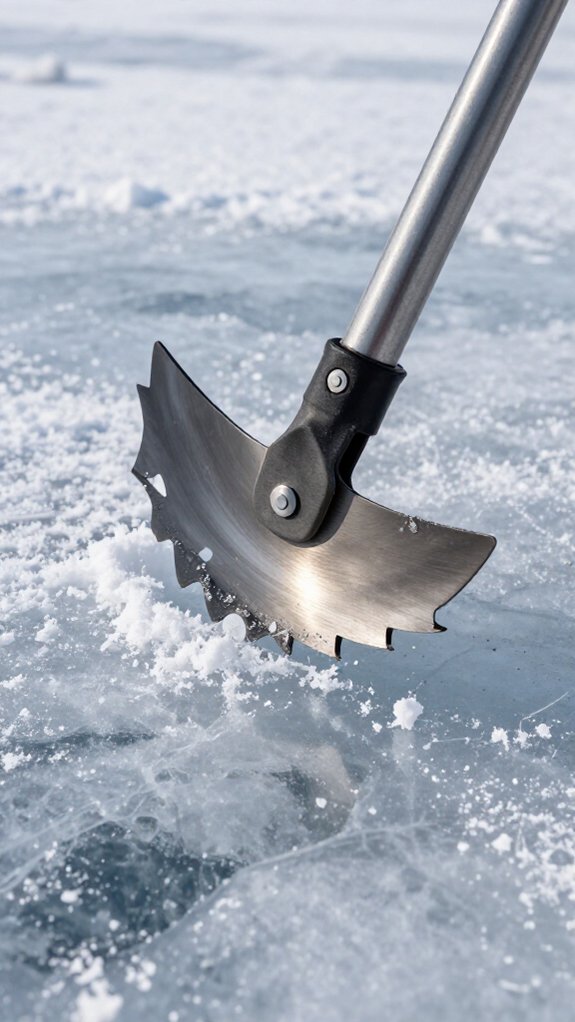
I always match my blade shape to the ice I’m facing that day.
Curved blades slice through thick, hard ice like butter, while flat blades handle early-season ice and save me money on sharpening.
Getting this pairing right means cleaner holes, less strain on my arms, and more energy left for actually catching fish.
Blade Shape Options
When I’m staring down at a frozen lake trying to decide which blade to mount on my auger, I know the shape of that cutting edge will make or break my morning, literally determining how much sweat I expend before I ever drop a line.
I’ve learned that curved blades slice through moderate ice like butter, reducing fatigue when I’m punching dozens of holes searching for active fish. Their aggressive bite saves my shoulders on long days.
Flat blades, however, win me over for their simplicity—easier to sharpen in my garage and gentler on the wallet when I’m teaching newcomers the ropes.
Your blade choice shapes maintenance demands and cutting efficiency. Consider these factors:
- Curved blades deliver smoother, faster cuts in softer or thinner ice
- Flat blades offer budget-friendly durability and simpler upkeep
- Curved designs demand less physical effort during moderate drilling
- Shape selection directly affects how often you’ll resharpen or replace
Ice Thickness Matching
Before I pick up my auger and head onto the ice, I pinpoint exactly how thick that frozen surface has grown, because matching the right blade to the conditions determines whether I’m sipping coffee by mid-morning or exhausted from fighting my gear.
Blade Selection by Thickness
I reach for flat blades when I’m cutting through ice under 8 inches. They slice cleanly without grabbing. Once that frozen slab hits 8-12 inches, I switch to curved blades that bite harder and pull chips faster. Anything over 12 inches? I’m either grabbing my most durable blades or planning multiple passes to punch through.
Safety First
I never drill on ice thinner than 6 inches, period. No blade type changes that rule.
Hole Size Matters
I match my hole diameter (4-8 inches) to my target species. Panfish need less room than lake trout, and I adjust for how hard I’m working against the freeze.
Choosing right means I’m fishing, not wrestling.
Pick the Best Hole Size for Your Target Species
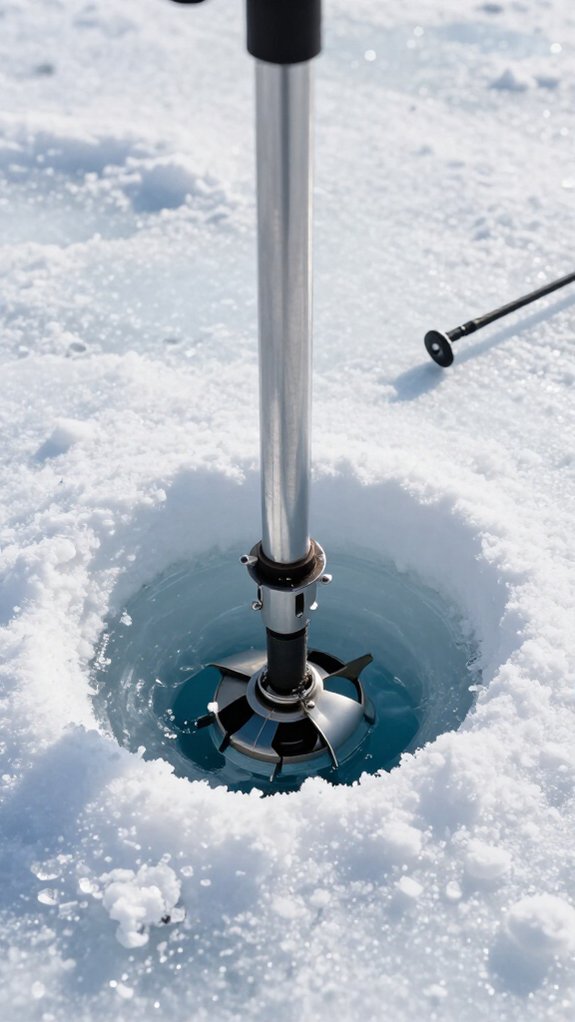
Because the size of your hole directly determines what you can pull through it, I’ll match my auger blade to the fish I’m chasing before I even step onto the ice.
Here’s what I’ve learned works best:
- 4-inch holes handle perch and sunfish beautifully—quick to drill and plenty of room for these feisty little fighters.
- 5-inch holes strike the perfect balance when I’m after perch, sunfish, or crappies.
- 6-inch holes let walleye and heftier panfish slide through without a struggle.
- 7 to 8-inch holes are my go-to for monsters, pike, lake trout, and salmon demand the space.
I always factor in my bait setup too. Oversized live minnows or treble hooks need extra clearance.
Picking right saves me headaches and keeps my catch-and-release smooth when that trophy hits.
Remove Your Auger Safely After Drilling
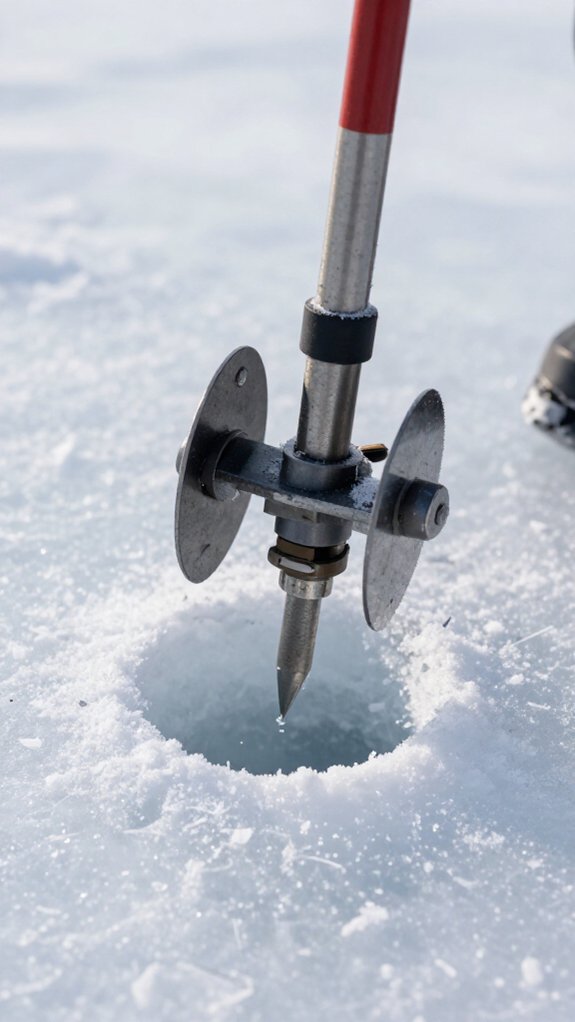
Once I’ve punched through the ice and felt that satisfying drop, I’m already thinking about getting my auger out cleanly without wrecking the hole or my blades.
I lift straight up, no twisting, no angling. That’s how I keep my cutting edges sharp and the hole rim intact. A crooked pull chips ice and dulls steel fast.
Before the auger even clears the hole, I’ve killed the engine and pulled the spark plug or battery. No accidental starts near my gear or gloves.
I give the blades a quick knock to shed ice chunks, then wipe the flights clean. Wet slush left on there freezes solid in minutes.
Finally, I eyeball that hole one last time, checking the rim won’t crumble underfoot, before I set the auger aside and grab my rod.
Clean and Store Your Ice Auger for Next Season
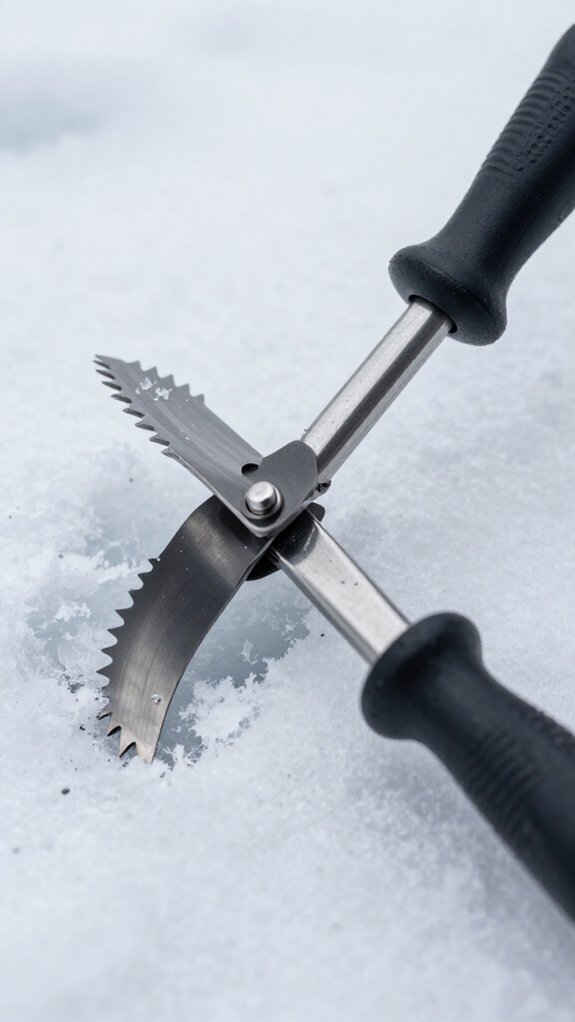
Why let a season’s worth of grit and moisture wreck your gear when a quick cleaning routine takes ten minutes and saves you hundreds? I always scrub my auger blades right after the last hole, ice and snow left behind invite rust that’ll dull your cutting edge before next winter even starts.
Here’s my go-to checklist:
- Scrape off every bit of frozen slush and debris from the blades
- Towel-dry every component
Frequently Asked Questions
Can You Dig a Hole in Dirt With an Ice Auger?
I wouldn’t recommend it. My ice auger’s blades are built for ice, not soil, so I’d struggle cutting through dirt and likely damage my equipment. I’d grab a soil auger instead, it’s designed for that job.
How to Use an Auger Properly?
I check my fuel and assembly first, then flip the switch, set the choke, and prime the engine. I pull the cord to start, throttle up, and drill with steady pressure until water flows through.
Can You Use a Regular Drill for an Ice Auger?
I can adapt a regular cordless drill for ice augering with specialized bits, but I’d risk overheating and motor damage since most drills aren’t built for that torque and prolonged heavy-duty cutting through thick ice.
Do Ice Augers Scare Fish?
Yes, ice augers scare fish, but I’ve found hand-powered models disturb them far less than gas or electric ones. I drill slowly and quietly. The fish usually return within minutes rather than fleeing completely.
In Conclusion
Mastering your ice auger turns a cold chore into the gateway to winter’s best fishing. I’ve drilled thousands of holes, and trust me, proper technique, maintenance, and safety habits separate frustrating days from memorable ones.
Treat your gear right, respect the ice, and you’ll keep catching when others pack it in. As the old saying goes, “The best time to go fishing is whenever you can”—so get out there and drill with confidence.