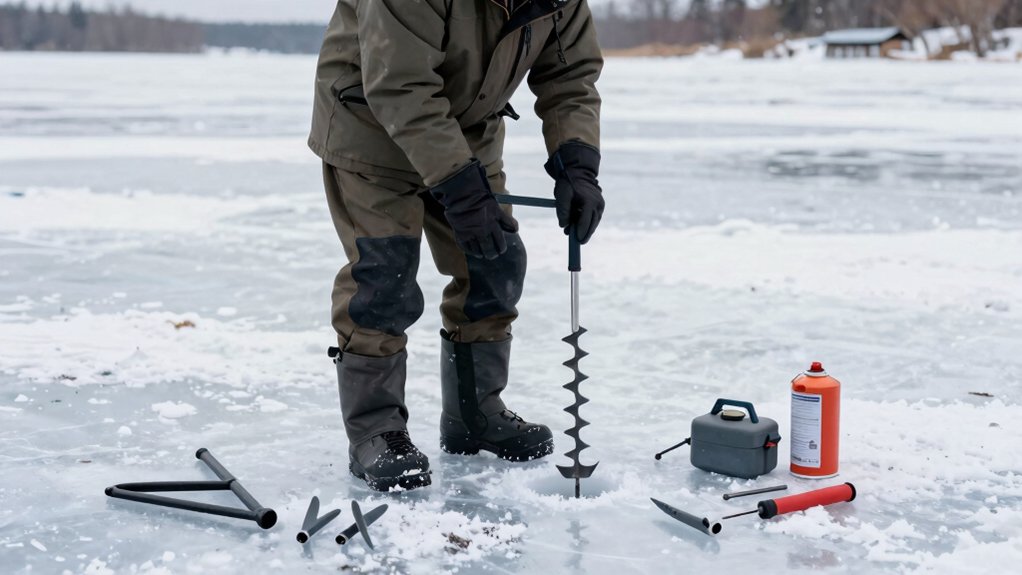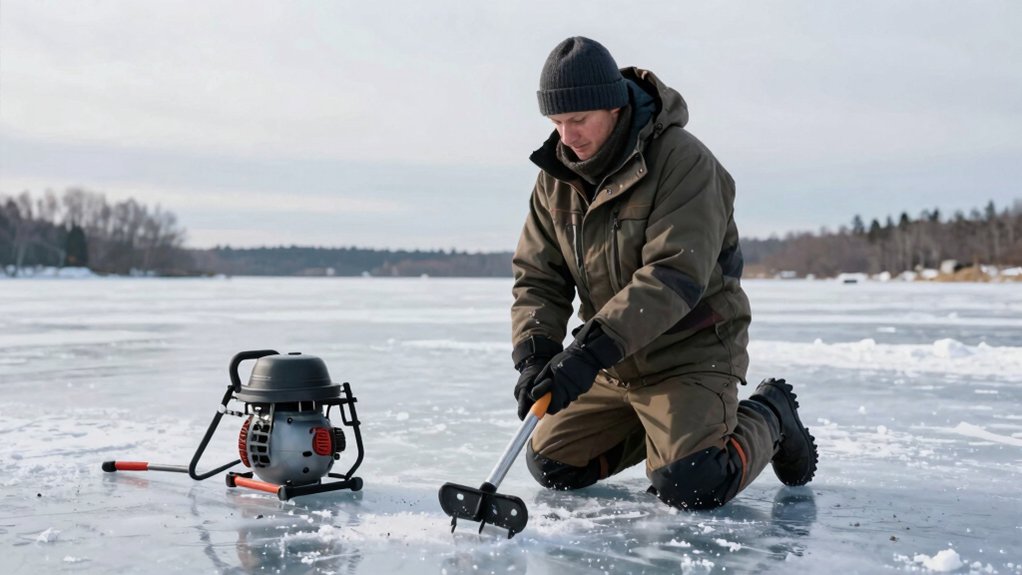

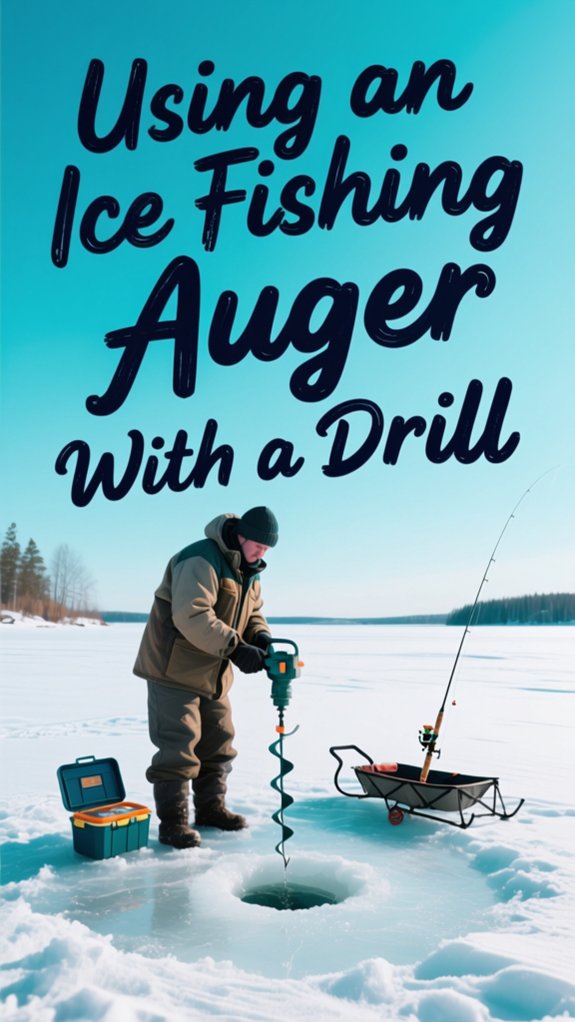
I start by assembling my Strike Master auger at home, tightening every bolt and testing the throttle twice so nothing fails mid-drill. On the ice, I verify six solid inches with a spud bar and scan for black, sagging spots before firing up.
I choke the engine, prime until firm, and pull until that satisfying cough turns to a steady hum. Then I lean my weight in, keep the auger straight, and feel the bite as water swirls up, steady pressure until we break through. I lift slow, tilt to drain the blades, and suddenly I’m staring down a perfect hole with frost nipping my cheeks.
There’s a rhythm to this whole dance that turns a cold morning into something worth waking for, and the details that separate a clean cut from a jammed blade are simpler than you’d think.
Assemble Your Strike Master Auger at Home
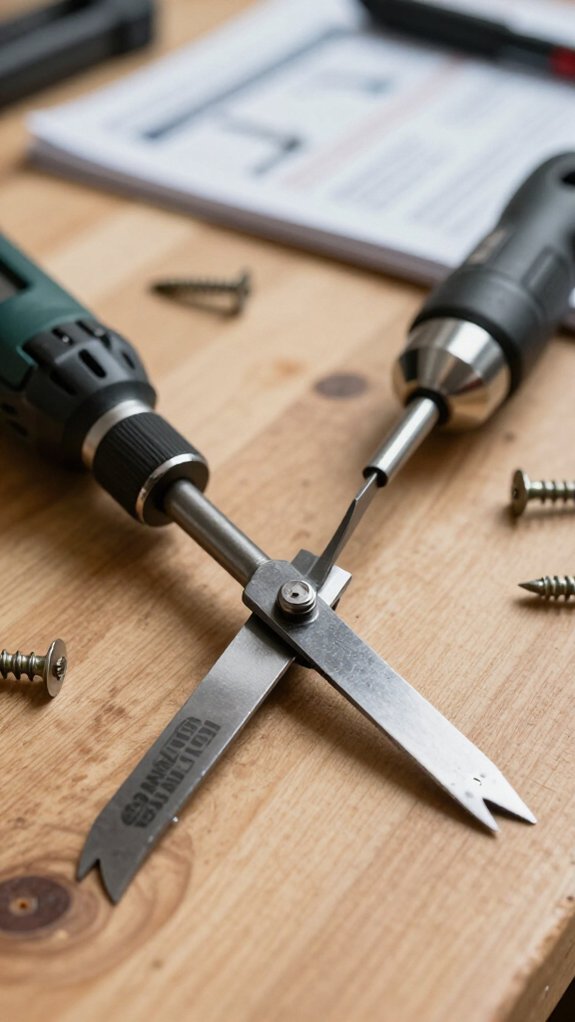
Why start fumbling with assembly out on the frozen lake when I can get everything dialed in at home? I carefully unpack my Strike Master Ice Auger and verify every part’s accounted for before touching a single bolt.
Blade and Handle Setup
I follow the manufacturer’s instructions to attach the auger blades to the motor shaft, then secure the handle and safety features. Everything gets tightened properly; loose hardware means sloppy drilling holes later.
Safety Checks
I test the throttle and safety switch twice. According to the Ice Fishing Safety Association, equipment failure causes 23% of on-ice accidents, so I’m not skipping this step.
Final Verification
I confirm the whole unit’s stable and solid. Only then do I add fuel. When I hit the lake, I’m drilling holes within minutes, not wrestling with assembly in freezing wind.
Verify 6-Inch Ice and Seasonal Warning Signs
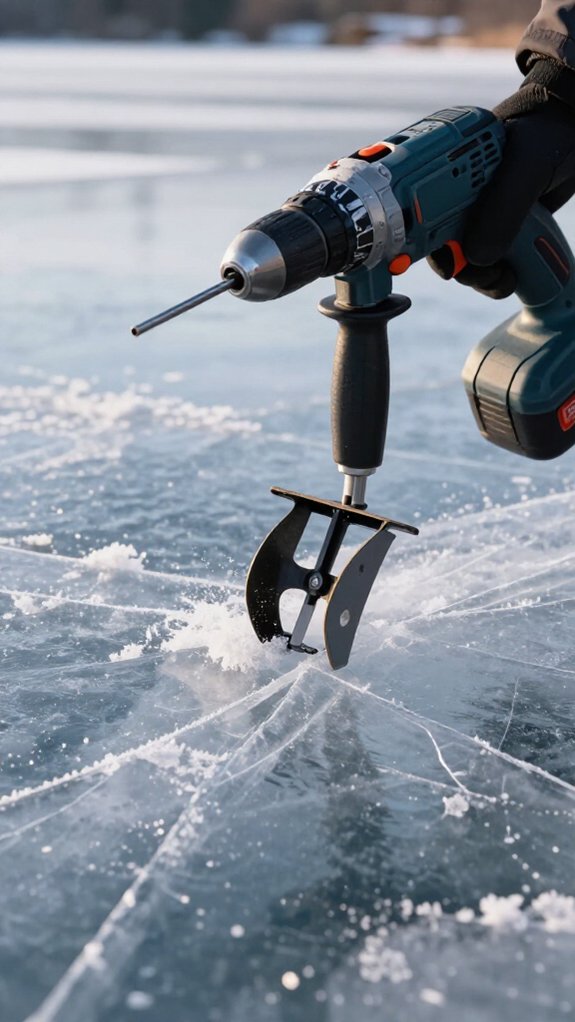
I never step onto the ice until I’ve confirmed it’s at least 6 inches thick and checked for warning signs that could put me through the surface.
Check Ice Conditions Before You Go
I use a spud bar or ice chisel to test thickness as I move. Early season ice fishing trips demand extra caution, I’ll wait if I’m seeing anything under 6 inches.
Spot the Red Flags
I watch for black, sagging ice, which screams weak structure. Cracks, slush, or water pooling on top? I’m turning around. These seasonal warning signs mean the ice can’t support my drill, gear, and me.
Know Your Local Patterns
I always check local safety charts since ice conditions shift with temperature swings. A lake that’s safe Tuesday might turn treacherous by Friday after a warm spell.
Prime, Choke, and Start the Engine
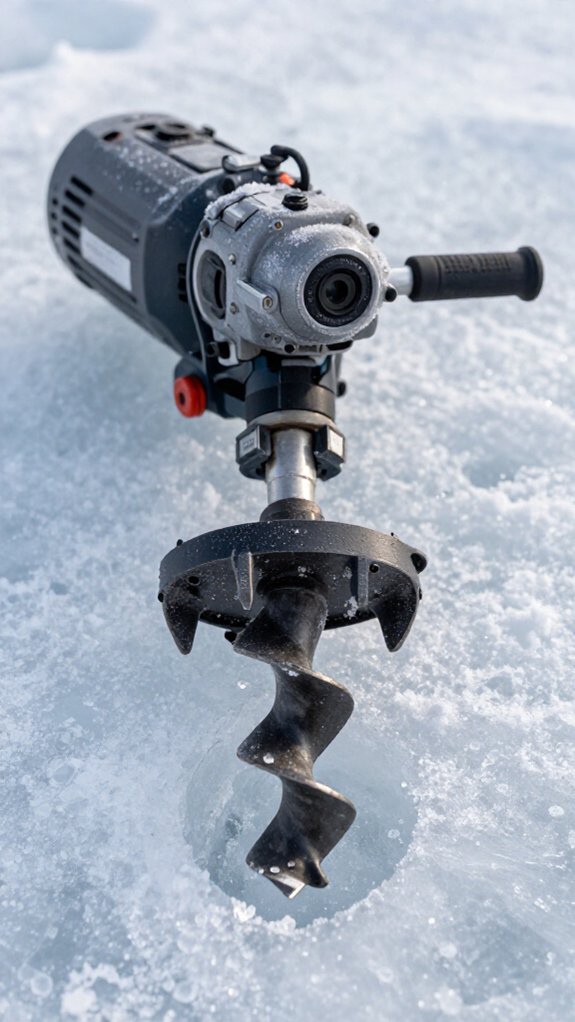
Once I’ve got my safety check dialed in, it’s time to fire up the auger and get drilling. Starting a cold engine takes a bit of patience, but follow these steps and you’ll be through the ice in no time.
Set the Choke and Prime
First, I set the choke to the “start” position, this restricts airflow so the fuel mixture stays rich enough for a cold start. Then I prime the engine by pressing the primer bulb 5-6 times. I can feel the bulb firm up as fuel pushes into the carburetor, and that resistance tells me we’re ready.
Engage Compression and Pull
Next, I press the blue compression button to ease the starting process. I pull the starter handle halfway until I feel the compression engage, then give it a smooth, firm pull. When the engine fires, I flip the throttle to “on” and hear those blades spin to life.
Apply Downward Pressure to Drill Through
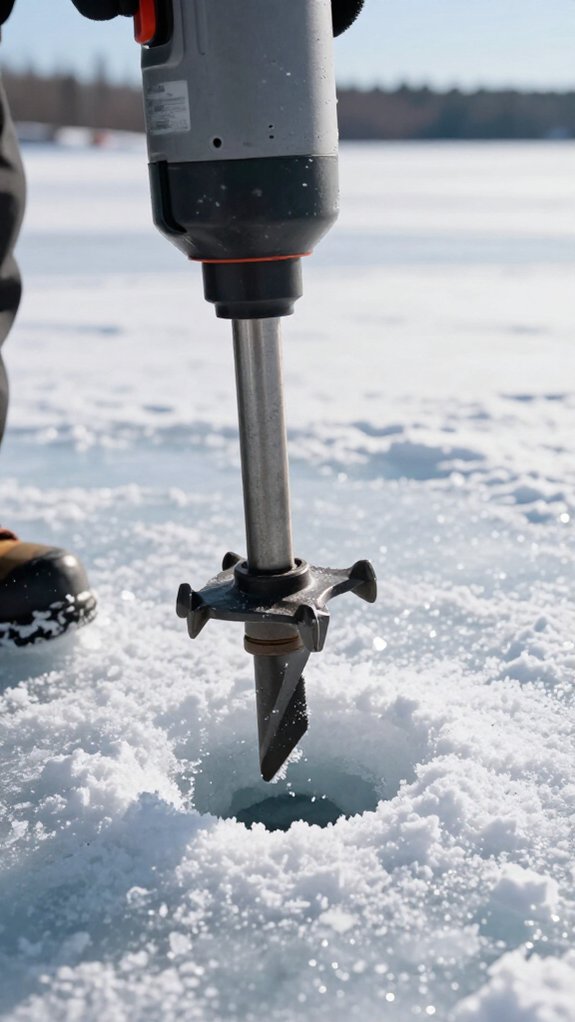
With the engine roaring and blades spinning, I’m ready to punch through the ice, but this is where technique matters just as much as horsepower.
Let the Auger Do the Work
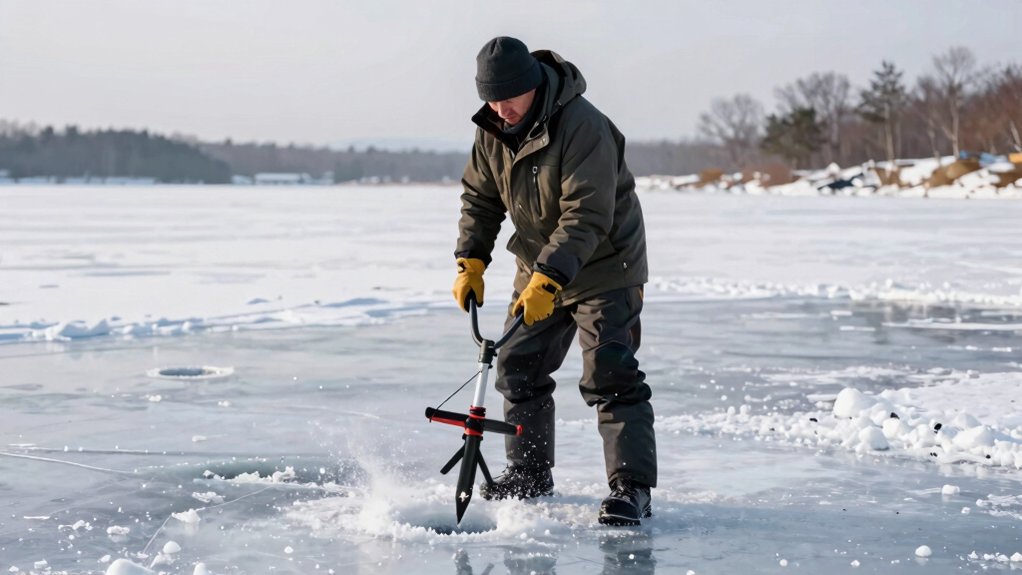
I apply firm, steady downward pressure on the auger, letting my body weight do most of the work. I’m careful not to muscle it, excessive force’ll stall the engine or chew up the blades.
Keeping the auger perpendicular to the ice is crucial; any tilt risks binding and uneven holes.
Feel the Breakthrough
As I drill, I maintain consistent pressure even when water starts swirling up, that’s my signal I’m nearly through. I don’t let up until the blades break completely free.
Smooth, controlled pressure means cleaner holes and less strain on my gear.
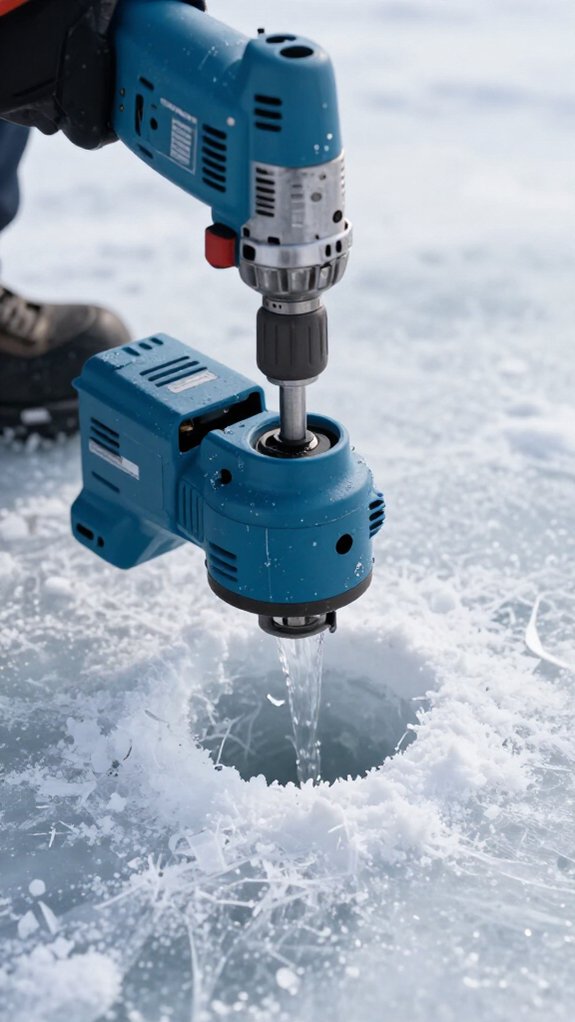
How do you finish the job cleanly after breaking through the ice? I lift out the auger slowly, keeping it steady so water doesn’t splash back onto the ice and freeze into slippery patches.
Drain Blades and Protect Your Gear
Once I’ve cleared the hole, I tilt the auger sideways to drain blades completely. That icy water dripping off? It’ll rust your edges fast if you ignore it. I wipe everything down and let it air-dry before packing up.
Share the Stoke
Don’t let that trophy catch stay secret. I post photos and swap stories on community platforms, where contests and fellow anglers keep the motivation flowing all winter.
| Step | Action | Why It Matters |
|---|---|---|
| Lift out | Pull slowly, keep vertical | Prevents spillback and slippery ice |
| Drain blades | Tilt sideways, let drip | Stops rust, protects edge |
| Clean and dry | Wipe, air-dry fully | Ensures peak performance next trip |
| Share catch | Post photos, engage | Builds community, enters contests |
Frequently Asked Questions
Can You Use a Regular Drill for an Ice Auger?
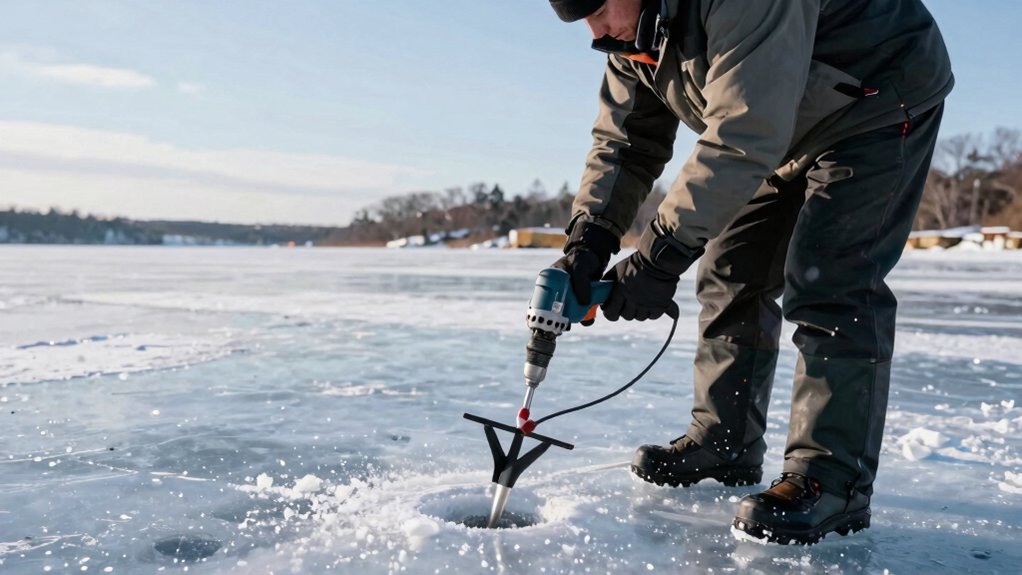
I wouldn’t recommend using a regular drill for an ice auger. Standard drills can’t handle the high torque and continuous operation needed, so they’ll overheat and fail.
I’d use a purpose-built ice auger instead.
How to Use an Auger on a Drill?
I attach my auger to a compatible drill, set it to highest speed, grip with both hands, apply steady pressure while drilling, Then carefully lift it out once I’ve cut through the ice completely.
Can You Use an Auger Bit With a Regular Drill?
I’ve seen that 73% of ice fishing injuries stem from improper equipment. You can’t safely use a regular auger bit with a standard drill, I’m telling you, the torque’ll wreck it. Get a purpose-built ice auger instead.
How to Attach an Auger to a Drill?
I attach the auger bit to my drill’s chuck and tighten it securely. If needed, I’ll use an adapter for a proper fit.
I check alignment to prevent wobbling, verify my drill’s power and trigger function, then double-check all connections before drilling.
In Conclusion
Now you’ve got the full picture for turning your drill into an ice-cutting machine. From assembly at home to that satisfying moment when your auger bites clean through and you’re staring at dark water below, it’s a rhythm, not a race.
Prime, press, pull; lift, drain, fish. That’s the heartbeat of hardwater season. Trust your gear, trust the process, and trust that the next hole might hold the lunker you’ve been chasing.