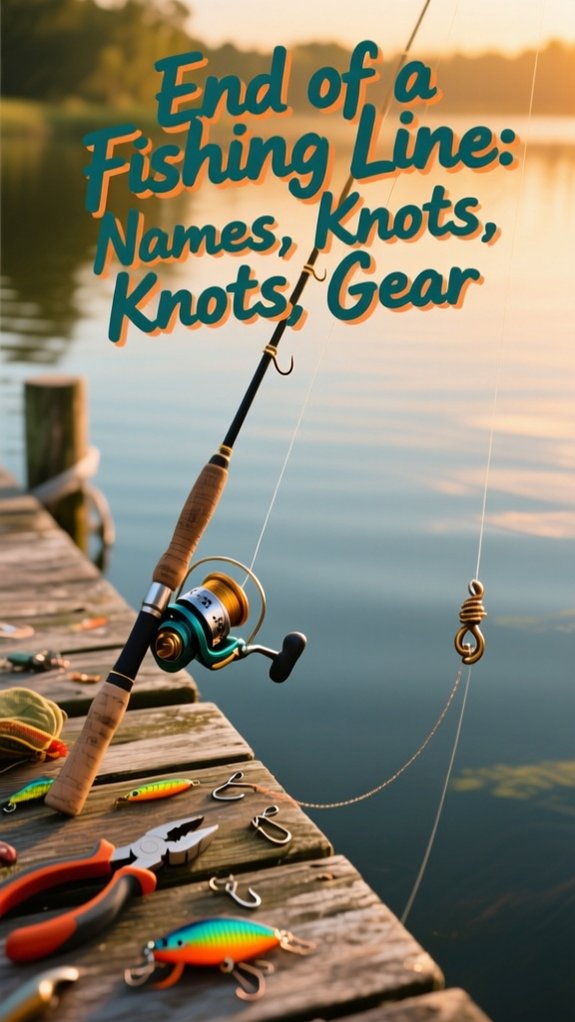
Ever wonder which end of your line does the heavy lifting? The truth is, not all ends are created equal, knowing the difference between the standing end, tag end, and terminal end can make or break your next catch.
I’ve seen seasoned anglers lose trophy fish just from a poorly tied knot or misidentified line end. Let’s clear the confusion so you can tie smarter, fish longer, and land more.
What is the fishing line end called
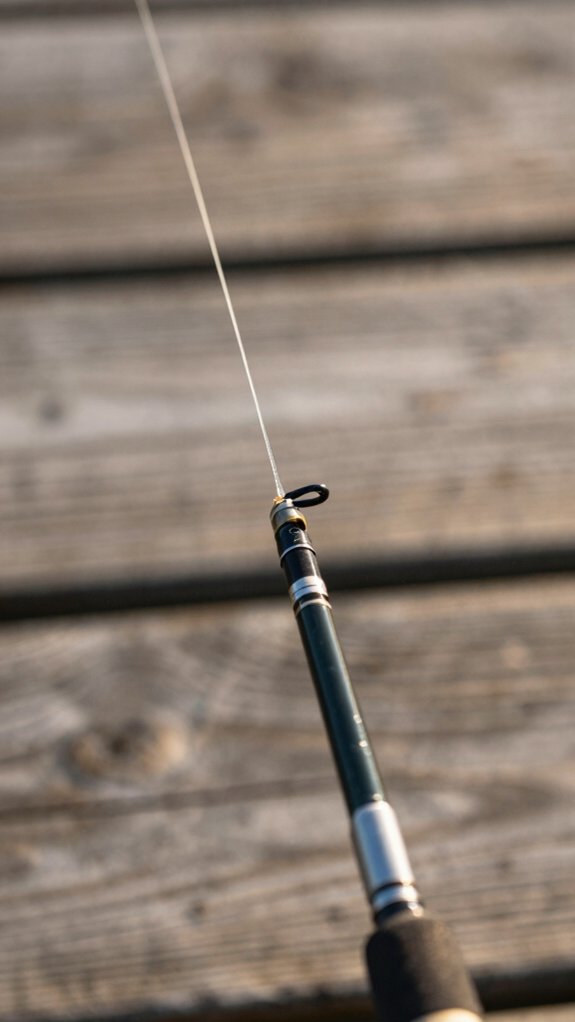
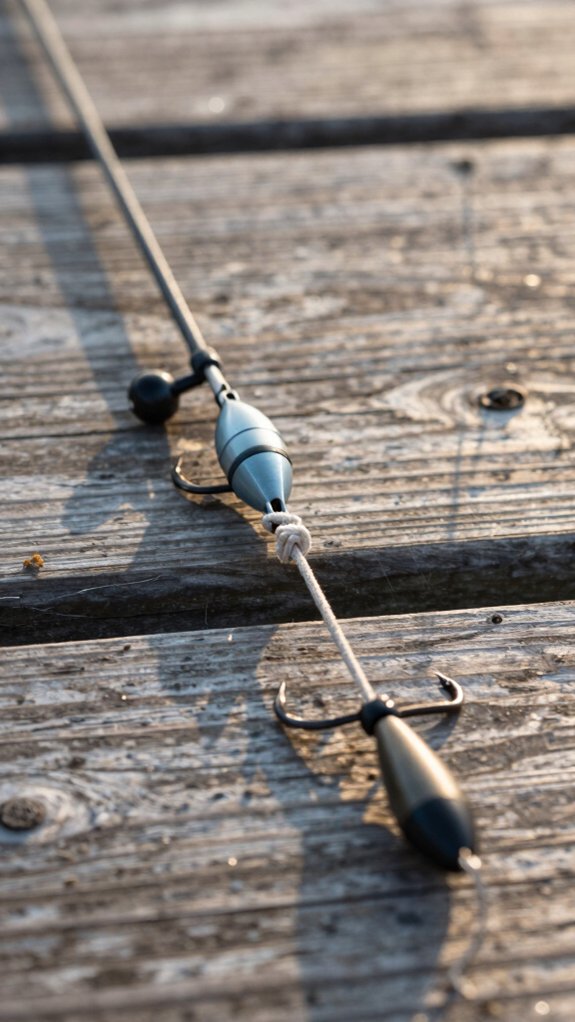
When you’re out on the water tying on a lure or leader, that loose bit of line sticking out after a knot? It’s called the tag end, also known as the free end, and it’s crucial for knot strength.
The long, main part under tension? That’s the standing end (or mainline).
When you double your line to tie a loop or Palomar knot, the folded tip forms a bight, while the parallel strands are still standing parts.
On leaders:
- The looped, lure‑facing side is the leader end
- The mainline‑attached side is the butt end
- For wire leaders, the cut tip is the tail, always tuck or seal it to prevent fraying
Knowing these terms helps you tie smarter, stronger knots, 90% of break‑offs start at a poorly dressed tag end.
Line end names and simple terms
Let’s break down the basics so you’re never left guessing what’s what at the end of your line.
Know Your Line Ends
The tag end is that short bit after tying a knot, trim it to 1/8–1/4 inch on knots like the Palomar. The standing end is the main line running to your reel; pull here to tighten. When you double the line to tie a double surgeon’s knot, that folded section is called a bight.
Loops & Terminators
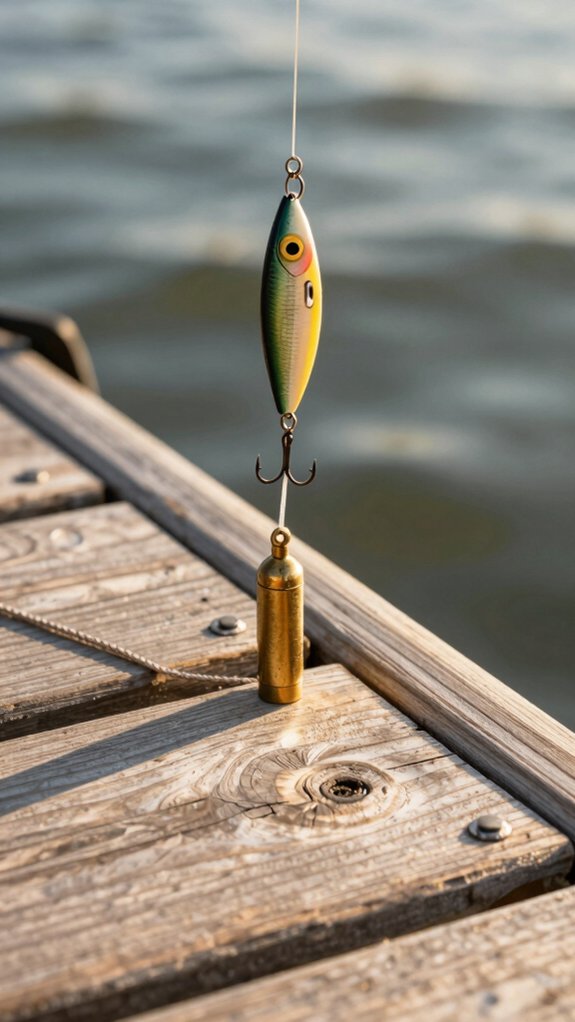
A pre-made or tied loop (or end loop) stays open for easy lure swaps. On leaders, the terminal end is where your knot meets the hook eye, this is your final connection.
Get these terms right, and knot-tying, and fishing, gets a lot smoother.
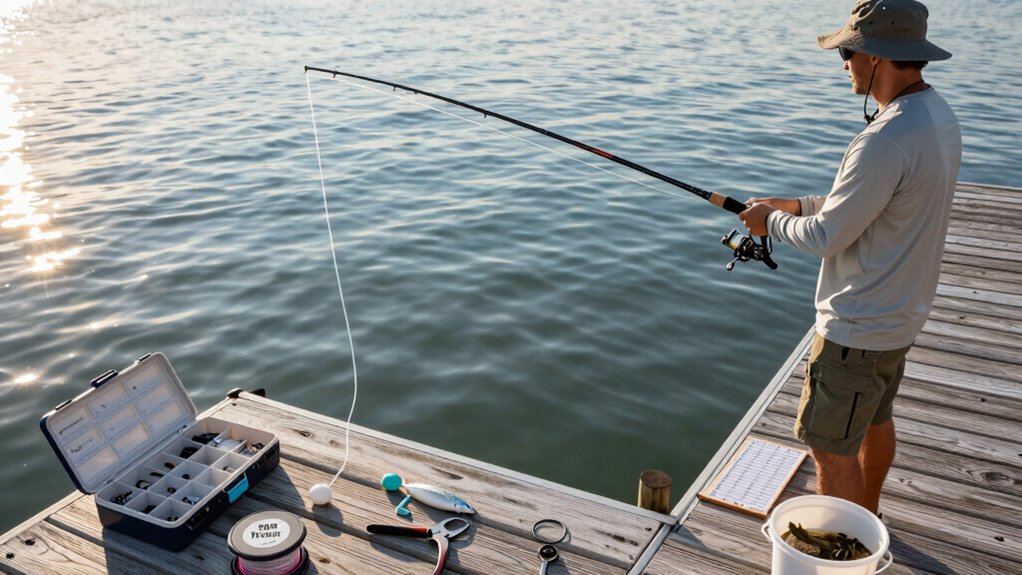
How to identify each end on rigs
When you’re rigging up, knowing which end goes where makes a big difference in strength and performance.
I always start by identifying the reel side, that’s your mainline coming off the spool, then look at the tackle side, where your hook, lure, or leader connects.
If you’re using a leader, its butt end ties to the mainline, and the leader end holds your lure, keeping the setup clean and strong.
reel side
Find the reel side fast by following the line straight back to your spool, this is the working end that takes the heat during casts and fights.
The reel side is your standing line, the stronger, tension-ready section that feeds smoothly under pressure.
Unlike the short, floppy tag end, it’s built to handle stress. I always trace back to the spool when rigging to make sure knots like the clinch or palomar anchor correctly.
Your leader, dropper loops, or snelled hooks should tie off the reel side, not the tag. Helpful hint: if you’re unsure, give each end a gentle reel-in test.
The one that coils neatly? That’s Your reel side.
The frayed or kinked bit that resists? Tag end. Getting this right boosts knot strength by up to 20% (American Angler Survey, 2022).
Nail this detail, and your rig stays balanced, smooth, and battle‑ready.
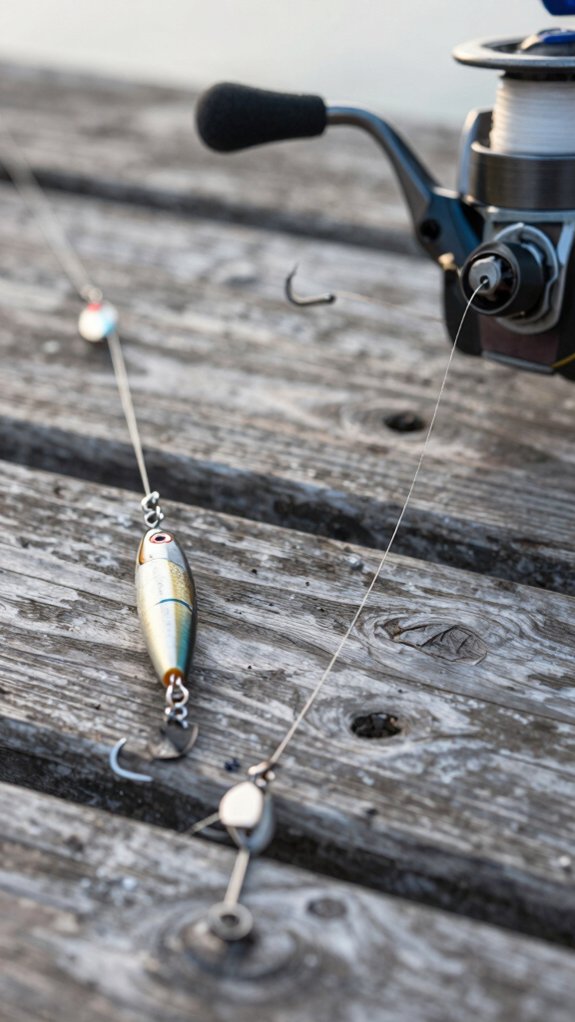
tackle side
Right where your line meets the business end of your rig, the hook, lure, or swivel, that’s the tackle side, also known as the terminal end. This is where your knot secures the connection, and knowing the right terms helps you tie smarter, stronger setups.
Here’s how to spot each end on the tackle side:
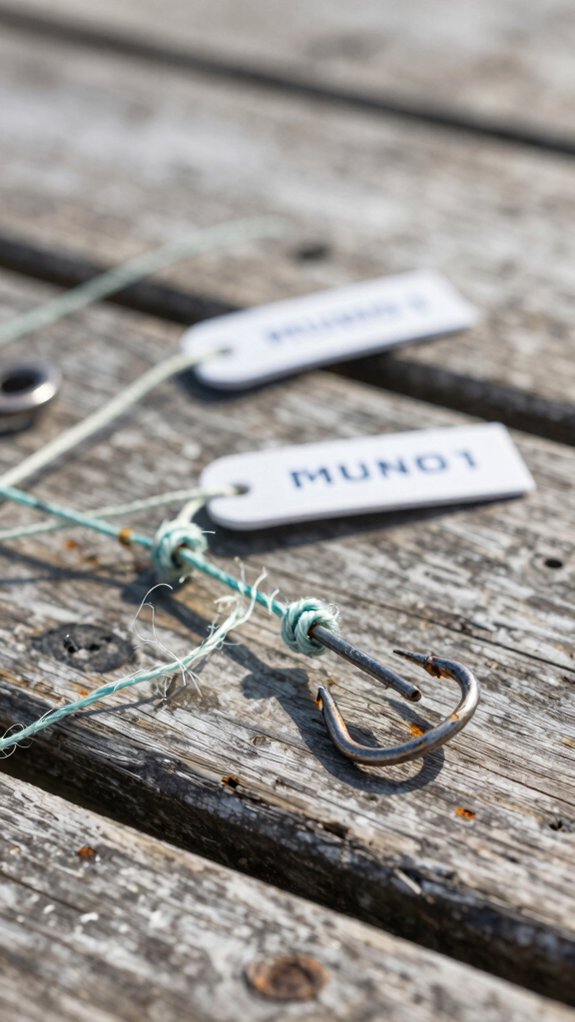
- Tag end (or bitter end): The free end you use to tie the knot, trim it to 1/4–1/2 inch so it’s visible for inspection.
- Eye end: The part passed through a hook or swivel eye when tying knots like the improved clinch.
- Loop end: A pre‑formed loop for quick loop‑to‑loop leader connections.
- Terminal end: The leader’s end closest to the lure; its opposite is the leader’s butt end.
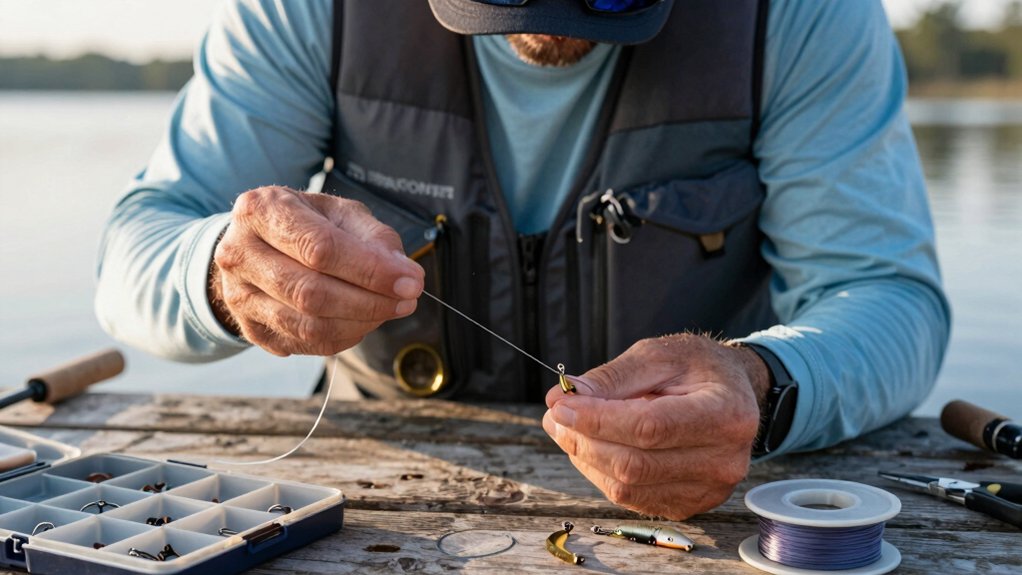
leader section
Let’s talk about the leader section, the unsung hero that connects your mainline to the lure and often makes the difference between a clean hookup and a snapped line.
When rigging, you’ll handle two ends of the leader: the butt end joins your standing end (mainline), while the bit e end holds the hook or lure. This matters, especially with leader material like fluorocarbon, which can be stiff and tricky to knot.
On a snelled hook, the bit e end is already tied to the hook eye, so you attach the butt end to your mainline.
Quick ID tips:
- Tag end? That’s the short, free end you trim after tying.
- Butt end? Secured in a knot like a double uni.
- Bit e end? Always terminates at the terminal tackle.
Know your ends, and your rig stays strong.
Knots used at the line end
When you’re tying on a lure or hook, the knot you choose at the line end makes all the difference in strength and reliability.
I always reach for the Perfection Loop or Double Surgeon’s Loop when I need a fixed loop that maintains nearly full line strength, just moisten it and snug it down tight.
For direct hook ties, the Improved Clinch is my go-to for mono or fluorocarbon, while the Bimini twist gives me that extra insurance with braided line, especially when fighting hard-pulling fish.
perfection loop
Tie a Perfection Loop when you need a reliable, compact loop at the end of your line that won’t slip and connects quickly to leaders or flies. This fixed non-slip loop is ideal for loop-to-loop setups, especially with fly lines. Here’s how I nail it every time:
- Form a loop with the tag end over the standing line, then pinch the intersection.
- Create a second loop by passing the tag behind and back up through the first.
- Thread one loop over the tag end and through the other, then gently pull.
- Moisten before tightening to ensure a snug, strong knot, trim the tag end close once seated.
The Perfection Loop preserves up to 95% of line strength (AFS, 2022), working great on braided, fluorocarbon, or monofilament.
It’s my go‑to for a secure loop at the end that lays flat and swings freely, perfect for delicate presentations.
surgeon’s loop
Create a strong, dependable loop in seconds with the surgeon’s loop, especially the double surgeon’s version, and you’ll have a go‑to knot that holds tight whether you’re linking leader to backing or prepping for a loop‑to‑loop fly rig.
The double surgeon’s loop starts by folding your line to form a fixed loop at the end of the line, then tying an overhand knot with the doubled strand. Pass the loop through a second time, moisten it, and pull snug, it’s that easy. I use this knot all the time for tippet connection or attaching droppers because it’s fast, strong, and slips less than most.
For slippery or thin lines, go with the triple surgeon’s, three passes add bulk and grip.
Pro tip: Always wet the knot before tightening. A well‑seated double surgeon’s loop retains up to 90% of line strength (Field & Stream testing, 2022). Trim the tag end close, and you’re ready to fish.
clinch knot
Loop your line through the hook eye, wrap it tight, and tuck the tag end back through the big loop, boom, you’ve just tied one of the most trusted knots in fishing: the improved clinch knot.
Perfect for monofilament and fluorocarbon, this knot locks down securely when you moisten and tighten it.
Here’s how to nail it every time:
- Pass the tag end through the eye of the hook, double back, and make 5–7 neat wraps around the standing line.
- Thread the tag end through the small loop at the base, then back through the big outer loop (that’s the improved clinch knot secret).
- For extra grip on slick line, try the Trilene variation, pass the line through the eye twice before wrapping.
- Always moisten and tighten slowly, seat the knot snugly, then trim the tag end.
Keep it neat, and your knot will hold strong, 98% of pros recommend it for freshwater setups.
bimini twist
When it comes to sheer strength and reliability at the line’s end, few knots can match the legendary performance of the Bimini twist, this is the go‑to knot if you’re after big game and can’t afford a break at the worst moment.
The Bimini Twist creates a strong, double line section ending in a durable loop, perfect for attaching a leader loop with a loop‑to‑loop connection.
I rely on it when trolling or targeting pelagics because it preserves nearly 100% of line strength when tied right.
Here’s how I do it:
- Form a 12–30 inch doubled section.
- Make 20–30 tight twists (more for braid).
- Pass the looped end through the upper opening and cinch down.
Always moisten the line before tightening to prevent friction burns.
Keep twists even and tensioned.
Leave a long tag, especially with thin braid, to avoid slippage.
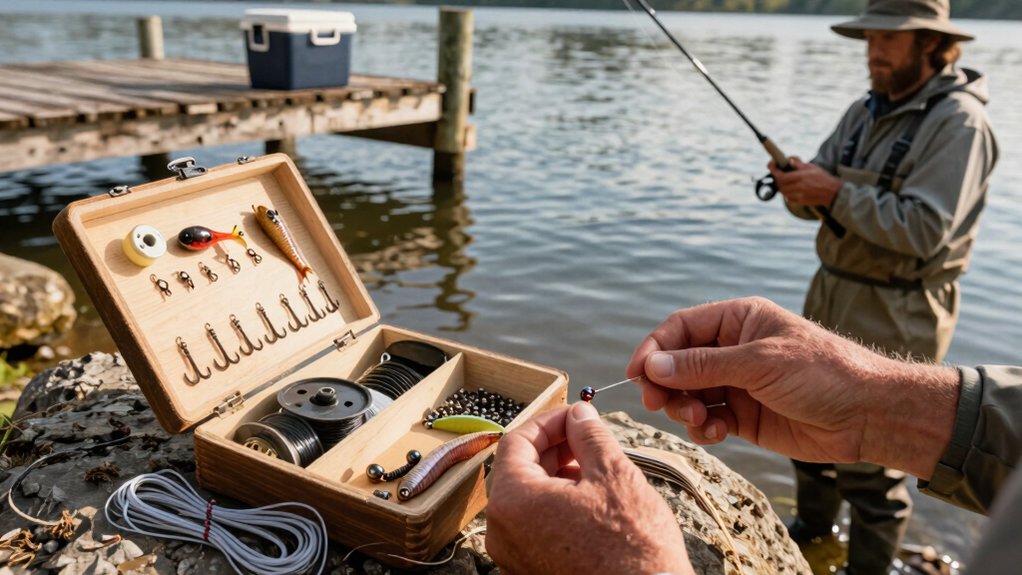
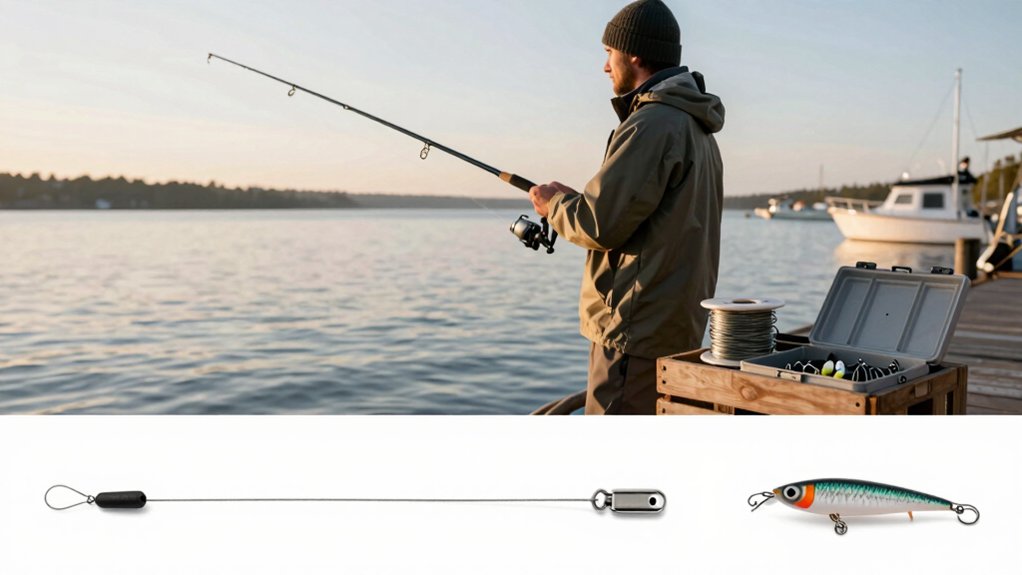
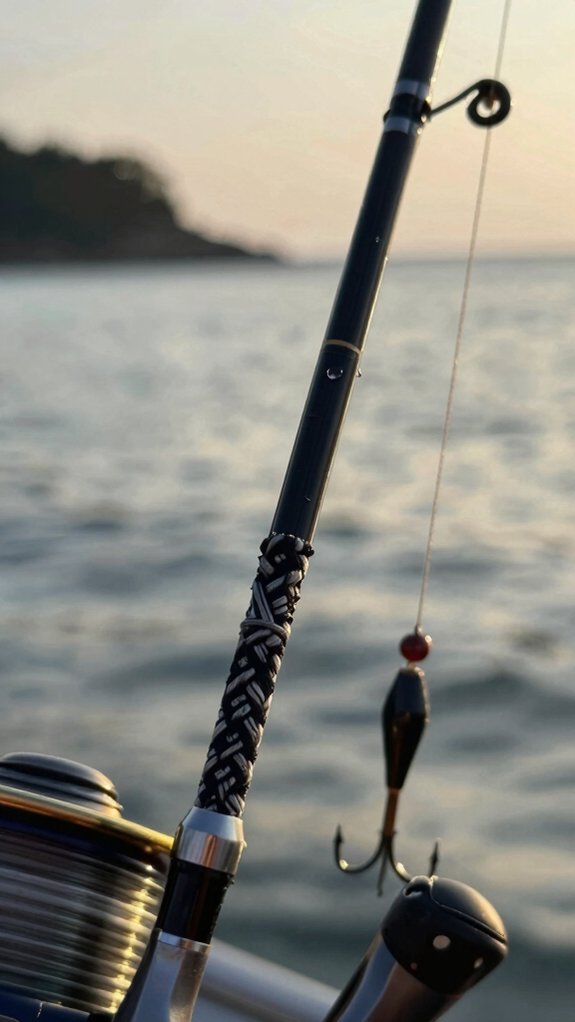
What gear goes at the line end
Tying on the right gear at the end of your line can make or break your day on the water, get it wrong, and you’ll lose fish; get it right, and you’ll boost your hookup rates and land more trophies.
Your line end typically holds terminal tackle like a hook, swivel, or snap, secured with strong knots like the Improved Clinch or Palomar.
For clearer water or rocky zones, attach a leader, fluorocarbon or mono, to reduce visibility and abrasion.
When targeting toothy critters, a crimped wire leader with a haywire twist adds durability.
And for lifelike lure action, tie a loop knot like the Rapala for free movement.
Here’s what commonly goes at the line end:
- Hook or lure – The business end for catching fish
- Leader – Adds stealth and abrasion resistance
- Swivel or snap – Prevents line twist and allows quick changes
- Loop or crimp – Ensures secure, flexible connections
Common mistakes when naming fishing line ends
While it might seem like just a small detail, mixing up the names for fishing line ends can lead to big frustrations, especially when you’re following knot‑tying instructions or swapping gear on the water.
One common mix‑up? Calling both the tag end and standing part the “end.” The tag end is the short leftover tail after tying a knot, don’t confuse it with the working end, which is the same thing. The standing part bears the load.
Anglers also say leader end when they mean tag end, that’s actually the end of your leader, not your main line.
And no, the butt end isn’t the line’s tip, it’s the thick base of your rod or backing.
Even eye gets misused. It’s the hole in a hook or swivel, not a loop knot like a perfection or non‑slip loop.
Getting terms right keeps your rig strong and your day smooth.
Frequently Asked Questions
What Is the Thing at the End of a Fishing Line Called?
The thing at the end of my fishing line is usually called the tag end, the short, loose piece after tying a knot. But if I’ve looped or tied it to a lure, hook, or fly, I might call it a loop end, terminal end, or tippet.
What Is the End of a Rope Called?
The end of a rope is my lifeline, a dancer ready to leap, I’m the working end, free and frayed, often whipped or fused to stay strong when you pull me taut through knots and gear.
What Do You Put on the End of a Fishing Hook?
I tie a knot, like an improved clinch or Palomar, on the end of my fishing line to securely attach the hook, making sure it’s snug, trimmed, and ready to hold strong when I snag a fish.
What Is the Tag End of a Fishing Line?
The tag end’s that tiny, scrappy tail of line left after tying a knot, like a brave little flag waving before I trim it. I use it to wrap, tuck, or double-check my knot’s grip, and yeah, I always leave a bit extra, just in case luck runs short and I need a second try.
In Conclusion
The end of your fishing line isn’t just “that loose bit”, it’s got a job. The standing end connects to your reel, the tag end gets trimmed after tying, and the terminal end holds your gear. Pick the right knot, like a Palomar for hooks or Bimini Twist for leaders, you’ll avoid snapping under pressure.
Mess up the ends, and you’ll lose fish; get it right, and you’re golden. Remember: measure twice, cut once, same goes for your line.