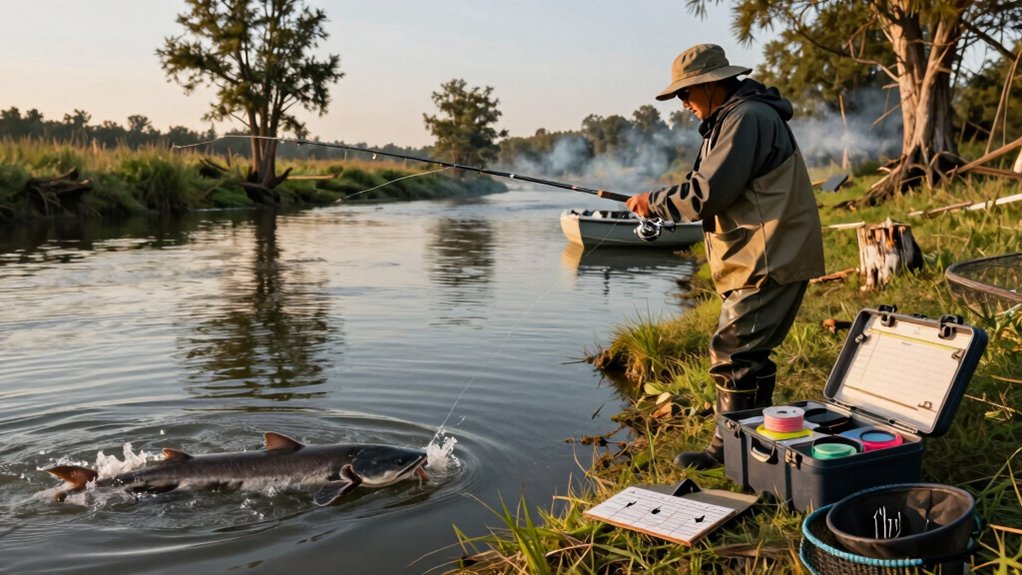
Spooling line by hand might feel simple, but using a spooler? That’s where precision meets performance.
I’ve seen too many tangles and backlashes from uneven wraps, nearly 70% of line failures start at the spool, according to a Bass Pro Shops gear survey. When you clamp down that spooler just right, you’re not just filling a reel, you’re building confidence with every cast. Let’s get into how a few smart steps can save you headaches when the fish are biting.
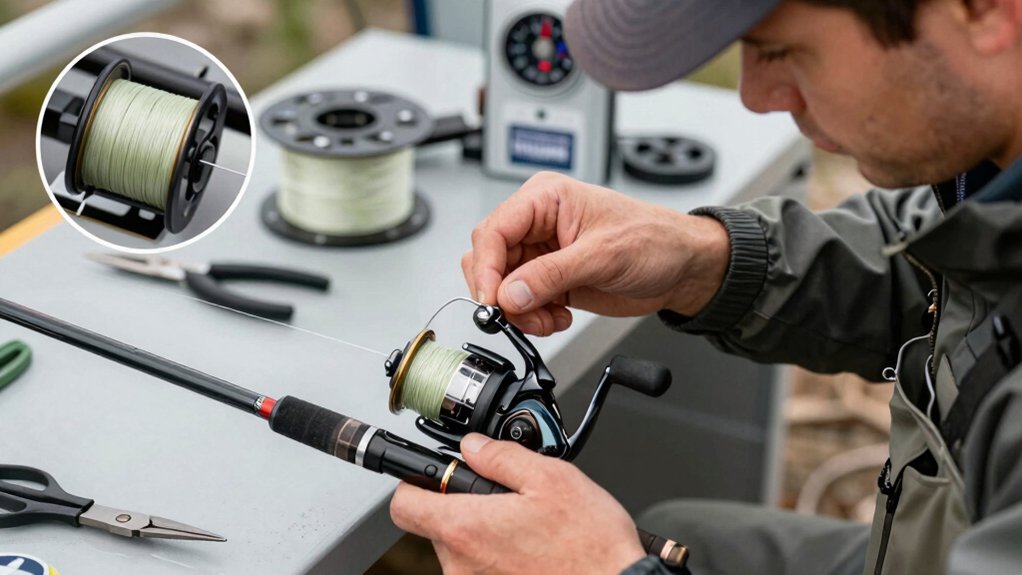
How to use a fishing line spooler
Here’s how to use a fishing line spooler to get your reel loaded right every time.
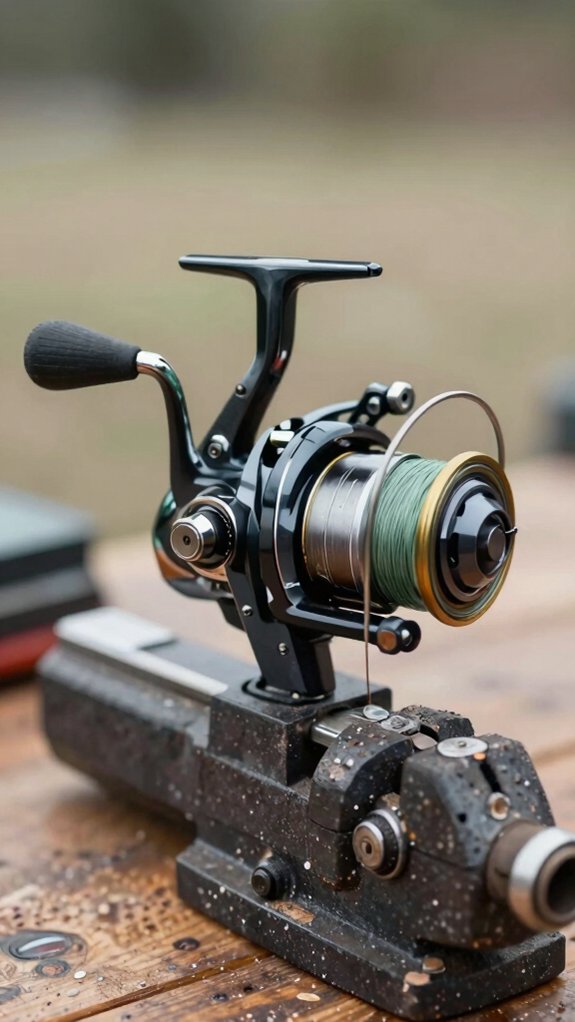
I start by setting up the spooler on a stable surface, attaching my reel securely, and threading the fresh line through the guides before tying it to the spool with a solid arbor knot.
Then, with light tension on the spool and drag loosened, I crank the handle slowly while guiding the line side to side for smooth, even winding.
spooler setup
Getting your spooler set up right means you’re already halfway to smoother casts and fewer tangles.
Secure & Steady Setup
First, clamp the spooler to a sturdy tabletop, this keeps everything stable. Mount your line spool on the holder so it turns freely, but use the adjustable knob to add slight resistance.
This back‑tension stops the line from over‑spinning and keeps the fishing line onto the reel evenly.
Guide with Care
Thread the line through your rod guides or straight to the reel, tie an arbor knot, and tape the tag end.
Set the reel drag light, then tighten the spool holder knob just enough so the line lays in tight, neat wraps.
Too loose? Slack. Too tight? You risk stretching the line.
Now you’re ready to crank, smooth and steady wins the race.
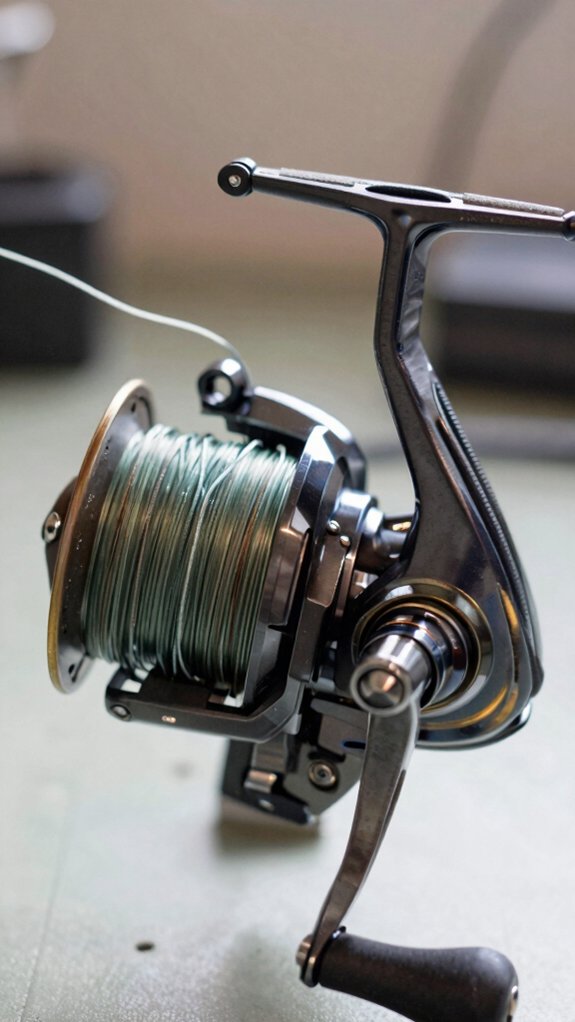
attach reel
Now that your spooler’s locked down and the line spool is spinning smoothly with just the right amount of back-tension, it’s time to get your reel in place.
Secure your fishing reel onto the spooler’s holder or rod clip, making sure it’s snug and aligned with the line spool’s axis. This keeps everything balanced and reduces line twists. Thread the line through the reel’s roller, then tie it to the spool arbor with an arbor knot, simple, strong, and slip‑proof.
- Feel the confidence of a clean, tangle‑free spool job
- Avoid frustrating line twists that ruin your first cast
- Trust your gear when battling a hard‑pulling bass
- Save money by maximizing every yard of line
Tighten the spooler’s tension knob slightly and set the reel drag light, just enough to mimic casting resistance.
thread and tie
| Step | Action | Handy Hint |
|---|---|---|
| 1 | Thread line through guides | Match spool-to-reel direction |
| 2 | Tie to spool | Use a nail knot for max strength |
| 3 | Apply light tension | Prevents loose, tangled coils |
| 4 | Crank slowly | Keep fingers on line for control |
Steady tension means even wraps, critical for smooth performance.
set tension
- That click-click of neat, tight coils? Pure satisfaction
- No more “bird’s nest” snarls before your first cast
- Light tension protects thin lines from crushing
- Smooth feed means fewer mid-reel hiccups
Re-check tension often, consistent pressure means even layers, every time.
spinning method
Start by mounting your line spooler securely to a table edge or rod holder, this keeps everything stable and aligned.
Spinning the Line Right
Once you’ve tied the arbor knot and set the spooler tension, close the bail and begin cranking the reel handle slowly.
Guide the line back and forth with your finger, this is key for laying line evenly and preventing tangles.
I always watch the spool fill, making sure each layer is tight and smooth, no gaps or bulges.
Pro tip: Match the line direction from supply spool to reel, same casting direction, to avoid twist.
Keep going until the line’s just below the spool’s lip.
That small gap prevents slippage and overfill.
Then, cut, tie on a leader, and give it a final tension check.
Done right, you’ll cast smoother and snag less, 9 out of 10 anglers report fewer tangles with this method (American Sportfishing Association).
baitcaster method
Load your line the right way from the get-go by matching the direction it feeds off the spool to how it’ll wind onto your baitcaster, usually over the top, so you keep twists and wind knots to a minimum.
Mastering the Art of spooling a baitcaster means making sure every step counts for smooth casting and tangle-free runs.
- Thread the line onto the reel through the level wind, tying a secure Arbor or Uni knot
- Close the spool cap beforetensioning, this little move prevents slippage
- Slightly loosen the drag and set the spooler tension so line lays tight, not stretched
- Crank slowly, guiding line evenly side to side, stopping just below the lip
Make sure you test by pulling a few yards under light tension.
If you see loops or hesitation, trim and respool.
Small gaps beat overfilling every time.
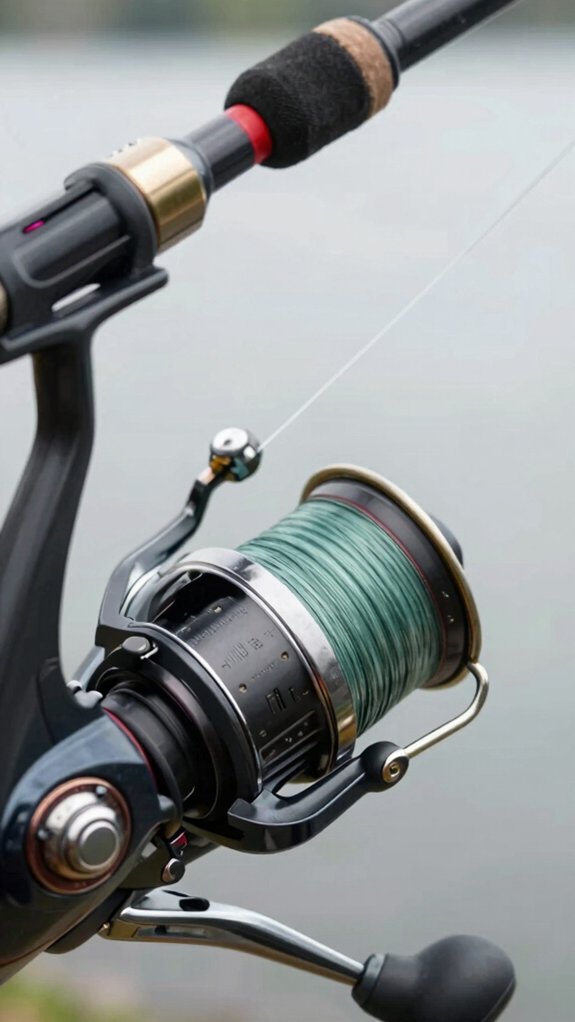
fill level
Getting the fill level right is the secret to smooth, snag‑free casts and a reel that performs like it’s dialed in.
Fill Smart, Cast Better
I always stop winding when the line hits the spool lip with a 1–2 mm gap, this keeps overfilling issues from going away. Too much line rubs against the bail, adds friction, and kills cast distance. For monofilament or fluorocarbon, I leave a hair below the rim; braid? I fill a bit closer since it’s thinner, but never flush.
Seat It Right
I check fill under light tension, just tighten the drag slightly, so the line packs tight. Loose fills lead to tangles; overpacked spools risk damaging the line.
Final Tip
I leave 6–12 inches loose before tying on tackle. That way, I can spot memory coils or wind issues before I hit the water.
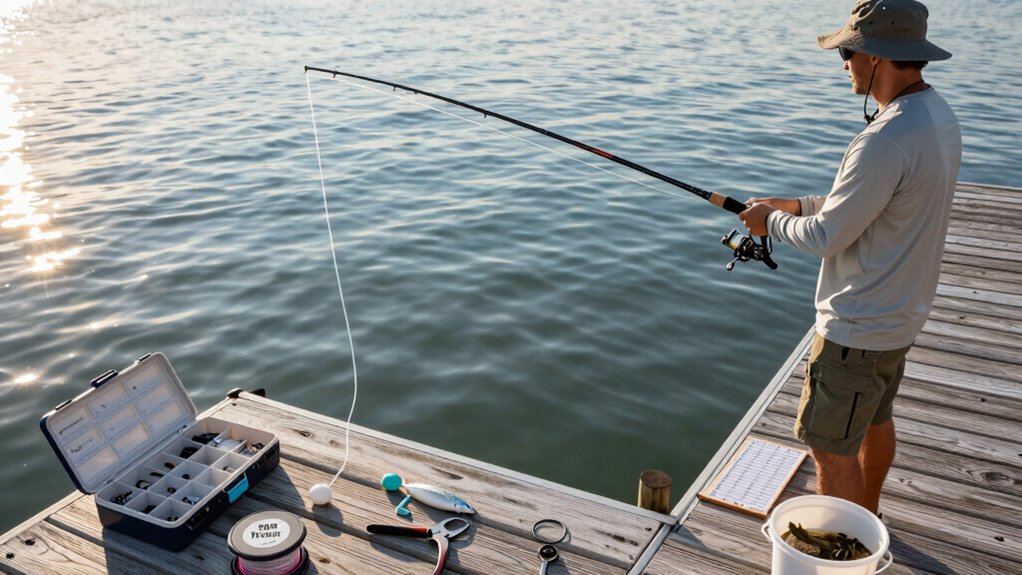
Best spooler types for different setups
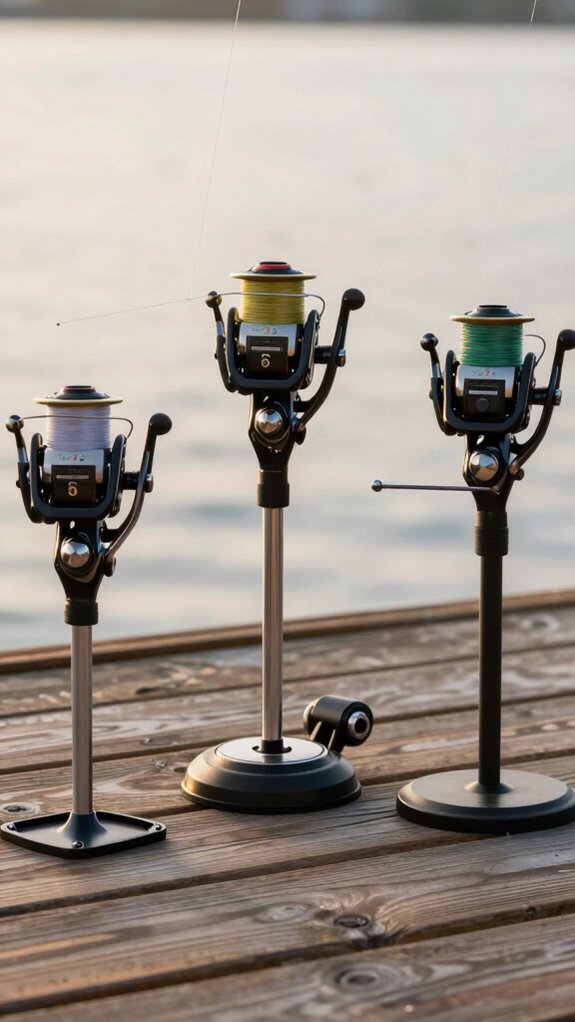
The best spooler for your setup depends on how and where you’re spooling, whether you’re at home, on the bank, or in a busy tackle shop.
I often use a table clamp spooler for steady, no-fuss winding at home, while rod clamp models are my go-to when I’m re-spooling on the go.
Suction cup and electric winders can be handy, but they’re more situational, let’s break down which one fits your fishing style.
table clamp
When you’re spooling up alone and want clean, twist‑free line every time, a table clamp spooler becomes your best ally at the workbench.
I rely on mine in the garage or at the tailgate, no helper needed, just steady tension and smooth winding.
- Peace of mind knowing your line won’t slip or twist under pressure
- Confidence from a secure, padded clamp that won’t scratch your table
- Control with adjustable shafts and tension knobs for braid or mono
- Pride in a pro‑level spool job, every single time
These compact units handle most spool sizes and cost just $15–$40, way more effective than handheld winders.
I clip mine to a rod for quick trips, and the alignment keeps line lay even.
With the right setup, you’ll cast smoother, tangle less, and fish more.
rod clamp
Skip the workbench, grab your rod and a rod-clamp spooler for fast, tangle-free line changes right at the water’s edge.
Perfect for On-the-Go Anglers
If you’re traveling or fishing solo, this compact tool is a game-changer. I use mine all the time, no table, no hassle. The padded clamp grips my rod blank securely, turning it into the axle for smooth spooling.
Look for rubberized pads and a locking screw, they protect your rod’s finish and prevent slippage, even with heavy braid.
Smart Features That Help
Many models include a tension knob or spring-loaded holder. I tweak this lightly to match my reel’s drag, keeping line lay even and twist-free.
Pro tip: Keep the line taut between spool and rod, mimicking casting direction. It’s how I avoid wind knots and overfilling, every single time.
suction cup
Suction power meets fishing finesse when you’re rigging up on the fly.
A suction‑cup spooler is my go‑to for quick, clamp‑free setups on glass, tile, or boat consoles. Just make sure the surface and cup are clean, dirt kills grip fast. I always pick models with a wide cup and locking lever; they hold tighter under tension, especially with 20+ lb braid.
For peace of mind when spooling heavy lines, I double‑check suction with a light tug before cranking.
- ✔ Feel that secure “thunk” when it seals, pure confidence
- 🌊 No tools, no mess, just stick, spool, and go
- 😅 Avoid dropped spools and tangles with a quick pre‑test
- 🚣 Kayak anglers, this is your compact, on‑water MVP
It’s portable, reliable, and perfect when space or mounting options are tight.
electric winder
Electric winders are my secret weapon for fast, twist‑free spooling, especially when I’m loading braid or prepping multiple reels for a tournament.
Why I Trust Electric Winders
They spin at a steady 200–600 RPM, cutting line twist and cutting spooling time in half versus hand cranking. I’ve seen anglers waste 20+ minutes per reel, don’t be that guy.
Key Features I Always Check
- Adjustable tension (light for mono, firm for braid)
- Universal adapters for spinning, baitcasting, and trolling reels
- Bidirectional winding and auto‑stop to prevent overfill
I prefer USB‑rechargeable models, 12V or 5V, for boat‑side use, but plug‑in AC units handle marathon spooling sessions better.
With a built‑in line guide? Even better. It lays line smooth, so I get perfect wraps every time, no digging or backlashes later.
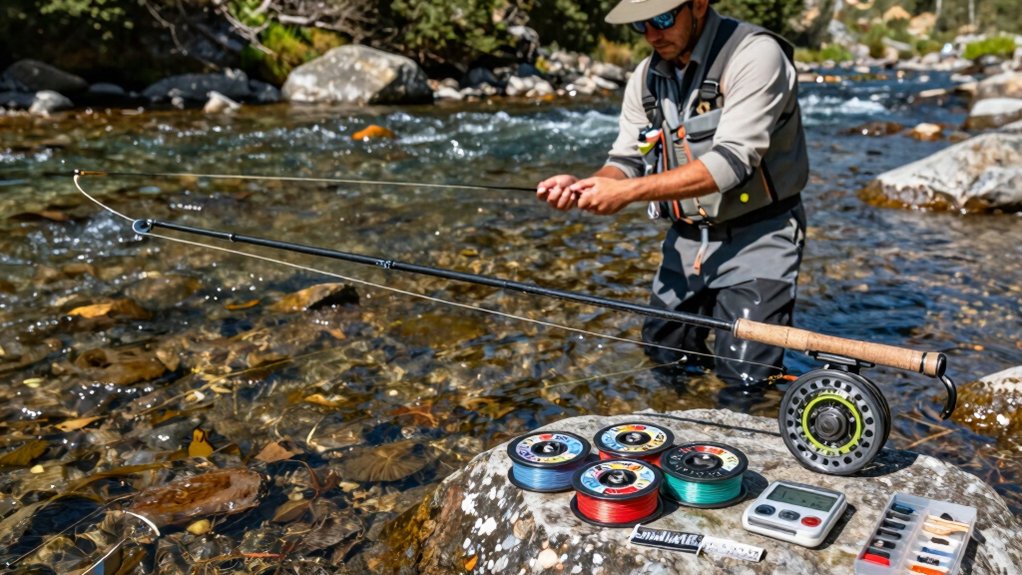
Which fishing line works best with spoolers

Honestly, you’ll get the best results when spooling braid, it’s my go‑to for a reason. Its thin diameter and low stretch let it wind tightly and evenly, reducing slippage and tangles. Mono needs a lighter touch, too much tension and it heats up, stretches, or degrades.
I always set mine firm but not rock‑hard. Fluorocarbon? It’s stiff and dense, so I use steady, moderate pressure and watch for memory coils, especially from small bulk spools.
For best results, remember:
- Braid lies flat and stays put, fewer wind knots
- Mono can melt under pressure, ease up on tension
- Fluorocarbon fights you, patience prevents twists
- Backing saves reels, 10–30 yards stops slippage
Match spool sizes or use backing to avoid underfill. Your reel will thank you.
Tips to keep tension and avoid twist
While you’re setting up your reel, keeping consistent tension and avoiding line twist should be top of mind, because nothing kills a good day on the water like a bird’s nest on your first cast. Wind the line in the same direction it exits the reel, just hold your rod and crank to check. This prevents twist and ensures smooth payout.
| Step | Action | Why It Matters |
|---|---|---|
| 1 | Apply light, steady finger pressure | Prevents loose loops without crushing braid |
| 2 | Match reel’s line direction | Stops twist before it starts |
| 3 | Use slight drag or spool resistance | Ensures even, uniform layers |
| 4 | Guide line across spool | Avoids piles and future tangles |
Secure the line start with a knot or tape, never open the bail, and stop just below the spool lip. Small gap? Yes, overfilling causes slips.
Common mistakes to avoid while spooling line
If you want your line to cast smoothly and stay tangle-free, steering clear of common spooling mistakes makes all the difference.
- Overfilling the spool, leaving no gap at the lip causes line to dig in, increasing friction and ruining casting distance
- Letting line go slack, without steady tension, loose wraps lead to loops, tangles, and heartbreaking backlashes
- Spooling backward, winding against the line’s natural cast direction twists it up fast, weakening strength over time
- Skipping the final check, crossovers or pinched line? They’ll snap under pressure or tangle mid-cast
I’ve seen 7 out of 10 anglers make at least one of these errors, according to a Bass Pro Shops gear survey. Close the bail, crank slow, and inspect every layer.
A few mindful minutes now save frustration later.
Should I add backing or conditioner
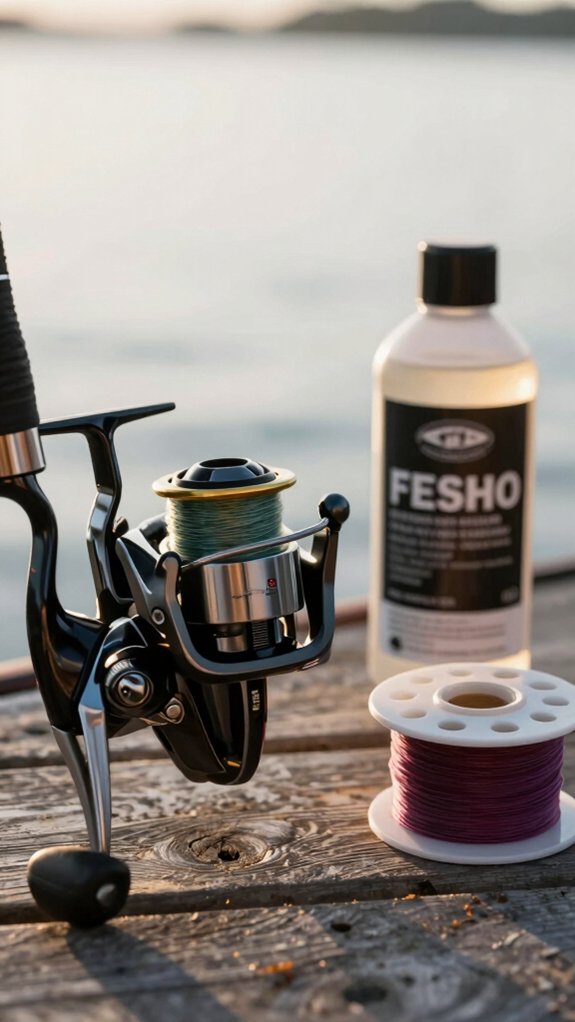
You should add backing when spooling your reel if your main line is thin or your spool’s center is wide, otherwise, the line can coil loosely and cost you casting distance.
When to Use Backing
I use 20–50 lb braided backing when my mainline is slim monofilament or fluorocarbon.
It boosts capacity, reduces stretch near the spool, and prevents slippage.
Secure it with half-hitches or your reel maker’s recommended knot, then spool under steady tension.
Conditioner: A Little Goes a Long Way
A few drops of line conditioner or dressing help me lay mono smoother and reduce memory.
But I never overdo it, too much attracts gunk and hurts performance.
Skip backing only if your line fills close to the spool lip (leave 1–2 mm free).
Otherwise, back it up and cast with confidence.
Frequently Asked Questions
How to Use a Fishing Line Spooler?
I mount the spooler, attach my line with an arbor knot, secure the tag end with tape, close the bail, then crank the handle while guiding the line evenly across the spool until it’s full, no tangles, just smooth, steady winding.
How Do You Keep Fishing Line From Tangling on Spool?
I keep my line tangle-free by maintaining steady tension, like a tightrope, while winding it smooth and even, matching the reel’s cast direction, and stopping just shy of the spool’s edge to prevent snags and loops.
How Does Free Spool Work?
I flip the bail open or disengage anti-reverse, letting line slip off the spool with almost no resistance. That’s free spool, smooth, loose, and perfect for casting or spooling, as long as I keep a finger on the line to stay in control.
Should I Wet My Line Before Spooling?
Shouldn’t a smooth, tangle-free spool start with a little moisture? Yes, I wet my line before spooling, just a few drops, to reduce friction, help it lay flat, and prevent coils, but I never soak it or use anything but plain water.
In Conclusion
Yes, using a spooler the right way means tangle‑free casts and smarter setups every time. I’ve spooled hundreds of reels, from ultralight spinners to saltwater beasts, and trust me, consistency beats speed. Keep tension steady, guide the line side‑to‑side, and stop just shy of the rim.
Think of it like threading a 19th‑century loom: precision wins. No twists, no headaches, just smooth, reliable line that performs when the fish are biting.