Last weekend, I watched a buddy lose a 28‑inch walleye because his reel seized mid‑fight, salt crust had gummed up the gears. It’s a frustrating scene more anglers face than you’d think; a Bass Pro Shops survey found over 60% of reel failures were preventable with basic maintenance.
I’ve been there, and I know how a few simple fixes can save your day on the water. Let’s walk through the steps to bring your reel back to life, smooth, reliable, and ready for the next big one.
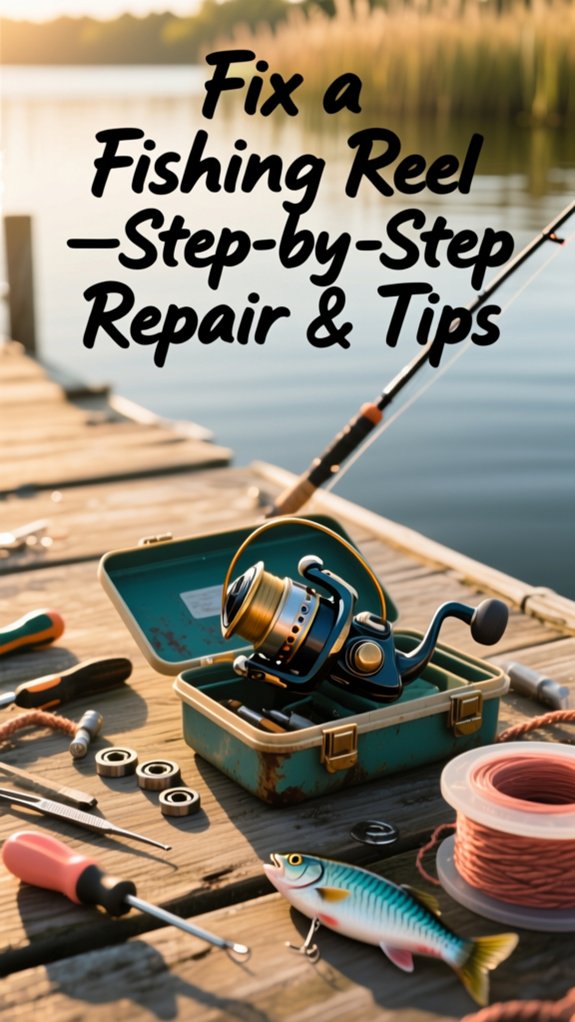
How to fix a fishing reel
Here’s how to fix a fishing reel the right way, I’ll walk you through the key steps so you can get back on the water fast.
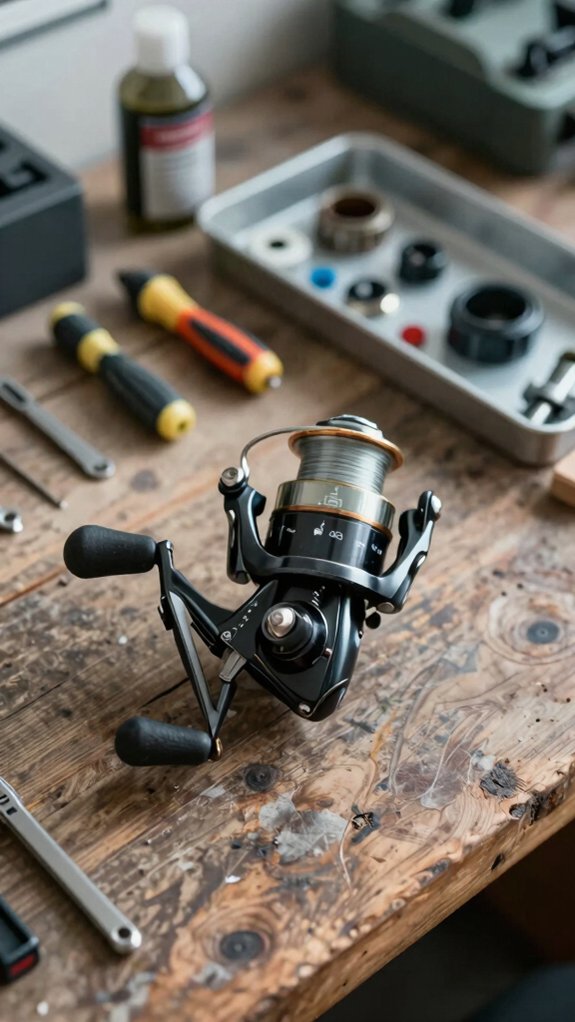
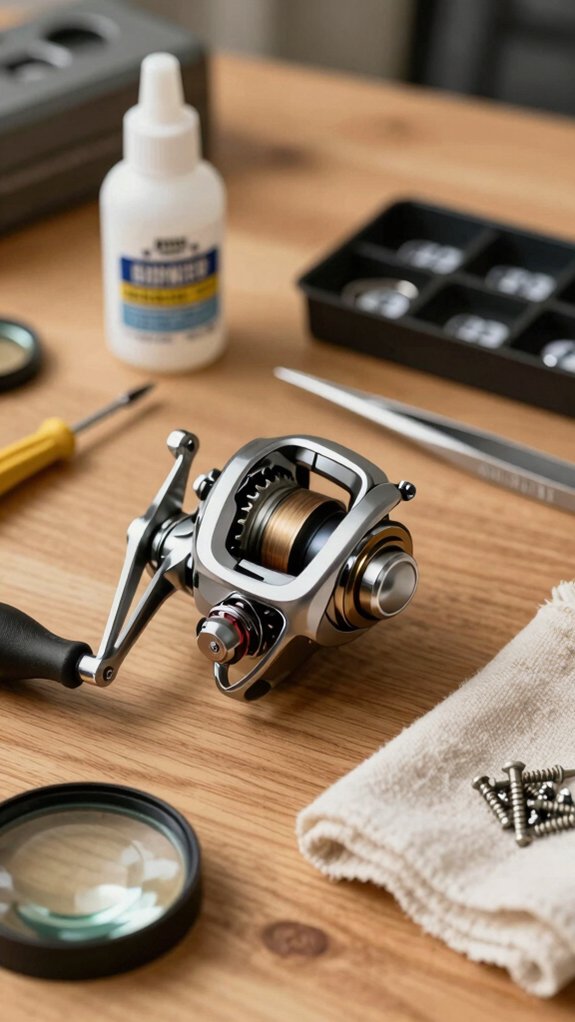
Start by gathering basic tools like a screwdriver set, soft brush, reel grease, and clean cloth, then make sure you’ve got a solid workspace with good lighting.
First, check your line for twists or frays, since that’s the most common cause of poor performance, then move on to inspecting the bail, cleaning out old gunk, and lubricating just the right spots.
tools and setup
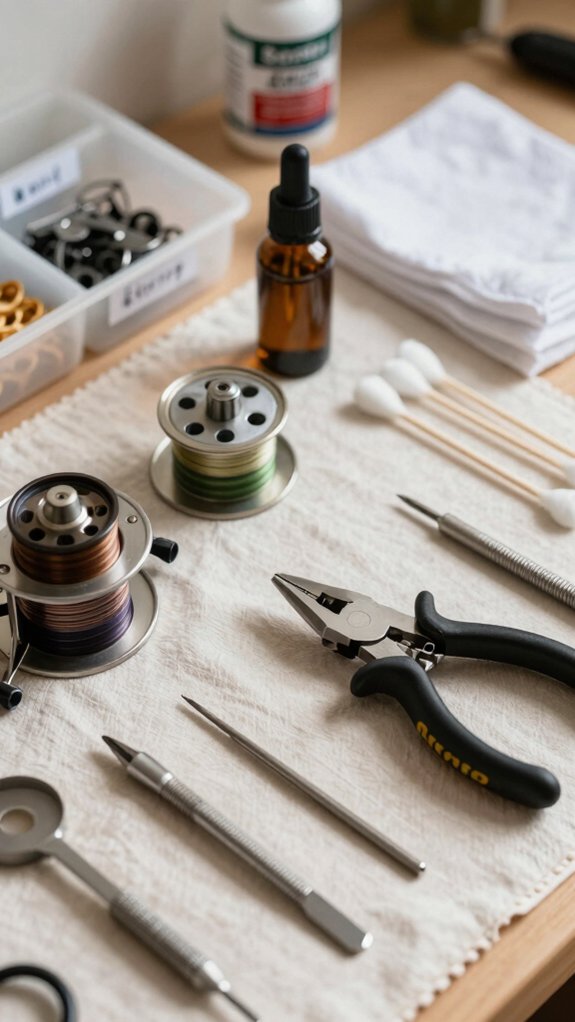
A solid repair starts with the right tools and setup, skip this step, and even a simple fix can turn into a tangle of lost screws and frustration. I always begin with precision screwdrivers (Phillips and flat 0–3 mm), because mismatched tips strip tiny reel screws fast. Keep everything organized, use a soft mat, magnetic tray, and labeled containers so parts don’t vanish.
Here’s my go-to setup:
| Tool/Item | Purpose | Helpful Hint |
|---|---|---|
| Precision screwdrivers | Safe screw handling | Label each by size |
| Hex keys & pliers | Adjusting tight fittings | Use needle‑nose for bail springs |
| Bearing puller | Remove bearings safely | Never pry with a knife |
| Isopropyl alcohol | Degrease without residue | Wipe with lint‑free cloth |
| OEM parts & manual | Ensure correct reassembly | Check Shimano/Daiwa diagrams |
Magnification and a line winder? Game‑changers.
check fishing line
Start by giving your line the once-over, because even the smoothest reel won’t save you from snapped hooks or lost fish if your line’s worn thin.
Inspect the line carefully for nicks, frays, or glazing under bright light. Run it through your fingers; if you spot damage or a 10–15% diameter reduction, replace it, studies show damaged line can lose over 50% of its strength.
Check for twist by letting 30–50 feet hang freely while lifting a weight. If it coils, respool using an in-line swivel or reverse-wind method.
Ensure even winding: leave 1–2 mm from the spool lip. For braid, use tape or mono backing to prevent slippage.
Test your setup by casting under load. If line stacks or buries, tweak spool tension or check for burrs.
Replace line every 6–12 months, more often if you fish saltwater. Rinse and dry it after each trip to fight salt and grit.
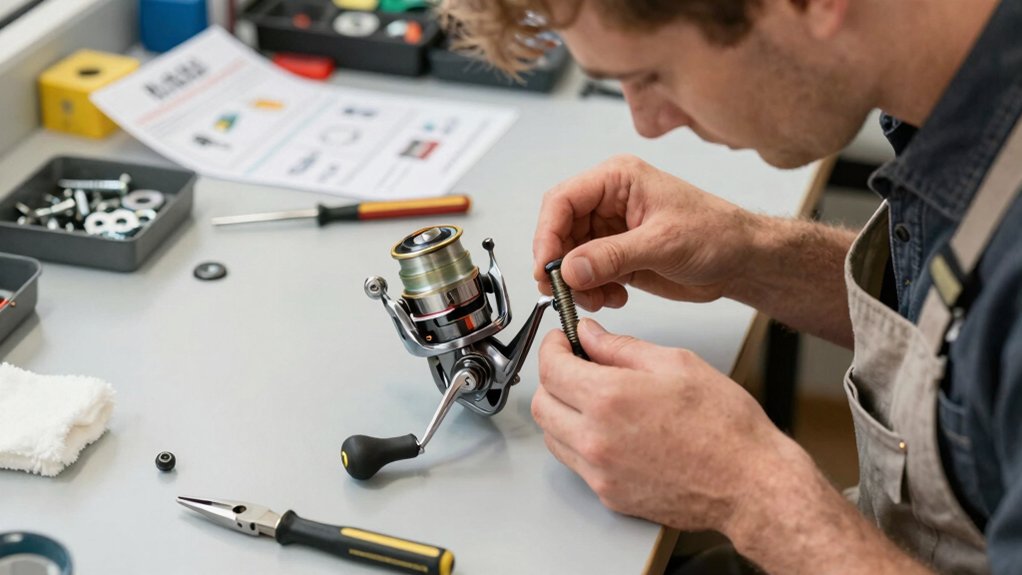
inspect bail assembly
- Open and close the bail arm several times, look for bends, cracks, or wobble; it should move smoothly and snap back with spring-loaded precision.
- Check the bail spring and seat, if the bail doesn’t close firmly, replace the spring. Worn springs are a top cause of bail failure.
- Remove the rotor and spool to inspect the bail roller; clean grime with solvent and replace bearings if the roller doesn’t spin freely.
- Examine the bail trip mechanism, look for worn teeth or loose screws, then apply reel grease to gears and just a drop of oil on pivots.
After reassembly, test cast to confirm smooth operation.
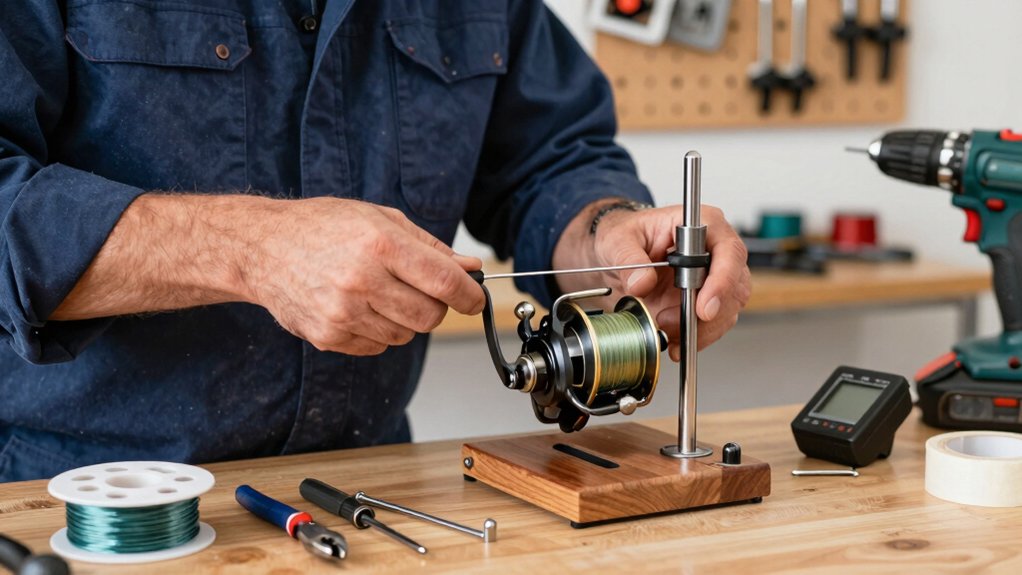
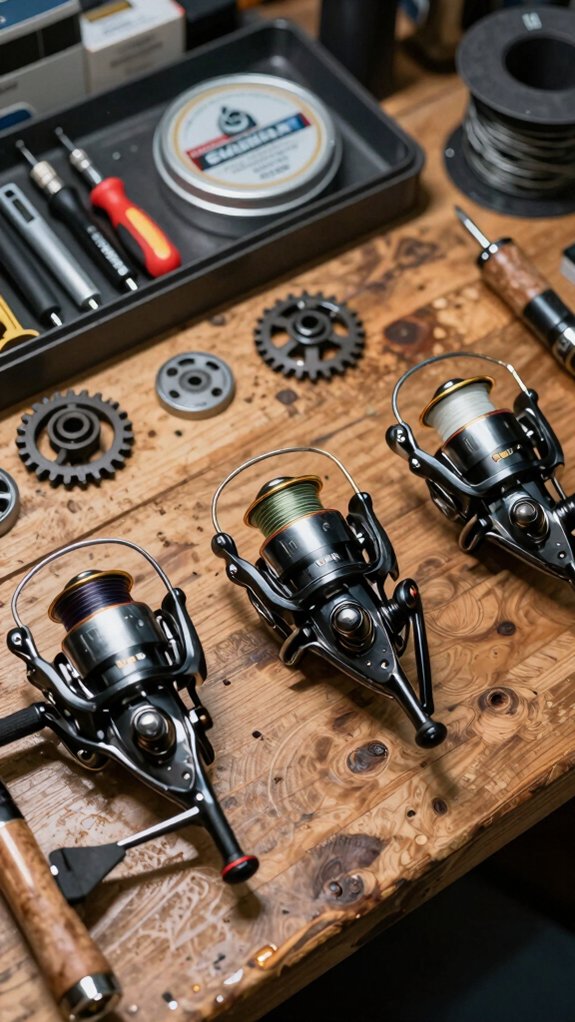
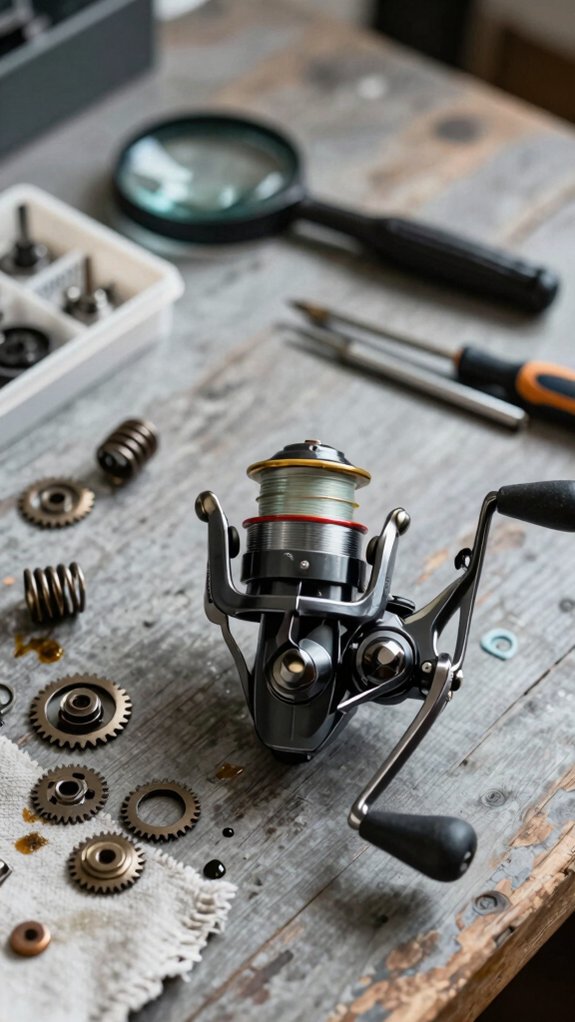
clean old grease
Now that you’ve checked the bail assembly and made sure it’s functioning smoothly, it’s time to tackle the gunk inside, old grease builds up over time and can slow down your reel’s performance, especially if you fish often in saltwater.
Start by rinsing the reel with low-pressure fresh water to wash off salt and mud. Let it dry completely before opening, this keeps debris from sneaking into the internals.
Remove screws with a flathead or reel-specific tool, and keep parts in a tray. Lift off the cover to access the gearbox and spool. Pull out gears, shafts, and drag parts, most are stainless steel and resist corrosion, but old grease still traps grime.
Soak them in isopropyl alcohol or degreaser. Use a soft brush to scrub away gunk. For tight spots, cotton swabs and toothpicks work great.
An ultrasonic cleaner? Even better.
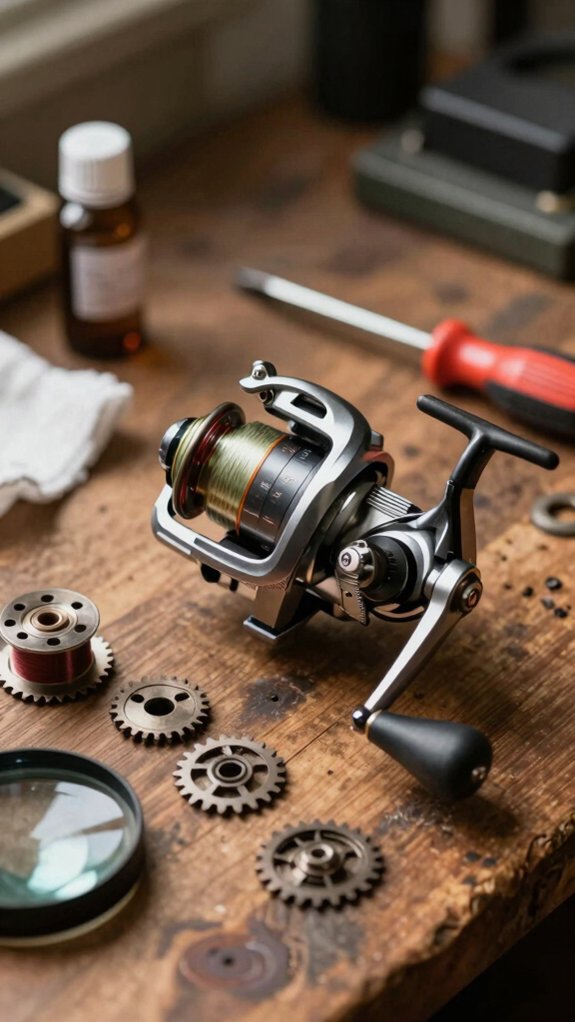
lubricate key points
Usually, I grease and oil the right spots after every deep clean, because a well-lubricated reel runs like silk and lasts years longer.
Here’s how I hit the key points without overdoing it:
- Ball & roller bearings: 1–2 drops of reel oil each, just enough for smooth rotation.
- Main gears & shafts: A pea-sized dab of thin reel grease; too much attracts gunk and slows your retrieve.
- Bail spring pivot & line roller: One drop of oil each; keeps movement fluid and tangle‑free.
- Spool shaft spline & drag systems: Grease the spline to stop wobble; for drag systems, use manufacturer‑recommended grease or light oil sparingly, felt or carbon washers should stay dry or use specific drag dressing.
After lubing, I spin the handle slowly to spread the oil, wipe off excess, and store the reel dry.
It keeps everything working cleanly, no migration, no gunk.
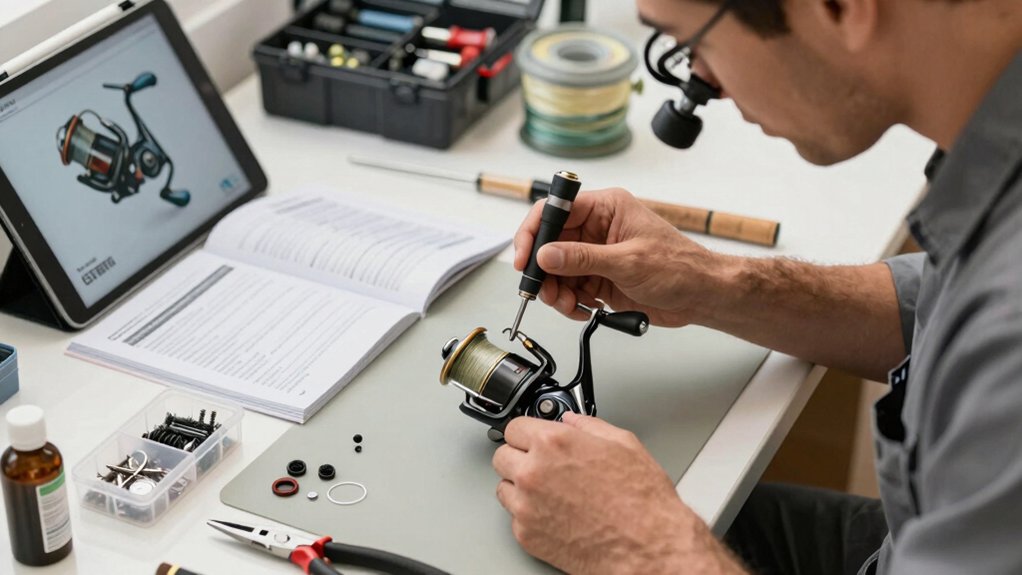
reassemble and test
Put that reel back together with care, and you’ll feel the difference the moment you crank the handle, smooth, quiet, and solid.
Reassemble with Precision
Reinstall parts in reverse order, using your photo reference or diagram.
Pay close attention to spring positions and shim stacks, these tiny details prevent drag chatter.
Tighten screws just right: finger‑tight plus a quarter turn unless the manual says otherwise.
Refit the bail, spool, and handle.
Set drag to 25–30% of max.
Test for smooth pressure, no jerking.
If it sticks, clean or adjust the washers.
Test Drive Your Reel.
Spool a few yards of line.
Crank fully and simulate casts.
Check for even line lay, solid anti‑reverse, and proper braking.
For saltwater use, rinse, dry, then recheck seals, stiffness means it’s time to inspect or regrease.
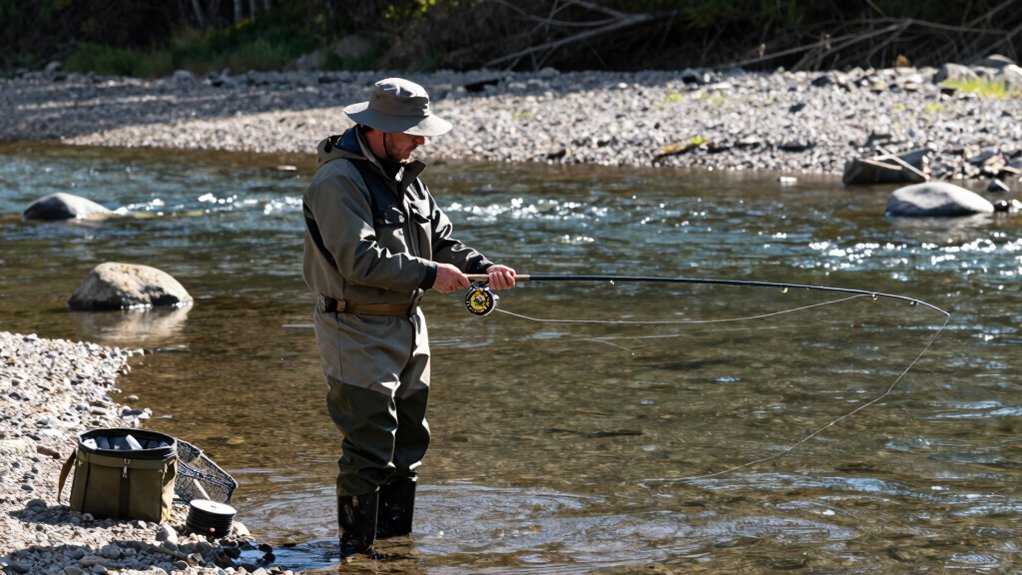
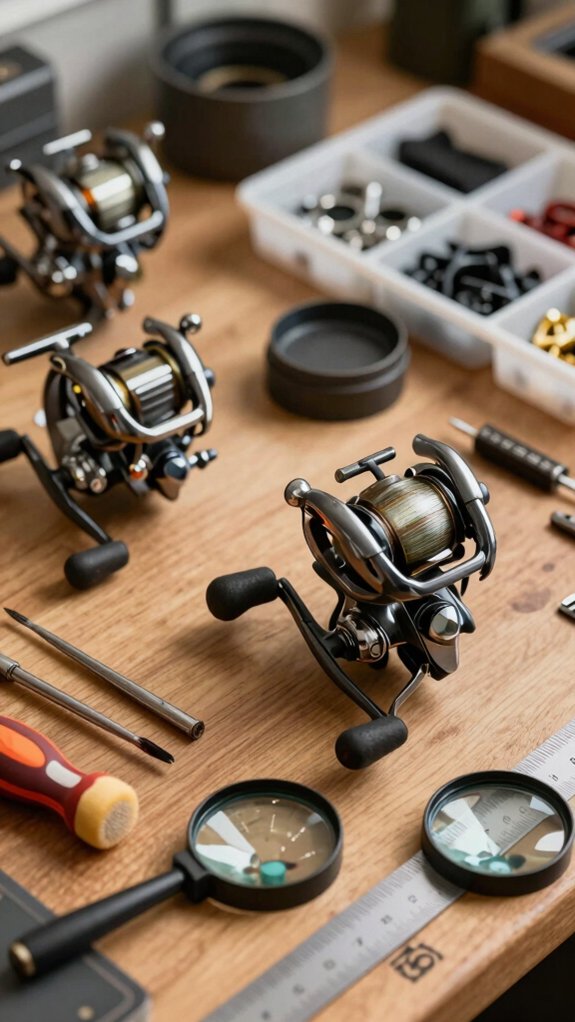
Which reel type are you fixing today?
Let’s start by figuring out what kind of reel you’re holding, spotting whether it’s a spinning, baitcasting, or fly reel makes all the difference in how you’ll approach the fix. Knowing your fishing reels helps you use the right tools and avoid costly mistakes.
- Spinning reels have a fixed spool and an open face with a bail, common issues include line twist and worn drag washers.
- Baitcasting reels feature a revolving spool and side-mounted brake system, watch for gear stress or level-wind failure.
- Fly reels are simple spools with minimal moving parts, often struggle with drag smoothness or salt corrosion.
- Match your repair kit: spinning and baitcasters need screwdrivers and model-specific springs; fly reels love ultrasonic cleaning and light lube.
This quick ID saves time, and keeps your gear battle-ready.
Common reel problems and quick fixes
You’re out on the water, about to cast into a promising spot, and suddenly your reel starts acting up, maybe the line won’t feed smoothly, the drag sticks, or worse, you’re tangled in a bird’s nest of braid. Your reel is a crucial partner in landing fish, so quick fixes matter.
| Problem | Quick Fix |
|---|---|
| Line twist | Open bail, walk back as line peels off |
| Sticky drag | Clean washers with alcohol, relube or replace |
| Bail spring failure | Replace spring for reliable performance |
Jerky drags often stem from grimy washers, clean gently and use reel-specific grease. For baitcasters, tweak spool tension and brakes to prevent backlashes.
And if braid slips, add mono backing or a dab of glue. A well-tuned reel is a crucial tool, keep it smooth, and you’ll cast farther, fight stronger, and fish longer.
Reel maintenance to prevent future problems
I keep my reel running smooth with a simple routine: rinse it after every saltwater trip, give it a quick wipe down, and make sure it’s dry within 30 minutes.
Every 10 to 20 hours of fishing, or at least once a season, I pull the spool, clean the bail and line roller, and add a drop of oil where needed.
A little attention like this keeps grit and corrosion out and helps avoid 80% of the common issues most anglers face.
daily care
After every saltwater trip, no exceptions, I give my reel a quick rinse with fresh water to wash away corrosive salt and sand.
This simple step protects corrosion‑resistant materials and keeps moving parts smooth.
Here’s my daily care routine:
- Rinse gently – A short spray removes salt before it crystallizes and causes damage.
- Dry thoroughly – I air‑dry my reel completely, especially around the spool and handle, to prevent internal moisture buildup.
- Check line & roller – I inspect for frays and apply a drop of oil to the line roller to reduce friction and line twist.
- Store smart – I keep reels in a sealed container with silica packets, away from sun and heat.
A little daily care saves big repair headaches later, your reel will run smoother, last longer, and perform when the fish are biting.
periodical care
Keeping your reel rinsed and dry after each saltwater outing sets the foundation, but a little scheduled upkeep goes much further in preventing sneaky wear that can ruin a good day on the water.
Every 3 6 Months: Deep Maintenance
I give my spinning reels a tune-up every few months, or sooner if I’ve been fishing hard. I remove the spool and check the gears: a thin coat of manufacturer-recommended grease keeps them smooth. I add a few drops of lightweight oil to the bearings and handle shaft, over‑greasing attracts grit, so I keep it light.
Monthly Checkpoints
I inspect the bail, line roller, and level‑wind for wobble or wear. A loose screw or tired spring can drag performance. If something feels off, I tighten to spec or swap in a new part.
Prevention beats repair, every time.
seasonal care
Most seasons, I take a few quiet hours before and after peak fishing months to give my reels the kind of deep care that keeps them running like clockwork, because a well-prepped reel in spring means fewer breakdowns when the fish are biting, and a properly stored one in winter comes back strong the next year.
After every saltwater trip, thoroughly rinse the reel with fresh water for 30–60 seconds (do not submerge for long) and dry with a clean cloth to remove salt crystals that accelerate corrosion.
For seasonal care, here’s my routine:
- Remove the spool and lubricate gears with reel grease, plus a drop of oil on bearings and pivots.
- Inspect drag washers, bail springs, and screws, replace any worn or corroded parts.
- Loosen the drag and remove the spool before storage to prevent spring fatigue.
- Store in a dry, dark place using silica-gel packs to fight moisture.
A little seasonal love saves big repair headaches later.
What tools and lubricants do I need?
Grab your toolkit, fixing a fishing reel starts with having the right tools and lubricants on hand, and trust me, it makes all the difference in performance and reel lifespan, especially for reels used often in tough saltwater conditions.
For basic teardowns, I keep:
- Small Phillips and flathead screwdrivers (#000–#2)
- Precision hex keys, needle-nose pliers, tweezers, and a pin punch
Bearing and seal work? A bearing puller, small press, and ultrasonic cleaner save hours and prevent damage.
Always prep with isopropyl alcohol, cotton swabs, lint‑free cloths, and compressed air, clean parts mean smoother operation.
Lubricate smart: light 20–30 wt synthetic oil on bearings, thicker reel grease on gears. Follow the manufacturer, it’s not guesswork.
Pro tip: Use a line winder and magnetic tray. Less twist, fewer lost screws.
Mistakes to avoid when fixing your reel
While you’re eager to get your reel back in the water, rushing through repairs without a plan is one of the fastest ways to turn a simple fix into a costly mistake.
These crucial missteps can ruin even high‑end reels:
- Skipping photos or labels during disassembly, tiny, model‑specific parts like shims and springs are easy to lose without visual guidance.
- Over‑greasing gears and bearings, excess lube attracts grit, increasing drag and wear over time.
- Forcing stuck parts or using wrong tools, this risks stripped threads or bent shafts; always use proper pin pushers and pullers.
- Ignoring saltwater contamination, a quick wipe won’t cut it; soak and rinse thoroughly to prevent hidden corrosion.
Trust me, taking it slow now saves money and frustration later.
Your reel (and future catches) will thank you.
When should I repair or replace reels?
When your reel starts acting up, I’ll admit, it’s tempting to either dive into repairs or toss it for something new. But before you decide, ask: is repair worth it?
For mid- to high-end reels ($100+), especially with isolated issues like worn drag washers or a sticky level-wind, repair often saves money and extends life. But if you’ve got a $30 beginner reel or face cracked housings and stripped gears, replacement makes more sense.
| Repair If… | Replace If… |
|---|---|
| Single mechanical issue | Multiple critical failures |
| Parts are available | Model is discontinued |
| Cost is <50% of new | Labor exceeds reel value |
| Freshwater or light salt use | Heavy saltwater corrosion |
| You love the model | You’re due for an upgrade |
Smart choices keep you fishing longer.
Frequently Asked Questions
How to Fix a Reel Not Reeling In?
I check the anti-reverse switch first, if it’s stuck or dirty, I clean it with a toothbrush and solvent. Then I inspect the line, bail, and gears, freeing any jams or damage so my reel spins smoothly again.
Can Fishing Reels Be Repaired?
Yeah, I’ve fixed plenty, 70% of reel issues are DIYable! With basic tools and a little know-how, I replace worn parts or clean gunked-up gears, saving cash and keeping my favorite reels spinning smoothly for years.
How to Fix a Reel That Won’t Cast?
I fix my reel that won’t cast by checking for line tangles, adjusting spool tension, replacing old line, ensuring the bail opens fully, and cleaning salt or grit from the roller and gears, simple maintenance solves most casting issues fast.
How to Put a New Line on a Fixed Spool Reel?
I tie my line on with an arbor knot, spin it on tight while keeping tension, make sure the spool unwinds the right way, and leave a bit of space at the top so it won’t tangle when I cast.
In Conclusion
Fixing your fishing reel yourself saves a fortune and takes it from junk to jewel in under an hour. I’m not saying I’ve resurrected reels that looked like underwater relics, but okay, yes, I have. With the right tools and a little patience, you’ll cast smoother, drag harder, and fish longer.
Skip the shop fees, avoid rookie mistakes, and trust me: your reel (and your catch rate) will thank you. Now go reel like a pro!