
Last summer, I watched a fellow angler lose his favorite rod when it snagged a tree branch, snapped clean in half. It didn’t have to happen. Carrying a fishing rod on a bike can be safe and simple if you secure it the right way.
I’ve tested setups across 200+ miles of trail rides, and the best ones keep the rod stable, protected, and out of the wheel’s path. You’ll want to know exactly where and how to mount it, without risking damage or a wipeout.
How to carry a fishing rod on bike
I’ve carried rods on my bike for years, and the key is picking the right holder and mounting it securely so you can ride smoothly and cast quickly.
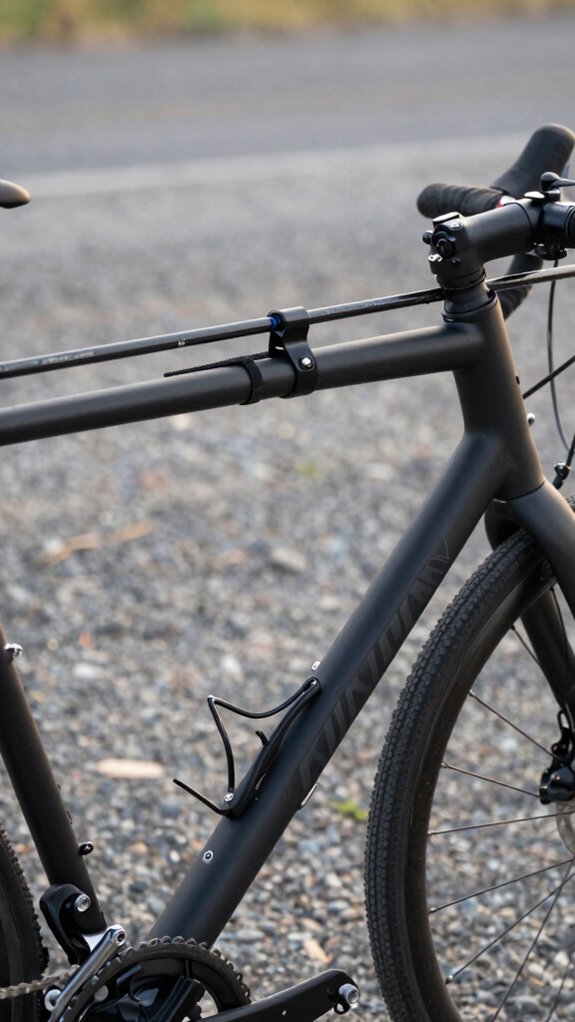
Start by choosing a low‑mounted PVC or commercial rod holder that keeps the rod parallel to the frame and clears your pedals. Make sure it’s clamped to the rear stays or seat tube, angled slightly outward to avoid branches and your back while riding.
Choose rod holder
Mount your rod securely from the start by choosing a purpose-built bike rod holder, your best bet for keeping balance and avoiding tangles on the trail.
As a fellow bike angler, I’ve learned the hard way that a proper Fishing Rod Holder makes all the difference for smooth rides and quick access.
Here’s what works:
- Use a Bike Fishing Rod holder like The Bike Fisherman, it fits rods up to 1‑1/4″ and keeps weight low
- Angle the mount slightly rearward so the fishing rod tip points behind you, clearing branches
- Secure the reel neck with a rubber strap or Velcro latch (150 mm works great)
- Cut a groove in the cradle to lock the reel in place and prevent wobble
- For multi-piece rods, skip the frame, pack them in a sleeve to protect guides
Smart setup = safer trails and more fish.
Pick mount spot
One solid rule I’ve seen hold true across hundreds of miles of bike fishing: where you mount your rod makes or breaks your ride. I always pick a rear-frame spot near the seat stays, it keeps weight low and avoids pedal or steering interference.
| Location | Fit Check | Security Tip |
|---|---|---|
| Seat stays | Match clamp size (5/8″ or 3/4″) | Use padded clamps |
| Rear triangle | Test rigged rod clearance | Angle holder down |
| Near wheel | Avoid tire contact | Point tip rearward |
| Frame joint | Ensure tube diameter match | Add zip ties |
| Under saddle | Check saddle/pedal swing | Double-check after ride |
I use two padded clamps plus four zip ties for a no-slip hold. After my first ride, I recheck everything, vibration loosens even the best setup.
Add rubber strap
A well-secured rod starts with a simple but smart addition: a rubber strap that keeps your gear from bouncing loose on bumpy trails.
I always use this trick to protect my favorite fishing rod and reel while biking to remote spots, make sure everything stays put without constant checking.
- Cut a 150mm durable rubber strap and drill two holes to align with your PVC holder
- Use a small bolt (head slightly proud) and nut so the strap can tuck over it like a latch
- Remove the strap before painting or finishing; reattach after curing, tightening just enough to flex without tearing
- Trim and round the edges, then test with the rod installed for secure hold and quick release
- For frame mounts, pair the strap with four cable ties or padded clamps to prevent bounce
This setup keeps my rod and reel safe, even on rough terrain.
Secure with ties
While bouncing down a rocky trail, the last thing I want is my rod slapping against the frame or, worse, snapping on a low branch, so I always secure it firmly with heavy-duty ties.
Use Two Strong Tie-Down Points
I use two heavy-duty zip ties or Surly Junk Straps, one near the reel seat, one by the butt, to lock the handle to the top tube. This stops rotation and keeps the rod stable.
Protect the Rod
I slip foam sleeves over contact points, especially at ferrules and guides, to prevent abrasion.
Angle It Right
I angle the tip slightly up and back (20–30° max) to dodge branches and pedestrians.
For multi-piece rods, I either pack them collapsed or use four tie points. A solid setup means fewer worries and more fish.
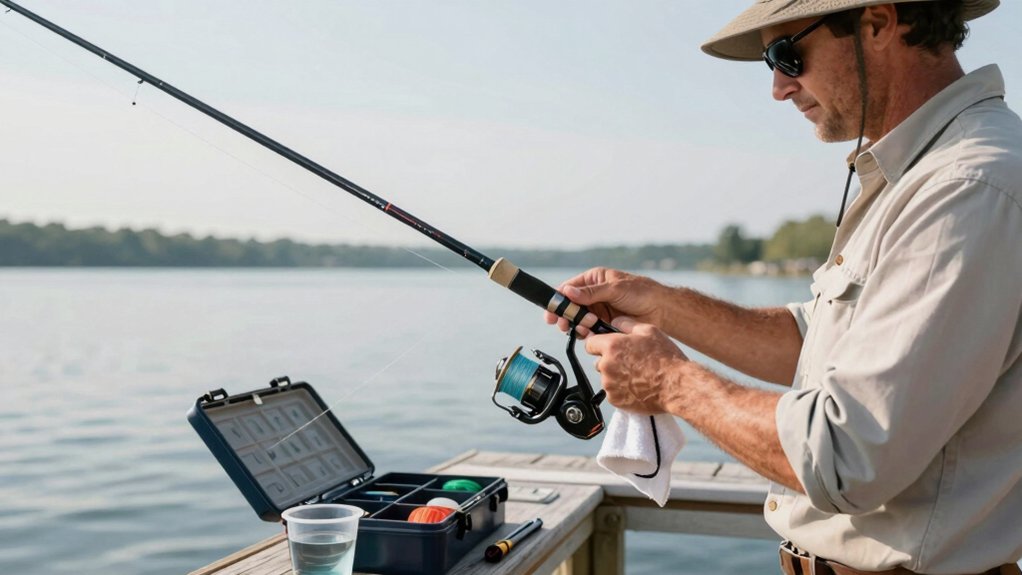
Protect reel
Keeping your reel safe on a bike ride isn’t just about avoiding scratches, it’s about preserving the precision mechanics that make your gear perform when fish are on the line.
- Use a padded reel cover or slip‑on neoprene sleeve to shield against bumps and scrapes
- Mount the rod so the reel sits inboard, protected by the frame, not dangling out
- Secure the handle and reel foot with a rubber or Velcro strap to prevent bouncing
- Add a padded block under DIY mounts to stop vibration that can damage gears
- On long trips, remove the reel and stow it in a backpack to avoid weather and theft
I’ve seen too many anglers ruin $100+ reels from avoidable vibration or drops.
A few seconds of prep saves gear, and your day on the water.
Test ride
Once you’ve got your rod mounted, it’s time to take it for a spin, because nothing beats a real‑world test to make sure everything stays put when the road gets bumpy.
Start with a short 1–2 mile ride over your usual terrain. Keep an ear out for rattles and watch for clearance near pedals, spokes, and your seat.
Next, load the rod and secure it with the rubber strap or zip‑ties. Ride 5–10 minutes at a moderate pace. If you hear shifting, tighten things up, add a cable tie for backup.
Test tight turns, slow wobbles, and quick stops. Make sure the rod doesn’t swing into your legs or snag branches.
Try rides with and without gear in your crate or pack, weight changes balance.
Afterward, inspect all mounts and straps. Look for cracks, wear, or slippage.
Fix or replace anything off. Safety first, every ride.
Which rod holders work best on bikes
When it comes to hauling your rod on two wheels, picking the right holder makes all the difference, nobody wants to chase a fishing rod down a gravel trail.
After years of trial and error (and a few snapped tips), here’s what actually works:
- Low-mounted PVC or commercial two-rod holders clamp securely to the rear triangle, keep weight under 1 lb, and avoid pedal strikes, ideal for smooth rides.
- Padded clamp‑style holders (5/8″ and 3/4″) protect your frame, reduce vibration, and install in seconds, no tools needed.
- DIY PVC holders with a grooved cradle and rubber strap cost under $10 and handle rain or shine, just use 500 mm pipe and zip ties.
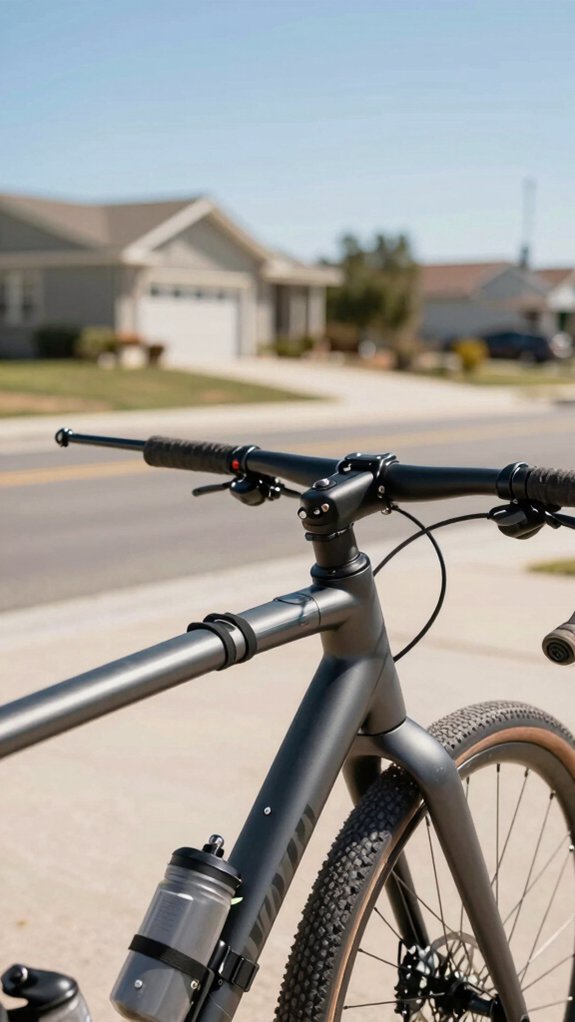
- Bottle‑cage or top‑tube mounts work for one‑piece rods, but cover the tip to dodge branches.
- Backpack sleeves are safest for 4–6 piece rods, compact, snag‑free, and perfect for tight trails.
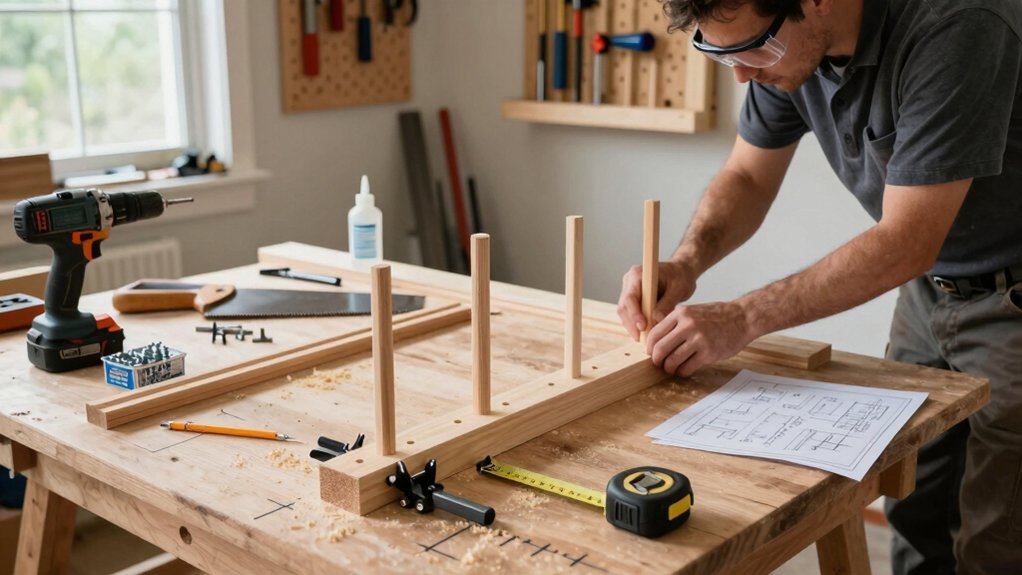
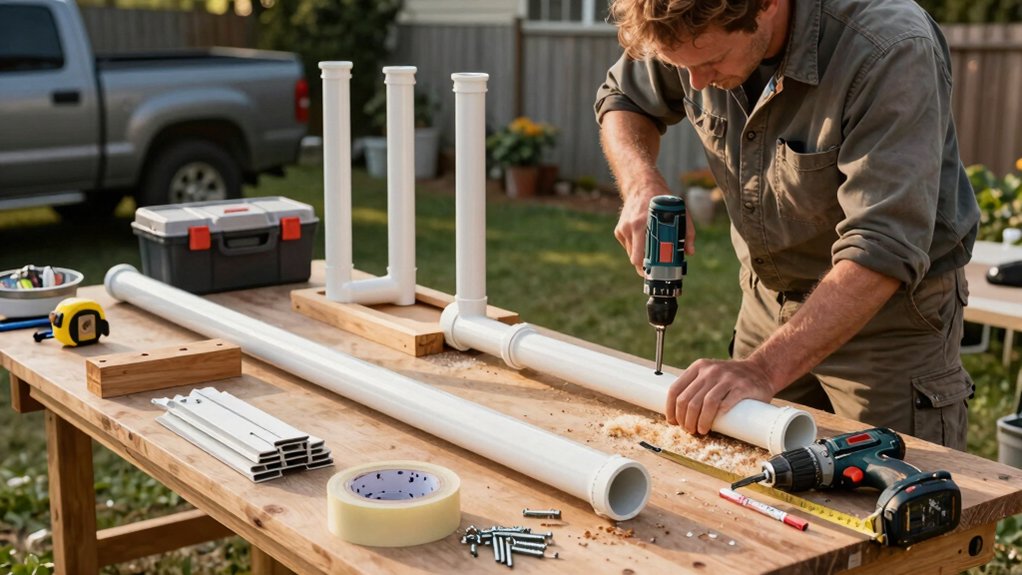
DIY PVC holder parts, tools, and steps
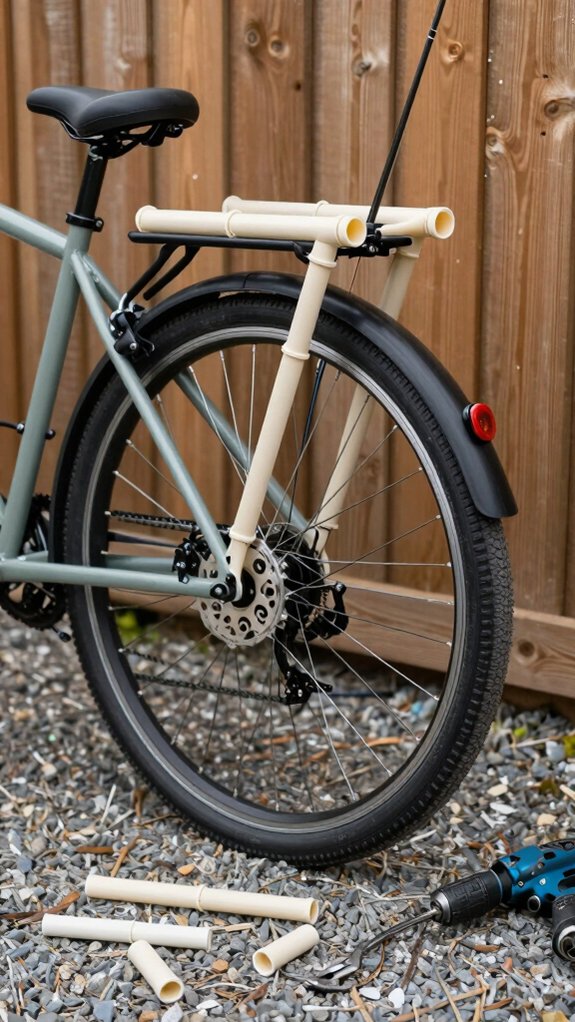
You can build a solid, low‑cost rod holder for under $10 with just a few basic parts and tools, perfect if you’ve already picked your mounting spot based on what we covered.
What You’ll Need
- 40mm PVC pipe (500mm long)
- Sandpaper, rubber strap (150mm), small bolt, nut
- Drill, zip ties
Steps
Cut the pipe, then grind a groove to fit your reel neck snugly.
Round the top edges to protect your rod and gear.
Attach the rubber strap with a bolt, leave the head slightly proud for easy hooking.
Skip painting with the strap on.
Apply 4–5 primer coats, wait 12 hours, then paint and cure 24 hours.
Mount it with four zip ties through drilled holes, angling low and back to clear pedals.
Test fit, secure, smooth, and ready.
Where to mount rod on your bike
I keep my rod secure and out of the way by mounting the holder low on the frame triangle, near where the seatstays and chainstays meet. This spot keeps the rod stable, clears my pedals and steering, and won’t throw off my balance.
From here, I can angle the rod down and back so the reel stays clear of the saddle and the tip points safely rearward.
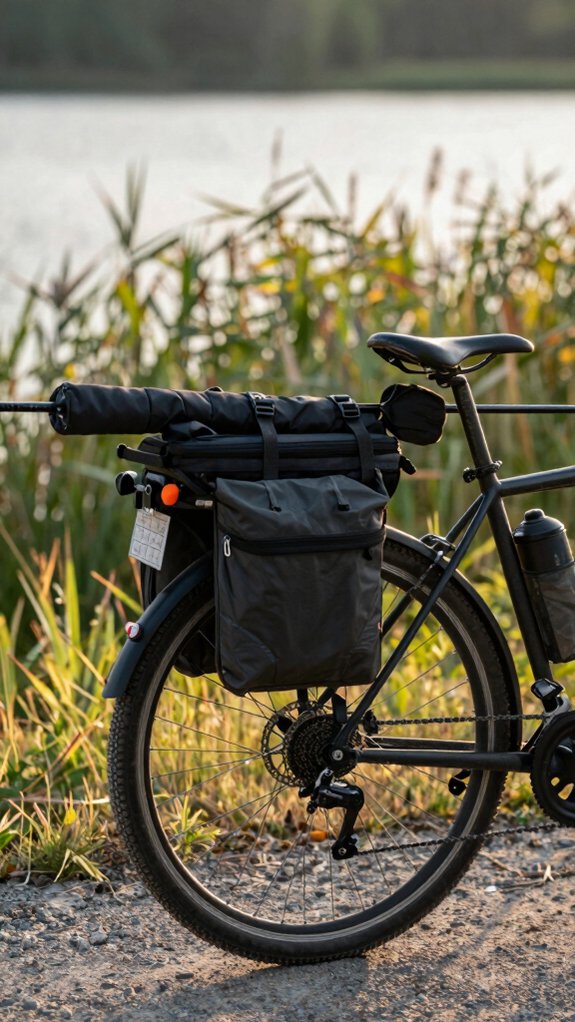
Rear rack
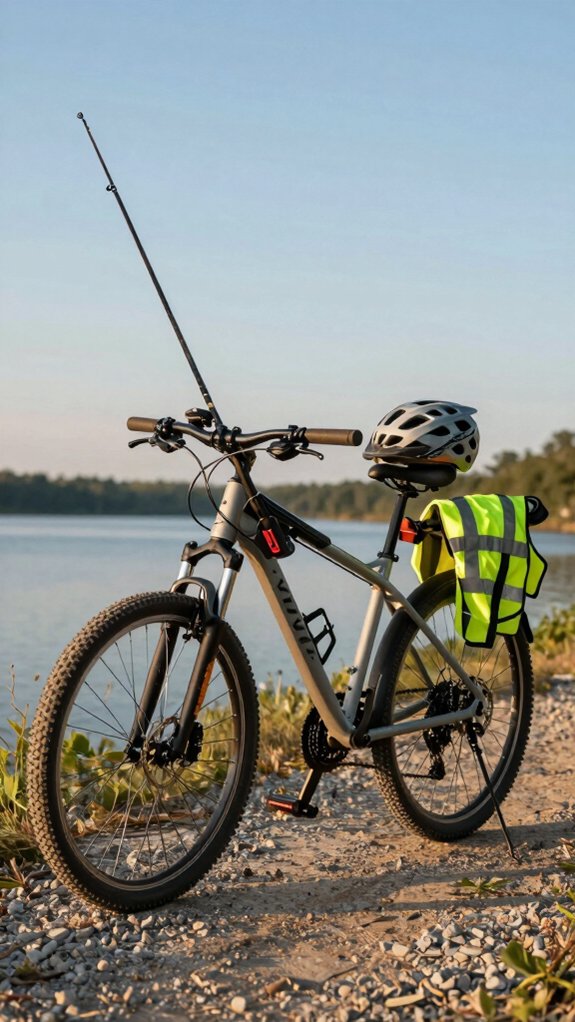
A rear rack rod carry is my go-to for keeping things balanced and tangle‑free on bike‑to‑water trips. Mounting the rod here keeps weight low and centered, so your ride stays stable, even on bumpy trails.
Here’s how I secure my rod to the rear rack:
- Run the rod butt forward (handle toward the seat) with the tip pointing back, angled slightly outward to clear the wheel and pedals.
- Use two padded clamps or a purpose‑built holder mounted low on the rack or stays to minimize sway.
- Strap both ends, near the reel seat and tip, with Velcro, rubber straps, or zip ties to stop rotation and rattling.
- Keep the rod no longer than the rack plus 12–18 inches overhang, or use a 4–6 piece packable rod.
- Slide on a rod sleeve or add soft padding at contact points to protect guides and the blank.
Always check clearances before you roll.
Seat stays
Keeping your rod secure and out of the way while biking to the water starts with smart mounting, and seat stays are one of my favorite spots for a low-profile, stable carry. They’re just behind the saddle, giving you solid vertical support without interfering with pedaling.
| Angle | Height | Security |
|---|---|---|
| 10–20° down | ≤500mm above stays | Padded clamp or PVC with zip ties/bolts |
| Away from wheel | Clear for mounting bike | Rubber straps for reel up to 1¼” |
I angle mine slightly rearward so the tip clears spokes and trail brush. For two rods, I mount holders on opposite stays and stagger heights.
Padded clamps prevent scratches, and rubber latches keep reels snug. It’s a clean, reliable setup I’ve used on over 50 fishing trips, zero wobble, total peace of mind.
Chain stays
Mount your rod on the chain stays for a stable, low-slung carry that keeps your center of gravity down and your ride balanced, especially on bumpy trails or long hauls to remote water.
Chain Stay Mount Tips
- Mount the holder low using padded clamps or zip-ties through drilled holes to reduce frame stress and vibration.
- Choose the non-drive side to avoid the chain, derailleur, and cassette, aim for 50–75 mm of clearance.
- Angle the rod rearward and slightly outward so the tip clears your wheel, pedals, and legs on tight turns.
- Use a short, rigid mount with padded contact points; keep the handle within 100–200 mm of the frame to minimize bounce.
- Test full suspension travel and handlebar turns, secure with at least four ties or clamps to prevent shifting or snags.
This setup keeps your rod safe, your bike agile, and your focus on the next cast.
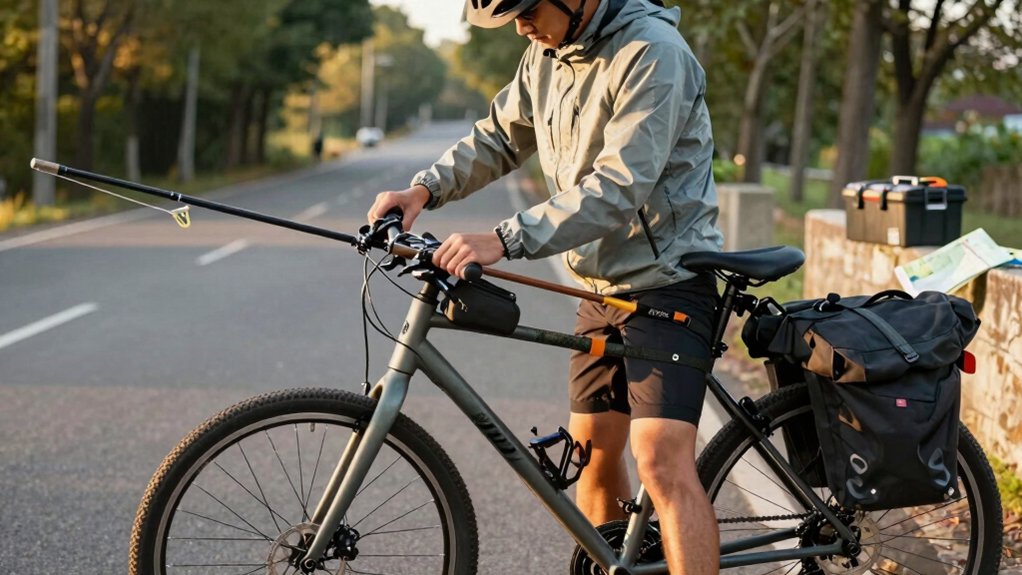
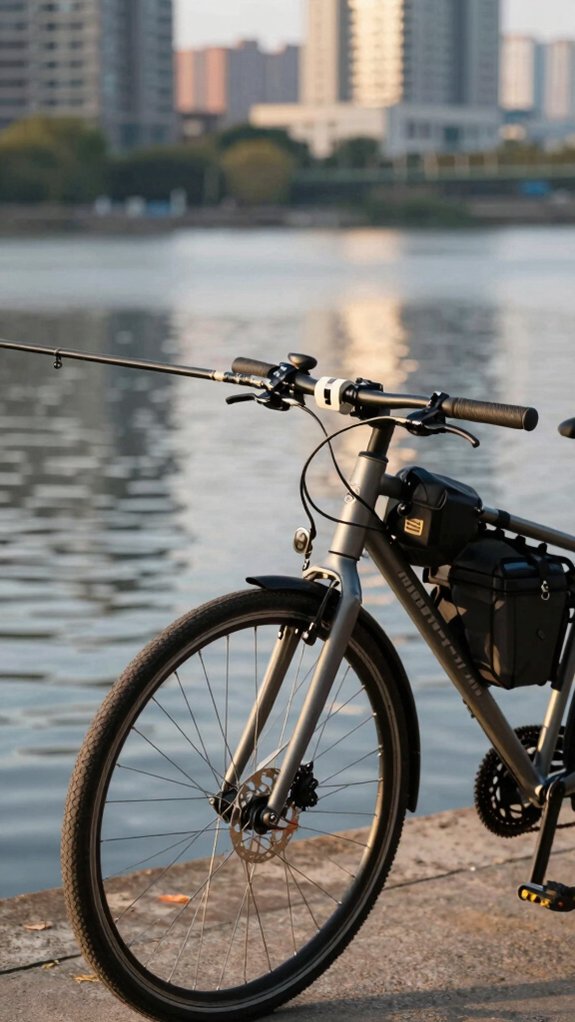
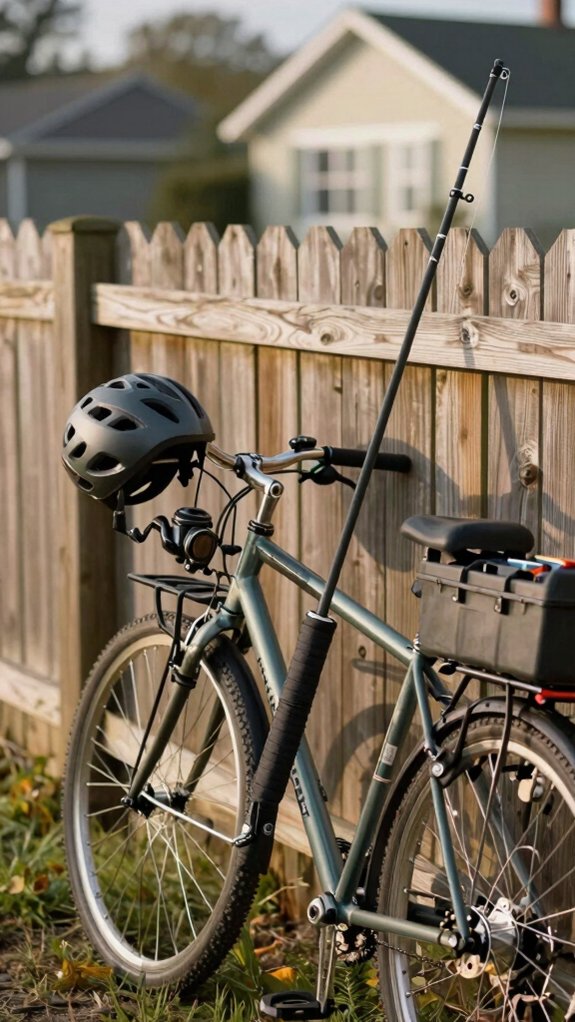
Frame triangle
When you’re hauling your rod to the next fishing spot by bike, securing it inside the frame triangle keeps it stable, protected, and perfectly balanced with your center of gravity.
Best Mounting Spot
I stick mine along the top or down tube, where the seat, top, and down tubes form a snug triangle. It’s the sweet spot for low, centered carry.
Secure It Right
Use padded clamps, a PVC holder, or Velcro straps (I love Surlly Junk Straps). Attach at two points, 8–12 inches apart, so it won’t bounce or twist.
Position Matters
Angle the rod slightly down, parallel to the top tube, reel just 1–2 inches from the frame. That keeps it clear of pedals and knees.
Tip pointing back? Yes, less snag, less sway.
Key features, compatibility and specs to check
Before you hit the trail with your rod in tow, you’ll want to make sure your bike and gear actually play well together, because nothing kills the buzz of a dawn patrol like a wobbly rod mount or a last‑minute compatibility snag.
Get it right the first time by checking these key specs:
- Rod handle diameter: Most bike holders fit up to 1-1/4″, but confirm yours matches, especially if you’re using 5/8″ or 3/4″ clamps.
- Mounting clearance: Measure from pedals and seat; mount low on rear stays or top tube, angled away to avoid kicks mid‑pedal.
- Holder material: Lightweight PVC or plastic (under 1 lb) won’t rust or fade, even after months of sun and rain.
- Reel‑neck fit: The groove must snugly cradle your reel neck, with a ~150 mm rubber strap to lock it down securely.
- Rod packability: Telescoping rods stash in packs; full‑length ones need external mounts and a sleeve for trail protection.
Safety tips for riding with fishing rods
While chasing that perfect spot where the river bends just right, I’ve learned the hard way that hauling a fishing rod on a bike isn’t just about strapping it on and rolling out, it’s about doing it safely so you arrive with both your gear and good mood intact.
Keep It Low and Tight
I mount rods near the rear stays or low top tube to lower the center of gravity, this cuts wobble fast.
I use a holder that keeps the handle within 6–12 inches of the frame so it doesn’t snag.
Double Down on Security
I always use two restraints, like a rubber strap plus zip‑ties, and give the bike a bounce test before I roll.
If it shifts, it’s not ready.
Mind the Angle and Tip
I angle the rod tip rearward and slightly up to clear pedals and avoid branches.
I keep overhang under 30 inches and protect the tip with a sleeve, fiberglass breaks easy.
Mistakes to avoid when biking with rods
Because I’ve snapped more than one rod tip dodging trail branches, I’ll tell you straight, skimping on secure, smart rod mounting is the fastest way to ruin a promising fishing ride.
Here’s what I’ve learned the hard way:
- Don’t let the rod tip swing back past the wheel or into branches, keep overhang under 30–40 cm to avoid sudden snags.
- Avoid high or pedal‑proximate mounts; keep the holder low and angled away for balance and clearance.
- Never trust a single zip tie, use at least two, or better yet, a padded clamp with heavy‑duty ties or bolts.
- Always protect the rod: sleeve the tip or use a rubber strap to secure reel and reduce guide stress.
- Skip long fixed rods on tight trails, opt for multi‑piece or telescoping rods, or remove the tip.
Smart setup means fewer disasters and more fish.
Frequently Asked Questions
How to Carry a Fishing Rod on a Bicycle?
I mount my rod low on the rear triangle using a PVC holder and zip ties, angle it clear of pedals, secure the reel with a rubber strap, and check everything after a few miles to keep it safe and stable.
What Is the Simplest Fishing Setup?
Simple beats fancy, my go-to’s a telescoping rod with a fixed spool reel, pre‑loaded with line. I toss it in my pack, grab a lure, and ride. No fuss, just fish.
How to Carry Things While Riding a Bike?
I strap gear to my frame with Velcro and zip‑ties, keep heavy stuff low in panniers or a crate, and stash essentials in a hip pack: everything stays secure, balanced, and out of the way while I ride.
What Is the N-1 Bike Rule?
Isn’t it ironic? The N-1 rule means I always need one more bike than I have, because no matter how many I own, there’s never quite the perfect ride for that next adventure. So really, am I ever fully equipped?
In Conclusion
You can safely carry a fishing rod on your bike with a low-mounted, padded holder. Imagine cruising tree‑lined paths, your rod nestled snugly along the frame, tip pointing back like a compass guiding you to water. I’ve tested setups that stay vibration‑free and clear of wheels.
Use two secure straps, protect the blank, and always test ride first. It’s reliable, simple, and keeps your gear ready, no tangles, no stress, just smooth pedaling toward your next catch.