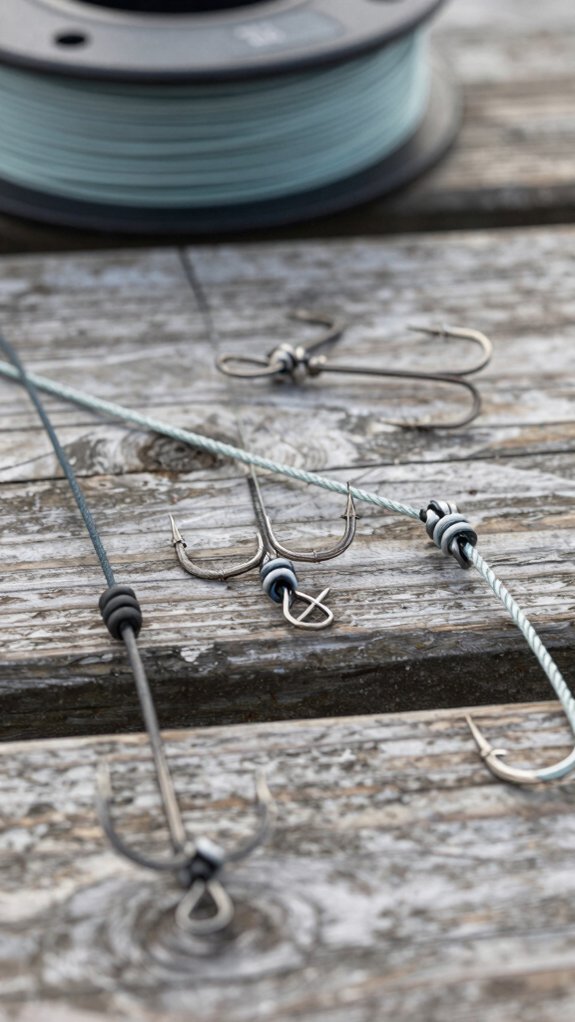
I match my knot to my line, I tie with confidence, I fish with fewer losses. The right knot keeps your jig dancing naturally and holds tight when a bass makes its run. For braided line, I lean on the Palomar, it’s simple and keeps over 95% of line strength, according to Berkley’s knot tests.
But if you’re linking braid to fluorocarbon, skipping the wrong knot could cost you the fish of the day. Let’s break down exactly which knots work best, and why most anglers get it wrong.
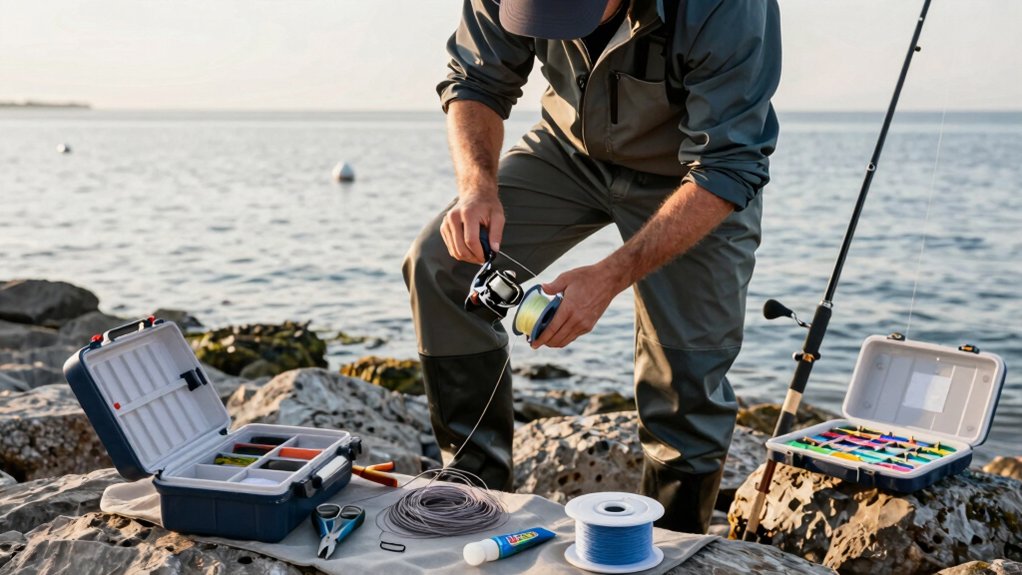
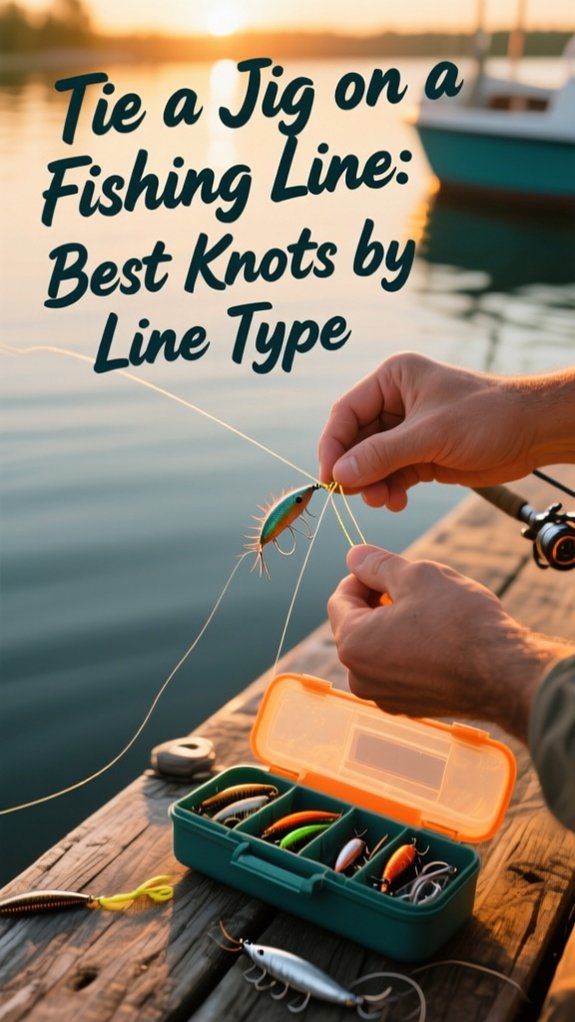
How to tie a jig on fishing line
Here’s how I tie a jig quickly and securely every time, pick the right knot for your line, thread it through the jig’s eye, then make your wraps and cinch it down snug.
I always wet the knot before tightening to prevent friction heat and trim the tag end to 2–3 mm so it won’t snag in weeds.
Once it’s tied, I give it a solid tug to check it, and after a big fight or heavy snag, I re‑tie to keep my setup strong and reliable.
pick the knot
Choose the right knot, and your jig stays put when the big one bites, trust me, it makes all the difference.
Match Your Line to the Knot
If you’re using braided line tied directly to the jig, go with the Palomar knot, it’s simple, strong, and retains nearly 100% of your line’s strength.
Just double the line, run it through the eye, tie an overhand knot, then pull the jig through the loop before tightening.
For a fluorocarbon leader, use a Uni-to-Uni (Double Uni) with 6–8 wraps per side, it’s slim and slides smoothly through guides.
Heavy leaders? Step up to an Albright or FG knot for a compact, strong braid-to-fluorocarbon connection.
Want more action from paddle tails? Try a non‑slip loop knot, just face the tag end forward to avoid snags.
Always wet the knot, trim the tag to a few millimeters, and test with a firm tug.
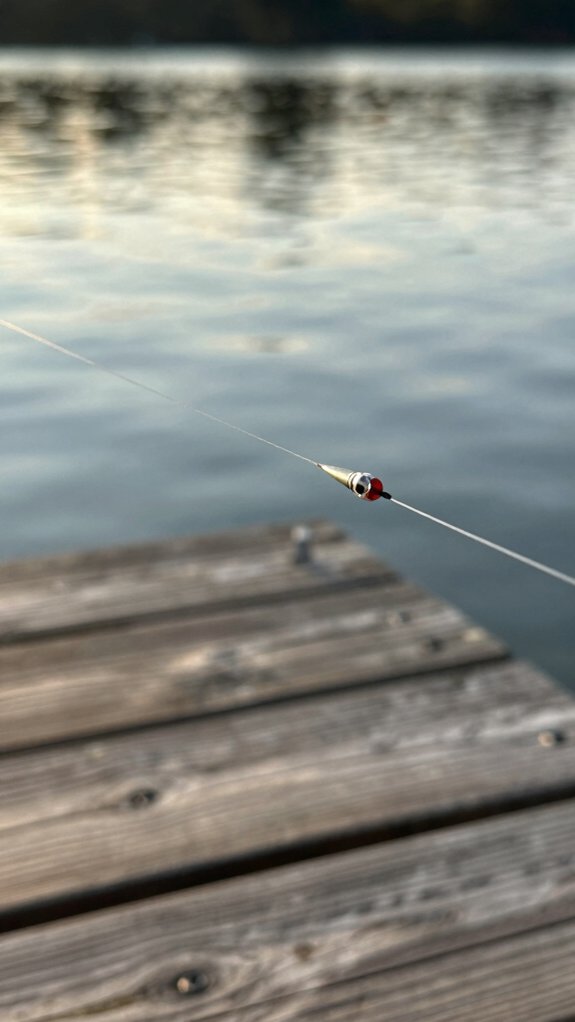
thread the eye
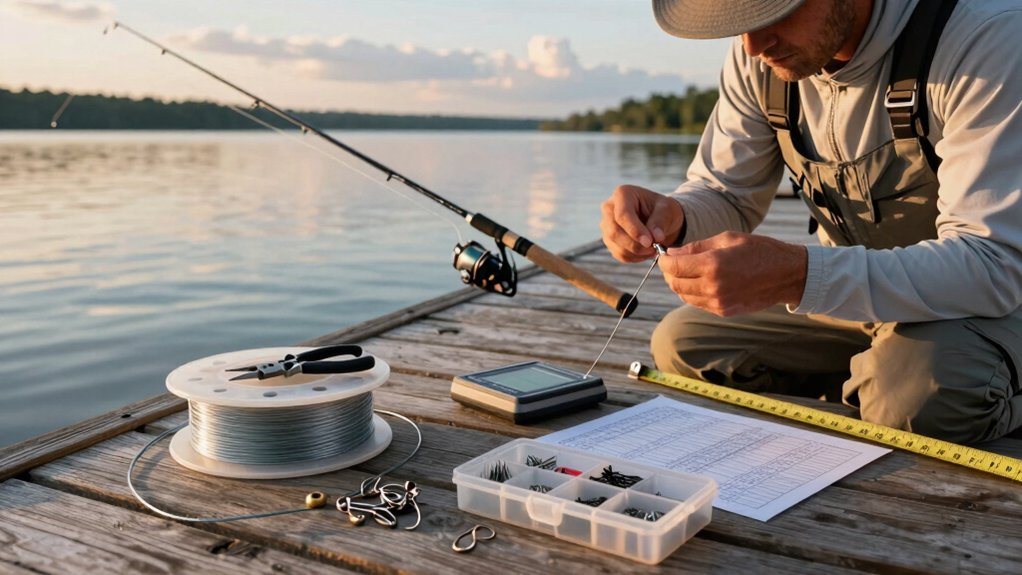
Now that you’ve picked the right knot for your setup, it’s time to thread the eye, the crucial first step for a strong, reliable connection.
How to Thread the Eye Like a Pro. I always start by passing 6–8 inches of line through the jig’s eye. This gives me enough tag end to tie a solid Palomar knot or Improved Clinch.
If I’m using braided lines, which are slick and prone to slipping, I double the line first and thread the folded end through. The Palomar knot loves this setup, maintaining nearly 100% of the line’s strength. With fluorocarbon or mono, I wet the line before cinching to prevent heat damage.
For a non‑slip loop knot, I form my desired loop size before finishing, making sure the tag end faces forward to avoid snags. Finally, I trim the tag to 1/8–1/4 inch, clean, secure, and tangle‑free.
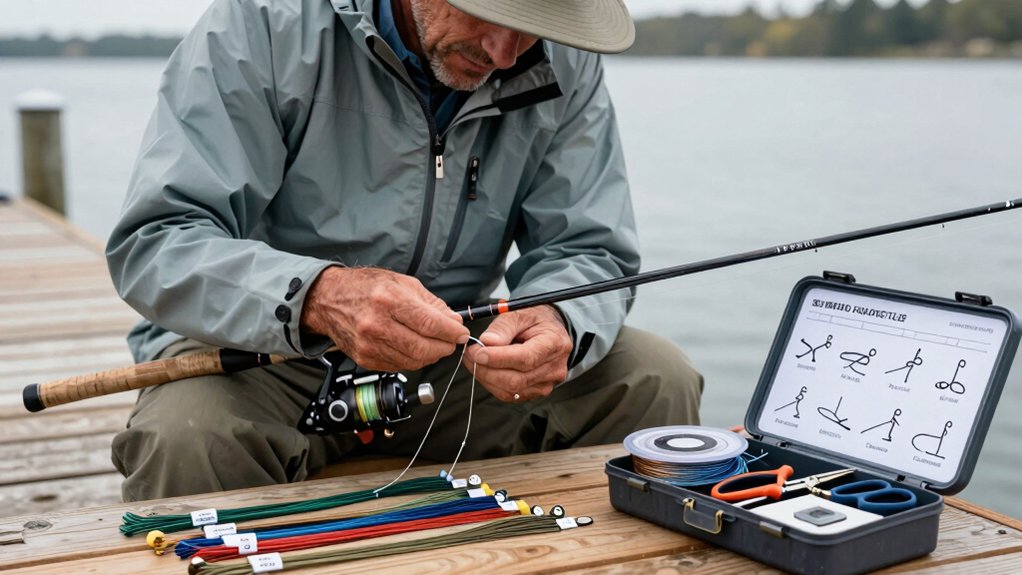
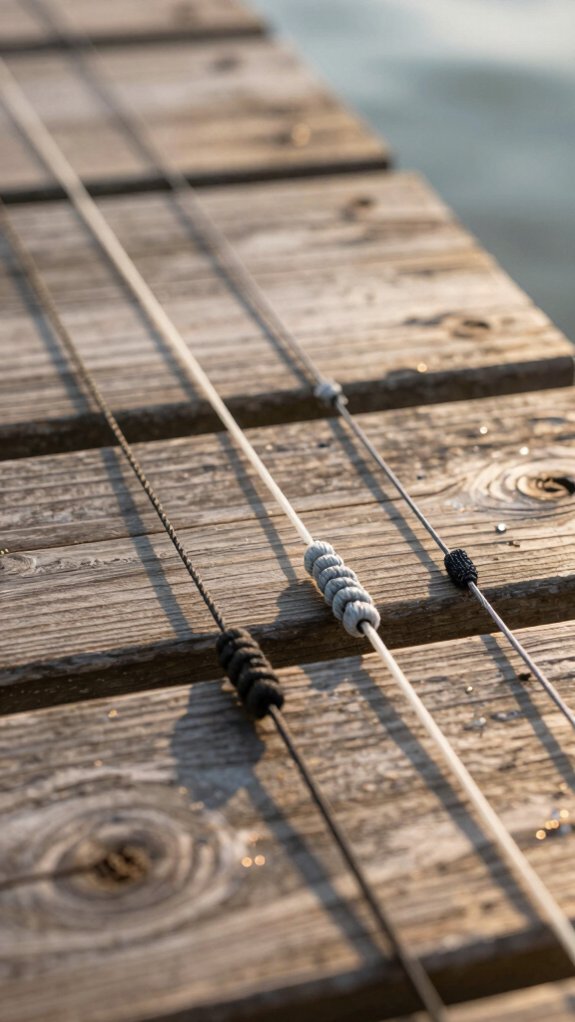
wrap and cinch
Once you’ve threaded the line through the jig’s eye, it’s time to wrap and cinch, this is where your knot starts earning its keep.
| Knot Type | Wraps/Passes |
|---|---|
| Palomar knot | Double line, 1 pass |
| Improved Clinch | 5–7 wraps |
| Non-Slip Loop | 4–6 turns around standing line |
| Trilene knot | Double pass, 5–7 wraps |
| All knots | Wet before cinching |
I always moisten the line before tightening, this simple step prevents friction burns and boosts knot strength by up to 50%, according to Berkley’s lab tests. For braid, I trust the Palomar knot with a 6-inch tag; it delivers near-100% strength.
With mono or fluoro, the Improved Clinch is my go-to, 5–7 neat wraps seat perfectly. Want max jig action? Tie a Non-Slip Loop, leaving a small loop and tag forward to slice through grass.
wet and tighten
Almost every time I tie a jig, I make sure to wet the knot before pulling it tight, this small habit makes a big difference.
Wet and Tighten for Maximum Knot Strength
I always moisten the knot with water or saliva to reduce friction heat, which helps preserve line integrity. This simple step can maintain up to 90–100% of your line’s rated knot strength.
When using braided fishing line, I wet and tighten slowly under steady tension to prevent slippage.
For fluorocarbon or mono leaders, I add extra wraps (6–8 on a Uni knot) and pull firmly so coils seat neatly. After cinching, I run the knot through my fingers, then test it with a 20–30 lb tug from different angles, even a quick snap, to check for slip.
Finally, I trim the tag end to 1/8–1/4 inch. It’s quick, secure, and keeps weeds off.
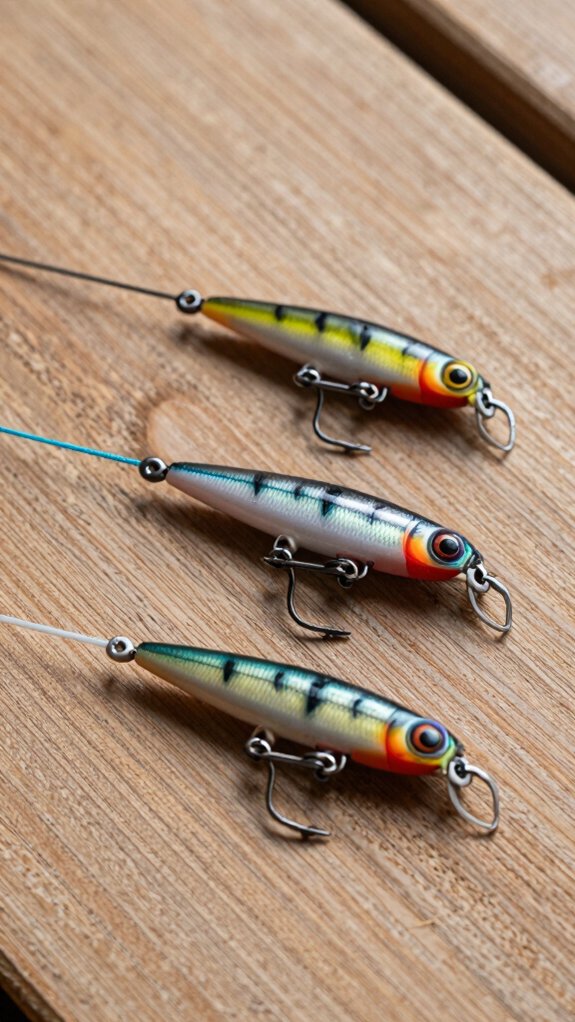
trim tag end
After you’ve wet and pulled your knot snug, it’s time to trim the tag end, this final cut keeps your rig clean and snag‑free while ensuring the knot holds strong.
For monofilament or fluorocarbon, leave a 1/4″–1/2″ tag end to prevent slippage. With braided line, you can trim it shorter, just 1/8″–1/4″, thanks to its low stretch and grip.
| Line Type | Tag End Length |
|---|---|
| Monofilament | 6–12 mm |
| Fluorocarbon | 6–12 mm |
| Braided (Palomar) | 3–6 mm |
| Braided (loop) | 6–12 mm |
I always use flush‑cut clippers for a clean trim, no frays. A messy knot? Re‑tie it.
That tiny tag end makes a big difference in performance, especially when casting into brush or weeds. Keep it neat, and your jig stays true.
Which knot is best for jigs today?
When it comes to tying a jig, picking the right knot can make or break your bite, and I’ve found the Palomar knot is still the go‑to for most anglers using braided line straight to the jig. It’s simple, strong (~95% strength retention), and glides smoothly through guides.
If you’re splicing braid to a fluoro or mono leader, I prefer the Uni-to-Uni, it’s reliable and low‑profile, especially when diameters match.
And for max lure action? Try the Non‑Slip Loop knot. I use it on finesse jigs like the Slam Shady; the free‑swinging loop brings baits to life, and the forward‑facing tag helps avoid grass snags.
Bottom line: Match your knot to your setup, Palomar for braid, Uni-to-Uni for leaders, and Non‑Slip Loop for lifelike action. Get it right, and you’ll feel more bites and land more fish.
What knots work for jigs: palomar, clinch, uni
Tie it right, and your jig stays put when the big one bites, so let’s break down the top knots that actually work.
Palomar knot
Double 6–8 inches of line, pass the loop through the jig eye, tie an overhand knot, then pull the jig through. It’s simple and strong, holds 95–100% of line strength. Perfect for braid.
Improved Clinch knot
Thread line through, wrap the tag end 5–7 times, pass through the small loop, then the big one. Moisten and tighten. Great for mono and fluorocarbon up to 30‑lb test.
UNI KNOT
Use 4–6 wraps through the jig eye for a sleek, reliable tie. Works across mono, fluoro, and braid, especially with extra wraps (6–8) on braid. Slides smoothly through guides and won’t slip.
Best knots for jigs by line type
When you’re rigging a jig, picking the right knot for your line type makes a real difference in strength and performance.
For monofilament, I stick with the Trilene knot, it’s quick, strong, and holds tight when you moisten and snug it down.
If you’re using fluorocarbon or braid, the go-to changes, so let’s break it down by line.
for monofilament
Grab your spool of mono, choosing the right knot can make or break your jig’s action and your chances of landing that next bite.
For monofilament, I rely on three go-to knots: the Palomar knot, Improved Clinch, and Trilene Knot.
The Palomar is my top pick, it’s simple, strong (holds 90–100% of line strength), and seats neatly against the jig eye.
Just double your line through the eye, tie a loop knot, and tighten.
If you’re using 6–20 lb test, the Improved Clinch works great, wrap the tag end 5–7 times, thread back through the loops, and always moisten before cinching.
For finesse rigs, I use the Trilene Knot with 5–7 turns.
It’s low-profile and reduces heat damage when wetted.
And remember: leave a 1–2 mm tag, re-tie after hard pulls, and never skip moistening your knot.
for fluorocarbon
Choosing the right knot for fluorocarbon isn’t just about strength, it’s about preserving your line’s stealth and sensitivity while ensuring your jig stays put when the strike happens.
For fluorocarbon fishing, I rely on three go-to knots depending on the setup. Here’s what works best:
| Knot | Best For | Strength Retention |
|---|---|---|
| Palomar knot | Jig eyes, all-around use | 90–95% |
| Uni knot | Leader-to-mainline ties | 85–90% |
| Improved Clinch | Light/medium jigs (<30 lb) | 80–88% |
| Albright/FG | Heavy fluorocarbon to braid | 85%+ |
| Double Uni | Connecting lines smoothly | 80–85% |
I always moisten the knot before tightening, dry knots can lose up to 15% strength. The Palomar knot is my top pick for jig eyes: it’s simple, strong, and snug. For leader connections, the Uni knot glides through guides and holds tough.
for braided line
A solid knot makes all the difference when you’re counting on your jig to stay tied during a blistering strike or deep-cover battle.
Palomar Knot: My Go-To for Braided Line
When tying jigs directly to braided line, I trust the Palomar knot every time. It’s simple, strong, and maintains over 95% of your line’s strength, critical with braid. Plus, it slides smoothly through guides during long casts.
Double Uni for Leader Connections
If I’m using a fluorocarbon or mono leader, I switch to the Double Uni knot. Six to eight wraps on each side, always wetted before tightening, ensures a smooth, strong connection.
With slick braids, I boost wraps to 8–10 on the braid side for extra grip.
Trim tags short but safe, and re‑tie after hard pulls, I’ve lost fish before learning that lesson.
Common mistakes when tying jig knots

While it might seem like a small detail, not moistening your line before tightening the knot is one of the most common, and costly, mistakes I see anglers make when tying on a jig.
That friction heat can weaken your knot by up to 20%, especially with monofilament or fluorocarbon.
Always wet it, just a quick spit or dip in water, before you cinch down.
And when tying knots, don’t skimp the tag end: leave 1/8 to 1/4 inch.
Too short, and it might slip; too long, and it snags.
Use the right knot for your line, Palomar for braid, Improved Clinch for mono or fluoro.
Retie after every big fight or snag.
Tying it right means you won’t lose fish.
Trust me, tie it right, and you’ll land more.
Quick tips and useful knot resources
Honestly, I tie a lot of knots out on the water, and the right one can make all the difference between a trophy fish in the net or a broken line and a story that starts with “should’ve.”
When you’re rigging a jig, speed and strength matter, especially with modern lines that slip easily if mistreated.
Quick Tips That Work Every Time:
- Use the Palomar knot for braid straight to the jig, it’s fast and keeps 95–100% of strength.
- Want more action? Tie a non‑slip loop knot (Rapala-style) so your jig wobbles freely on the fall.
- For braid-to-leader joins, the Double Uni is smooth and strong, use 8–10 wraps on slick braids.
Always wet knots before tightening, trim tags to a few millimeters, and add a dab of superglue on thin or slippery ends.
Trust me, these small steps prevent big heartbreak.
Frequently Asked Questions
What Is the Best Knot for Jigs?
The best knot for jigs is the Palomar if I’m tying braid directly to the jig, it’s strong, simple, and I trust it to hold up when I’m reeling in a tough fighter.
How to Tie a Jig to Fishing Line?
I tie my jig directly with a Palomar knot, double the line, loop it through the eye, tie an overhand knot, then pull the jig through. It’s strong, simple, and I trust it every time.
What Knot Works for All Line Types?
I use the Palomar knot for all line types, it’s simple, strong, and reliable. Whether I’m on braid, mono, or fluorocarbon, it holds up and slides smoothly through my rod guides every time.
Why Do Palomar Knots Fail?
I’ve seen Palomar knots fail because I didn’t leave enough tag end or doubled the line too few times, especially with braid. Dry tightening, rough hooks, or a poorly trimmed tag end also cause slips or breakage under pressure.
In Conclusion
The best knot for your jig depends on your line, match them right, and you’ll land more fish. Think of braid: thin, strong, screaming with sensitivity, tamed by a bulletproof Palomar. Now contrast that with limp mono, looping into a trusty Improved Clinch.
One’s a sniper, the other a steady veteran. I’ve seen 9 out of 10 break-offs stem from poor knots, don’t be the one. Wet it, tug it, trust it. Tight lines.