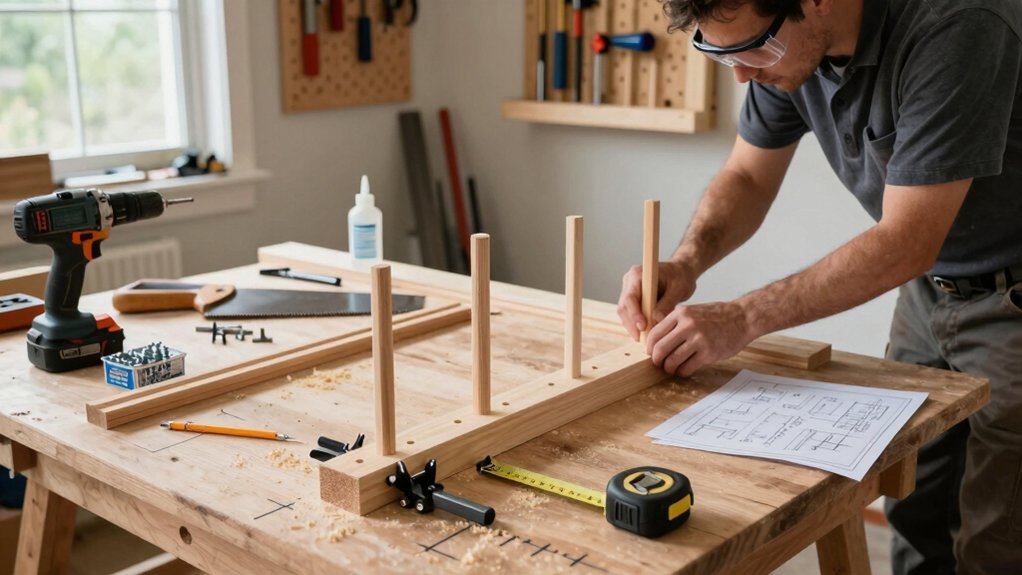
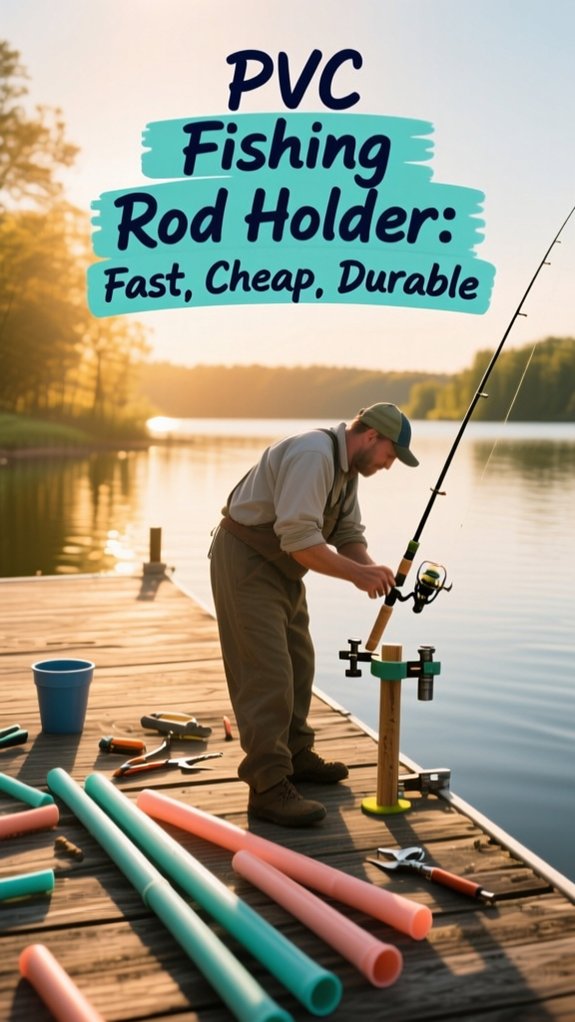
I’ve rigged dozens of boats with DIY rod holders, and this PVC version is my go-to for fast, no-fail storage that won’t break the bank. You’ll need just a few bucks and 20 minutes to build one that outlasts store-bought models.
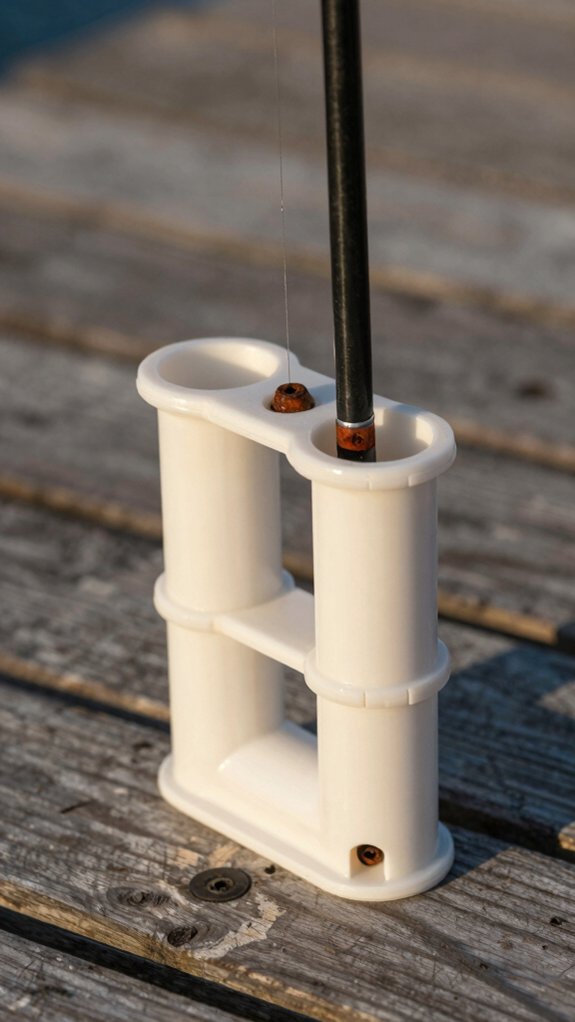
It’s rugged, absorbs vibration, and with the flared mouth, your rod slides in smoothly, no more cracked guides from stiff inserts. Let’s walk through the smart way to build it, step by step, so yours works perfectly the first time.
How to make a PVC fishing rod holder
Here’s how I make a sturdy PVC fishing rod holder in just a few simple steps.
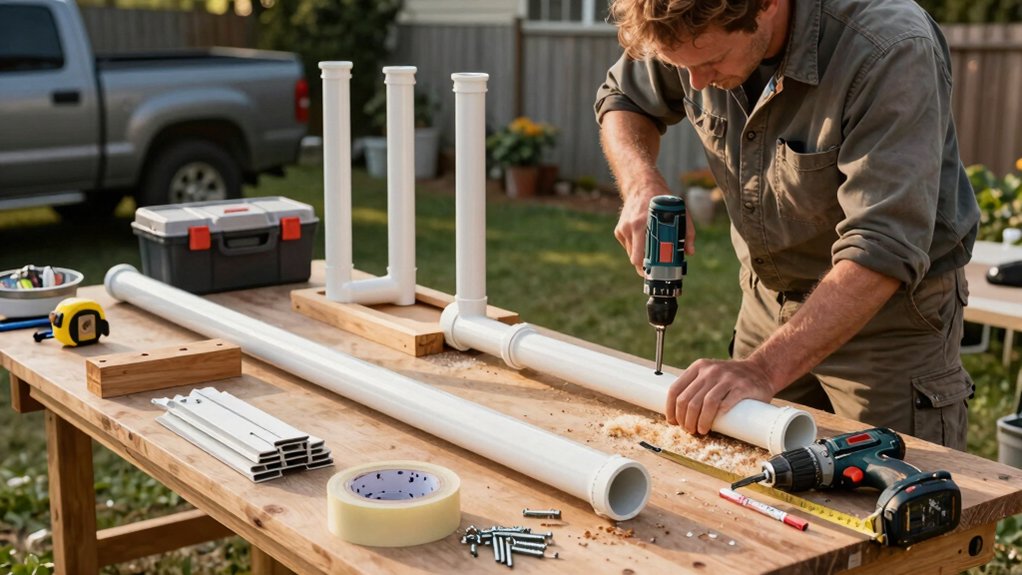
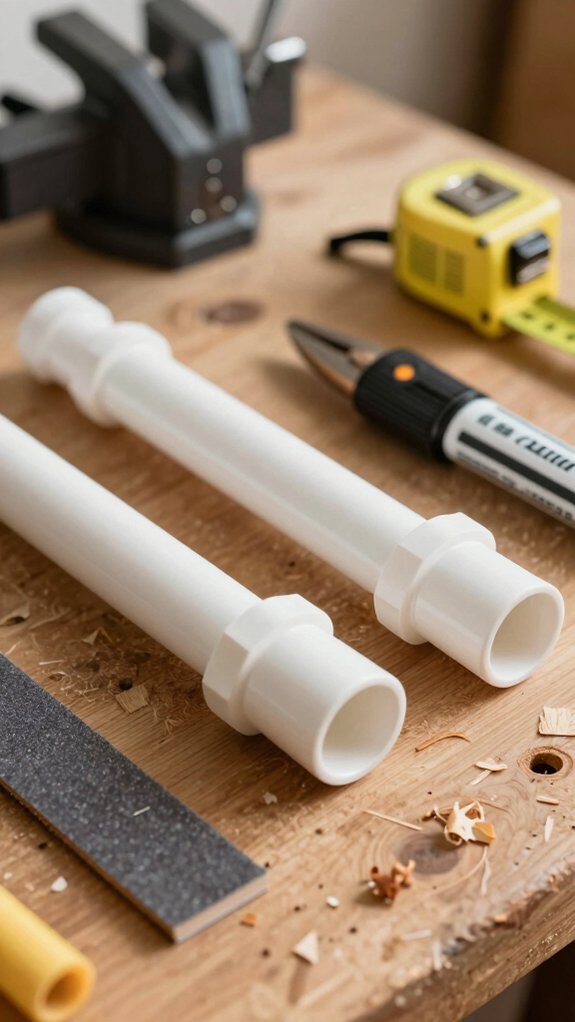
First, I measure and mark a length of 2″ Schedule 40 PVC about 3–4″ taller than my rod butt, then cut it clean with a hacksaw.
After squaring and sanding the ends, I prep for assembly by roughening the surfaces so everything bonds tight and stays put.
measure and mark
Start by grabbing your longest fishing rod and measuring your PVC pipe to be at least 2 inches longer than the rod’s butt end, this extra length ensures your reel seat and handle won’t hang over the edge and risk damage.
Measure & Mark Like a Pro
Use a pencil and square to mark your PVC pipe for straight, clean cuts. If you’re using a threaded female adapter and cap, mark the insertion depth so it fits flush, dry‑fit first to check alignment.
For internal padding, measure the pipe’s inner diameter and pick snug 2″ OD foam insulation. Cut it so the bottom plug leaves about 1″ of space for a pull cord.
Planning a notched top or 45° elbow? Mark the notch position based on your reel foot’s placement, then transfer those marks to the fitting.
For attachments, like bungee cords or handles, mark points 3–6 inches from the end, pre-drill 1/8″–1/4″ pilot holes.
cut PVC pipe
Slice your PVC pipe to size with confidence, grab a sharp PVC cutter or fine-tooth hand saw and make a clean, square cut right on your marked line.
For a snug fit on your PVC rod holder, cut at least 2 inches longer than your rod’s butt section, this extra length ensures stability and easy insertion.
I always use a PVC cutter for a smoother edge, but a hand saw works great if you take your time and keep the cut straight.
Once cut, check the end: it should be flat and even, not angled or jagged.
This precision helps the rod slide in smoothly without wobbling.
A square cut also ensures fittings align properly later.
Trust me, taking an extra minute here prevents frustration down the line, especially when gluing.
Your future self (and your gear) will thank you when your PVC rod holder stands strong, season after season.
heat and flare
Once the PVC pipe’s cut clean and square, it’s time to shape the end so your fishing rod slides in smoothly and stays secure, this is where heating and flaring comes in.
Using a heat gun, I gently warm the pipe’s end, 10 to 30 seconds at a time, keeping it 6–8″ away and moving constantly. You’ll know it’s ready when the PVC softens and becomes pliable (but don’t wait for bubbles, that means you’ve gone too far).
- Heat in short bursts to avoid warping or burning the PVC
- Press the softened end onto a tapered dowel or 45° bevel to form the flare
- Hold it in place for 10–20 seconds as it cools and sets
- Lightly sand the edge with medium-grit paper for a smooth finish
- Test‑fit the flare with your reel seat or mounting bracket
Always wear gloves and eye protection, and work in a ventilated area, safety first!
drill bolt holes
Now that your PVC rod holder has a nice, flared mouth to guide the rod in smoothly, it’s time to anchor it securely, so let’s drill those bolt holes with precision. Properly installed rod holders stay put, even when a feisty bass yanks your line.
| Step | Tool/Action | Handy Hint |
|---|---|---|
| 1 | Mark 1/4″ holes | Use a tape measure to align with your rail |
| 2 | Drill pilot hole | Start with 1/8″–1/4″ stainless bit |
| 3 | Finish hole | Step up to 1/4″ bit to prevent cracking |
| 4 | Deburr edges | File and sand so washers sit flush |
Clamp the PVC, drill slow, and avoid melting SDR-26 or Schedule 40 pipe. I always use stainless bolts with fender washers, they spread the load and stop pull-through.
Add locknuts to keep vibrations from loosening your setup. Trust me, secure rod holders mean fewer tangles and more fish.
assemble and secure
While a well-flared mouth and drilled mounting holes set the stage, it’s the smart assembly and secure mounting that truly bring your PVC fishing rod holder to life, so let’s put it all together right.
To protect your Fishing Rod and keep it stable, follow these key steps:
- Cut a 1¼”–2″ Schedule 40 PVC pipe 2+ inches longer than your rod sections, then sand and dry-fit for perfect alignment.
- Glue a threaded female adapter to one end, but leave the male plug unglued until cured so it stays removable.
- Line the interior with 2″ OD foam pipe insulation, adding at least 1″ of stacked foam at the base to cushion the rod butt.
- Create a foam plug with a cord loop for easy removal, and wrap rod sections in cloth to prevent wear.
- Secure the holder with ratchet straps or bungees, and add a tether to your Fishing Rod to prevent loss, yet allow quick release.
What PVC size and design to use
When choosing the right PVC for your fishing rod holder, I always go with 2″ Schedule 40 pipe, it’s tough, affordable, and has plenty of room for rod butts and foam padding.
For lighter rods or tighter spaces, I’ve used 1 1/4″ SDR26, but double‑check your reel and handle fit first.
Depending on how you’ll use it, I build mine as simple vertical tubes, angled pier mounts with elbows, or even portable cases with threaded caps for secure transport.
pipe diameters
If you’re building a PVC fishing rod holder that actually protects your gear without weighing you down, picking the right pipe diameter is the make-or-break step. I’ve tested this myself, using PVC that’s too narrow crushes foam liners, while oversized tubes let rods rattle and risk damage. Here’s what works:
- 1 1/4″ Schedule 40 PVC fits most fly and light spinning rods snugly with foam liners
- 2″ PVC gives extra room for bulky butts, multiple sections, or thick 2″ OD foam padding
- Always cut pipes at least 2″ longer than your longest rod section
- Match foam insulation to pipe size, 2″ pipe + 2″ foam = tight, protective fit
- For pier mounts, 2″ couplings are ideal; for portable holders, stick with 1 1/4″ or 1 1/2″
Trust me, get the diameter right, and your DIY holder will outlast store-bought ones.
pipe schedule
Since you’re building a PVC rod holder that won’t crack under pressure or wobble when a fish runs, choosing the right pipe schedule is just as important as the diameter, trust me, I’ve snapped a few cheap ones myself.
For light rods, 1 1/4″ SDR 26 works really well and saves weight. But when you’re fighting heavy fish or clamping to rails, go with Schedule 40, its thick walls handle lateral loads without cracking.
Here’s a quick guide:
| Use Case | Pipe Type | Why It Works |
|---|---|---|
| Light shore fishing | SDR 26 (1¼”) | Lightweight, portable |
| Pier or heavy rods | Schedule 40 (2”) | Strong, resists bending |
| Rail mounting | Schedule 40 | Handles clamping pressure |
| Backpack setups | 1½” with foam | Compact and cushioned |
| Fixed installations | 2″ with elbows | Durable, stress‑resistant |
Schedule 40 just works really well when durability matters.
holder styles
You want your rod and reel held securely, not rattling around or snapping when a hard‑pulling fish fires off the edge, so picking the right PVC holder style isn’t just about size, it’s about matching the design to how and where you fish.
- Portable general use? Go with 2″ Schedule 40 PVC, it fits most rod butts and resists crushing better than 1¼” pipe.
- Fly rods on the move? Slim down with 1¼” SDR26 or Schedule 40, lined with foam to protect delicate sections.
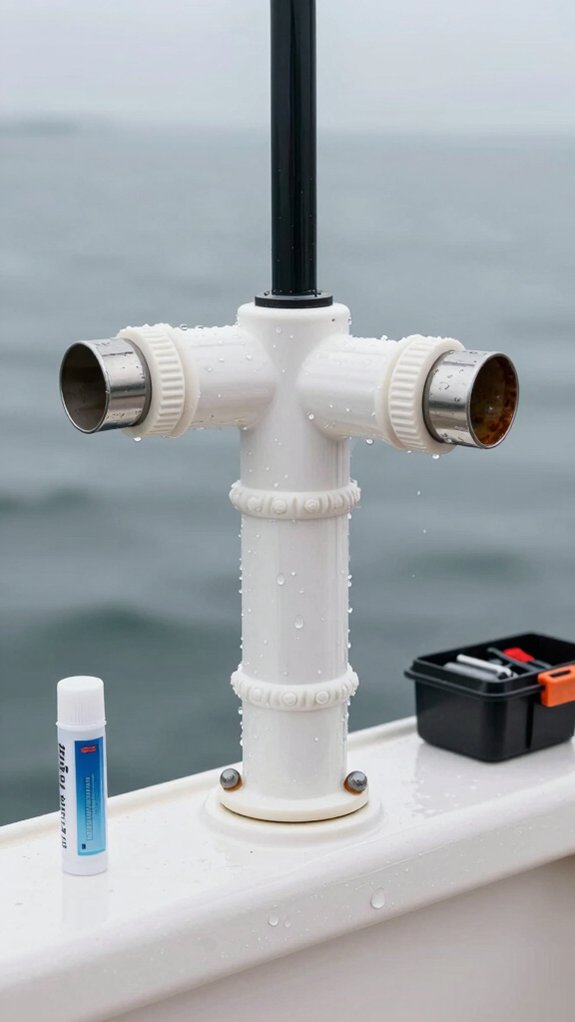
- Pier or rail mounting? Use a 3½”–7″ cut of 2″ pipe with a notched top and a 45° elbow to angle your rod and reel safely away.
- Under heavy load? Wedge a 2″ pipe tight or bolt it, then add a tether, bungee or leash clip for backup.
- Big game or surf? Boost protection with foam‑lined 2″ pipe, 1″ padding under the butt, and a threaded cap for easy access.
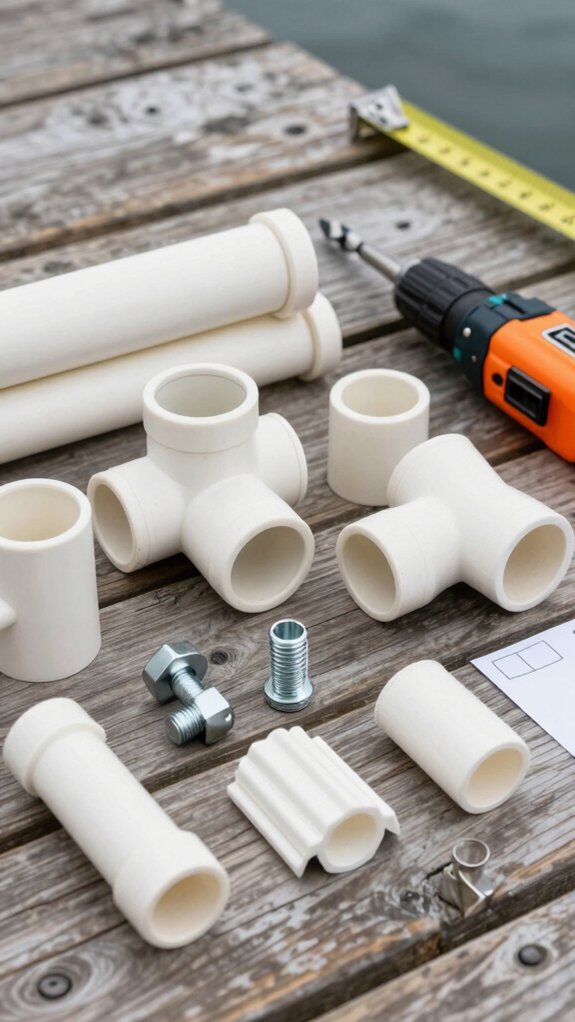
Tools and materials for this project
While planning your DIY PVC fishing rod holder, gathering the right tools and materials up front saves time and ensures a snug, durable fit for your gear.
For a solid fishing pole holder, I recommend 1¼” or 2″ Schedule 40 PVC pipe, 2″ fits most rods comfortably. Pick up matching couplings; Lowe’s has 10-piece 1¼” SDR 26 packs for around $5. You’ll need a PVC cutter or hand saw for clean, square cuts, a heat gun if bending, and a drill with ½” and ¼” bits. Don’t forget safety glasses and gloves.
Use a threaded female adapter and male plug for easy access.
For padding, wrap 2″ OD foam pipe insulation around the pipe and cap ends with foam circles. Secure everything with PVC cement, primer if required, and add stainless bolts and lock nuts for straps or handles. Optional 45° elbows reduce stress, and ratchet straps help mount it securely.
Where should I mount rod holders

When choosing where to mount your PVC fishing rod holder, I always think about stability, accessibility, and safety first, because nothing ruins a good fishing session faster than a wobbly setup or a rod that tangles at the worst moment.
To make sure your rods stay secure and within easy reach, consider these key spots:
- Wedge a 2″ PVC post between pier rails or concrete tops (like Skyway-style rails) where the ~4×6 inch gap holds it snugly
- Space holders 2–3 feet apart to prevent tangles and give room for casting and fighting fish
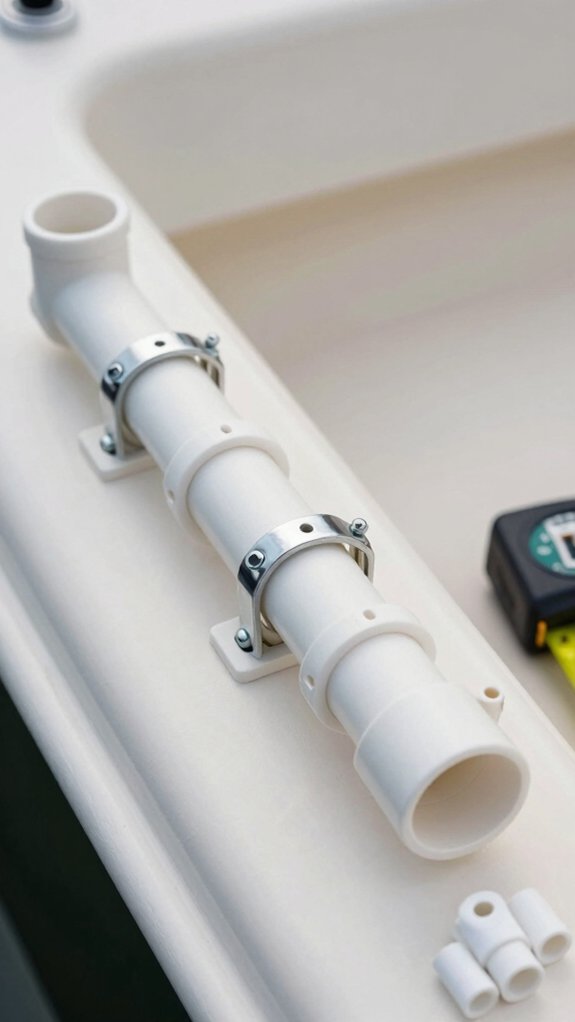
- Mount vertically on boat gunwales or bulkheads with stainless bolts and lock nuts for a flush fit
- Use ratchet straps, bungees, or pipe clamps on railings, add a safety leash to avoid losing gear to waves or snags
- Avoid thin concrete or electrical conduits; use structural points and allow 2″ clearance to prevent crushing or tripping
Make sure every mount is both functional and fish-ready.
Common mistakes to avoid with PVC holders
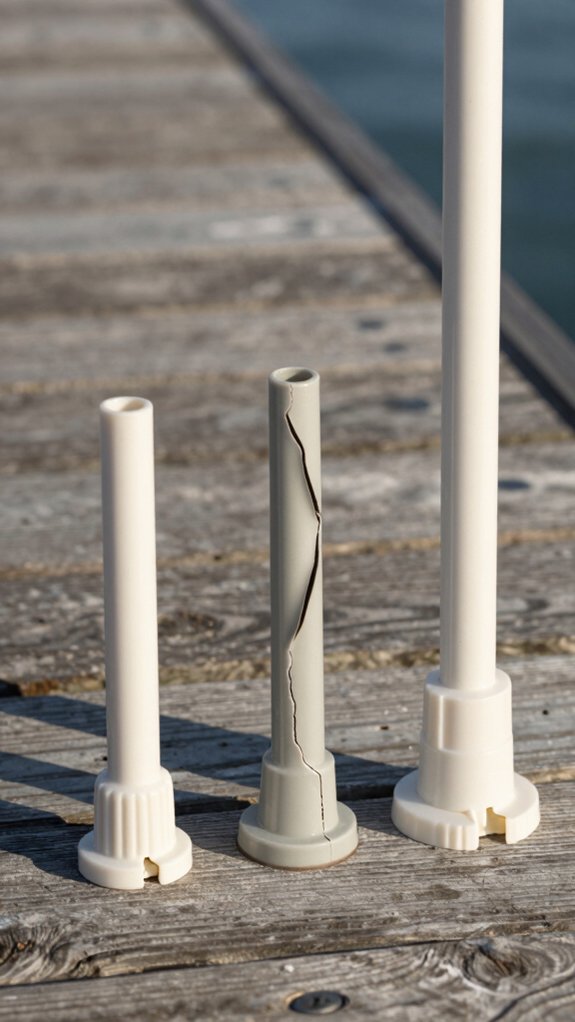
Because even the sturdiest PVC rod holder can fail at the worst moment if set up wrong, I’ve seen too many anglers overlook simple fixes that save gear, and sanity, on the water.
Avoid these common mistakes to help keep your rods safe and setup secure:
| Mistake | Fix |
|---|---|
| No padding at bottom | Use 1″ foam + foam pipe insulation (2″ OD for 1¼” pipe) |
| Forcing PVC into metal rails | Cushion contact points or use straps |
| Gluing end plug | Glue female adapter only; keep male plug removable |
Don’t skip square cuts and sanding, rough edges wear down rod sections fast. And never rely on a single loose holder for heavy fish. I’ve lost rods this way.
Use bungees or ratchet straps. These tweaks help keep your gear intact, especially when battling grouper or sharks. Simple, smart fixes make all the difference.
Safety tips and weather resistance advice
Let’s talk safety and weatherproofing, two things I never skip after seeing a buddy lose a $300 rod without a secure tether during a redfish fight. Salt, sun, and stress wreck weak builds fast. I’ve learned the hard way, so here’s how to keep your gear—and fingers—safe:
- Wear safety glasses and cut-resistant gloves, PVC shards and heat guns aren’t forgiving.
- Use stainless-steel bolts and lock nuts, regular steel rusts fast in salt air, failing when you need it most.
- Sand and prime PVC joints before gluing, smooth surfaces mean weak bonds; primer ensures a rod without wobble.
- Pad inside with closed-cell foam and seal exterior with UV-resistant paint, stops water soak and sun rot.
- Tether rods with a bungee leash, a snapped holder won’t mean a lost rod in big tides.
Trust me, build smart, fish longer.
How much time and cost involved
If you’re wondering whether building a PVC fishing rod holder is worth the effort, I’ll cut to the chase: it’s one of the fastest, cheapest upgrades you can make to your on-water gear setup. For just $5–$15, you prevent tangled lines and protect your rods without breaking the bank.
| Item | Cost | Time |
|---|---|---|
| PVC pipe & caps | $3–$8 | 5 min |
| Foam padding | $2–$4 | 10 min |
| PVC cement | $3 | 15 min cure |
| Sanding/fitting | $0 | 10 min |
| Optional extras | $0–$10 | +20 min |
Total build time? Just 30–40 minutes active work. Most cements set in 15–30 minutes, so you can fish the same day. I’ve used mine for months with zero wobble or wear.
Skip the store-bought clutter. This DIY fix is durable, lightweight, and keeps your rods secure.
Frequently Asked Questions
What Materials Are Best for DIY Rod Holders?
I use Schedule 40 PVC for strength, stainless-steel bolts to resist rust, and foam insulation inside to protect my rods, I also add a foam base, duct-tape handle, and a pull‑cord so it’s tough, light, and easy to carry.
Can I Make a Rod Holder From PVC Pipe?
Yes, I can, like a river carving stone, PVC shapes easily into a rugged rod holder. I cut, sand, glue, and pad it, then strap it down tight, turning cheap pipe into a fortress for my fishing gear.
How Do I Build a Simple Fishing Rod Holder?
I cut a 2″ PVC pipe to fit my rod butt plus 2″, sand the ends, glue on a female adapter, add foam lining and padding, notch the top for the reel, and secure it with straps or cords.
What Size PVC to Make Rod Holders?
Big rods, big pipe, go 2-inch Schedule 40 for most; small rods, slim down to 1 1/4″ with foam.
I cut, fit, and secure mine tight, no wobble, just peace of mind when I walk away.
In Conclusion
You can build a tough, reliable PVC fishing rod holder in under an hour for around $10. It’s like giving your rods a sturdy parking spot that won’t quit when the sea gets rowdy. Just stick to Schedule 40 PVC, seal it well, and mount it securely.
I’ve used mine for over two years, no cracks, no wobbles. Done right, it’s as dependable as a favorite lure in rough chop. Happy fishing!